

Grow cucumbers easily? Absolutely! Imagine stepping into your backyard and plucking a crisp, refreshing cucumber straight from the vine. No more trips to the grocery store for bland, waxed cucumbers – just pure, homegrown goodness. This isn’t just a dream; it’s an achievable reality with a few simple DIY tricks and hacks.
For centuries, cucumbers have been cultivated across the globe, from their origins in India to their adoption by ancient Greeks and Romans. They were prized not only for their taste but also for their medicinal properties. Today, we continue this tradition, bringing the joy of cucumber cultivation into our own homes. But let’s face it, sometimes growing these beauties can be a bit tricky. That’s where these DIY solutions come in!
I know what you’re thinking: “I don’t have a green thumb!” Or maybe, “I’ve tried growing cucumbers before, and it was a disaster!” Don’t worry, I’ve been there too. That’s why I’ve compiled these easy-to-follow tips and tricks to help you grow cucumbers easily, even if you’re a complete beginner. We’ll cover everything from choosing the right variety to building simple supports and warding off common pests. Get ready to impress your friends and family with your bountiful cucumber harvest!
DIY Cucumber Trellis: Vertical Gardening for Bumper Crops!
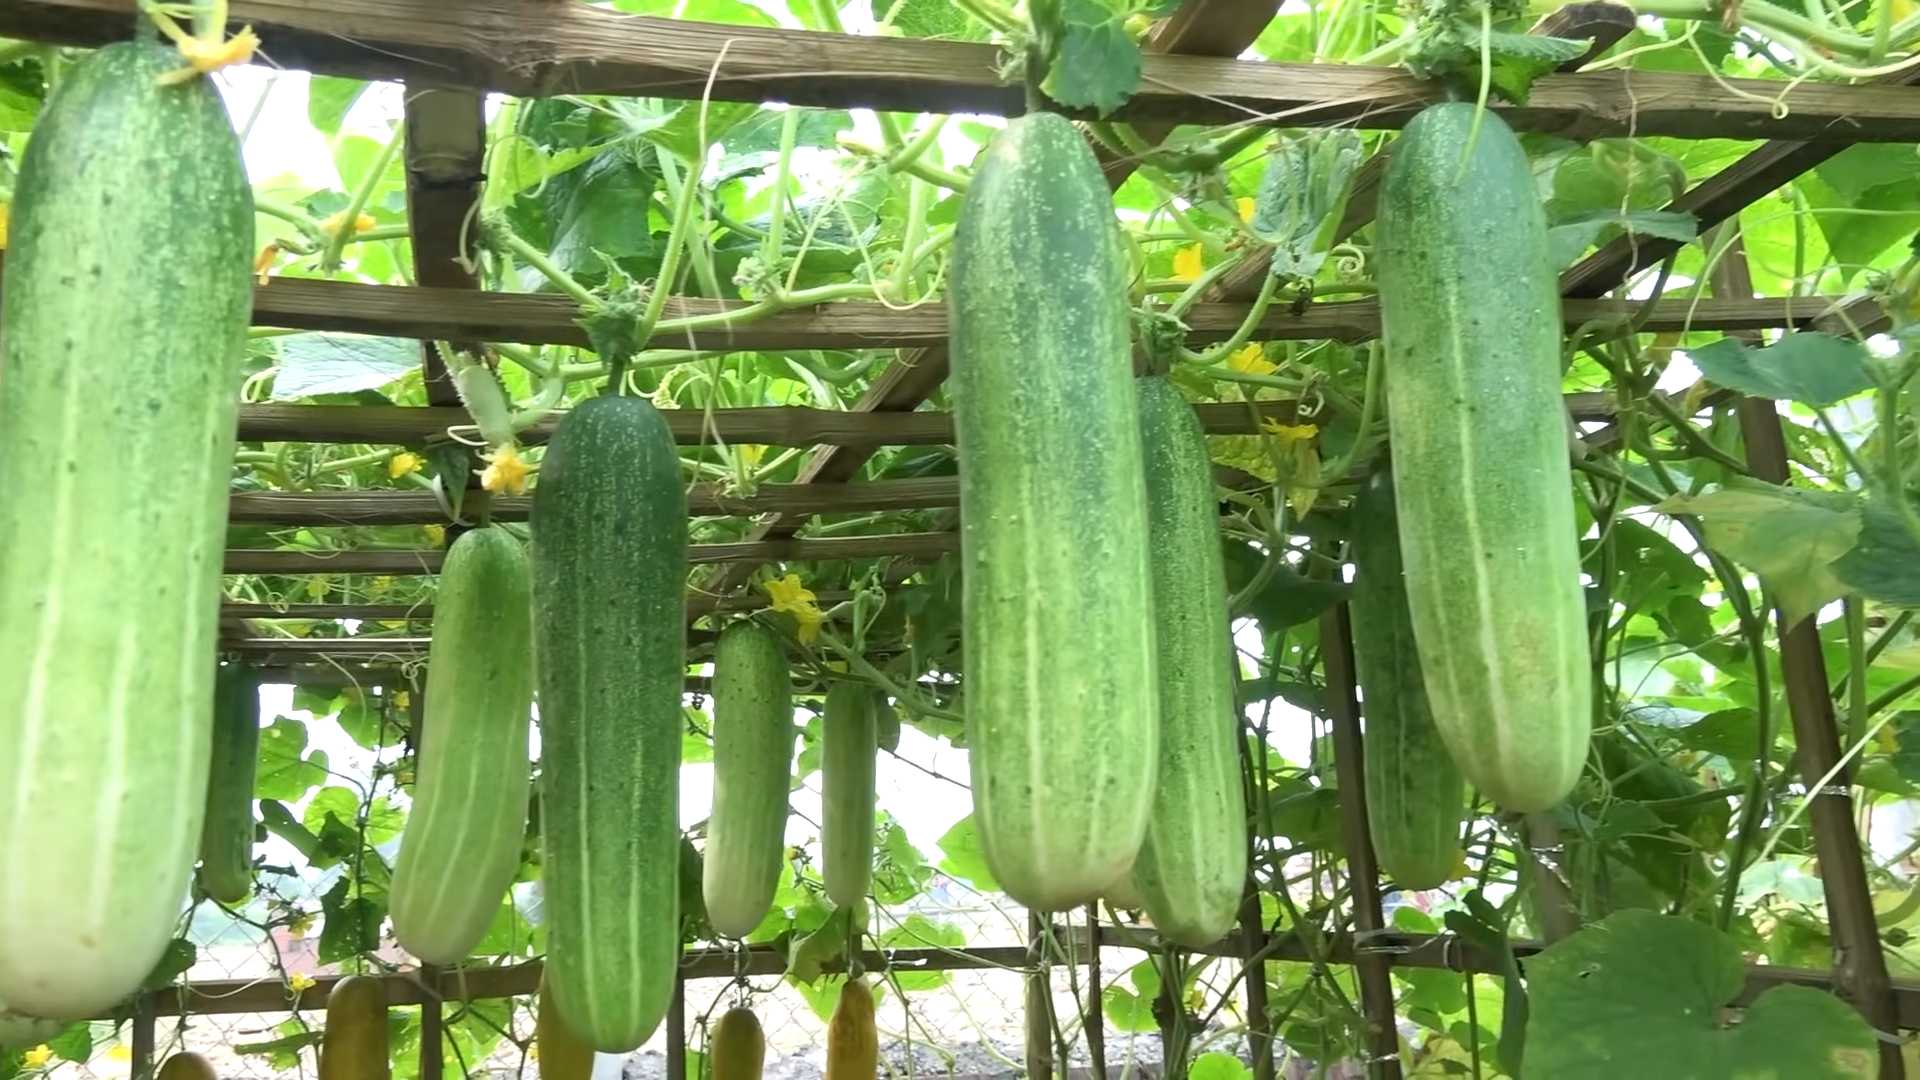
Hey there, fellow gardeners! I’m so excited to share my favorite way to grow cucumbers – vertically! Forget sprawling vines taking over your garden; this DIY cucumber trellis is a game-changer. Not only does it save space, but it also keeps your cucumbers cleaner, healthier, and easier to harvest. Trust me, once you try this, you’ll never go back to growing them on the ground.
Why a Trellis? The Benefits of Vertical Cucumber Growing
Before we dive into the how-to, let’s quickly cover why growing cucumbers on a trellis is so awesome:
* Space Saver: Perfect for small gardens or even container gardening on patios and balconies.
* Improved Air Circulation: Reduces the risk of fungal diseases like powdery mildew.
* Cleaner Cucumbers: No more muddy cucumbers! They stay off the ground and are less likely to rot.
* Easier Harvesting: No more bending over and searching through tangled vines. You can easily spot and pick your ripe cucumbers.
* Increased Sunlight Exposure: The leaves get more sunlight, leading to better fruit production.
* Pest Control: Easier to spot and manage pests when the plants are growing vertically.
Choosing Your Trellis Design
There are tons of trellis designs out there, but I’m going to show you how to build a simple, sturdy, and cost-effective A-frame trellis. It’s perfect for beginners and can be easily adapted to fit your garden space.
Materials You’ll Need
* Lumber:
* Six 8-foot long 2x4s (for the frame)
* One 8-foot long 1×2 (for the top support)
* Hardware:
* 3-inch exterior wood screws
* 1 1/4-inch exterior wood screws
* Heavy-duty garden twine or netting (for the climbing surface)
* Staple gun and staples (if using netting)
* Tools:
* Saw (circular saw or hand saw)
* Drill with drill bits
* Measuring tape
* Pencil
* Square
* Safety glasses
* Gloves
Building Your A-Frame Cucumber Trellis: Step-by-Step Instructions
Okay, let’s get building! This project is totally doable in an afternoon, even if you’re a beginner.
1. Cut the Lumber:
* First, put on your safety glasses!
* Cut four of the 2x4s into 6-foot lengths. These will be the legs of your A-frame.
* Cut the remaining two 2x4s into 3-foot lengths. These will be the cross supports.
* Cut the 1×2 into a 3-foot length. This will be the top support.
* Tip: Measure twice, cut once! Accuracy is key for a sturdy trellis.
2. Assemble the A-Frames:
* Take two of the 6-foot 2x4s and lay them on the ground, forming an “A” shape. The top ends should be touching, and the bottom ends should be about 3 feet apart.
* Use the square to ensure the angle at the top is consistent.
* Attach one of the 3-foot 2×4 cross supports about 1 foot from the bottom of the “A.” Use 3-inch wood screws to secure it to the legs. Pre-drilling pilot holes will prevent the wood from splitting. I usually use two screws per connection.
* Repeat this process to create a second A-frame.
* Important: Make sure both A-frames are identical for stability.
3. Connect the A-Frames:
* Stand the two A-frames upright, parallel to each other, and about 3 feet apart.
* Attach the remaining 3-foot 2×4 cross support to the top of the A-frames, connecting them together. Again, use 3-inch wood screws and pre-drill pilot holes.
* Attach the 3-foot 1×2 to the very top of the A-frames, connecting them together. This will provide extra stability and a place to tie off your twine or netting. Use 1 1/4-inch wood screws.
* Pro Tip: Ask a friend to help you hold the A-frames in place while you’re screwing them together. It makes the process much easier!
4. Add the Climbing Surface:
* This is where you can get creative! You have two main options: garden twine or netting.
* Garden Twine: Tie the twine to the top 1×2 support. Run the twine down to the bottom cross support and tie it securely. Space the twine strands about 6-8 inches apart. Repeat this process until the entire frame is covered.
* Netting: Stretch the netting across the frame and secure it to the 2x4s with a staple gun. Make sure the netting is taut but not too tight.
* My Preference: I personally prefer using garden twine because it’s more biodegradable and easier to replace if it gets damaged. Plus, it gives the trellis a more rustic look.
5. Reinforce the Trellis (Optional):
* For extra stability, especially if you live in a windy area, you can add diagonal supports to the sides of the trellis. Cut two 2x4s to the appropriate length and attach them diagonally from the top to the bottom of the frame.
Setting Up Your Trellis in the Garden
Now that your trellis is built, it’s time to put it to work!
1. Choose the Right Location:
* Cucumbers need at least 6-8 hours of sunlight per day, so choose a sunny spot in your garden.
* Make sure the soil is well-drained and rich in organic matter. Amend the soil with compost or aged manure if needed.
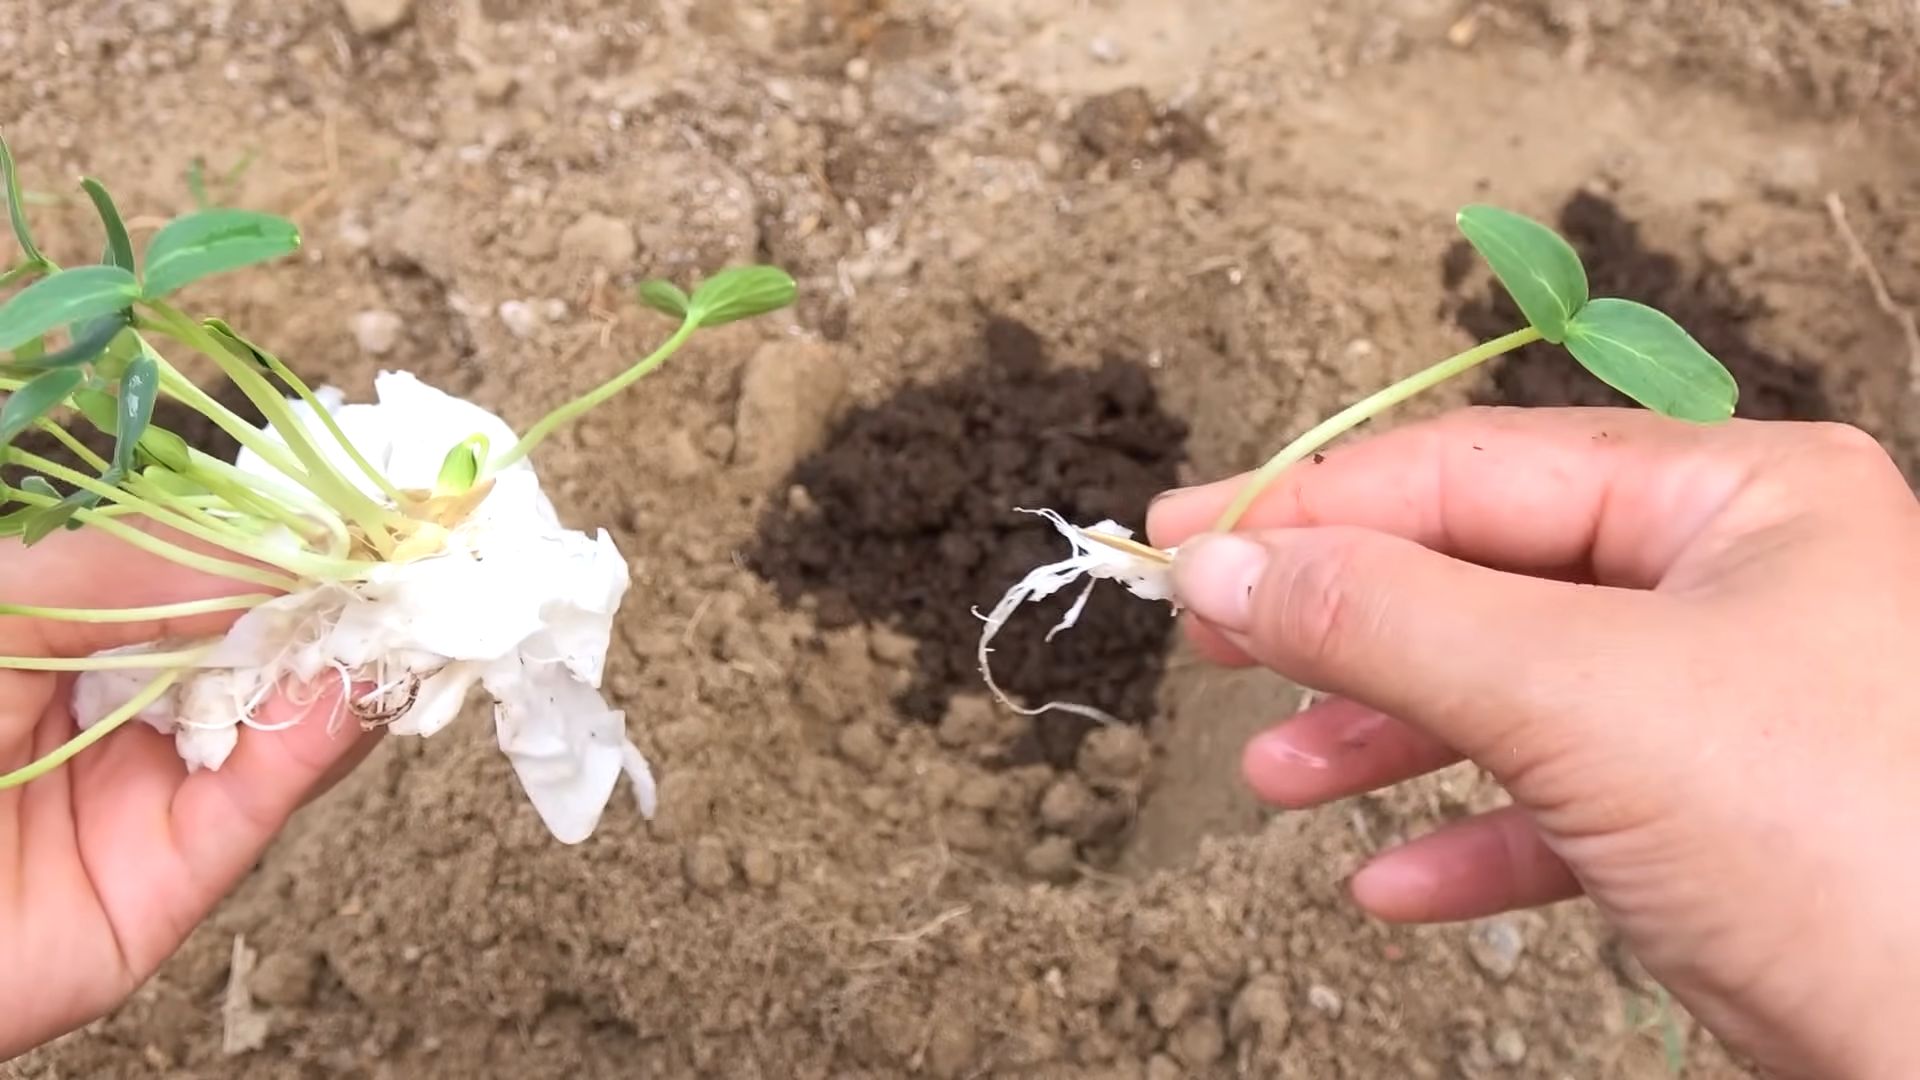
2. Plant Your Cucumber Seedlings:
* Plant your cucumber seedlings at the base of the trellis, spacing them about 12-18 inches apart.
* Gently guide the cucumber vines towards the trellis and encourage them to start climbing. You can use plant clips or soft ties to help them attach.
3. Water and Fertilize Regularly:
* Cucumbers need consistent moisture, especially when they’re fruiting. Water deeply and regularly, especially during hot, dry weather.
* Fertilize your cucumber plants every 2-3 weeks with a balanced fertilizer.
4. Prune Your Cucumber Vines (Optional):
* Pruning can help improve air circulation and encourage fruit production. Remove any yellowing or diseased leaves. You can also prune the side shoots to encourage the main vine to grow upwards.
Troubleshooting Common Cucumber Problems
Even with a trellis, you might encounter a few challenges. Here’s how to tackle them:
* Powdery Mildew: This fungal disease can be a problem, especially in humid climates. Improve air circulation by pruning the vines and avoid overhead watering. You can also spray with a fungicide if necessary.
* Cucumber Beetles: These pests can damage the leaves and spread diseases. Handpick them off the plants or use an insecticidal soap.
* Lack of Pollination: If your cucumbers are not setting fruit, it could be due to a lack of pollination. You can hand-pollinate the flowers by transferring pollen from the male flowers to the female flowers.
Harvesting Your Bumper Crop
The best part! You’ll know your cucumbers are ready to harvest when they’re the desired size and color. Use a sharp knife or pruners to cut the cucumbers from the vine, leaving a small stem attached. Harvest regularly to encourage continued fruit production.
Adapting the Trellis for Other Plants
This A-frame trellis isn’t just for cucumbers! You can also use it to grow other vining plants like:
* Beans: Pole beans are a great choice for vertical gardening.
* Peas: Similar to beans, peas thrive on a trellis.
* Small Melons: Smaller melon varieties like cantaloupe can be supported with a trellis, but you may need to provide extra support for the fruits as they grow.
* Squash: Some smaller squash varieties can also be grown on a trellis.
Final Thoughts
Building this DIY cucumber trellis was one of the best gardening decisions I ever made. It’s easy to build, saves space, and makes growing cucumbers so much more enjoyable. I hope you give it a try and experience the joy of harvesting your own fresh, homegrown cucumbers! Happy gardening!
Conclusion
So, there you have it! Growing cucumbers doesn’t have to be a daunting task reserved for seasoned gardeners. This simple DIY trick unlocks a world of fresh, crisp cucumbers right in your own backyard, balcony, or even windowsill. We’ve shown you how to bypass common pitfalls and maximize your yield with minimal effort.
Why is this a must-try? Because it’s efficient, cost-effective, and incredibly rewarding. Imagine the satisfaction of biting into a cucumber you nurtured from seed, knowing exactly where it came from and what went into its growth. Forget those bland, store-bought cucumbers – this method delivers unparalleled flavor and texture. Plus, it’s a fantastic way to reduce your carbon footprint and embrace a more sustainable lifestyle.
But the beauty of this DIY cucumber growing trick lies in its adaptability. Feel free to experiment with different cucumber varieties. Bush cucumbers are ideal for containers and smaller spaces, while vining varieties can be trained up trellises for vertical gardening. You can also adjust the soil mix to suit your specific climate and growing conditions. Consider adding compost tea or other organic fertilizers to boost growth and nutrient content.
Don’t be afraid to get creative! Try companion planting with herbs like basil or marigolds to deter pests and attract beneficial insects. You can even experiment with different watering techniques, such as drip irrigation, to conserve water and ensure consistent moisture.
We’re confident that this DIY cucumber growing trick will transform your gardening experience. It’s a game-changer for beginners and a valuable tool for experienced gardeners alike. The key is to start small, be patient, and observe your plants closely. They’ll tell you what they need.
Now, it’s your turn! We urge you to give this method a try. Plant those seeds, nurture those seedlings, and watch your cucumbers flourish. And most importantly, share your experience with us! We’d love to hear about your successes, challenges, and any variations you’ve discovered. Post your photos and stories in the comments below. Let’s build a community of cucumber enthusiasts and learn from each other. Happy gardening!
Frequently Asked Questions (FAQ)
What kind of cucumbers are best for this DIY trick?
The beauty of this method is its versatility. You can use it for almost any cucumber variety! However, some varieties are better suited for certain situations. For container gardening, bush cucumbers like Spacemaster or Bush Champion are excellent choices because they don’t require a lot of space. For larger gardens, vining varieties like Straight Eight or Marketmore are popular and productive. Consider your available space and desired cucumber size when making your selection. Also, consider disease resistance. Some varieties are bred to be more resistant to common cucumber diseases like powdery mildew.
How often should I water my cucumbers?
Cucumbers are thirsty plants, especially when they’re actively growing and producing fruit. Generally, you should water them deeply and regularly, aiming for about 1 inch of water per week. However, the frequency will depend on your climate, soil type, and the size of your container. Check the soil moisture regularly. If the top inch of soil feels dry to the touch, it’s time to water. Avoid overwatering, as this can lead to root rot. Drip irrigation is a great way to deliver water directly to the roots and minimize water waste.
What kind of fertilizer should I use?
Cucumbers are heavy feeders, meaning they require a good supply of nutrients to thrive. A balanced fertilizer with equal parts nitrogen, phosphorus, and potassium (e.g., 10-10-10) is a good starting point. You can also use organic fertilizers like compost tea, fish emulsion, or bone meal. Apply fertilizer according to the package directions, and be careful not to over-fertilize, as this can burn the roots. During the fruiting stage, you may want to switch to a fertilizer that’s higher in phosphorus and potassium to promote fruit development.
How do I deal with pests and diseases?
Pests and diseases can be a challenge when growing cucumbers, but there are several things you can do to prevent and control them. Start by choosing disease-resistant varieties. Practice good garden hygiene by removing any dead or diseased leaves. Companion planting with herbs like basil or marigolds can help deter pests. If you do encounter pests, try using organic pest control methods like insecticidal soap or neem oil. For diseases, you can try applying a fungicide. It’s important to identify the pest or disease correctly before applying any treatment.
My cucumber plants are producing flowers, but no fruit. What’s wrong?
This is a common problem with cucumbers, and there are several possible causes. One reason could be a lack of pollination. Cucumbers need to be pollinated in order to produce fruit. If you’re growing cucumbers indoors or in an area with limited bee activity, you may need to hand-pollinate them. Another reason could be stress. Cucumbers are sensitive to temperature fluctuations, water stress, and nutrient deficiencies. Make sure your plants are getting enough water, nutrients, and sunlight. Finally, some cucumber varieties are gynoecious, meaning they only produce female flowers. These varieties need to be planted alongside a pollinator variety to ensure pollination.
How do I know when my cucumbers are ready to harvest?
The size and color of your cucumbers will depend on the variety, but generally, they’re ready to harvest when they’re firm, green, and have reached the desired size. Overripe cucumbers will turn yellow or orange and become bitter. Harvest your cucumbers regularly to encourage continued production. Use a sharp knife or pruning shears to cut the cucumbers from the vine, leaving a small stem attached.
Can I grow cucumbers in containers?
Absolutely! In fact, growing cucumbers in containers is a great option for those with limited space. Choose a large container (at least 5 gallons) with good drainage. Use a well-draining potting mix and provide a trellis or other support for vining varieties. Bush cucumbers are particularly well-suited for containers. Make sure your container receives at least 6-8 hours of sunlight per day.
What are some good companion plants for cucumbers?
Cucumbers benefit from being planted alongside certain other plants. Some good companion plants include basil, marigolds, nasturtiums, dill, and oregano. These plants can help deter pests, attract beneficial insects, and improve the overall health of your cucumber plants. Avoid planting cucumbers near aromatic herbs like sage, as they can inhibit growth.
How do I store my harvested cucumbers?
Store your harvested cucumbers in the refrigerator. They’ll last for about a week. To keep them fresh, wrap them in a damp paper towel and place them in a plastic bag. Avoid storing cucumbers near ethylene-producing fruits like bananas and tomatoes, as this can cause them to ripen too quickly.
Can I save cucumber seeds for next year?
Yes, you can save cucumber seeds, but it’s important to note that hybrid varieties may not produce true-to-type offspring. To save seeds, allow a cucumber to ripen fully on the vine until it turns yellow or orange. Scoop out the seeds and pulp, and rinse them thoroughly. Spread the seeds out on a paper towel to dry completely. Store the dried seeds in an airtight container in a cool, dark place.
Leave a Comment