

Grow Java Plum at Home: Imagine stepping into your backyard and plucking a juicy, dark purple Java Plum straight from your own tree! Sounds like a dream, right? Well, it doesn’t have to be! This comprehensive guide is packed with DIY tricks and hacks to help you cultivate your very own Java Plum tree, even if you’re a beginner gardener.
The Java Plum, also known as Jambolan, has a rich history, deeply rooted in traditional medicine and culinary practices across Asia. For centuries, it’s been revered not only for its delicious fruit but also for its purported health benefits. But you don’t need to travel to far-flung lands to enjoy this exotic treat.
Why should you embark on this DIY adventure? Because growing your own food is incredibly rewarding! Not only will you have access to fresh, organic Java Plums, but you’ll also gain a deeper connection to nature and a sense of accomplishment. Plus, let’s be honest, store-bought fruit just doesn’t compare to the taste of something you’ve nurtured yourself. I’m going to show you some simple, effective techniques to grow Java Plum at home successfully, regardless of your gardening experience. Get ready to roll up your sleeves and transform your backyard into a personal orchard!
Growing Java Plum (Jamun) at Home: A Comprehensive DIY Guide
Hey there, fellow plant enthusiasts! Ever dreamt of plucking juicy, dark purple Java plums (Jamun) right from your own backyard? Well, dream no more! Growing your own Java plum tree is totally achievable, even if you don’t have a green thumb the size of Texas. I’m going to walk you through everything you need to know, from choosing the right planting material to nurturing your tree to a bountiful harvest. Let’s get started!
Choosing Your Planting Material: Seed vs. Grafted Sapling
Okay, first things first: how are we going to get this Java plum party started? You have two main options: growing from seed or planting a grafted sapling. Each has its pros and cons, so let’s break it down:
* Seeds: Growing from seed is definitely the more economical route. Plus, there’s something incredibly satisfying about watching a tiny sprout emerge from a seed you planted. However, be warned: Java plum trees grown from seed can take a *long* time to bear fruit – sometimes 8-10 years! Also, the fruit quality might not be as consistent as with grafted trees. You might get a tree that produces smaller, less flavorful plums.
* Grafted Saplings: Grafted saplings are your shortcut to plum paradise. These are young trees that have been created by joining a desirable Java plum variety (one known for its delicious fruit) onto a strong rootstock. This means you’ll get fruit much sooner (usually within 3-5 years), and you’ll know exactly what kind of fruit to expect. Grafted saplings are a bit pricier, but in my opinion, they’re worth the investment if you’re eager to enjoy your own homegrown Java plums sooner rather than later.
My Recommendation: If you’re patient and enjoy the challenge of growing from seed, go for it! But if you want guaranteed fruit quality and a faster harvest, definitely opt for a grafted sapling.
Sourcing Your Planting Material
Alright, so you’ve decided how you want to grow your Java plum. Now, where do you get your seeds or sapling?
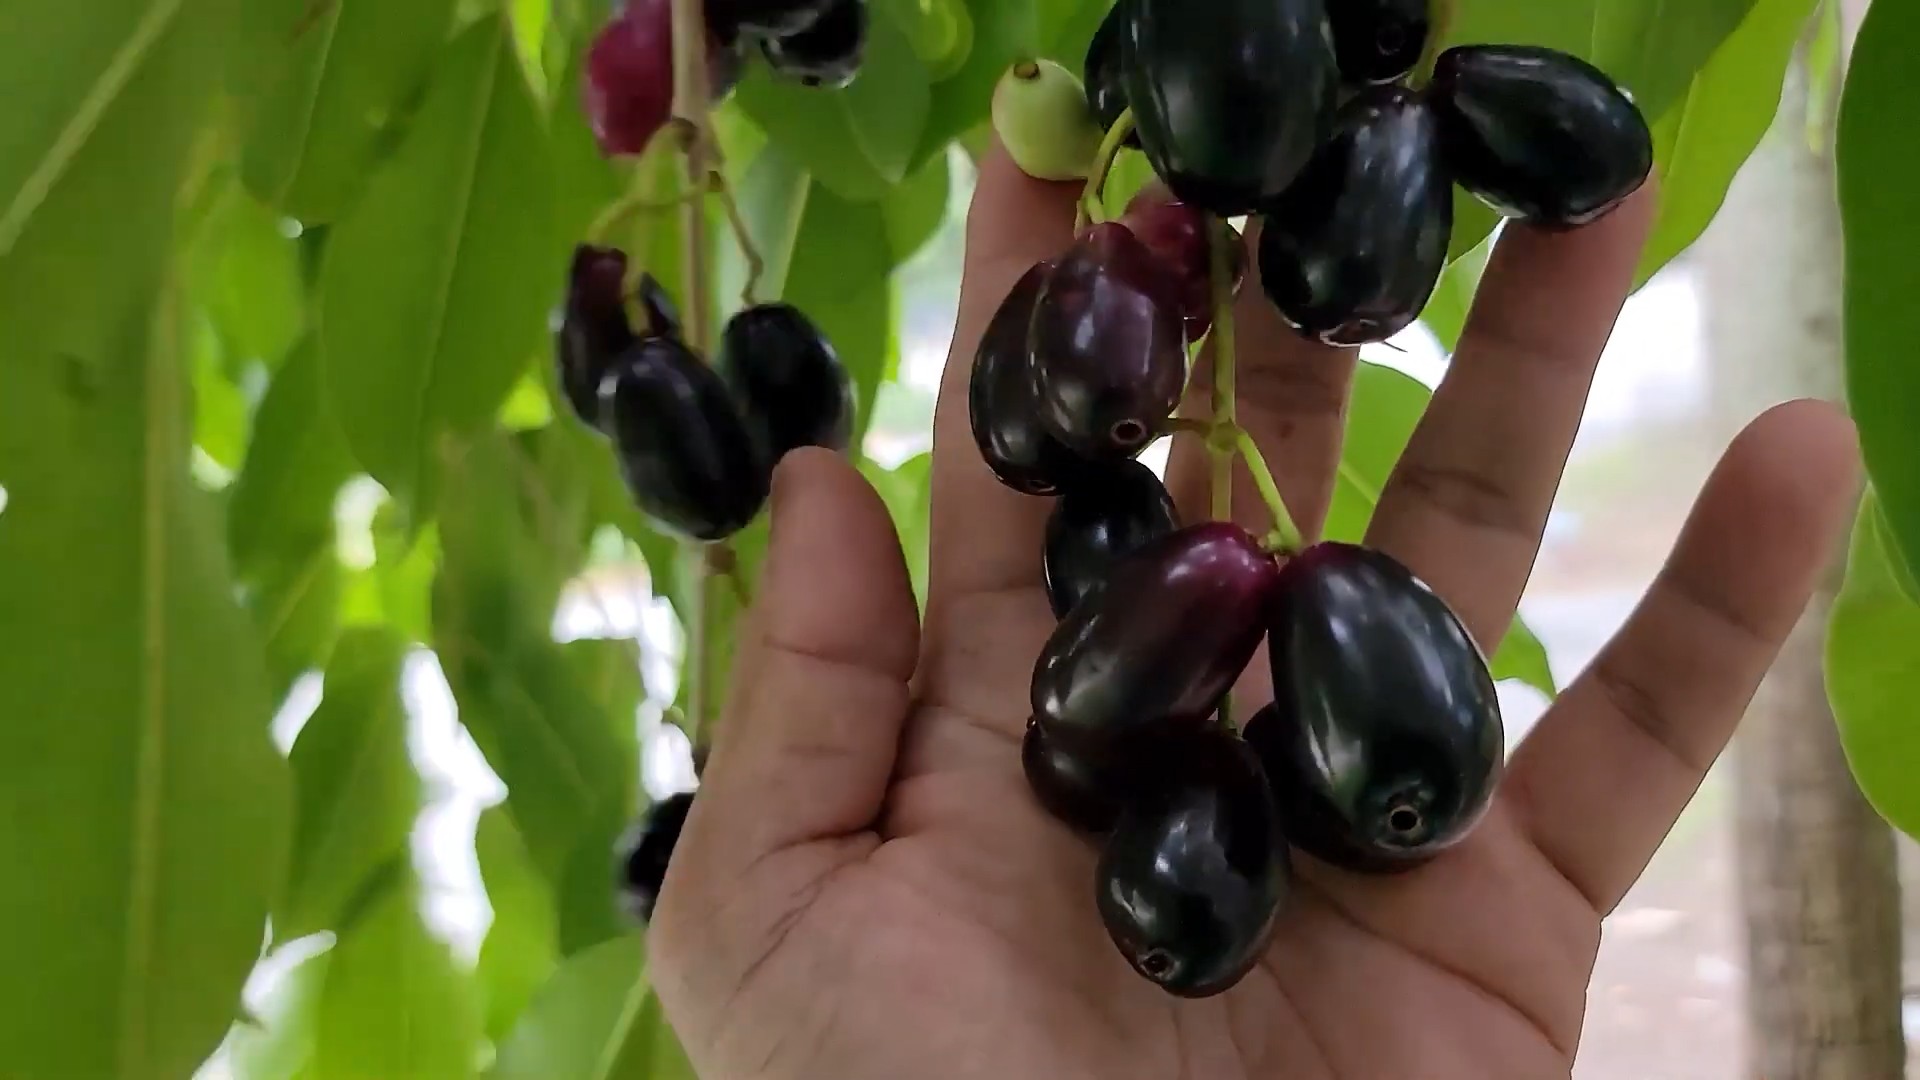
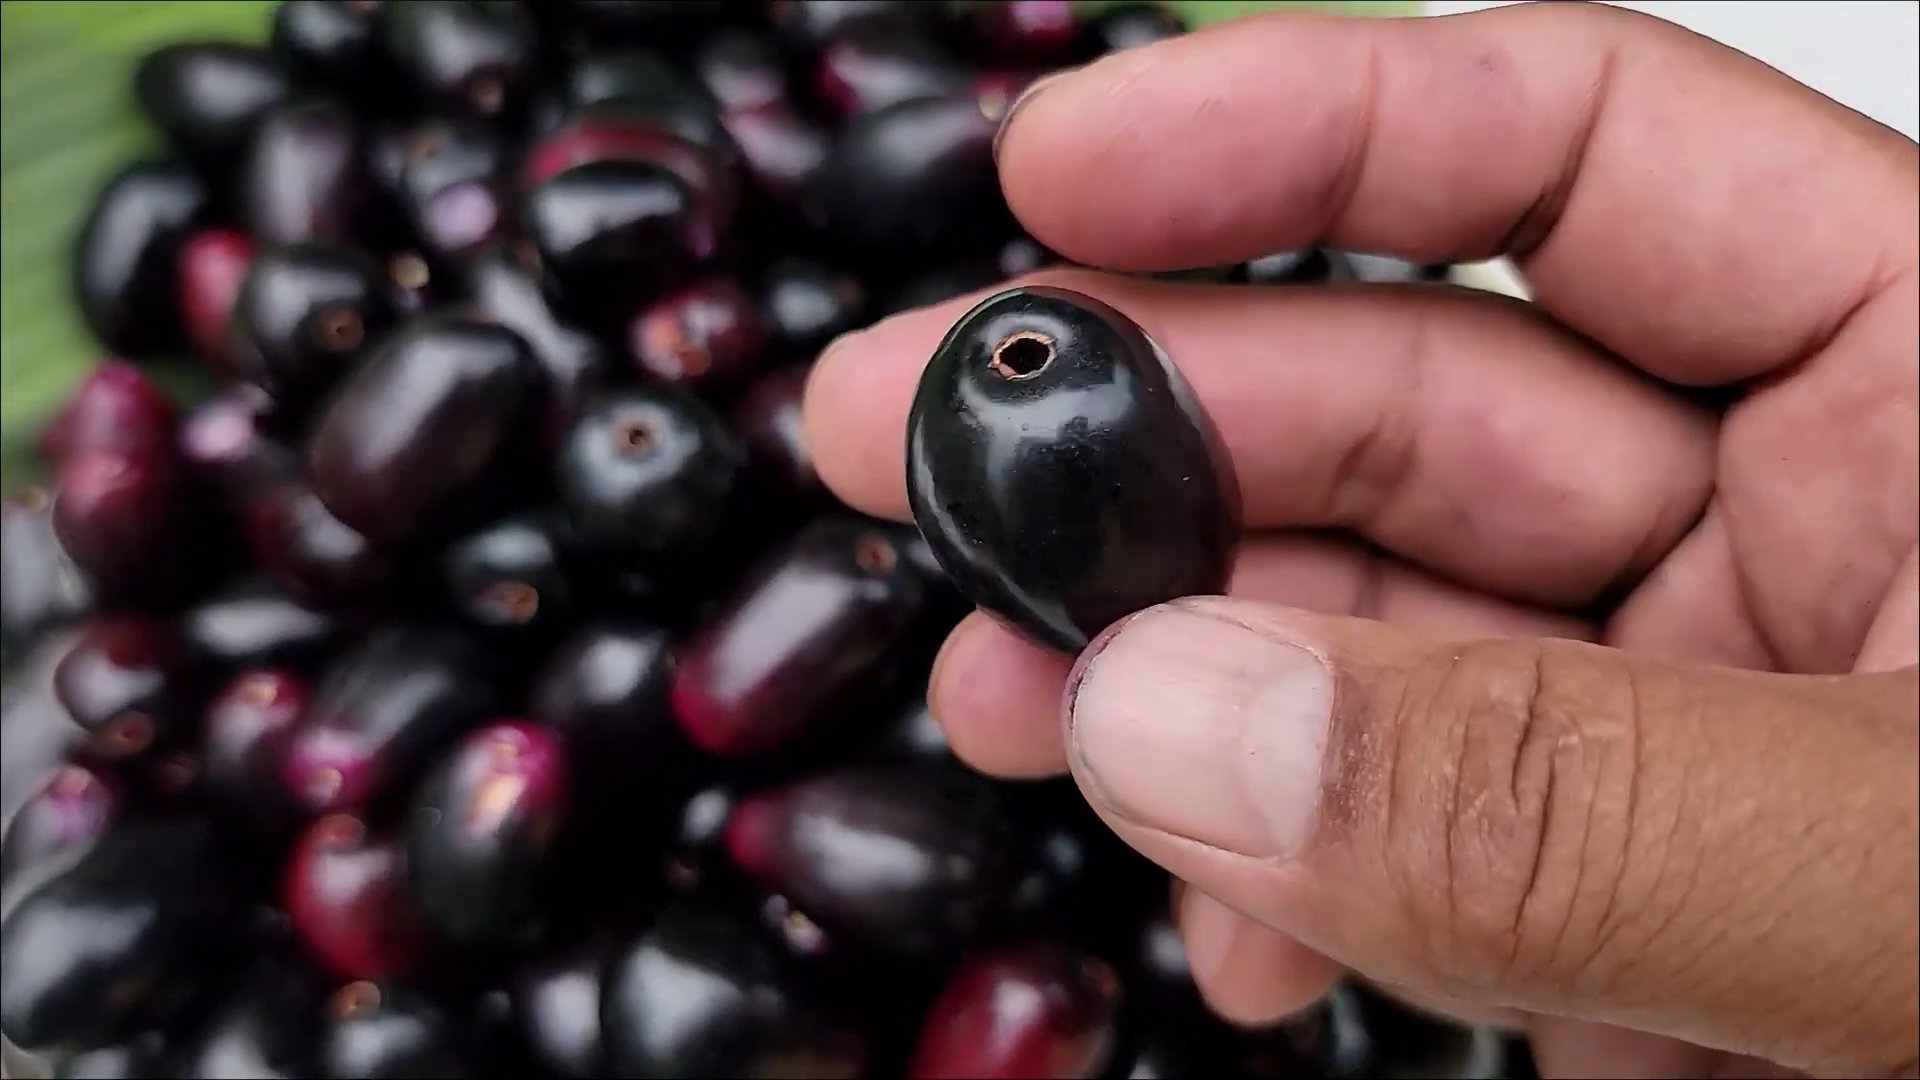
* Seeds: The easiest way to get Java plum seeds is to simply collect them from ripe fruits. Look for plump, dark purple plums that are slightly soft to the touch. Eat the delicious fruit (yum!), and then carefully clean the seeds.
* Grafted Saplings: Your best bet is to find a reputable nursery that specializes in fruit trees. Look for a sapling that is healthy, with a strong trunk and plenty of leaves. Make sure the graft union (the point where the two plants are joined) is well-healed. Don’t be afraid to ask the nursery staff questions about the variety of Java plum and its specific needs.
Preparing Your Planting Site
Okay, we’ve got our planting material. Now, let’s get our hands dirty and prepare the perfect home for our Java plum tree!
* Sunlight: Java plum trees are sun-worshippers! They need at least 6-8 hours of direct sunlight per day to thrive and produce lots of fruit. Choose a location in your yard that gets plenty of sunshine.
* Soil: Java plums aren’t too picky about soil type, but they do prefer well-draining soil. This means the soil shouldn’t stay soggy after it rains. If your soil is heavy clay, you’ll need to amend it with organic matter like compost or well-rotted manure to improve drainage.
* Space: Java plum trees can grow quite large – up to 40-50 feet tall and wide! Make sure you have enough space in your yard to accommodate a mature tree. Consider the tree’s mature size when planting near buildings, power lines, or other trees.
Step-by-Step Planting Guide
Alright, let’s get this tree in the ground!
Planting a Seed
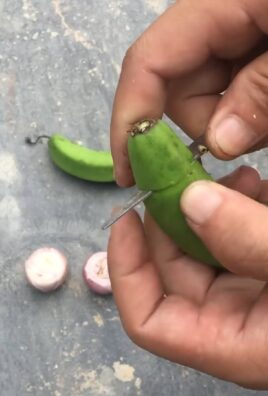
1. Prepare the Seed: After cleaning the seed, you can lightly scarify it. This means gently scratching the hard outer coating to help water penetrate. You can use sandpaper or a knife, being careful not to damage the inner seed.
2. Sow the Seed: Fill a small pot with well-draining potting mix. Plant the seed about an inch deep.
3. Water and Wait: Water the pot gently and keep the soil consistently moist, but not soggy. Place the pot in a warm, sunny location. Germination can take several weeks or even months, so be patient!
4. Transplant: Once the seedling has developed several sets of true leaves, you can transplant it into a larger pot or directly into the ground (if the weather is suitable).
Planting a Grafted Sapling
1. Dig the Hole: Dig a hole that is twice as wide as the root ball of the sapling and just as deep.
2. Amend the Soil: Mix some compost or well-rotted manure into the soil you removed from the hole. This will provide nutrients and improve drainage.
3. Remove the Sapling from the Container: Gently remove the sapling from its container. If the roots are circling around the pot, gently loosen them with your fingers.
4. Place the Sapling in the Hole: Position the sapling in the center of the hole, making sure the top of the root ball is level with the surrounding soil.
5. Backfill the Hole: Fill the hole with the amended soil, gently tamping it down as you go.
6. Water Thoroughly: Water the sapling deeply to settle the soil and help the roots establish.
7. Mulch: Apply a layer of mulch around the base of the tree, keeping it a few inches away from the trunk. Mulch helps retain moisture, suppress weeds, and regulate soil temperature.
Caring for Your Java Plum Tree
Okay, the tree is planted! Now comes the ongoing care to keep it healthy and productive.
Watering
* Newly Planted Trees: Water newly planted trees regularly, especially during the first few months. Keep the soil consistently moist, but not soggy.
* Established Trees: Once the tree is established, you can water it less frequently. Water deeply when the top inch of soil feels dry. Java plum trees are relatively drought-tolerant, but they will produce more fruit if they receive adequate water.
Fertilizing
* Young Trees: Fertilize young trees in the spring with a balanced fertilizer (e.g., 10-10-10). Follow the instructions on the fertilizer package.
* Mature Trees: Mature trees can be fertilized less frequently. You can apply a fertilizer in the spring and again in the fall.
Pruning
* Young Trees: Prune young trees to shape them and encourage strong branching. Remove any dead, damaged, or crossing branches.
* Mature Trees: Prune mature trees to maintain their shape, remove dead or diseased wood, and improve air circulation. Prune in the late winter or early spring, before new growth begins.
Pest and Disease Control
* Pests: Java plum trees are generally resistant to pests, but they can occasionally be attacked by aphids, scale, or mealybugs. If you notice any pests, you can treat them with insecticidal soap or neem oil.
* Diseases: Java plum trees can be susceptible to fungal diseases, especially in humid climates. To prevent diseases, ensure good air circulation around the tree and avoid overwatering. If you notice any signs of disease, you can treat them with a fungicide.
Harvesting Your Java Plums
The moment you’ve been waiting for! Harvesting your own delicious Java plums.
* When to Harvest: Java plums are typically ready to harvest in the summer. The fruits will turn a deep, dark purple color and be slightly soft to the touch.
* How to Harvest: Gently pluck the fruits from the tree. Be careful not to damage the branches.
* Enjoy Your Harvest: Java plums can be eaten fresh, or they can be used to make jams, jellies, juices, and wines. They have a slightly tart and sweet flavor that is absolutely delicious!
Troubleshooting
Even with the best care, you might encounter some challenges along the way. Here are a few common problems and how to address them:
* No Fruit: If your Java plum tree isn’t producing fruit, it could be due to several factors:
* Age: Trees grown from seed take longer to bear fruit.
* Sunlight: Make sure your tree is getting enough sunlight.
* Pollination: Java plum trees are self-pollinating, but they may produce more fruit if they are cross-pollinated with another Java plum tree.
* Fertilizer: Make sure you are fertilizing your tree properly.
* Yellowing Leaves: Yellowing leaves can be a sign of nutrient deficiency, overwatering, or pest infestation. Check the soil moisture
Conclusion
So, there you have it! Growing your own Java Plum tree at home isn’t just a gardening project; it’s an investment in fresh, delicious fruit, a beautiful addition to your landscape, and a rewarding experience that connects you with nature. We’ve walked through the essential steps, from selecting the right variety and preparing the soil to nurturing your young tree and protecting it from pests and diseases.
Why is this DIY trick a must-try? Because store-bought Java Plums simply can’t compare to the flavor and satisfaction of harvesting your own, sun-ripened fruit. Plus, you have complete control over the growing process, ensuring that your plums are free from harmful chemicals and pesticides. Imagine the joy of sharing your homegrown bounty with friends and family, knowing that you cultivated it yourself!
But the possibilities don’t stop there. Feel free to experiment with different growing techniques. For example, if you live in a cooler climate, consider growing your Java Plum in a large container that can be moved indoors during the winter months. You could also try grafting different varieties onto a single tree to enjoy a wider range of flavors and textures. Another variation is to experiment with different soil amendments to see how they affect the growth and fruit production of your tree. Some gardeners swear by adding compost tea regularly, while others prefer using a slow-release fertilizer specifically formulated for fruit trees.
Don’t be afraid to get creative with your Java Plum harvest, too! Beyond simply eating them fresh, Java Plums can be used to make delicious jams, jellies, juices, and even wine. Their slightly tart flavor adds a unique twist to desserts and savory dishes alike. You can even pickle them for a tangy condiment.
Ultimately, the success of your Java Plum growing journey depends on your dedication and willingness to learn. Pay close attention to your tree’s needs, adapt your approach as necessary, and don’t be discouraged by setbacks. Gardening is a process of trial and error, and every mistake is an opportunity to learn and grow.
We are confident that with the information provided in this guide, you’ll be well on your way to enjoying a bountiful harvest of homegrown Java Plums. So, grab your gardening gloves, get your hands dirty, and embark on this exciting adventure!
We’re eager to hear about your experiences growing Java Plum at home! Share your tips, tricks, and photos in the comments section below. Let’s create a community of Java Plum enthusiasts and learn from each other. What variety did you choose? What challenges did you face, and how did you overcome them? What are your favorite ways to use your homegrown Java Plums? Your insights could be invaluable to other aspiring gardeners. Remember, the best way to learn is by doing and sharing your knowledge with others. So, don’t hesitate to jump in and contribute to the conversation. Let’s all learn how to successfully **grow Java Plum** together!
FAQ
What is the best time of year to plant a Java Plum tree?
The ideal time to plant a Java Plum tree is during the late spring or early summer, after the last frost has passed. This gives the tree ample time to establish its roots before the onset of winter. However, in warmer climates with mild winters, you can plant Java Plum trees at almost any time of year, as long as you provide adequate water and protection from extreme temperatures. Avoid planting during the hottest and driest periods of the year, as this can stress the young tree and hinder its growth. When planting, make sure the soil is well-draining and rich in organic matter.
How much sunlight does a Java Plum tree need?
Java Plum trees thrive in full sunlight, requiring at least 6-8 hours of direct sunlight per day. Adequate sunlight is crucial for healthy growth, abundant flowering, and optimal fruit production. If your tree doesn’t receive enough sunlight, it may become leggy, produce fewer flowers, and yield smaller, less flavorful fruit. Choose a planting location that receives plenty of sunlight throughout the day. If you live in an area with intense afternoon sun, you may want to provide some shade during the hottest hours to prevent leaf scorch.
How often should I water my Java Plum tree?
Watering frequency depends on several factors, including the age of the tree, the climate, and the soil type. Young Java Plum trees need more frequent watering than established trees. During the first year after planting, water your tree deeply at least once a week, or more often during hot, dry weather. Established trees generally need watering every 2-3 weeks, but check the soil moisture regularly to ensure that it doesn’t dry out completely. Water deeply and thoroughly, allowing the water to soak into the root zone. Avoid overwatering, as this can lead to root rot. A good rule of thumb is to water when the top inch of soil feels dry to the touch.
What kind of fertilizer should I use for my Java Plum tree?
Java Plum trees benefit from regular fertilization, especially during the growing season. Use a balanced fertilizer with a ratio of 10-10-10 or 14-14-14. Apply the fertilizer in early spring, just before the new growth begins, and again in mid-summer. Follow the instructions on the fertilizer package for the correct application rate. You can also supplement with organic fertilizers, such as compost or well-rotted manure. These organic amendments will improve the soil structure, provide essential nutrients, and promote beneficial microbial activity. Avoid over-fertilizing, as this can damage the tree.
How do I protect my Java Plum tree from pests and diseases?
Java Plum trees are generally resistant to pests and diseases, but they can be susceptible to certain problems, such as aphids, scale, and fruit flies. Regularly inspect your tree for signs of infestation or disease. If you notice any problems, take action promptly to prevent them from spreading. You can control aphids and scale with insecticidal soap or horticultural oil. Fruit flies can be managed with traps or by bagging the fruit. To prevent fungal diseases, ensure good air circulation around the tree and avoid overhead watering. Prune away any dead or diseased branches. Consider using organic pest control methods whenever possible to minimize the impact on the environment and beneficial insects.
How long does it take for a Java Plum tree to bear fruit?
The time it takes for a Java Plum tree to bear fruit depends on several factors, including the variety, the growing conditions, and the age of the tree. Seedling trees typically take 5-7 years to begin producing fruit, while grafted trees may bear fruit in as little as 3-4 years. To encourage early fruiting, provide your tree with optimal growing conditions, including plenty of sunlight, well-drained soil, and regular fertilization. Pruning can also help to promote fruit production by improving air circulation and sunlight penetration. Be patient and persistent, and you’ll eventually be rewarded with a bountiful harvest of delicious Java Plums.
Can I grow a Java Plum tree in a container?
Yes, you can grow a Java Plum tree in a container, especially if you live in a cooler climate where the tree needs to be moved indoors during the winter. Choose a large container with drainage holes and use a well-draining potting mix. Select a dwarf or semi-dwarf variety of Java Plum that is well-suited for container growing. Container-grown trees require more frequent watering and fertilization than trees planted in the ground. Place the container in a sunny location and provide support for the tree as it grows. Prune regularly to maintain the desired size and shape. With proper care, you can successfully grow Java Plum in a container and enjoy fresh fruit even if you don’t have a large yard.


Leave a Comment