

Grow Mibuna Cabbage at Home and unlock a world of fresh, flavorful greens right outside your door! Have you ever dreamed of snipping vibrant, peppery leaves for your salad just moments before serving? Well, dream no more! This DIY guide is your passport to cultivating this delicious and nutritious Japanese green in your very own garden, no matter how big or small.
Mibuna cabbage, with its delicate, serrated leaves, has a rich history rooted in Japanese cuisine. For centuries, it’s been a staple ingredient, adding a unique zest to everything from stir-fries to pickles. But you don’t need to travel to Japan to enjoy its distinct flavor. I’m here to show you how surprisingly easy it is to grow Mibuna Cabbage at Home.
In today’s world, where access to fresh, healthy produce can sometimes be a challenge, growing your own food is more important than ever. Plus, let’s be honest, store-bought greens just don’t compare to the vibrant taste and satisfaction of harvesting your own. This DIY trick will not only save you money but also connect you with nature and provide you with a constant supply of delicious, peppery Mibuna cabbage. So, grab your gardening gloves, and let’s get started!
Grow Your Own Mibuna Cabbage: A Beginner’s Guide
Hey there, fellow gardening enthusiasts! Ever wanted to try growing something a little different in your garden? Let me introduce you to Mibuna cabbage! It’s a Japanese mustard green with a mild, peppery flavor that’s absolutely delicious in salads, stir-fries, or even just as a garnish. Plus, it’s super easy to grow, even if you’re a complete beginner. I’m going to walk you through everything you need to know to successfully grow Mibuna cabbage right in your own backyard (or even in a container on your balcony!).
What You’ll Need
Before we dive into the planting process, let’s gather all the necessary supplies. Trust me, having everything ready beforehand will make the whole experience much smoother.
* **Mibuna Seeds:** You can find these online or at most garden centers that carry a good selection of Asian vegetables.
* **Potting Soil (if growing in containers):** Choose a well-draining potting mix.
* **Garden Soil (if growing in the ground):** Amend your garden soil with compost or other organic matter to improve drainage and fertility.
* **Compost or other organic matter:** This will enrich the soil and provide essential nutrients for your Mibuna plants.
* **Watering Can or Hose:** For keeping your plants hydrated.
* **Gardening Gloves:** To protect your hands.
* **Trowel or Small Shovel:** For planting and transplanting.
* **Optional: Row Covers or Netting:** To protect your plants from pests like flea beetles.
* **Optional: Fertilizer:** A balanced liquid fertilizer can give your Mibuna a boost.
Getting Started: Planting Your Mibuna
Mibuna is a cool-season crop, which means it thrives in cooler temperatures. The best time to plant it is in early spring or late summer/early fall. This avoids the intense heat of summer, which can cause the plants to bolt (go to seed prematurely).
* **Timing is Key:** I usually aim to plant my Mibuna seeds about 4-6 weeks before the last expected frost in spring, or 6-8 weeks before the first expected frost in fall.
* **Sunlight:** Mibuna prefers full sun (at least 6 hours of direct sunlight per day), but it can tolerate partial shade, especially in hotter climates.
* **Soil Preparation:** Whether you’re planting in containers or in the ground, good soil preparation is crucial.
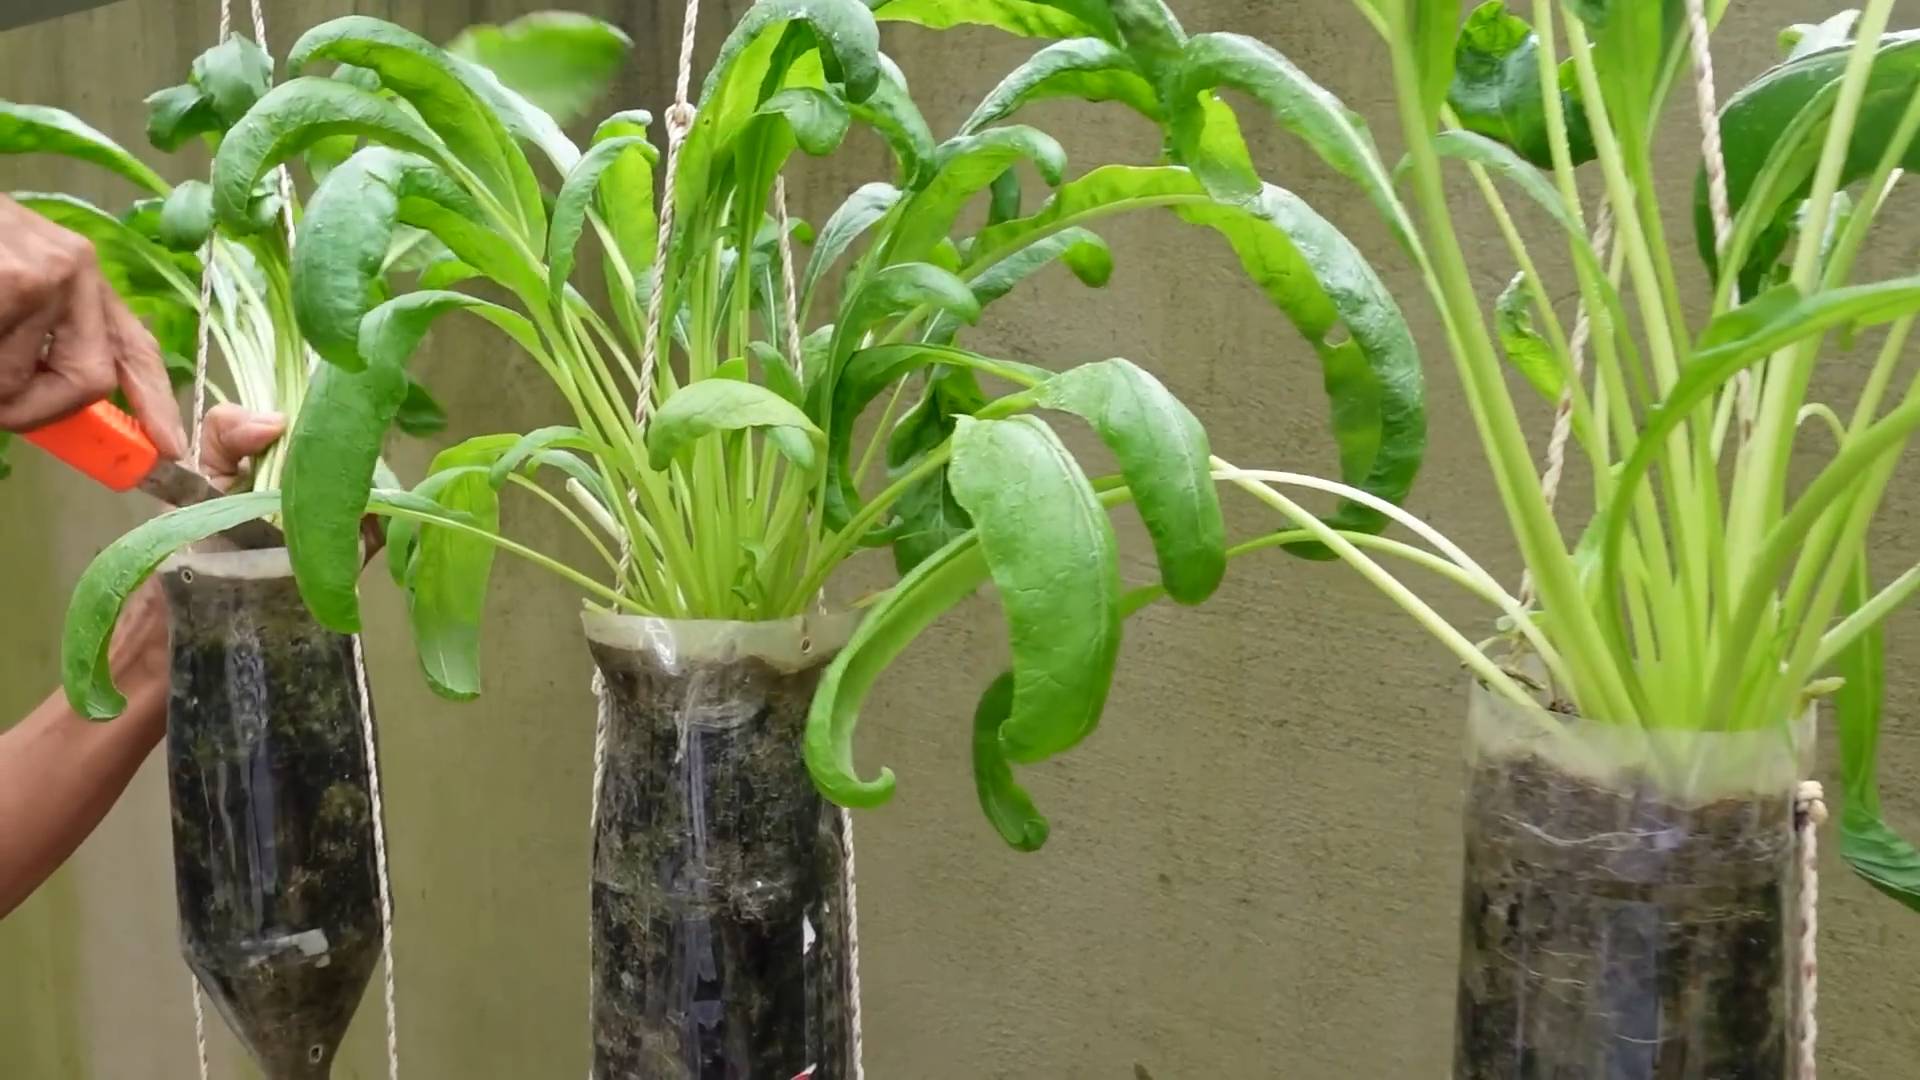
Planting in Containers
If you’re short on space or just prefer container gardening, Mibuna is a great choice.
1. **Choose Your Container:** Select a container that’s at least 6 inches deep and has drainage holes. Mibuna doesn’t have deep roots, but it needs enough space to grow.
2. **Fill with Potting Mix:** Fill the container with a high-quality potting mix. Don’t use garden soil in containers, as it can become compacted and doesn’t drain well.
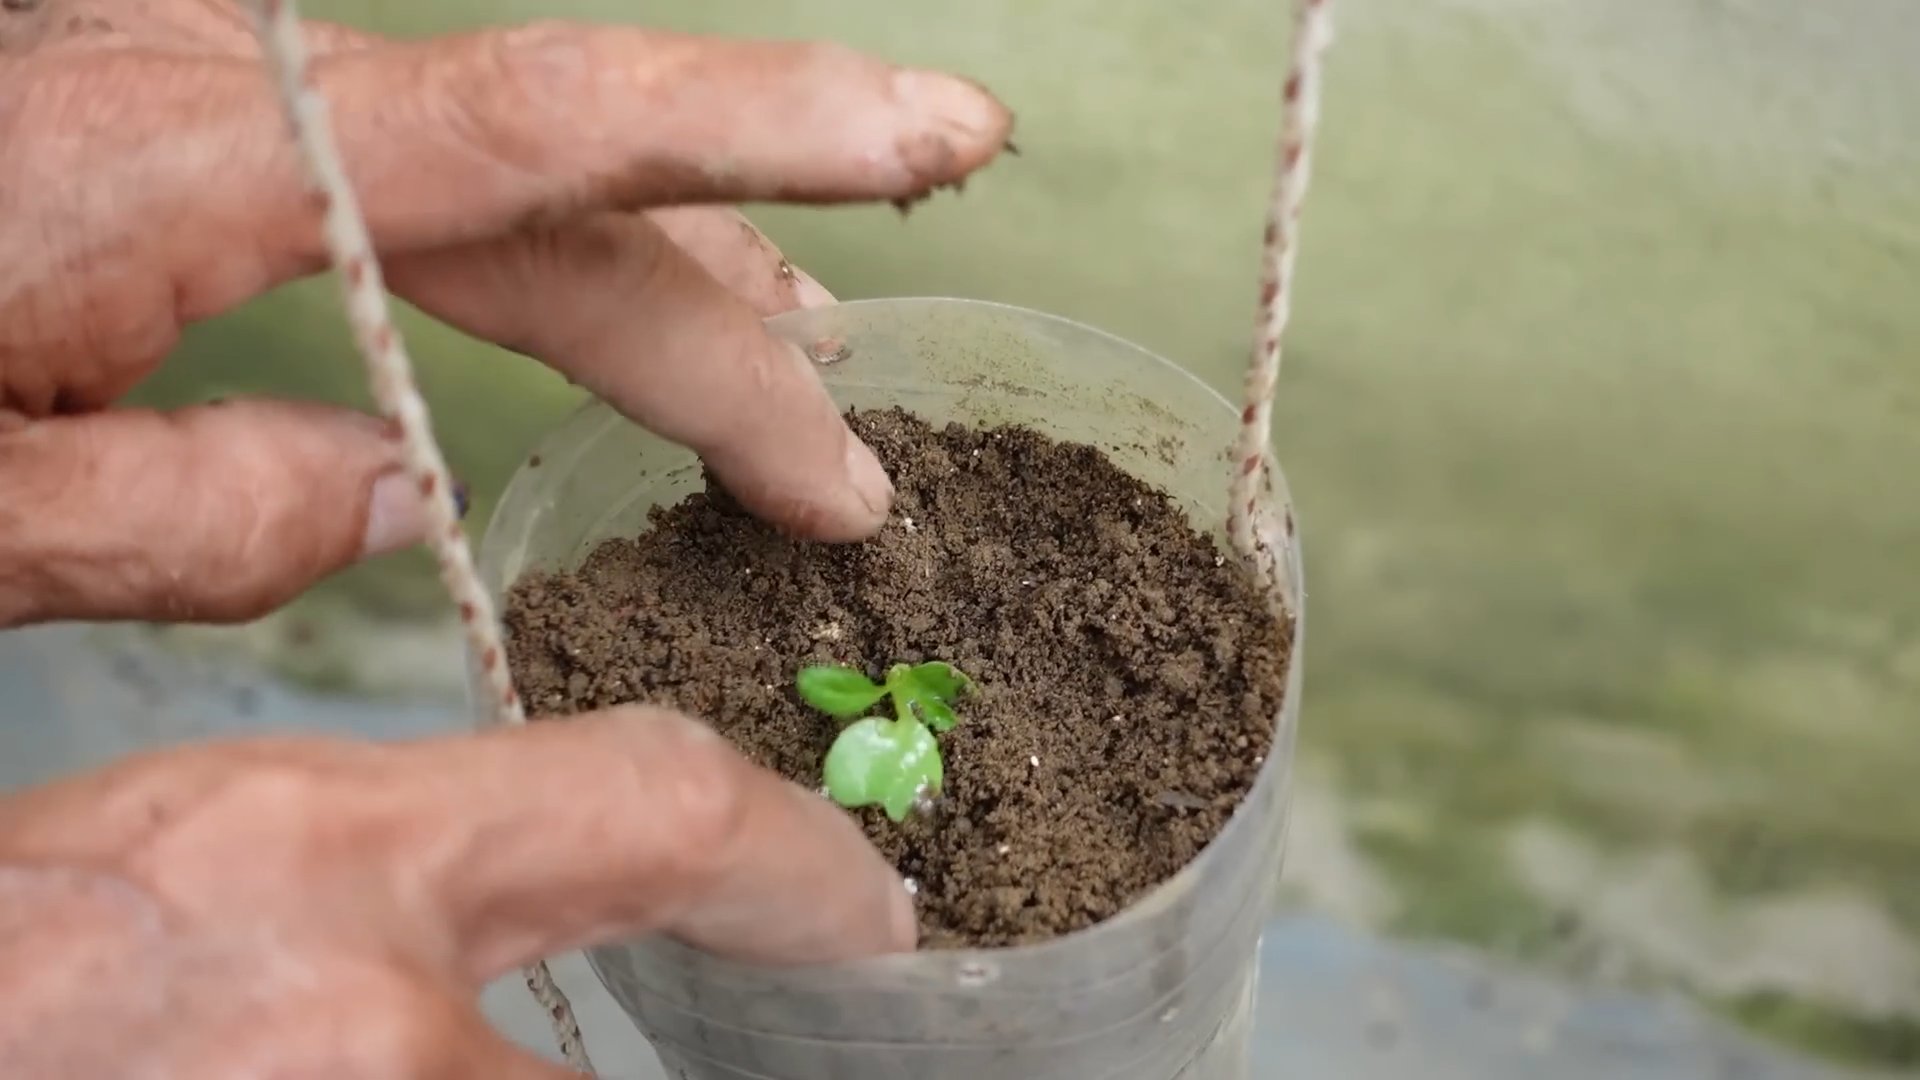
3. **Sow the Seeds:** Sprinkle the Mibuna seeds evenly over the surface of the soil. You don’t need to bury them too deep; just gently press them into the soil.
4. **Water Gently:** Water the soil gently to moisten it. Be careful not to wash the seeds away.
5. **Keep Moist:** Keep the soil consistently moist until the seeds germinate. You can cover the container with plastic wrap to help retain moisture, but be sure to remove it once the seedlings emerge.
6. **Thin Seedlings (Optional):** Once the seedlings have a few true leaves, you can thin them out if they’re too crowded. Aim for about 2-3 inches between plants.
Planting in the Ground
If you have a garden bed, you can plant Mibuna directly in the ground.
1. **Prepare the Soil:** Clear the area of any weeds or debris. Amend the soil with compost or other organic matter to improve drainage and fertility.
2. **Sow the Seeds:** You can sow the seeds directly into the ground in rows, spacing them about 1-2 inches apart. Alternatively, you can broadcast the seeds over a wider area.
3. **Cover Lightly:** Gently cover the seeds with a thin layer of soil (about 1/4 inch).
4. **Water Gently:** Water the soil gently to moisten it.
5. **Keep Moist:** Keep the soil consistently moist until the seeds germinate.
6. **Thin Seedlings:** Once the seedlings have a few true leaves, thin them out to about 4-6 inches apart. This will give them enough space to grow and prevent overcrowding.
Caring for Your Mibuna Plants
Once your Mibuna plants are established, they’re relatively low-maintenance. Here’s what you need to do to keep them happy and healthy:
* **Watering:** Water regularly, especially during dry periods. Mibuna prefers consistently moist soil, but avoid overwatering, which can lead to root rot. I usually check the soil moisture every day or two and water when the top inch of soil feels dry.
* **Fertilizing (Optional):** If you want to give your Mibuna plants a boost, you can fertilize them with a balanced liquid fertilizer every few weeks. Follow the instructions on the fertilizer package.
* **Weeding:** Keep the area around your Mibuna plants free of weeds. Weeds can compete with your plants for nutrients and water.
* **Pest Control:** Mibuna can be susceptible to pests like flea beetles, aphids, and slugs.
* **Flea Beetles:** These tiny beetles can chew small holes in the leaves. You can control them by using row covers or netting to protect your plants. You can also try spraying them with insecticidal soap.
* **Aphids:** These small, sap-sucking insects can cluster on the undersides of leaves. You can control them by spraying them with a strong stream of water or by using insecticidal soap.
* **Slugs:** These slimy creatures can munch on the leaves of your Mibuna plants. You can control them by handpicking them off the plants or by using slug bait.
* Bolting Prevention: As I mentioned earlier, Mibuna can bolt (go to seed prematurely) in hot weather. To prevent bolting, try to plant your Mibuna in a location that gets some afternoon shade, especially in warmer climates. You can also water your plants more frequently during hot weather to keep them cool.
Harvesting Your Mibuna
One of the best things about growing Mibuna is that you can start harvesting it relatively quickly. You can begin harvesting the leaves as soon as they’re large enough to eat, usually about 3-4 weeks after planting.
* **Cut-and-Come-Again:** The best way to harvest Mibuna is using the “cut-and-come-again” method. This means you only harvest the outer leaves, leaving the inner leaves to continue growing. This will allow you to harvest from the same plants for several weeks.
* **Harvesting Technique:** Use scissors or a sharp knife to cut the leaves about an inch above the soil.
* **Harvest Regularly:** Harvesting regularly will encourage the plants to produce more leaves.
* **Flavor Changes:** Keep in mind that the flavor of Mibuna can become stronger as the plants mature. If you prefer a milder flavor, harvest the leaves when they’re young and tender.
Enjoying Your Harvest
Now for the fun part: enjoying your homegrown Mibuna! There are so many ways to use this versatile green.
* **Salads:** Mibuna adds a peppery kick to salads. Try mixing it with other greens, such as lettuce, spinach, or arugula.
* **Stir-Fries:** Mibuna is a great addition to stir-fries. Add it towards the end of cooking to prevent it from wilting too much.
* **Soups:** Mibuna can be added to soups for a boost of flavor and nutrients.
* **Garnish:** Use Mibuna as a garnish for dishes like grilled fish, roasted chicken, or even tacos.
* **Pesto:** You can even make pesto with Mibuna! Just substitute it for basil in your favorite pesto recipe.
Troubleshooting
Even with the best care, you might encounter some problems while growing Mibuna. Here are a few common issues and how to address them:
* **Yellowing Leaves:** This could be a sign of nutrient deficiency. Try fertilizing your plants with a balanced liquid fertilizer.
* **Stunted Growth:** This could be caused by poor soil, lack of sunlight, or pests. Make sure your plants are getting enough sunlight and that the soil is well-draining and fertile. Check for pests and treat them accordingly.
* **Bolting:** As mentioned earlier, bolting can be caused by hot weather. Try to plant your Mibuna in a location that gets some afternoon shade, and water your plants more frequently during hot weather.
* **Pest Infestations:** Regularly inspect your plants for pests
Conclusion
So, there you have it! Growing Mibuna cabbage at home is not only achievable, but it’s also a deeply rewarding experience that connects you directly to the source of your food. Forget those wilted, overpriced greens at the supermarket. Imagine stepping into your garden or onto your balcony and harvesting fresh, peppery Mibuna leaves whenever you need them. The difference in flavor and texture is simply unparalleled.
This DIY trick, as we’ve outlined, empowers you to cultivate your own supply of this nutritious and delicious leafy green, regardless of your gardening experience. Whether you’re a seasoned gardener or a complete beginner, the steps are straightforward and adaptable to various spaces and climates. The satisfaction of nurturing a plant from seed to harvest is a joy in itself, and the added bonus of having fresh, organic Mibuna cabbage readily available makes it an absolute must-try.
But the beauty of growing your own food lies in its adaptability. Feel free to experiment with different varieties of Mibuna. Some offer a milder flavor, while others pack a more intense peppery punch. Try interplanting your Mibuna with other cool-season crops like radishes or spinach to maximize your garden space and create a diverse and thriving ecosystem. You can also explore different growing mediums, from traditional soil to hydroponic systems, to find what works best for your environment and preferences.
Consider succession planting to ensure a continuous harvest throughout the growing season. Sow new seeds every few weeks to have a steady supply of fresh Mibuna leaves. And don’t be afraid to get creative with your culinary applications. Mibuna is incredibly versatile and can be used in salads, stir-fries, soups, and even as a flavorful garnish.
Growing Mibuna cabbage at home is more than just a gardening project; it’s an investment in your health, your well-being, and your connection to the natural world. It’s a chance to learn new skills, to appreciate the beauty of plant life, and to enjoy the unparalleled flavor of homegrown produce.
We wholeheartedly encourage you to give this DIY trick a try. Start small, be patient, and don’t be afraid to make mistakes. Gardening is a learning process, and every challenge is an opportunity to grow, both literally and figuratively.
Once you’ve harvested your first batch of homegrown Mibuna, we’d love to hear about your experience! Share your tips, tricks, and photos with us in the comments below. Let’s create a community of Mibuna enthusiasts and inspire others to embrace the joy of growing their own food. What growing medium did you use? Did you find a particular fertilizer worked best? What are your favorite ways to prepare and enjoy your homegrown Mibuna? Your insights could be invaluable to other aspiring gardeners. So, get your hands dirty, sow those seeds, and prepare to be amazed by the abundance that you can create in your own backyard. Happy gardening!
Frequently Asked Questions (FAQ)
What exactly is Mibuna cabbage, and why should I grow it?
Mibuna is a Japanese leafy green, often referred to as mustard greens or spider mustard. It’s known for its mild, peppery flavor and tender texture. Growing it at home allows you access to fresh, organic greens that are often superior in taste and quality to store-bought options. Plus, it’s a relatively easy crop to grow, even for beginners, and it’s packed with vitamins and nutrients.
How much space do I need to grow Mibuna?
One of the great things about Mibuna is that it doesn’t require a lot of space. You can grow it in containers on a balcony, in raised beds, or directly in the ground. A space of about 6-8 inches between plants is ideal. This makes it a great option for urban gardeners or those with limited outdoor space.
What kind of soil is best for growing Mibuna?
Mibuna prefers well-draining soil that is rich in organic matter. Amend your soil with compost or aged manure before planting to improve its fertility and drainage. A slightly acidic to neutral pH (around 6.0 to 7.0) is ideal. If you’re growing in containers, use a high-quality potting mix.
How often should I water my Mibuna plants?
Mibuna needs consistent moisture to thrive. Water regularly, especially during dry periods, to keep the soil evenly moist but not waterlogged. Check the soil moisture by sticking your finger about an inch deep. If it feels dry, it’s time to water. Avoid overhead watering, as this can increase the risk of fungal diseases.
Does Mibuna need full sun?
While Mibuna can tolerate partial shade, it grows best in full sun (at least 6 hours of direct sunlight per day). However, in hot climates, some afternoon shade can help prevent the leaves from scorching.
When is the best time to plant Mibuna?
Mibuna is a cool-season crop, so the best time to plant it is in early spring or late summer/early fall. Avoid planting during the hottest months of the year, as high temperatures can cause the plants to bolt (go to seed) prematurely.
How long does it take for Mibuna to mature?
Mibuna is a fast-growing crop. You can typically start harvesting leaves about 30-45 days after planting. For baby greens, you can even start harvesting earlier, around 21 days.
How do I harvest Mibuna?
You can harvest Mibuna by cutting individual leaves or by cutting the entire plant at the base. If you cut individual leaves, the plant will continue to produce new growth. Harvest regularly to encourage continued production and prevent the leaves from becoming too tough or bitter.
What are some common pests and diseases that affect Mibuna?
Common pests that can affect Mibuna include aphids, flea beetles, and slugs. You can control these pests with organic methods such as handpicking, insecticidal soap, or diatomaceous earth. Diseases that can affect Mibuna include fungal diseases like downy mildew and powdery mildew. Prevent these diseases by providing good air circulation, avoiding overhead watering, and using disease-resistant varieties.
Can I grow Mibuna indoors?
Yes, you can grow Mibuna indoors, especially if you have a sunny windowsill or grow lights. Use a well-draining potting mix and provide adequate light and moisture. Indoor-grown Mibuna may not grow as quickly as outdoor-grown Mibuna, but it’s still a great way to have fresh greens available year-round.
How do I store harvested Mibuna?
Store harvested Mibuna in the refrigerator in a plastic bag or container. It will typically last for about a week. Wash the leaves just before using them to prevent them from becoming slimy.
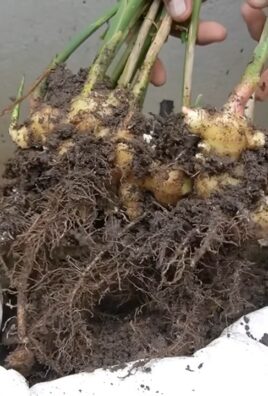
Can I save seeds from my Mibuna plants?
Yes, you can save seeds from your Mibuna plants, but it requires allowing the plants to bolt (go to seed). This typically happens in the second year of growth. Once the seed pods are dry and brown, you can harvest them and extract the seeds. Store the seeds in a cool, dry place. Keep in mind that Mibuna can cross-pollinate with other members of the Brassica family, so if you’re saving seeds, it’s best to isolate your Mibuna plants from other Brassicas to ensure true-to-type seeds.
What are some creative ways to use Mibuna in cooking?
Mibuna is incredibly versatile and can be used in a variety of dishes. Add it to salads for a peppery kick, stir-fry it with other vegetables, use it as a topping for pizzas or sandwiches, or add it to soups and stews. It can also be used to make pesto or as a flavorful garnish. Its mild, peppery flavor pairs well with a variety of cuisines.
Leave a Comment