

Grow Mint at Home with ease! Have you ever dreamed of stepping outside your door and snipping fresh, fragrant mint leaves for your mojito, tea, or culinary masterpiece? I know I have! It’s a simple pleasure that elevates everyday life. But let’s be honest, sometimes growing herbs, especially mint, can feel like a battle against unruly roots and invasive tendencies. That’s where these DIY tricks and hacks come in – your secret weapon to a thriving mint patch without the headaches.
Mint has a rich history, dating back to ancient civilizations where it was valued for its medicinal and aromatic properties. The Romans even brought mint to Britain! Today, its refreshing flavor is enjoyed worldwide. But beyond its culinary uses, growing your own mint offers a sense of accomplishment and connection to nature.
Why do you need these DIY tricks? Because mint, while wonderfully versatile, can quickly take over your garden if left unchecked. These simple, effective methods will help you contain its spread, optimize its growth, and ensure you always have a fresh supply of this delightful herb right at your fingertips. I’m excited to share these easy ways to grow mint at home, even if you have limited space or a less-than-green thumb. Let’s get started!
Grow Your Own Mint: A Beginner’s Guide to a Thriving Herb Garden
Hey there, fellow plant enthusiasts! Ever dreamt of having fresh, fragrant mint readily available for your mojitos, teas, or culinary creations? Well, dream no more! Growing mint at home is surprisingly easy, even if you don’t have a green thumb. I’m going to walk you through everything you need to know to cultivate a flourishing mint patch, whether you’re opting for a container garden or planting directly in the ground. Let’s get started!
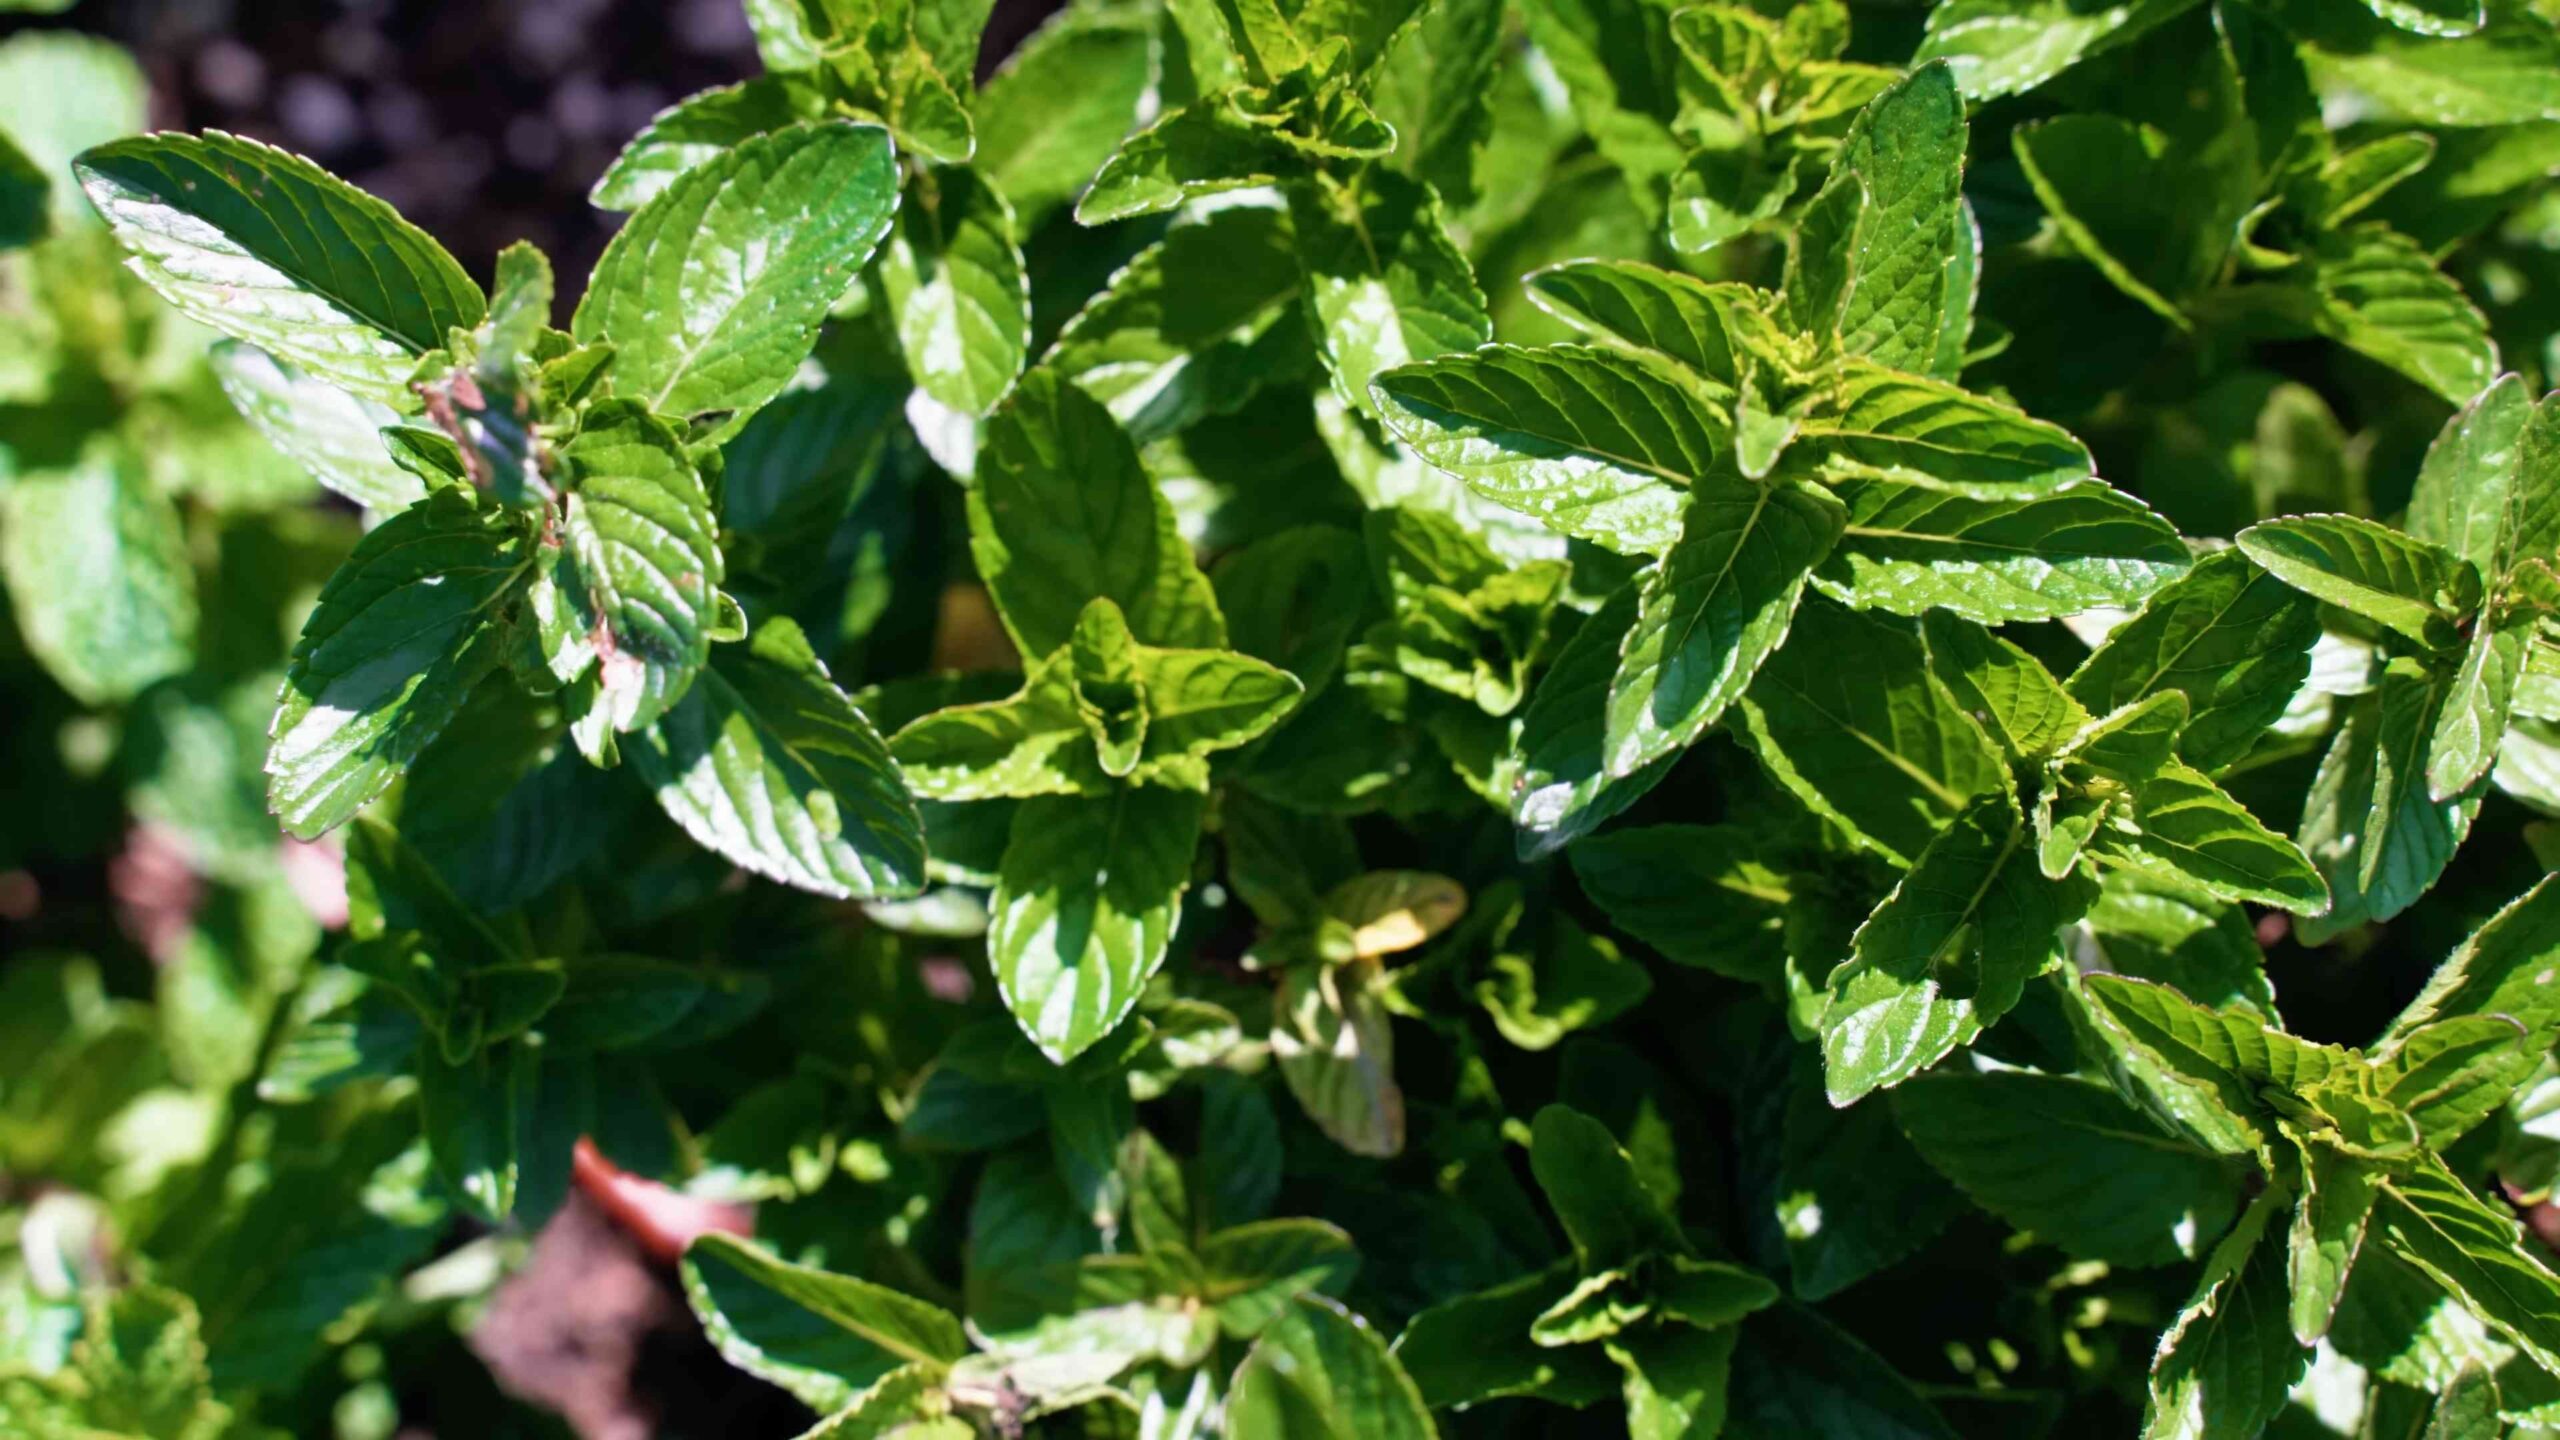
Choosing Your Mint Variety
First things first, let’s talk about mint varieties. There’s a whole world beyond just “mint”! Each type boasts a unique flavor profile and aroma. Here are a few popular choices:
* Peppermint: The classic, strong mint flavor perfect for teas and desserts.
* Spearmint: A milder, sweeter mint often used in chewing gum and sauces.
* Chocolate Mint: As the name suggests, this variety has a subtle chocolatey undertone. Delicious in desserts and drinks!
* Orange Mint: A citrusy twist on the traditional mint flavor, great for salads and cocktails.
* Apple Mint: A fruity, slightly fuzzy mint with a gentle apple scent.
I recommend starting with peppermint or spearmint as they are generally the easiest to grow. Once you’ve mastered those, you can branch out and experiment with other varieties!
Gathering Your Supplies
Before we dive into the planting process, let’s make sure you have everything you need. Here’s a checklist:
* Mint Seeds or Cuttings: You can start from seeds, but I find that cuttings are much easier and faster. You can often get cuttings from a friend’s garden or purchase them from a local nursery.
* Potting Soil: Use a well-draining potting mix. Avoid using garden soil in containers, as it can become compacted and hinder drainage.
* Container (if planting in a pot): Choose a pot that’s at least 6 inches in diameter. Mint spreads quickly, so a larger pot is always better. Make sure the pot has drainage holes!
* Watering Can or Hose: For keeping your mint hydrated.
* Gardening Gloves (optional): To keep your hands clean.
* Scissors or Pruning Shears: For taking cuttings and trimming your mint.
* Fertilizer (optional): A balanced liquid fertilizer can help boost growth.
Planting Your Mint: Step-by-Step Instructions
Alright, let’s get our hands dirty! Here’s how to plant your mint, whether you’re using seeds or cuttings:
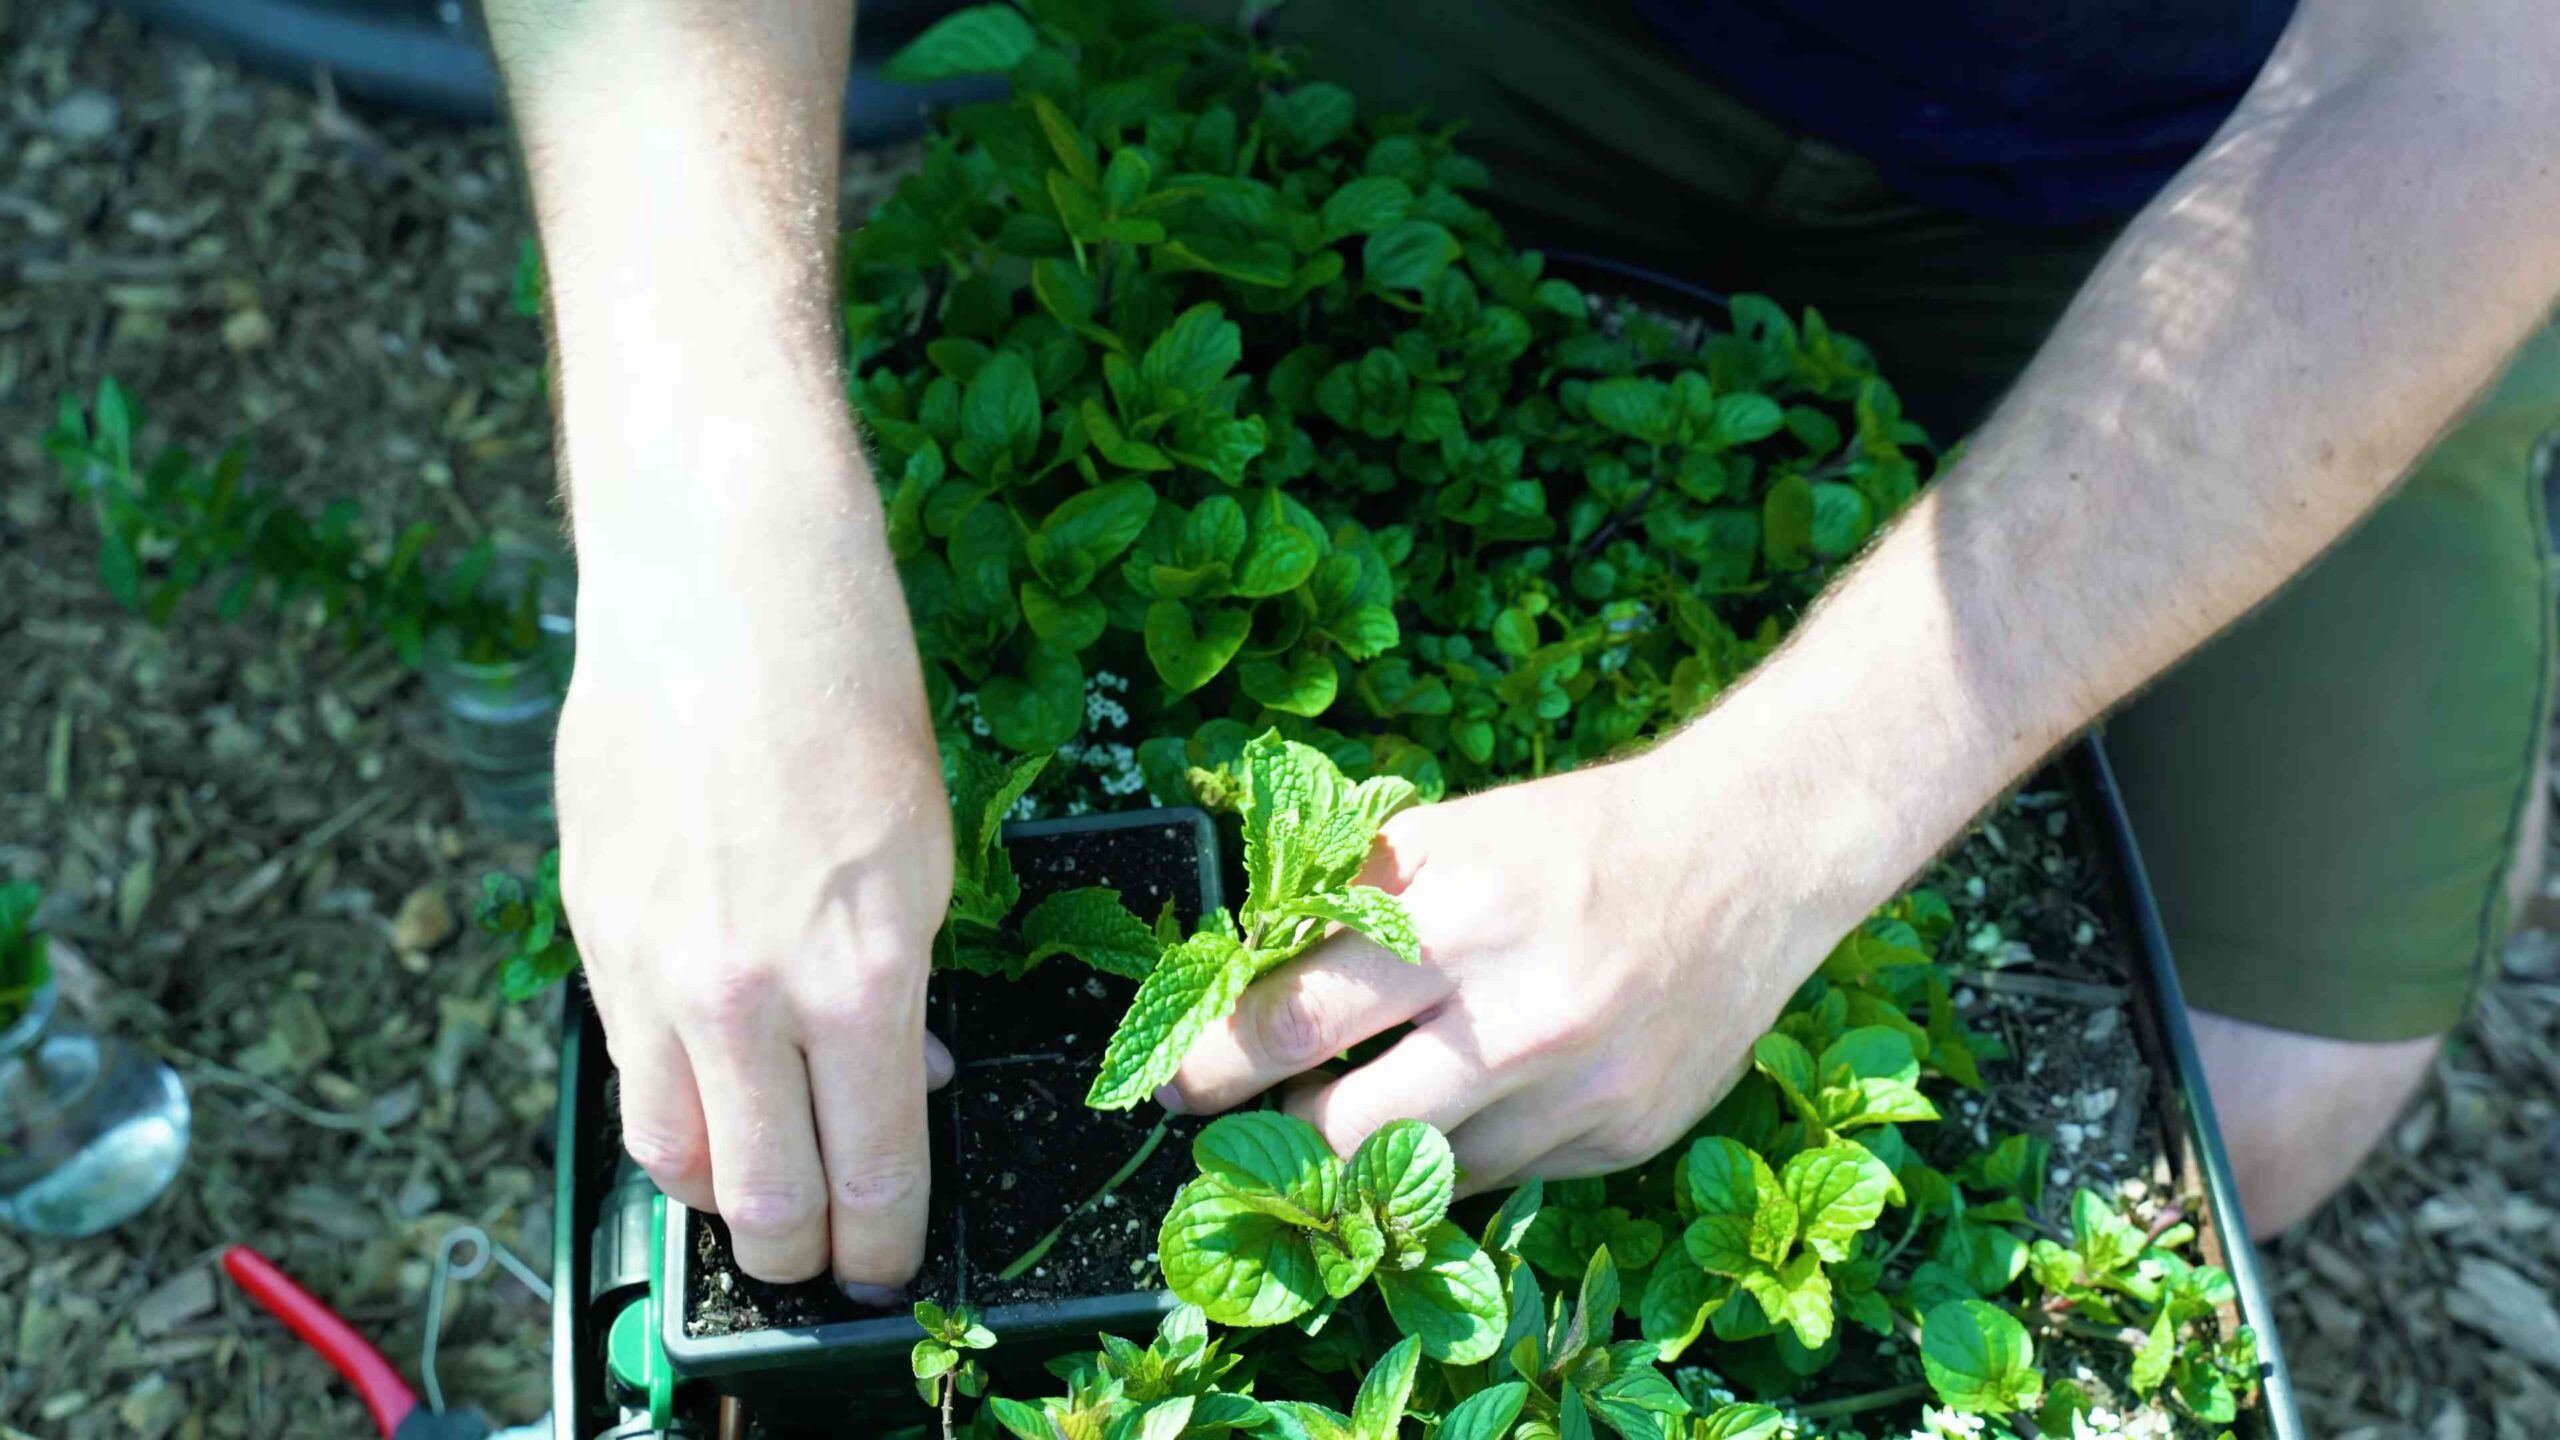
Planting from Cuttings:
This is my preferred method because it’s faster and more reliable.
1. Prepare Your Cuttings: If you’re using cuttings, select healthy stems that are about 4-6 inches long. Remove the leaves from the bottom inch or two of the stem. This is where the roots will grow.
2. Rooting in Water (Optional but Recommended): Place the cuttings in a glass of water, making sure the leaves are above the waterline. Place the glass in a bright, indirect light location. Change the water every few days. You should see roots starting to form within a week or two.
3. Prepare Your Pot: Fill your pot with potting soil, leaving about an inch of space at the top.
4. Plant the Cuttings: If you rooted in water, gently plant the rooted cuttings in the soil, spacing them a few inches apart. If you skipped the water rooting, you can plant the cuttings directly into the soil. Just make sure to keep the soil consistently moist.
5. Water Thoroughly: Water the soil until it’s evenly moist but not soggy.
6. Place in a Sunny Location: Mint thrives in full sun to partial shade. Aim for at least 4-6 hours of sunlight per day.
Planting from Seeds:
This method takes a bit longer, but it’s still a viable option.
1. Start Seeds Indoors (Optional): You can start mint seeds indoors 6-8 weeks before the last expected frost. Sow the seeds in a seed-starting tray filled with seed-starting mix. Lightly cover the seeds with soil.
2. Keep Soil Moist: Keep the soil consistently moist but not waterlogged. You can use a spray bottle to mist the soil.
3. Provide Light: Place the seed-starting tray in a bright location or under grow lights.
4. Transplant Seedlings (if started indoors): Once the seedlings have developed a few sets of true leaves, you can transplant them into individual pots or directly into your garden.
5. Direct Sowing (if not starting indoors): You can also sow mint seeds directly into your garden after the last expected frost. Prepare the soil by loosening it and adding compost. Sow the seeds thinly and lightly cover them with soil.
6. Water Regularly: Water the soil regularly to keep it moist.
Caring for Your Mint Plant
Now that your mint is planted, it’s time to learn how to care for it. Here are some essential tips:
* Watering: Mint loves moisture, so water it regularly, especially during hot, dry weather. The soil should be consistently moist but not soggy. Check the soil moisture by sticking your finger into the soil. If the top inch feels dry, it’s time to water.
* Sunlight: Mint thrives in full sun to partial shade. Aim for at least 4-6 hours of sunlight per day. If you’re growing mint indoors, place it near a sunny window.
* Fertilizing (Optional): You can fertilize your mint plant every few weeks with a balanced liquid fertilizer. Follow the instructions on the fertilizer label.
* Pruning: Regular pruning is essential for keeping your mint plant healthy and productive. Trim the stems regularly to encourage bushier growth. You can also pinch off the flower buds to prevent the plant from going to seed, which can reduce leaf production.
* Controlling Spread: This is the most important part! Mint is notorious for spreading aggressively. If you’re planting mint in the ground, I highly recommend planting it in a container or surrounding it with a barrier to prevent it from taking over your garden. You can use a plastic or metal barrier that extends at least 12 inches into the ground.
* Overwintering: In colder climates, mint may die back in the winter. Don’t worry, it will usually come back in the spring. You can also bring your potted mint indoors for the winter. Place it in a sunny location and water it regularly.
Harvesting Your Mint
The best part about growing your own mint is being able to harvest it whenever you need it! Here’s how to harvest your mint:
1. Harvest Regularly: The more you harvest, the more your mint will grow.
2. Cut Stems: Use scissors or pruning shears to cut the stems just above a leaf node. This will encourage new growth.
3. Harvest in the Morning: The best time to harvest mint is in the morning, after the dew has dried but before the sun gets too hot. This is when the leaves are at their most flavorful.
4. Use Fresh or Dry: You can use your mint fresh or dry it for later use. To dry mint, hang the stems upside down in a cool, dry place. Once the leaves are dry, you can crumble them and store them in an airtight container.
Troubleshooting Common Mint Problems
Even with the best care, you might encounter a few problems with your mint plant. Here are some common issues and how to address them:
* Yellowing Leaves: This can be caused by overwatering, underwatering, or nutrient deficiencies. Adjust your watering schedule and consider fertilizing your plant.
* Powdery Mildew: This is a fungal disease that appears as a white powdery coating on the leaves. Improve air circulation around the plant and treat with a fungicide if necessary.
* Pests: Mint can be susceptible to pests like aphids and spider mites. Inspect your plant regularly and treat with insecticidal soap if necessary.
Enjoying Your Homegrown Mint
Congratulations! You’ve successfully grown your own mint. Now it’s time to enjoy the fruits (or rather, leaves) of your labor. Here are just a few ways to use your homegrown mint:
* Mojitos: The classic mint cocktail.
* Mint Tea: A refreshing and soothing beverage.
* Salads: Add mint to salads for a burst of flavor.
* Sauces: Mint sauce is a delicious accompaniment to lamb.
* Desserts: Mint is a great addition to chocolate desserts.
* Garnish: Use mint as a garnish for cocktails, desserts, and other dishes.
Growing mint at home is a rewarding experience that will provide you with a constant supply of fresh, flavorful herbs
Conclusion
So, there you have it! Growing mint at home is not just a fun project; it’s a game-changer for your culinary adventures, your well-being, and even your garden’s ecosystem. We’ve walked you through the simple steps, from choosing the right container to harvesting your fragrant bounty. The benefits are undeniable: fresh, flavorful mint always at your fingertips, a reduced carbon footprint compared to store-bought herbs, and the sheer joy of nurturing something green and vibrant.
This DIY trick is a must-try because it empowers you to take control of your ingredients. Imagine the possibilities! No more wilted, overpriced mint from the grocery store. Instead, you’ll have a thriving mint plant ready to elevate your mojitos, teas, salads, and countless other dishes. The intense aroma alone is enough to brighten any day.
But the journey doesn’t end here. Feel free to experiment with different varieties of mint. Peppermint, spearmint, chocolate mint – each offers a unique flavor profile that can add a special touch to your recipes. Consider planting your mint in decorative pots to add a touch of greenery to your kitchen windowsill or balcony. You can even get creative with your propagation methods, trying out different rooting hormones or soil mixtures to see what works best for you.
Beyond culinary uses, remember the therapeutic benefits of mint. A cup of freshly brewed mint tea can soothe digestion, relieve stress, and promote relaxation. You can also use mint leaves to create refreshing facial toners or add them to your bath for a revitalizing soak.
Don’t be intimidated if you’ve never grown herbs before. Mint is incredibly forgiving and thrives even with minimal care. The key is to provide it with adequate sunlight, well-draining soil, and regular watering. And remember, a little pruning goes a long way in encouraging bushier growth and preventing your mint from becoming leggy.
We are confident that once you experience the satisfaction of growing your own mint, you’ll never go back to buying it from the store. It’s a simple, rewarding, and sustainable way to enhance your life.
So, what are you waiting for? Grab a pot, some soil, and a mint cutting, and embark on your own mint-growing adventure. We encourage you to try this DIY trick and share your experiences with us! Post photos of your thriving mint plants on social media using #GrowMintAtHome and tell us about your favorite ways to use your homegrown mint. We can’t wait to see what you create! Let’s cultivate a community of mint enthusiasts and spread the joy of fresh, homegrown herbs. Happy growing!
Frequently Asked Questions (FAQ)
1. What is the best type of mint to grow at home?
The “best” type of mint really depends on your personal preferences and intended use. Spearmint is a classic choice, known for its refreshing flavor and versatility in culinary applications like mojitos and teas. Peppermint has a stronger, more intense flavor and is often used in candies, desserts, and digestive aids. Chocolate mint offers a unique chocolatey aroma and flavor, making it a delightful addition to desserts and beverages. Other popular varieties include apple mint, orange mint, and ginger mint, each with its own distinct characteristics. Consider what you plan to use the mint for and choose a variety that complements your needs. You can even grow multiple varieties to have a diverse range of flavors at your fingertips.
2. How much sunlight does mint need?
Mint thrives in partial to full sunlight. Ideally, it should receive at least 4-6 hours of direct sunlight per day. However, it can also tolerate partial shade, especially in hotter climates. If you’re growing mint indoors, place it near a sunny window where it can receive ample light. If you notice the leaves becoming pale or the stems becoming leggy, it may not be getting enough sunlight. Consider supplementing with a grow light if necessary.
3. What kind of soil is best for growing mint?
Mint prefers well-draining soil that is rich in organic matter. A good potting mix specifically formulated for herbs is an excellent choice. You can also amend regular potting soil with compost or other organic materials to improve its drainage and nutrient content. Avoid using heavy clay soil, as it can retain too much moisture and lead to root rot. The ideal pH level for mint is between 6.0 and 7.0.
4. How often should I water my mint plant?
Water your mint plant regularly, keeping the soil consistently moist but not waterlogged. Check the soil moisture by sticking your finger about an inch into the soil. If it feels dry, it’s time to water. Avoid letting the soil dry out completely, as this can stress the plant. However, be careful not to overwater, as this can lead to root rot. Adjust your watering frequency based on the weather conditions and the size of your pot. During hot, dry weather, you may need to water more frequently.
5. How do I prevent mint from spreading too much?
Mint is known for its aggressive growth habit and can quickly spread if left unchecked. To prevent it from taking over your garden, it’s best to grow it in a container. This will confine its roots and prevent it from spreading into other areas. If you want to plant mint in the ground, consider burying a barrier around the planting area to contain its roots. You can use materials like plastic edging or metal sheeting to create a barrier that extends several inches below the soil surface. Regular pruning can also help to control its growth.
6. How do I harvest mint?
Harvest mint by snipping off stems just above a leaf node. This will encourage the plant to branch out and produce more leaves. You can harvest mint throughout the growing season, as needed. For the best flavor, harvest mint in the morning, after the dew has dried. Avoid harvesting more than one-third of the plant at a time, as this can stress it.
7. How do I store fresh mint?
There are several ways to store fresh mint to keep it fresh for longer. One method is to wrap the stems in a damp paper towel and store them in a plastic bag in the refrigerator. Another method is to place the stems in a glass of water, like you would with cut flowers, and store them in the refrigerator. You can also dry mint by hanging it upside down in a cool, dry place or by using a dehydrator. Dried mint can be stored in an airtight container for several months.
8. What are some common problems that affect mint plants?
Some common problems that can affect mint plants include aphids, spider mites, and powdery mildew. Aphids and spider mites are small pests that can suck the sap from the leaves, causing them to become yellow and distorted. Powdery mildew is a fungal disease that can cause a white, powdery coating to appear on the leaves. To prevent these problems, keep your mint plant healthy by providing it with adequate sunlight, water, and air circulation. If you notice any pests or diseases, treat them promptly with an appropriate insecticide or fungicide.
9. Can I grow mint indoors year-round?
Yes, you can grow mint indoors year-round, provided you give it the right conditions. Make sure it receives adequate sunlight, either from a sunny window or a grow light. Water it regularly, keeping the soil consistently moist but not waterlogged. Fertilize it occasionally with a balanced fertilizer. And prune it regularly to encourage bushier growth. With proper care, you can enjoy fresh mint from your indoor garden all year long.
10. Is growing mint at home a good way to save money?
Absolutely! Growing mint at home is a fantastic way to save money. Instead of constantly buying expensive bunches of mint from the grocery store, you’ll have a readily available supply right at your fingertips. A single mint plant can provide you with a continuous harvest for months, or even years, making it a very cost-effective investment. Plus, you’ll be reducing your reliance on commercially grown herbs, which often come with a higher price tag and a larger carbon footprint. So, not only will you be saving money, but you’ll also be contributing to a more sustainable lifestyle.
Leave a Comment