

Grow radishes at home? Absolutely! Imagine plucking crisp, peppery radishes straight from your own backyard, adding a zesty crunch to your salads and snacks. It’s easier than you think, and this DIY guide is your ticket to radish-growing success, even if you’re a complete beginner. Forget those bland, store-bought radishes – we’re talking about vibrant, flavorful gems you nurtured yourself.
Radishes have a surprisingly long and fascinating history, dating back to ancient Egypt and Greece. They were valued not only for their taste but also for their medicinal properties. Today, they’re enjoyed worldwide, and growing them yourself connects you to this rich culinary heritage.
Why should you learn to grow radishes at home? Well, for starters, it’s incredibly rewarding to harvest something you’ve grown from seed. Plus, homegrown radishes taste infinitely better than anything you’ll find in the supermarket. But more importantly, this DIY project is quick, easy, and perfect for small spaces. Whether you have a sprawling garden or just a sunny balcony, you can enjoy a bountiful radish harvest in just a few weeks. So, grab your gardening gloves, and let’s get started!
Grow Your Own Radishes: A Beginner’s Guide to a Speedy Harvest
Hey there, fellow gardening enthusiasts! I’m so excited to share my experience with growing radishes. They’re one of the easiest and fastest vegetables to cultivate, perfect for beginners or anyone looking for a quick gardening win. Plus, that peppery bite is just irresistible! Let’s dive into how you can grow your own crunchy, delicious radishes at home.
Choosing Your Radish Variety
First things first, let’s talk about radish varieties. There are tons to choose from, each with its own unique flavor, size, and color. Here are a few of my favorites:
* Cherry Belle: These are the classic, round, bright red radishes you often see in the store. They’re quick to mature and have a mild flavor.
* French Breakfast: These are elongated, red radishes with a white tip. They have a slightly milder and sweeter flavor than Cherry Belle.
* Icicle: As the name suggests, these are long, white radishes. They have a crisp texture and a slightly pungent flavor.
* Black Spanish: These are large, round, black radishes with a strong, spicy flavor. They take a bit longer to mature than other varieties.
* Watermelon Radish: This is a beautiful radish with a green exterior and a vibrant pink interior. It has a mild, slightly sweet flavor.
I recommend starting with Cherry Belle or French Breakfast if you’re a beginner. They’re reliable and easy to grow.
Preparing the Soil
Radishes need loose, well-drained soil to thrive. Here’s how I prepare my soil:
* Choose a sunny spot: Radishes need at least 6 hours of sunlight per day.
* Loosen the soil: Use a garden fork or tiller to loosen the soil to a depth of at least 6 inches. This will allow the radish roots to grow easily.
* Amend the soil: Mix in compost or well-rotted manure to improve drainage and fertility. Radishes don’t need super rich soil, but they do appreciate a little organic matter.
* Remove rocks and debris: Radish roots can be deformed if they encounter rocks or other obstacles in the soil.
Planting the Radish Seeds
Now for the fun part – planting!
1. Timing is key: Radishes are a cool-season crop, so plant them in early spring or late summer/early fall. In most climates, you can plant radishes every few weeks for a continuous harvest. I usually start planting about 4-6 weeks before the last expected frost in spring, and then again in late summer for a fall harvest.
2. Sow the seeds: Sow the seeds about ½ inch deep and 1 inch apart in rows that are 6 inches apart. I like to use a dibber or my finger to make small holes for the seeds.
3. Cover the seeds: Gently cover the seeds with soil and pat it down lightly.
4. Water thoroughly: Water the soil well after planting. Keep the soil consistently moist until the seeds germinate.
Caring for Your Radishes
Radishes are relatively low-maintenance, but here are a few things to keep in mind:
* Watering: Water regularly, especially during dry periods. Radishes need consistent moisture to grow quickly and prevent them from becoming tough or bitter. Aim for about 1 inch of water per week.
* Thinning: Once the seedlings emerge, thin them to about 2 inches apart. This will give the radishes enough space to grow. I know it’s hard to pull out those little seedlings, but it’s essential for a good harvest!
* Weeding: Keep the area around your radishes free of weeds. Weeds can compete with the radishes for nutrients and water.
* Fertilizing: Radishes don’t need a lot of fertilizer. If your soil is poor, you can side-dress them with a balanced fertilizer a few weeks after planting. I usually just use a little compost tea.
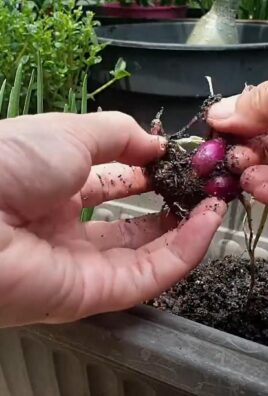
Harvesting Your Radishes
This is the most rewarding part! Radishes are ready to harvest in as little as 3-4 weeks, depending on the variety.
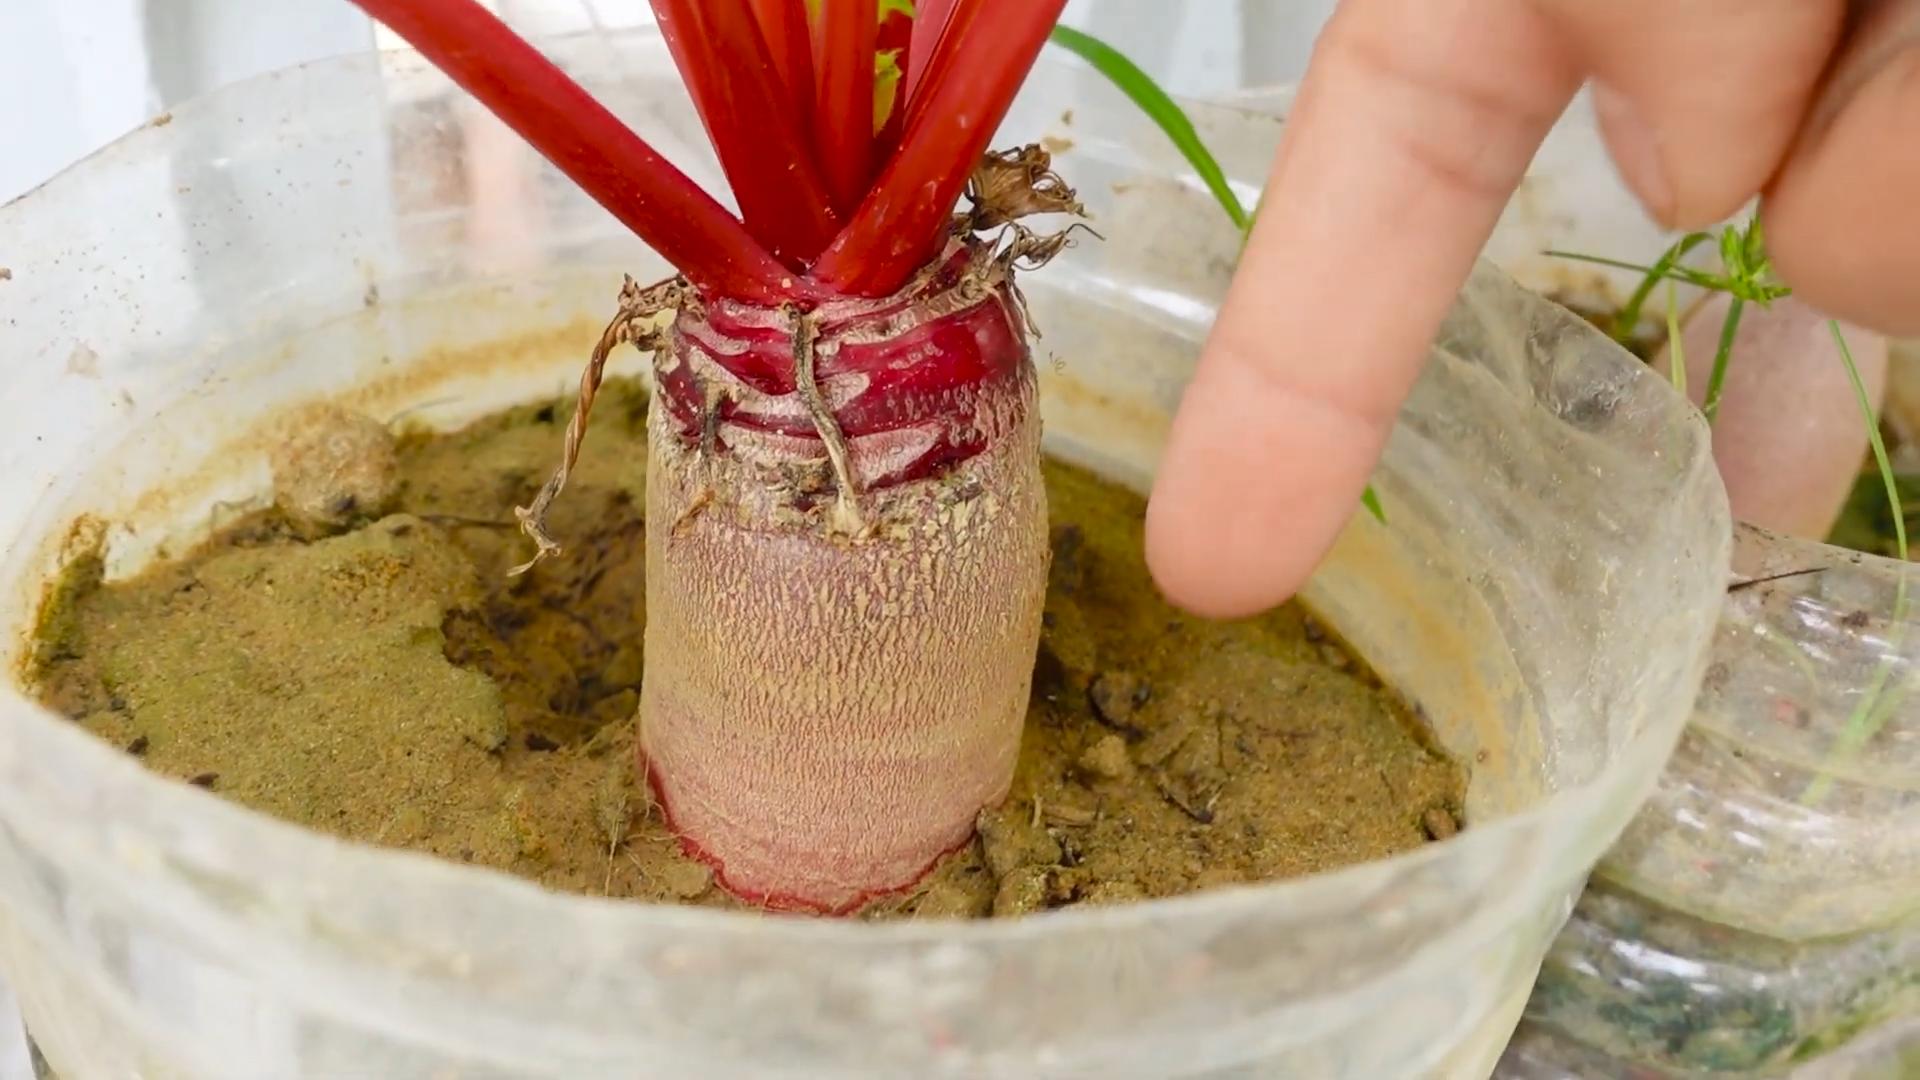
1. Check for size: Radishes are usually ready to harvest when they are about 1 inch in diameter. You can gently brush away the soil around the top of the radish to check its size.
2. Pull them up: Gently pull the radishes out of the ground. If the soil is dry, you may need to loosen it first with a garden fork.
3. Wash and enjoy: Wash the radishes thoroughly and enjoy them fresh. You can eat them raw in salads, on sandwiches, or as a snack. You can also cook them – try roasting them with a little olive oil and salt.
Troubleshooting
Even with the easiest plants, sometimes things go wrong. Here are a few common problems you might encounter when growing radishes:
* Radishes are small and tough: This is usually caused by overcrowding or lack of water. Make sure to thin your radishes properly and water them regularly.
* Radishes are cracked: This is usually caused by inconsistent watering. Try to keep the soil consistently moist.
* Radishes are bitter: This can be caused by hot weather or letting the radishes grow too large. Harvest them when they are the right size and plant them in a cool location.
* Pests: Radishes are relatively pest-free, but they can be attacked by flea beetles. These tiny beetles can chew small holes in the leaves. You can control flea beetles by covering your radishes with row covers or by spraying them with insecticidal soap.
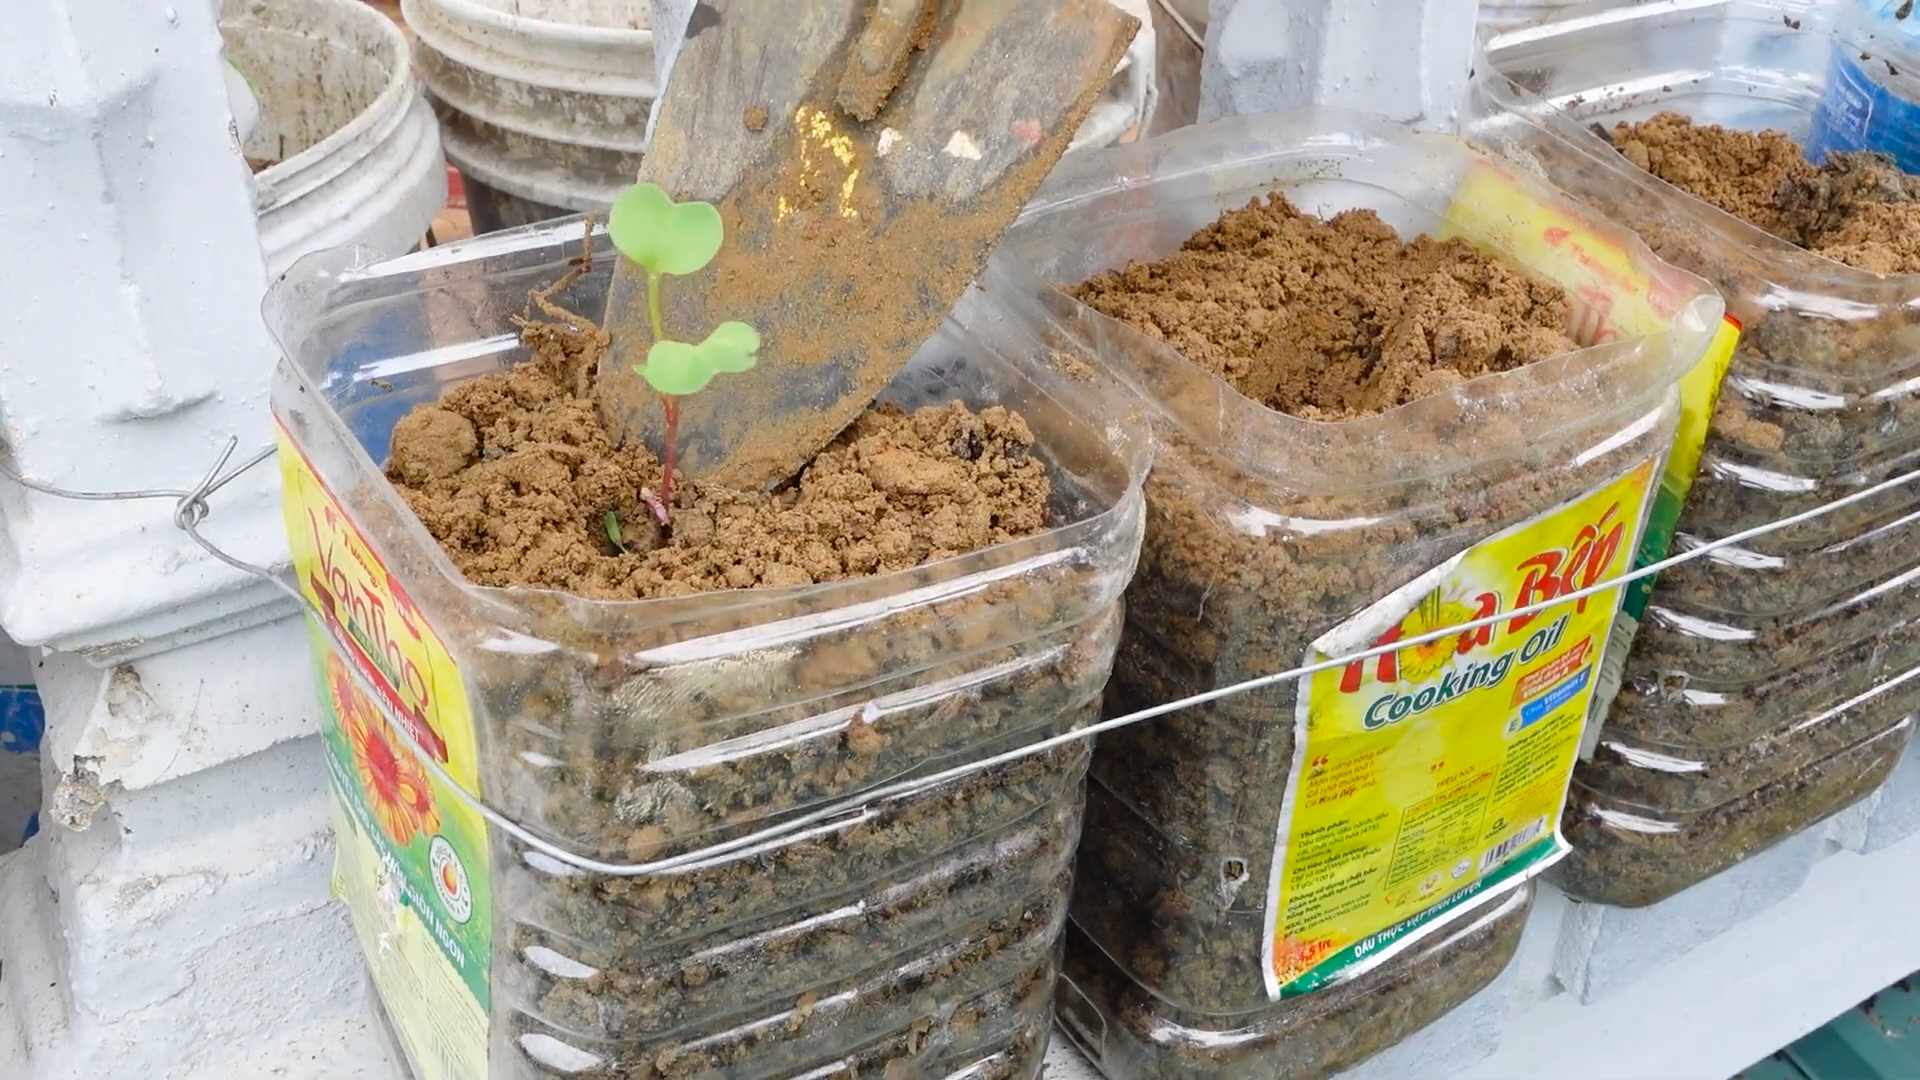
Growing Radishes in Containers
Don’t have a garden? No problem! You can easily grow radishes in containers.
1. Choose a container: Select a container that is at least 6 inches deep and has drainage holes.
2. Fill the container: Fill the container with a good quality potting mix.
3. Plant the seeds: Sow the seeds as described above.
4. Care for the radishes: Water and fertilize the radishes as needed.
5. Harvest the radishes: Harvest the radishes when they are ready.
Succession Planting for a Continuous Harvest
To enjoy radishes throughout the growing season, I practice succession planting. This means planting a new batch of seeds every 2-3 weeks. Here’s how I do it:
1. Plan your planting schedule: Determine how often you want to harvest radishes.
2. Plant a new batch of seeds: Every 2-3 weeks, plant a new batch of seeds in a different section of your garden or in a new container.
3. Label your plantings: Label each planting with the date so you know when to expect a harvest.
4. Enjoy a continuous harvest: By following this method, you can enjoy fresh radishes throughout the growing season.
Radish Greens: Don’t Throw Them Away!
Did you know that radish greens are edible? They have a peppery flavor similar to the radishes themselves. Don’t throw them away! Here are a few ways to use radish greens:
* Salads: Add radish greens to your salads for a peppery kick.
* Sautéed: Sauté radish greens with garlic and olive oil for a simple and delicious side dish.
* Soups: Add radish greens to soups for extra flavor and nutrients.
* Pesto: Make radish green pesto by blending the greens with garlic, nuts, cheese, and olive oil.
My Favorite Radish Recipes
Okay, now that you’ve grown your own radishes, let’s talk about how to enjoy them! Here are a few of my favorite radish recipes:
* Radish and Butter Sandwiches: This is a classic French snack. Simply spread butter on a slice of baguette, top with thinly sliced radishes, and sprinkle with sea salt.
* Radish Salad with Lemon Vinaigrette: Combine thinly sliced radishes with mixed greens, crumbled feta cheese, and a lemon vinaigrette.
* Roasted Radishes: Toss radishes with olive oil, salt, and pepper, and roast them in the oven until they are tender and slightly caramelized.
* Radish Salsa: Dice radishes and combine them with tomatoes, onions, cilantro, and lime juice for a refreshing salsa.
Saving Radish Seeds (For the Adventurous Gardener!)
If you’re feeling ambitious, you can even save your own radish seeds! However, be aware that radishes are cross-pollinating, so if you’re growing multiple varieties, the seeds may not come true to type.
1. Let a few radishes bolt: Allow a few radishes to flower and go to seed.
2. Harvest the seed pods: Once the seed pods are dry and brown,
Conclusion
So, there you have it! Growing radishes at home is not only surprisingly simple, but also incredibly rewarding. Forget those bland, store-bought radishes that lack that peppery zing. With just a few simple steps, you can cultivate a vibrant crop of crisp, flavorful radishes right in your own backyard, balcony, or even on a sunny windowsill.
This DIY trick is a must-try for several reasons. First, it’s incredibly fast. Radishes are known for their rapid growth, meaning you can enjoy your first harvest in as little as three to four weeks. That’s practically instant gratification in the gardening world! Second, it’s a budget-friendly way to add fresh, healthy produce to your diet. A packet of radish seeds is inexpensive, and you can reuse containers and soil amendments, making it a sustainable and cost-effective option. Third, it’s a fantastic learning experience for both adults and children. Witnessing the entire life cycle of a plant from seed to harvest is truly fascinating and educational.
But the best reason to try growing radishes at home is the unparalleled flavor. Freshly harvested radishes have a crispness and peppery bite that you simply can’t find in store-bought varieties. The taste is more intense, the texture is more satisfying, and the overall experience is just plain better.
Ready to take your radish game to the next level? Consider experimenting with different varieties. From the classic Cherry Belle to the elongated French Breakfast and the colorful Easter Egg blend, there’s a radish out there to suit every palate. You can also try succession planting, sowing a new batch of seeds every week or two, to ensure a continuous harvest throughout the growing season. Another fun variation is to grow radishes alongside carrots. The radishes help to break up the soil, making it easier for the carrots to grow, and they also act as a natural pest deterrent.
Don’t be intimidated if you’re a beginner gardener. Radishes are incredibly forgiving and can tolerate a wide range of conditions. Just remember to provide them with plenty of sunlight, well-drained soil, and consistent moisture, and you’ll be well on your way to a bountiful harvest.
We wholeheartedly encourage you to give this DIY trick a try. It’s a simple, rewarding, and delicious way to connect with nature and enjoy the fruits (or rather, roots) of your labor. Once you’ve experienced the joy of growing your own radishes, you’ll never go back to buying them at the store again.
So, grab a packet of seeds, get your hands dirty, and prepare to be amazed. And most importantly, don’t forget to share your experience with us! We’d love to hear about your successes, your challenges, and your favorite ways to enjoy your homegrown radishes. Share your photos and stories on social media using #HomegrownRadishes and let’s inspire others to join the radish-growing revolution!
Frequently Asked Questions (FAQ)
What kind of soil is best for growing radishes?
Radishes thrive in loose, well-drained soil that is rich in organic matter. Avoid heavy clay soils, as they can become compacted and hinder root development. A good mix is equal parts garden soil, compost, and sand or perlite. This will provide the necessary drainage and nutrients for healthy growth. You can also purchase a pre-made potting mix specifically formulated for vegetables. Before planting, loosen the soil to a depth of at least 6 inches and remove any rocks or debris.
How much sunlight do radishes need?
Radishes need at least 6 hours of direct sunlight per day to grow properly. If you’re growing them indoors, place them near a sunny window or use grow lights. Insufficient sunlight can result in leggy plants with small, underdeveloped roots. If you live in a hot climate, provide some afternoon shade to prevent the soil from drying out too quickly.
How often should I water my radishes?
Radishes need consistent moisture to thrive. Water them deeply whenever the top inch of soil feels dry to the touch. Avoid overwatering, as this can lead to root rot. A good rule of thumb is to water every 2-3 days, depending on the weather and soil conditions. Mulching around the plants can help to retain moisture and suppress weeds.
When is the best time to plant radishes?
Radishes are a cool-season crop and are best planted in early spring or late summer/early fall. In most climates, you can plant them as soon as the soil can be worked in the spring. For a fall harvest, plant them about 4-6 weeks before the first expected frost. Avoid planting radishes during the hottest months of summer, as they tend to bolt (go to seed) in high temperatures.
How long does it take for radishes to grow?
Radishes are one of the fastest-growing vegetables. Most varieties mature in just 3-4 weeks. However, some larger varieties may take up to 6 weeks to mature. Check the seed packet for specific information on the maturity time of the variety you are growing.
How do I know when my radishes are ready to harvest?
Radishes are ready to harvest when the roots are about 1 inch in diameter. Gently pull one up to check its size. If it’s the right size, harvest the rest. Don’t let them get too big, as they can become woody and bitter.
What are some common problems when growing radishes?
Some common problems when growing radishes include flea beetles, root maggots, and bolting. Flea beetles are small, jumping insects that can damage the leaves. Root maggots are small, white larvae that feed on the roots. Bolting is when the plants go to seed prematurely, usually due to hot weather or stress. To prevent these problems, use row covers to protect the plants from pests, practice crop rotation, and provide consistent moisture.
Can I eat the radish greens?
Yes, radish greens are edible and nutritious! They have a peppery flavor similar to the roots. You can use them in salads, soups, or stir-fries. Just be sure to wash them thoroughly before eating.
How do I store radishes after harvesting?
To store radishes, cut off the greens and store them separately in the refrigerator. Place the radishes in a plastic bag or container with a damp paper towel to keep them crisp. They will last for about 1-2 weeks in the refrigerator.
Can I grow radishes in containers?
Yes, radishes are well-suited for container gardening. Choose a container that is at least 6 inches deep and has drainage holes. Use a well-draining potting mix and provide plenty of sunlight and water. You can grow several radishes in a single container, spacing them about 1-2 inches apart.
What are some good companion plants for radishes?
Radishes are good companion plants for carrots, lettuce, spinach, and cucumbers. They help to deter pests and improve soil conditions. Avoid planting them near hyssop, as it can inhibit their growth.
Why are my radishes all tops and no bottoms?
This is a common problem that can be caused by several factors, including insufficient sunlight, overcrowding, poor soil, or hot weather. Make sure your radishes are getting at least 6 hours of direct sunlight per day, thin them to 1-2 inches apart, and provide them with well-drained soil that is rich in organic matter. Avoid planting them during the hottest months of summer.
Can I save radish seeds for next year?
Yes, you can save radish seeds, but it requires allowing the plants to bolt and produce seed pods. This process takes several months and is best done in a separate area of your garden, as the bolting plants will no longer produce edible roots. Once the seed pods are dry and brown, you can harvest them and extract the seeds. Store the seeds in a cool, dry place until next planting season.


Leave a Comment