

Grow Thyme in a Pot – it’s easier than you think, and I’m here to show you how! Have you ever dreamed of snipping fresh herbs right from your own windowsill to add that perfect touch to your culinary creations? Or perhaps you’re drawn to the delightful fragrance of thyme wafting through your home? Well, you’re in the right place!
Thyme, with its rich history dating back to ancient Egypt where it was used for embalming, and its significance in ancient Greece as a symbol of courage, has always been more than just a herb. Today, it’s a staple in kitchens worldwide, adding depth and aroma to countless dishes. But let’s be honest, buying fresh thyme from the store can be expensive, and sometimes it wilts before you even get a chance to use it all. That’s where this simple DIY trick comes in.
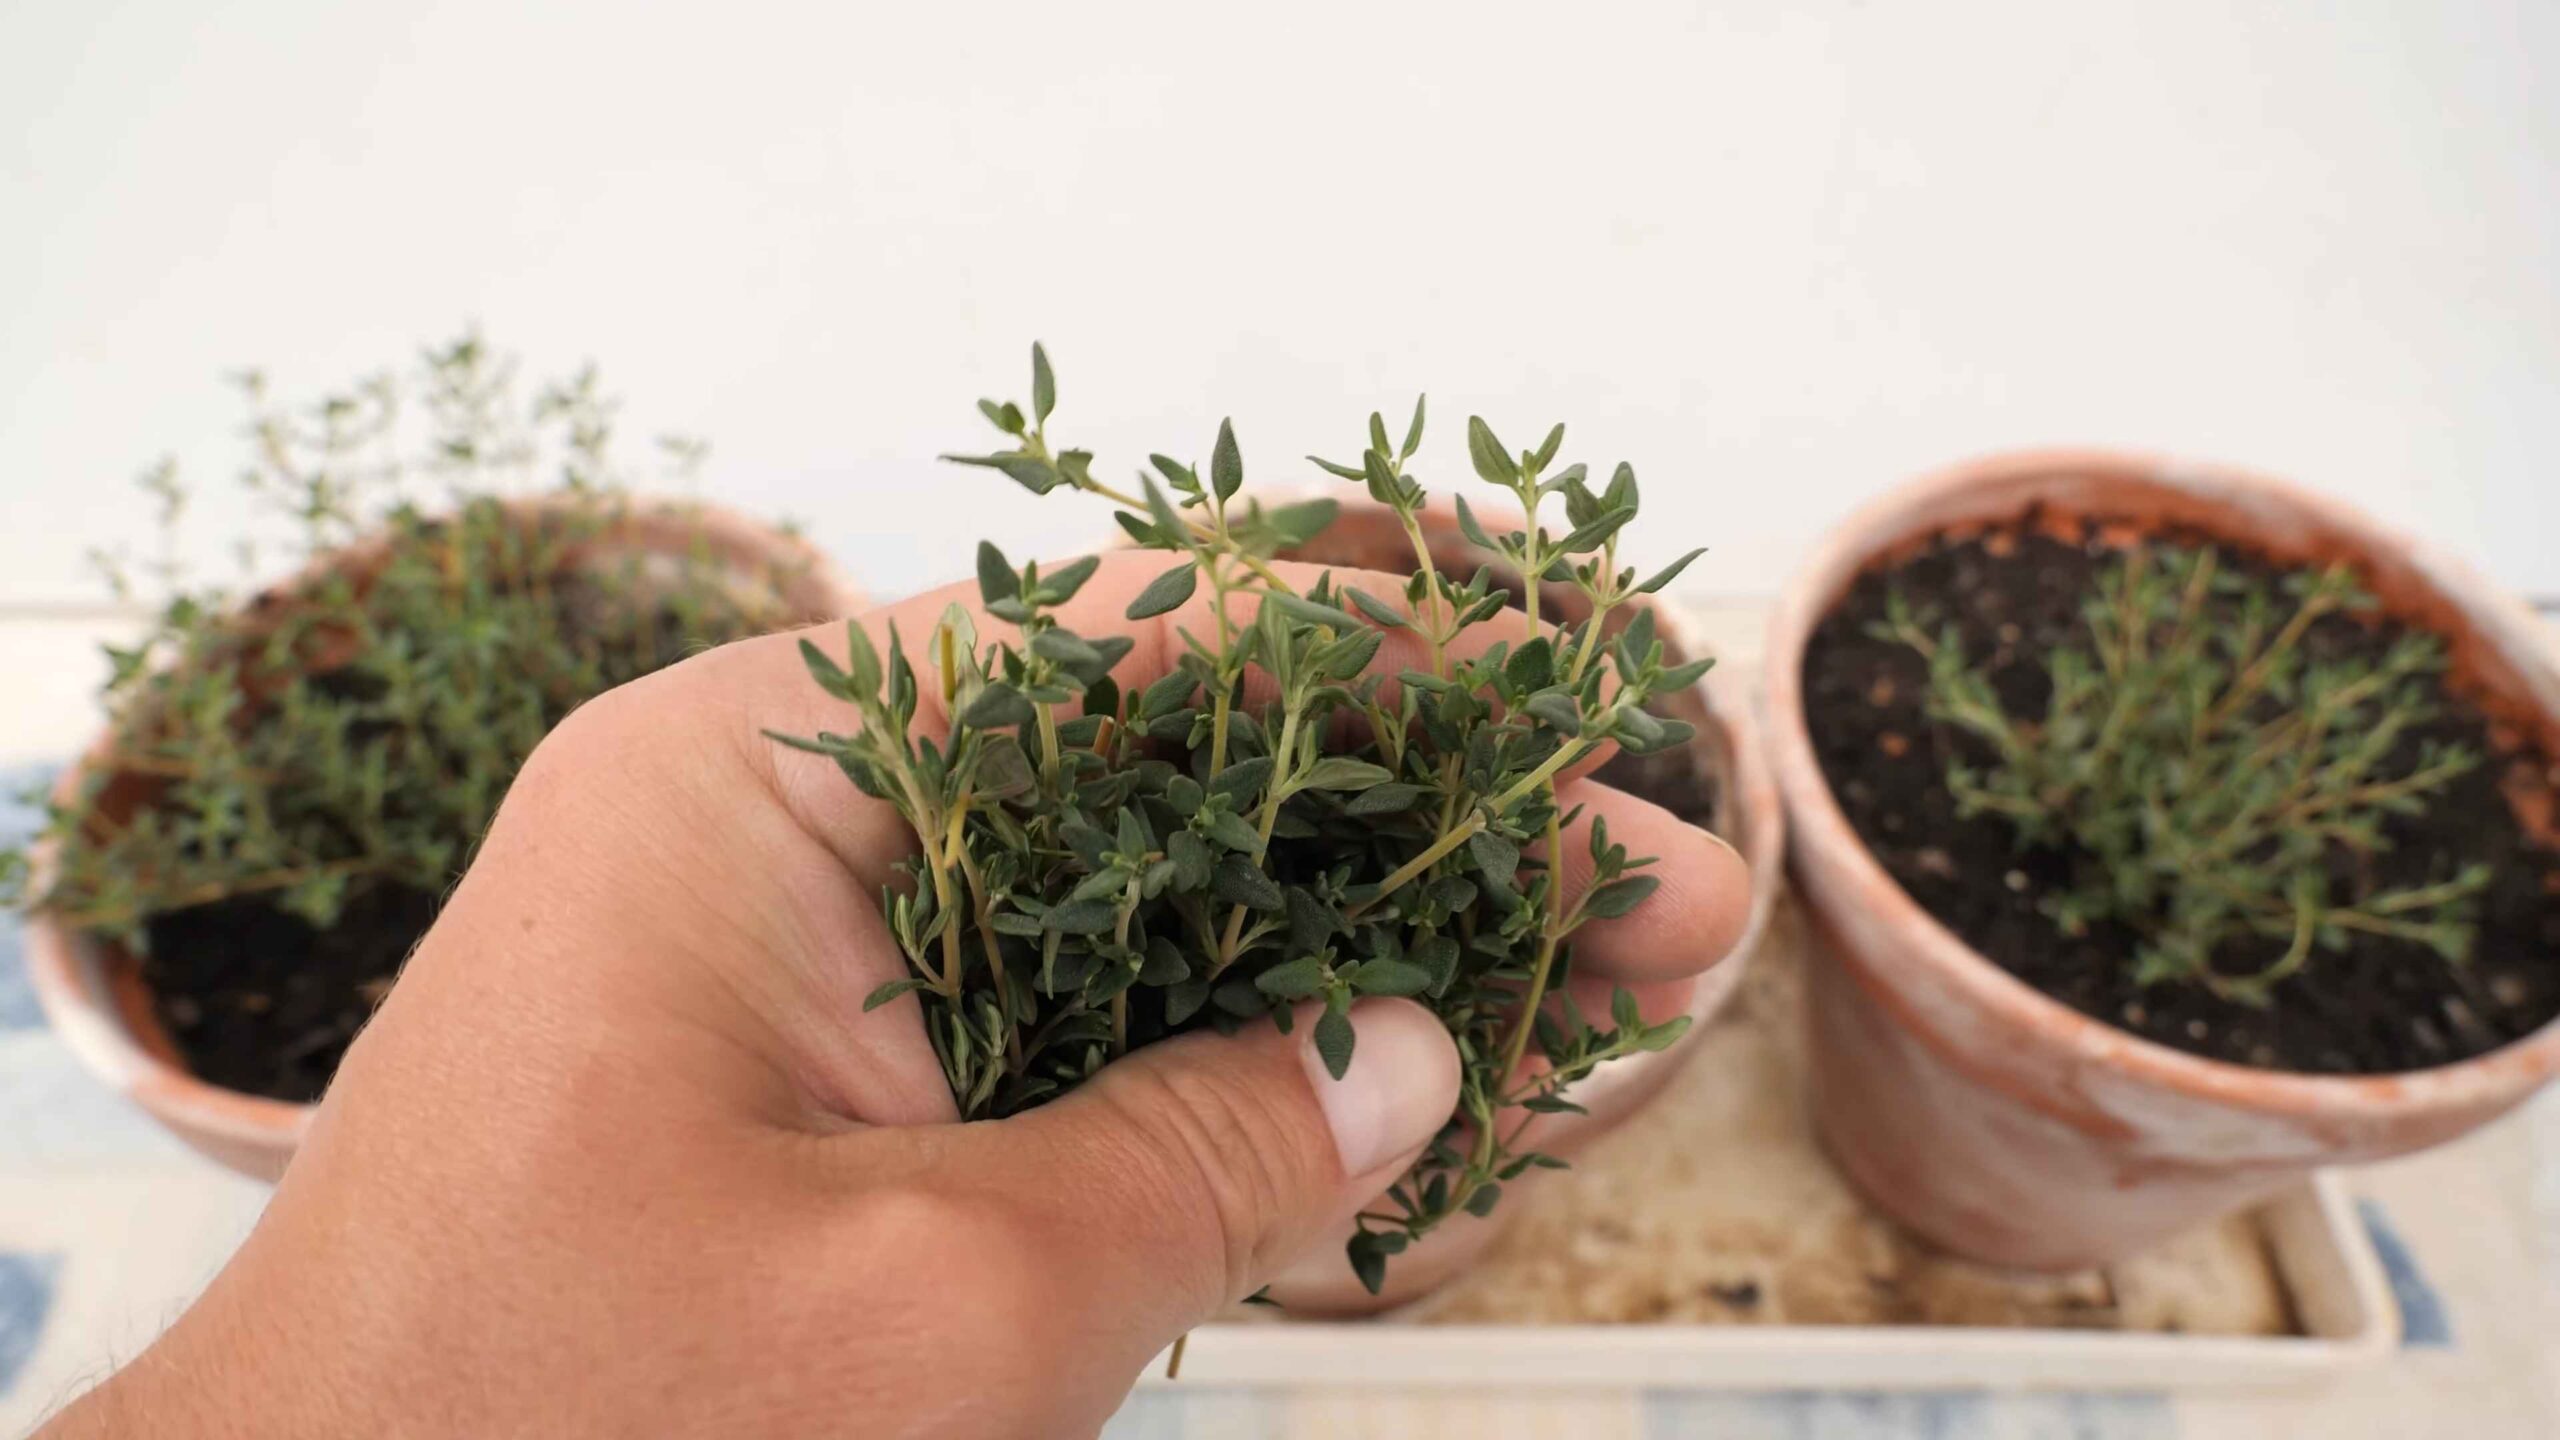
I’m going to guide you through the process of growing your own thriving thyme plant in a pot, right in your home. This isn’t just about saving money; it’s about connecting with nature, enjoying the satisfaction of nurturing a plant, and having fresh, flavorful thyme at your fingertips whenever you need it. Plus, it’s a fantastic way to add a touch of greenery to your living space. So, let’s get our hands dirty and learn how to grow thyme in a pot like a pro!
Growing Thyme in a Pot: A Beginner’s Guide
Okay, so you want to grow thyme in a pot? Awesome! Thyme is a fantastic herb to have around. It’s super versatile in the kitchen, smells amazing, and it’s relatively low-maintenance. I’ve been growing thyme for years, and I’m going to share all my secrets to help you get started. Trust me, even if you don’t have a green thumb, you can totally do this!
Choosing the Right Thyme Variety
First things first, let’s talk about thyme varieties. There are a bunch of different types, and while most are edible, some are better suited for cooking than others. Here are a few popular choices:
* **Common Thyme (Thymus vulgaris):** This is your classic, go-to thyme. It has a strong, earthy flavor and is perfect for soups, stews, and roasting.
* **Lemon Thyme (Thymus citriodorus):** As the name suggests, this thyme has a lovely lemon scent and flavor. It’s great for adding a citrusy twist to your dishes, especially fish and chicken.
* **Creeping Thyme (Thymus serpyllum):** This variety is more often used as ground cover because it spreads quickly. While edible, it’s not as flavorful as common or lemon thyme. It’s beautiful though, with tiny pink or purple flowers!
* **Woolly Thyme (Thymus pseudolanuginosus):** Another ground cover option, woolly thyme has a soft, fuzzy texture. It’s not typically used for cooking.
For beginners, I highly recommend starting with common thyme or lemon thyme. They’re easy to find and relatively forgiving.
Gathering Your Supplies
Before we get our hands dirty, let’s make sure we have everything we need. Here’s a checklist:
* **Thyme Seeds or Seedling:** You can start from seeds, but honestly, buying a small seedling from a nursery or garden center is much easier and faster.
* **Pot:** Choose a pot that’s at least 6 inches in diameter. Thyme doesn’t need a huge pot, but it does need good drainage. Terracotta pots are great because they allow the soil to breathe.
* **Potting Mix:** Don’t use garden soil! It’s too heavy and doesn’t drain well. Use a well-draining potting mix specifically formulated for containers. I like to add a little perlite or vermiculite to improve drainage even further.
* **Gravel or Pebbles (Optional):** A layer of gravel at the bottom of the pot can help with drainage.
* **Watering Can:** A gentle watering can is essential for watering your thyme without disturbing the soil.
* **Sunny Spot:** Thyme needs at least 6 hours of sunlight per day. A south-facing window or a sunny balcony is ideal.
Planting Your Thyme
Alright, let’s get planting! This is the fun part.
1. **Prepare the Pot:** If you’re using a terracotta pot, soak it in water for a few hours before planting. This helps prevent the pot from drawing moisture away from the soil. Place a layer of gravel or pebbles at the bottom of the pot (optional).
2. **Fill the Pot with Potting Mix:** Fill the pot with potting mix, leaving about an inch of space at the top.
3. **Plant the Thyme:**
* **From Seedling:** Gently remove the thyme seedling from its container. Loosen the roots slightly with your fingers. Dig a small hole in the potting mix and place the seedling in the hole. Make sure the top of the root ball is level with the soil surface. Fill in around the seedling with potting mix and gently pat down the soil.
* **From Seeds:** Sprinkle the thyme seeds evenly over the surface of the potting mix. Lightly cover the seeds with a thin layer of potting mix. Gently water the soil.
4. **Water Thoroughly:** Water the thyme thoroughly until water drains out of the bottom of the pot.
5. **Place in a Sunny Spot:** Place the pot in a sunny location where it will receive at least 6 hours of sunlight per day.
Caring for Your Thyme
Now that your thyme is planted, it’s time to learn how to care for it. Don’t worry, it’s not too demanding!
1. **Watering:** Thyme prefers to be on the drier side. Overwatering is a common mistake that can lead to root rot. Water only when the top inch of soil feels dry to the touch. When you do water, water thoroughly until water drains out of the bottom of the pot. During the winter months, you’ll need to water even less frequently.
2. **Sunlight:** As I mentioned before, thyme needs at least 6 hours of sunlight per day. If you don’t have a sunny spot indoors, you might consider using a grow light.
3. **Fertilizing:** Thyme doesn’t need a lot of fertilizer. In fact, too much fertilizer can actually make it less flavorful. I recommend fertilizing once or twice during the growing season (spring and summer) with a balanced liquid fertilizer diluted to half strength.
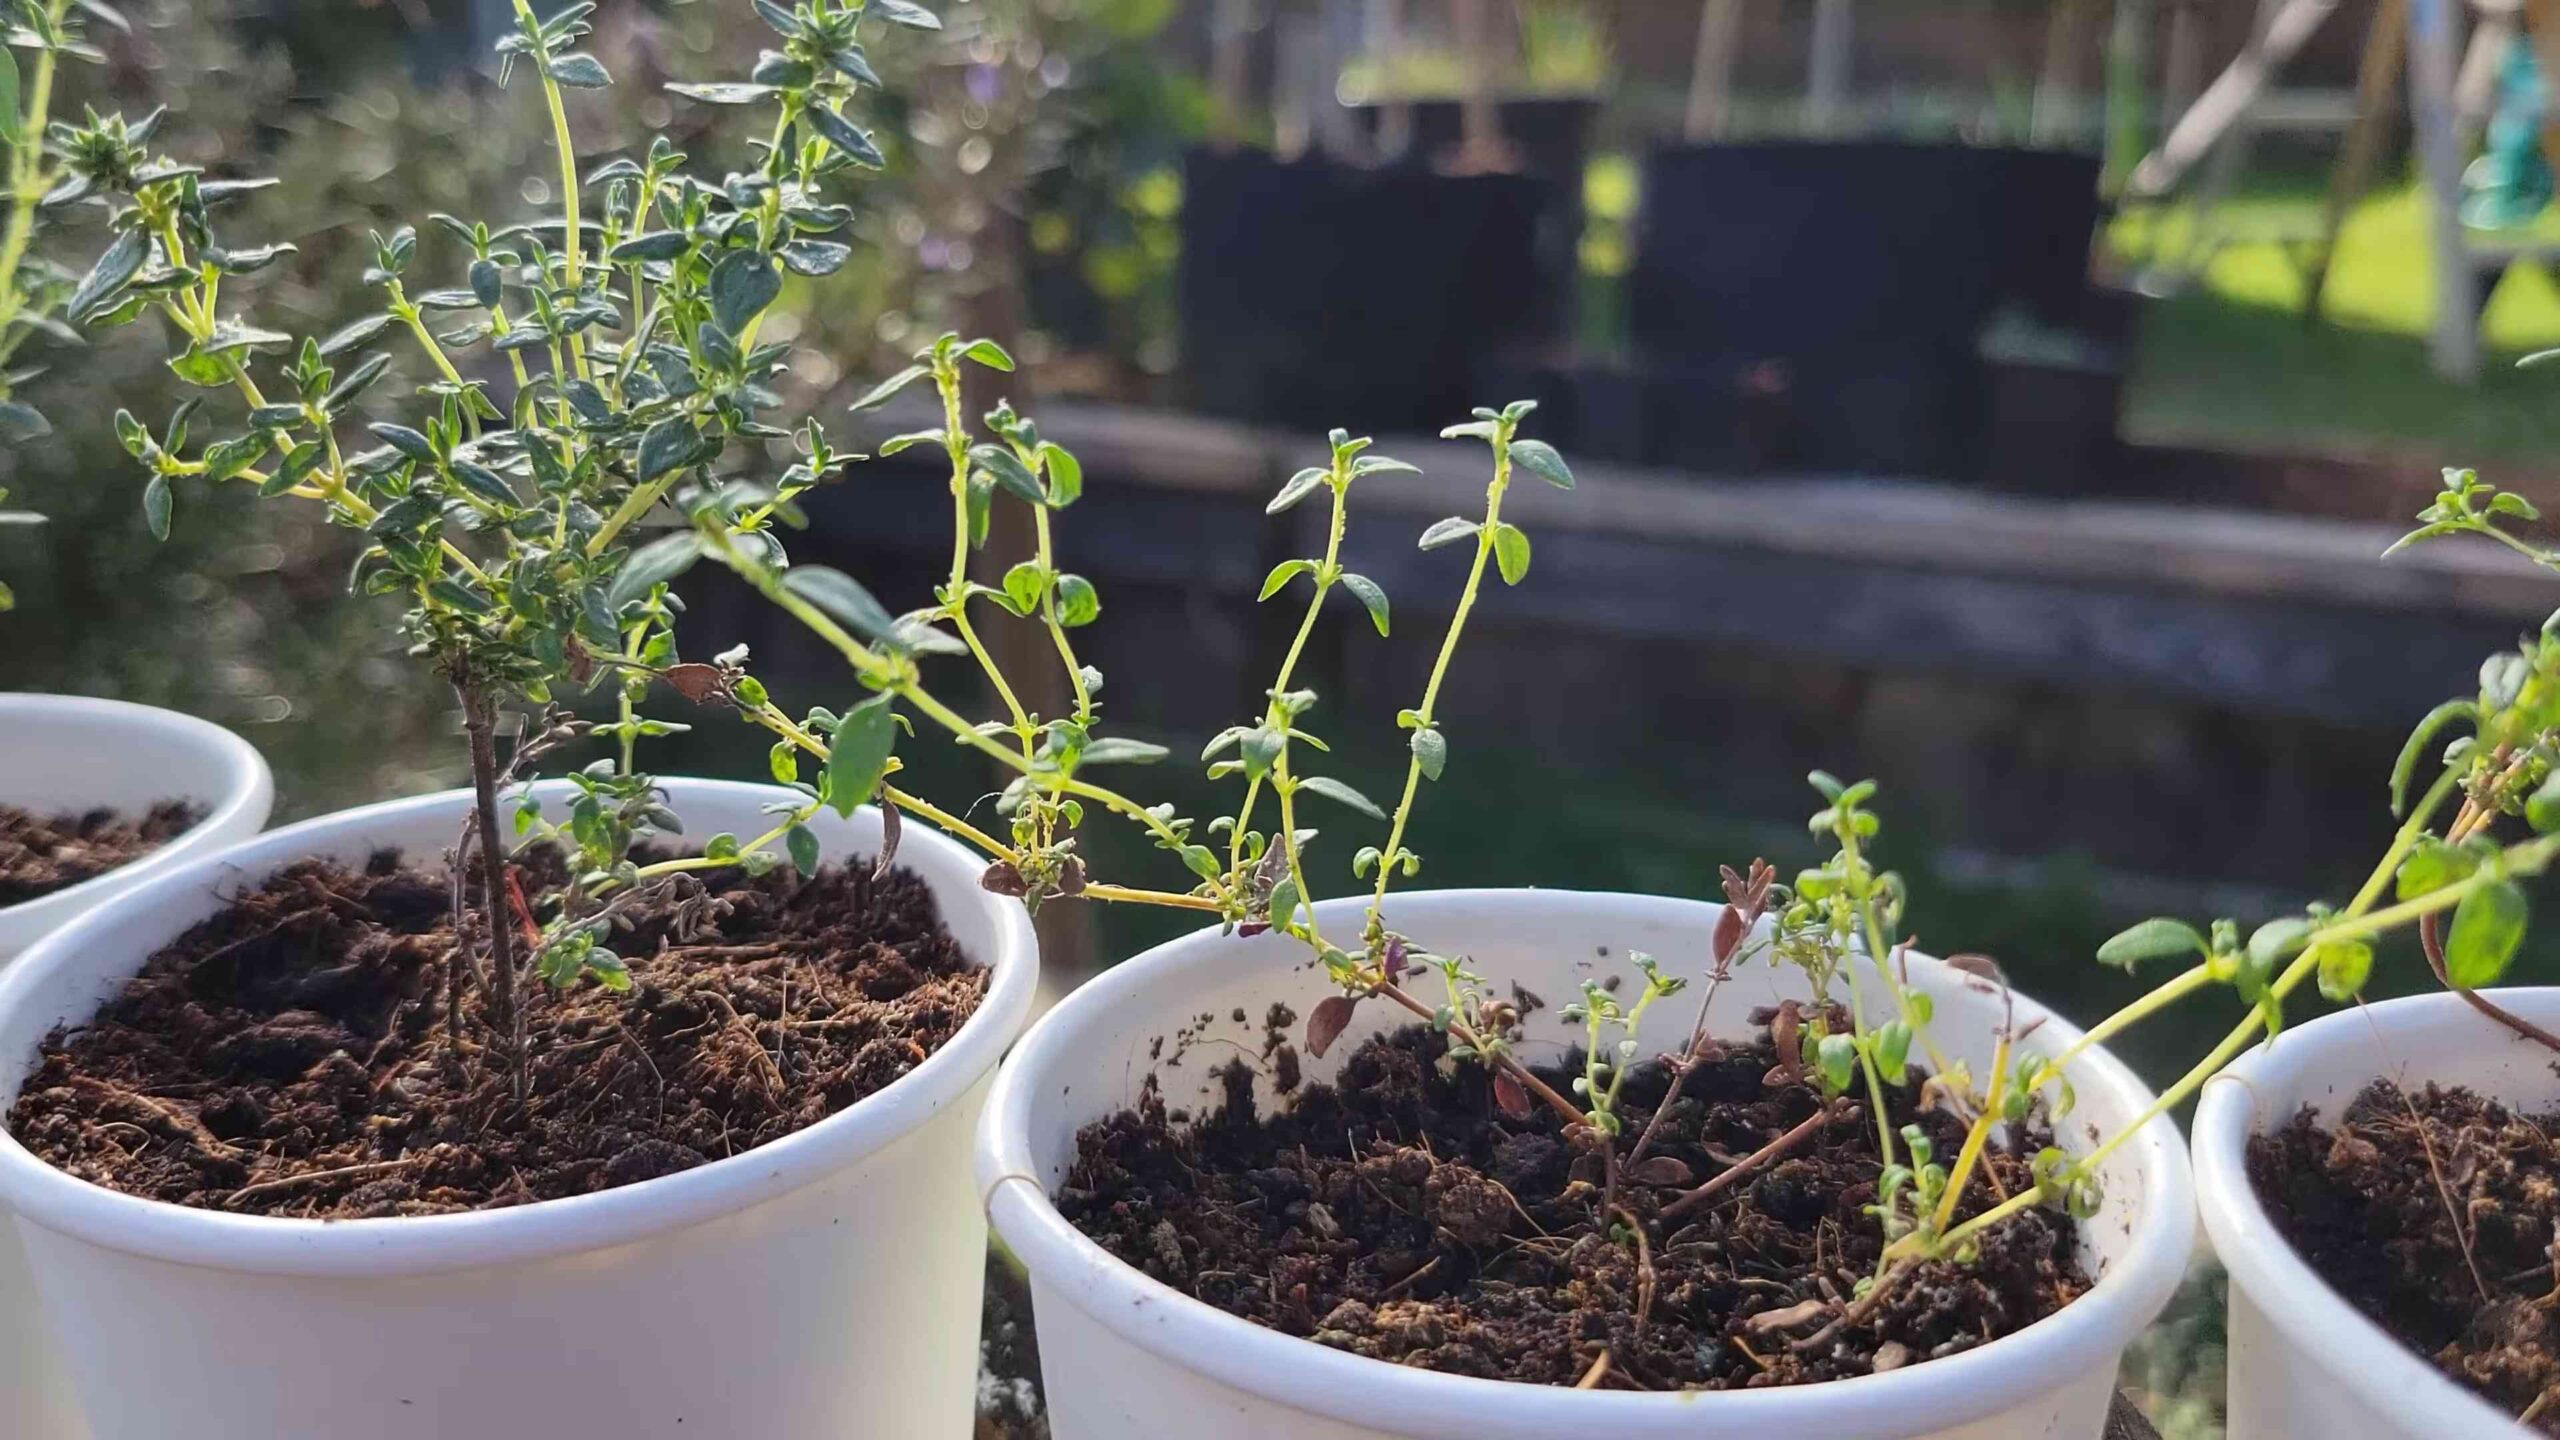
4. **Pruning:** Pruning is essential for keeping your thyme plant healthy and productive. Prune regularly to encourage bushier growth and prevent the plant from becoming leggy. You can prune by snipping off the tips of the stems with scissors or pruning shears. Don’t be afraid to prune! Thyme is very resilient.
5. **Repotting:** You’ll need to repot your thyme plant every year or two as it grows. Choose a pot that’s slightly larger than the current pot. When repotting, gently remove the thyme plant from its pot and loosen the roots. Place the plant in the new pot and fill in around it with fresh potting mix.
6. **Overwintering:** If you live in a cold climate, you’ll need to protect your thyme plant during the winter. You can bring it indoors and place it in a sunny window, or you can leave it outdoors and cover it with a layer of mulch to protect it from the cold.
Harvesting Your Thyme
The best part about growing thyme is being able to harvest it and use it in your cooking!
1. **When to Harvest:** You can start harvesting thyme once the plant is established and has grown to a reasonable size (usually after a few months). The best time to harvest is in the morning, after the dew has dried.
2. **How to Harvest:** Use scissors or pruning shears to snip off the stems of the thyme plant. You can harvest up to one-third of the plant at a time without harming it.
3. **Using Fresh Thyme:** Fresh thyme is best used immediately after harvesting. You can add it to soups, stews, sauces, roasts, and many other dishes.
4. **Drying Thyme:** If you want to preserve your thyme, you can dry it. There are several ways to dry thyme:
* **Air Drying:** Tie the thyme stems together in a bundle and hang them upside down in a cool, dry, and well-ventilated place. It will take a few weeks for the thyme to dry completely.
* **Oven Drying:** Spread the thyme stems on a baking sheet and dry them in a low oven (around 170°F) for a few hours.
* **Dehydrator:** Use a food dehydrator to dry the thyme stems according to the manufacturer’s instructions.
5. **Storing Dried Thyme:** Store dried thyme in an airtight container in a cool, dark, and dry place. It will last for several months.
Troubleshooting
Even with the best care, you might encounter some problems when growing thyme. Here are a few common issues and how to deal with them:
* **Yellowing Leaves:** This could be a sign of overwatering, underwatering, or nutrient deficiency. Check the soil moisture and adjust your watering accordingly. If the soil is dry, water thoroughly. If the soil is soggy, let it dry out before watering again. You might also need to fertilize the plant.
* **Leggy Growth:** This is usually caused by insufficient sunlight. Move the plant to a sunnier location or use a grow light. Pruning can also help to encourage bushier growth.
* **Root Rot:** This is caused by overwatering. Make sure the pot has good drainage and that you’re not watering too frequently. If the plant has root rot, you might need to repot it with fresh potting mix.
* **Pests:** Thyme is relatively pest-resistant, but it can occasionally be affected by aphids or spider mites. If you notice pests, you can try spraying the plant with insecticidal soap.
Enjoy Your Homegrown Thyme!
Growing thyme in a pot is a rewarding experience. Not only will you have fresh herbs at your fingertips, but you’ll also enjoy the beauty and fragrance of this wonderful plant. So, go ahead and give it a try! I’m sure you’ll be successful. Happy gardening!
Conclusion
So, there you have it! Growing thyme in a pot is not just a gardening project; it’s an investment in flavor, fragrance, and a touch of Mediterranean charm right on your windowsill or patio. We’ve walked through the simple steps, from choosing the right pot and soil to providing the perfect sunlight and watering schedule. But why is this DIY trick a must-try?
Firstly, consider the convenience. Fresh thyme, readily available whenever you need it, elevates your cooking from ordinary to extraordinary. No more last-minute trips to the grocery store or settling for dried herbs that lack the vibrant aroma and taste of the fresh stuff. Imagine snipping a few sprigs to season your roasted chicken, infuse your olive oil, or garnish your favorite cocktail. The possibilities are endless!
Secondly, growing your own thyme is incredibly cost-effective. A single thyme plant can provide you with a continuous supply of fresh herbs for months, even years, far outweighing the cost of buying pre-packaged thyme repeatedly. Plus, you’re reducing your environmental impact by avoiding plastic packaging and transportation emissions.
Thirdly, it’s therapeutic! Gardening, even on a small scale, has been proven to reduce stress and improve mental well-being. The simple act of nurturing a plant, watching it grow, and harvesting its bounty can be incredibly rewarding.
But don’t stop there! Feel free to experiment with different varieties of thyme. Lemon thyme adds a citrusy zing to your dishes, while creeping thyme makes a beautiful ground cover in your pot. You can also try companion planting, pairing your thyme with other herbs like rosemary or oregano, which thrive in similar conditions. Consider adding some decorative stones or pebbles to the top of the soil for a more aesthetically pleasing look.
Ready to embark on your thyme-growing adventure? We encourage you to give this DIY trick a try. It’s easier than you think, and the rewards are well worth the effort. Once you’ve harvested your first batch of fresh thyme, we’d love to hear about your experience! Share your photos, tips, and recipes in the comments below. Let’s create a community of thyme-loving gardeners! Remember, the key to success is patience, observation, and a little bit of love. Happy growing!
Frequently Asked Questions (FAQ)
What kind of pot is best for growing thyme?
The ideal pot for growing thyme should be made of terracotta or a similar breathable material. This helps to prevent the soil from becoming waterlogged, which thyme dislikes. Ensure the pot has drainage holes at the bottom to allow excess water to escape. A pot that is at least 6 inches in diameter and depth is recommended to give the thyme plant enough room to grow. You can also use plastic pots, but be extra careful not to overwater.
What type of soil should I use for thyme?
Thyme thrives in well-draining soil that is slightly sandy. A good mix would be equal parts potting soil, sand, and perlite. Avoid using heavy clay soils, as they retain too much moisture and can lead to root rot. You can also purchase a pre-made herb potting mix from your local garden center. The most important thing is to ensure the soil is not too acidic; thyme prefers a slightly alkaline pH.
How much sunlight does thyme need?
Thyme needs at least 6-8 hours of direct sunlight per day to thrive. Place your potted thyme in a sunny location, such as a south-facing windowsill or a sunny spot on your patio. If you don’t have enough natural sunlight, you can supplement with a grow light. Insufficient sunlight can lead to leggy growth and reduced flavor in the thyme leaves.
How often should I water my thyme plant?
Water your thyme plant when the top inch of soil feels dry to the touch. Avoid overwatering, as thyme is susceptible to root rot. Water thoroughly until water drains out of the drainage holes, then allow the soil to dry out again before watering again. During the hotter months, you may need to water more frequently. In the winter, reduce watering as the plant’s growth slows down.
How do I fertilize my thyme plant?
Thyme doesn’t require heavy fertilization. In fact, too much fertilizer can actually reduce the flavor of the leaves. Fertilize sparingly, using a balanced liquid fertilizer diluted to half strength. Apply the fertilizer once a month during the growing season (spring and summer). Avoid fertilizing during the winter months when the plant is dormant.
How do I harvest thyme?
You can start harvesting thyme once the plant is established, usually after a few months. To harvest, simply snip off the stems with scissors or pruning shears. Avoid cutting more than one-third of the plant at a time, as this can stress the plant. The best time to harvest thyme is in the morning, after the dew has dried. Regular harvesting encourages the plant to produce more leaves.
Can I grow thyme indoors?
Yes, you can absolutely grow thyme indoors. Just make sure to provide it with enough sunlight or a grow light. Place the pot near a sunny window and rotate it regularly to ensure even growth. Indoor thyme may require more frequent watering than outdoor thyme, as the air indoors tends to be drier.
How do I propagate thyme?
Thyme can be easily propagated from stem cuttings. Take a 4-6 inch cutting from a healthy stem, remove the lower leaves, and dip the cut end in rooting hormone. Plant the cutting in a pot filled with well-draining potting mix and keep it moist. In a few weeks, the cutting should develop roots. You can also propagate thyme by dividing an established plant.
What are some common problems with growing thyme?
The most common problems with growing thyme are overwatering, root rot, and pests. Overwatering can be prevented by using well-draining soil and allowing the soil to dry out between waterings. Root rot can be treated by removing the affected roots and repotting the plant in fresh soil. Pests such as aphids and spider mites can be controlled with insecticidal soap or neem oil.
Can I grow different varieties of thyme in the same pot?
While it’s possible to grow different varieties of thyme in the same pot, it’s generally best to stick to one variety per pot. Different varieties of thyme have different growth habits and may compete for resources. If you do choose to grow multiple varieties in the same pot, make sure to give them plenty of space and monitor their growth closely.
How do I overwinter thyme?
Thyme is a perennial herb, meaning it can survive for multiple years. In colder climates, you may need to overwinter your thyme plant indoors. Before the first frost, bring the pot indoors and place it in a sunny location. Water sparingly during the winter months. In the spring, gradually acclimate the plant to outdoor conditions before moving it back outside.
Is thyme safe for pets?
Thyme is generally considered safe for pets in small amounts. However, large quantities of thyme can cause digestive upset in some animals. If you have pets that are prone to eating plants, it’s best to keep your thyme plant out of their reach.

Leave a Comment