

Growing Bottle Gourd in Small Spaces can feel like a daunting task, right? I get it! You see those sprawling vines laden with gourds in pictures and think, “No way can I do that with my tiny balcony or patio.” But guess what? You absolutely can!
For centuries, bottle gourds, also known as calabash, have been cultivated across cultures, not just for food, but also for crafting utensils, musical instruments, and even decorative art. Think of the ingenuity of our ancestors, using every part of this amazing plant! Now, we can tap into that same resourcefulness, even in the most limited areas.
Why should you bother learning these DIY tricks? Well, imagine harvesting your own fresh, organic bottle gourds, knowing exactly where they came from and how they were grown. Plus, growing bottle gourd in small spaces is incredibly rewarding. It’s a fantastic way to connect with nature, reduce your carbon footprint, and add a touch of green to your urban environment. This article is packed with easy-to-follow tips and hacks that will empower you to successfully cultivate these fascinating plants, no matter how limited your space may be. Let’s get started and transform your small space into a thriving gourd garden!

Growing Bottle Gourds in Small Spaces: A DIY Vertical Garden Guide
Hey there, fellow gardening enthusiasts! So, you’re dreaming of homegrown bottle gourds but think you don’t have the space? Think again! I’m going to walk you through how to create a thriving vertical garden for bottle gourds, even if you’re working with a balcony, patio, or small backyard. It’s easier than you think, and the reward of harvesting your own gourds is totally worth it.
Choosing the Right Bottle Gourd Variety
Before we dive into the construction, let’s talk gourds. Not all bottle gourds are created equal, especially when space is a concern.
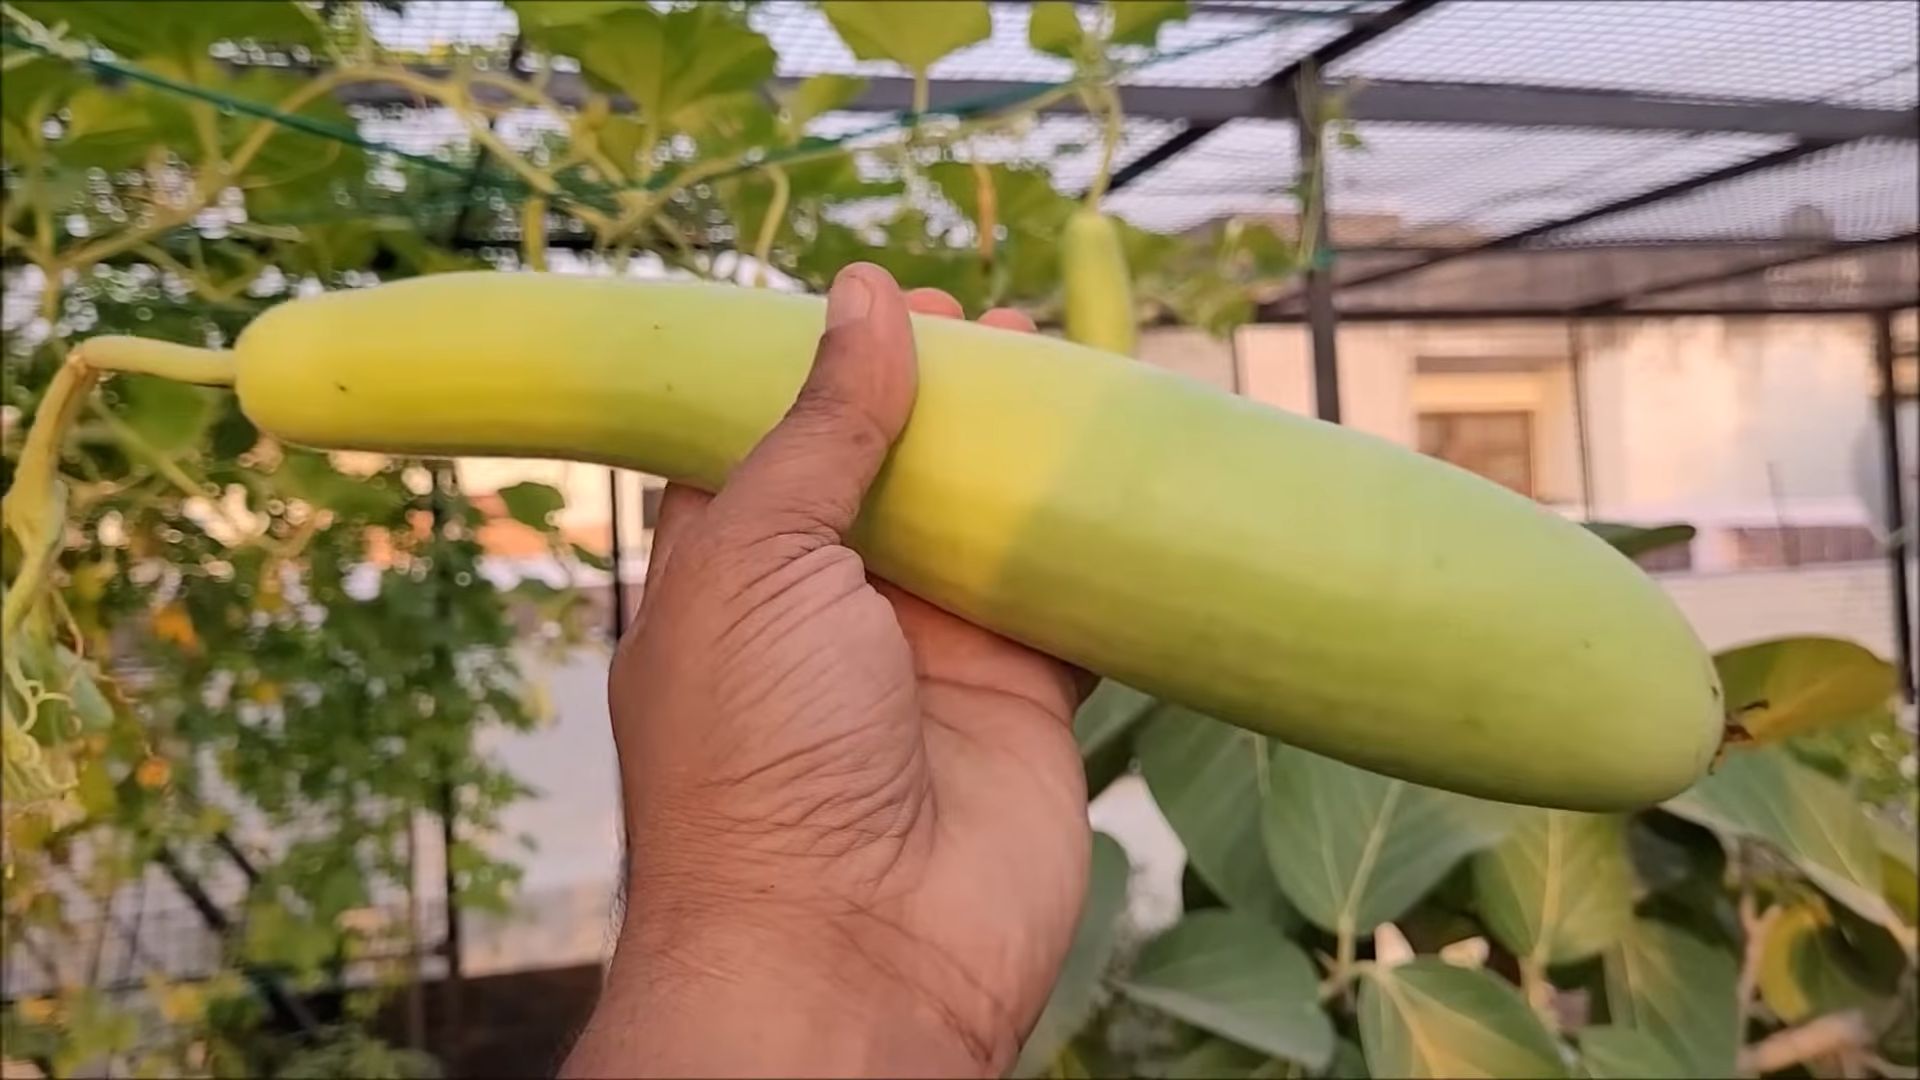
* Consider Size: Opt for smaller varieties like ‘Short Neck’ or ‘Long Handle’ if you’re truly tight on space. These tend to be more manageable on a vertical structure. Larger varieties will need a very robust support system.
* Days to Maturity: Check the seed packet for the “days to maturity.” Shorter maturity times mean you’ll be harvesting sooner!
* Disease Resistance: Look for varieties that are resistant to common gourd diseases like powdery mildew. This will save you a lot of headaches later.
Building Your Vertical Support System
This is where the magic happens! We’re going to create a sturdy structure that will allow your bottle gourds to climb and thrive. I’m going to give you a few options, depending on your budget and DIY skills.
Option 1: The Trellis Method (Simple and Budget-Friendly)
This is the easiest and most affordable option. You can buy a pre-made trellis or build one yourself from wood or bamboo.
Materials You’ll Need:
* A sturdy trellis (at least 6 feet tall)
* Heavy-duty garden twine or zip ties
* Two strong stakes (if your trellis isn’t self-supporting)
* A large container (at least 18 inches in diameter)
Step-by-Step Instructions:
1. Prepare Your Container: Fill your container with a well-draining potting mix. I like to add some compost for extra nutrients.
2. Position the Trellis: Place the trellis behind the container. If it’s not self-supporting, drive the stakes into the ground on either side of the trellis and secure it with twine or zip ties. Make sure the trellis is stable and won’t topple over when the gourds get heavy.
3. Plant Your Seedlings: Plant your bottle gourd seedlings at the base of the trellis, spacing them about 12-18 inches apart.
4. Guide the Vines: As the gourd vines grow, gently guide them up the trellis, using twine or zip ties to secure them. Be careful not to damage the delicate vines.
5. Water and Fertilize: Water regularly, especially during hot weather. Fertilize every few weeks with a balanced fertilizer.
Option 2: The A-Frame Structure (More Robust and Visually Appealing)
This option provides more support and looks great in the garden. It requires a bit more construction, but it’s still manageable for most DIYers.
Materials You’ll Need:
* Six wooden posts (at least 6 feet long)
* Chicken wire or sturdy netting
* Heavy-duty staples or nails
* A staple gun or hammer
* Measuring tape
* Saw (if you need to cut the posts)
* Large container (at least 18 inches in diameter)
Step-by-Step Instructions:
1. Cut the Posts (If Necessary): If your posts are too long, cut them to the desired length.
2. Assemble the Frame: Arrange the posts in an A-frame shape, with three posts on each side. The width of the base should be about 3-4 feet.
3. Secure the Frame: Use screws or nails to secure the posts together at the top of the A-frame. Make sure the frame is sturdy.
4. Attach the Chicken Wire or Netting: Staple or nail the chicken wire or netting to the inside of the A-frame, creating a climbing surface for the gourds. Make sure the netting is taut and secure.
5. Prepare Your Container: Fill your container with a well-draining potting mix. I like to add some compost for extra nutrients.
6. Position the A-Frame: Place the A-frame over the container. Make sure it’s stable and won’t tip over.
7. Plant Your Seedlings: Plant your bottle gourd seedlings at the base of the A-frame, spacing them about 12-18 inches apart.
8. Guide the Vines: As the gourd vines grow, gently guide them up the chicken wire or netting.
9. Water and Fertilize: Water regularly, especially during hot weather. Fertilize every few weeks with a balanced fertilizer.
Option 3: The Pallet Garden (Recycled and Rustic)
This is a great option if you’re looking for a sustainable and budget-friendly solution. You can often find pallets for free or very cheap.
Materials You’ll Need:
* A wooden pallet (make sure it’s heat-treated and not chemically treated)
* Heavy-duty landscape fabric
* Staple gun
* Potting mix
* Large container (at least 18 inches in diameter)
Step-by-Step Instructions:
1. Prepare the Pallet: Inspect the pallet for any loose nails or splinters. Remove them or hammer them in.
2. Line the Pallet: Staple landscape fabric to the back and sides of the pallet, creating pockets for the soil. Make sure the fabric is securely attached and that there are no gaps.
3. Fill the Pockets: Fill the pockets with potting mix.
4. Prepare Your Container: Fill your container with a well-draining potting mix. I like to add some compost for extra nutrients.
5. Position the Pallet: Lean the pallet against a wall or fence, or secure it with stakes.
6. Plant Your Seedlings: Plant your bottle gourd seedlings in the container at the base of the pallet.
7. Guide the Vines: As the gourd vines grow, gently guide them up the pallet.
8. Water and Fertilize: Water regularly, especially during hot weather. Fertilize every few weeks with a balanced fertilizer.
Planting Your Bottle Gourd Seedlings
Now that your vertical support system is ready, it’s time to plant your bottle gourd seedlings.
Things to Keep in Mind:
* Timing is Key: Bottle gourds are warm-weather plants, so wait until the danger of frost has passed before planting.
* Starting from Seed: You can start seeds indoors 4-6 weeks before the last frost. This will give you a head start on the growing season.
* Hardening Off: If you started your seedlings indoors, gradually acclimate them to outdoor conditions before planting. This process is called “hardening off.”
* Planting Depth: Plant the seedlings at the same depth they were growing in their containers.
* Spacing: Space the seedlings about 12-18 inches apart.
Step-by-Step Instructions:
1. Dig a Hole: Dig a hole in the potting mix that is slightly larger than the root ball of the seedling.
2. Remove the Seedling: Gently remove the seedling from its container, being careful not to damage the roots.
3. Place the Seedling: Place the seedling in the hole and backfill with potting mix.
4. Water Thoroughly: Water the seedling thoroughly after planting.
5. Mulch: Add a layer of mulch around the base of the plant to help retain moisture and suppress weeds.
Caring for Your Growing Bottle Gourds
Once your bottle gourds are planted, it’s important to provide them with the care they need to thrive.
Essential Care Tips:
* Watering: Bottle gourds need consistent moisture, especially during hot weather. Water deeply whenever the top inch of soil feels dry.
* Fertilizing: Fertilize every few weeks with a balanced fertilizer. You can also use a liquid seaweed fertilizer for an extra boost.
* Pruning: Prune the vines to encourage branching and fruit production. Remove any dead or diseased leaves.
* Pollination: Bottle gourds are pollinated by insects. If you’re not seeing any fruit set, you may need to hand-pollinate the flowers. To do this, use a small paintbrush to transfer pollen from the male flowers to the female flowers. You can identify female flowers by the small gourd-like swelling at the base of the flower.
* Pest and Disease Control: Keep an eye out for pests and diseases. Common pests include aphids
Conclusion
So, there you have it! Growing bottle gourd in small spaces might seem like a daunting task, but with a little ingenuity and these simple DIY tricks, you can absolutely cultivate your own thriving vine, even if you’re limited to a balcony, patio, or small garden. We’ve shown you how to maximize vertical space, create a nutrient-rich growing medium, and provide the necessary support for your bottle gourd to flourish.
Why is this DIY approach a must-try? Because it empowers you to enjoy fresh, homegrown produce regardless of your living situation. Imagine the satisfaction of harvesting your own bottle gourds, knowing you nurtured them from seed to table, all within the confines of your limited space. Beyond the delicious reward, you’ll also be contributing to a more sustainable lifestyle, reducing your reliance on store-bought vegetables and minimizing your carbon footprint. Plus, the lush greenery of a bottle gourd vine adds a touch of natural beauty to any small space, creating a tranquil and inviting atmosphere.
But don’t stop there! Feel free to experiment with different varieties of bottle gourd to find your favorite. Try growing miniature or ornamental varieties if space is truly at a premium. You can also explore different trellis designs to create a visually stunning and functional support system for your vine. Consider companion planting with herbs like basil or marigolds to deter pests and attract beneficial insects.
And remember, success in gardening often comes down to observation and adaptation. Pay close attention to your bottle gourd’s needs, adjusting your watering and fertilizing schedule as necessary. Don’t be afraid to prune the vine to encourage bushier growth and better fruit production.
We are confident that with these DIY tricks, you’ll be well on your way to harvesting your own bountiful crop of bottle gourds. We encourage you to take the plunge and give it a try. The process is rewarding, the results are delicious, and the experience is truly unforgettable.
Most importantly, we want to hear about your journey! Share your experiences, successes, and challenges in the comments below. Post pictures of your bottle gourd vines and harvests on social media using the hashtag #SmallSpaceGourdGrowing. Let’s create a community of small-space gardeners who are passionate about growing their own food and sharing their knowledge with others. Your insights could inspire someone else to embark on their own gardening adventure. So, get your hands dirty, embrace the challenge, and discover the joy of growing bottle gourd in your own small space. Happy gardening!
Frequently Asked Questions (FAQ)
What is the best time to start growing bottle gourd?
The best time to start growing bottle gourd is typically in the late spring or early summer, after the last frost has passed. Bottle gourds are warm-season crops and require consistent temperatures of at least 70°F (21°C) for optimal growth. Starting them indoors a few weeks before the last frost can give them a head start. If you live in a region with a long growing season, you can also direct sow the seeds once the soil has warmed up.
What kind of soil is best for growing bottle gourd in containers?
Bottle gourds thrive in well-draining, fertile soil that is rich in organic matter. A good potting mix for containers should consist of a combination of garden soil, compost, and perlite or vermiculite. This will provide the necessary nutrients, drainage, and aeration for healthy root development. You can also amend the soil with slow-release fertilizer to provide a steady supply of nutrients throughout the growing season. Avoid using heavy clay soil, as it can become waterlogged and hinder root growth.
How much sunlight does bottle gourd need?
Bottle gourds require at least 6-8 hours of direct sunlight per day to thrive. Choose a location for your container that receives ample sunlight throughout the day. If you are growing bottle gourd indoors, you may need to supplement with artificial lighting, such as grow lights, to ensure they receive enough light. Insufficient sunlight can lead to stunted growth, reduced fruit production, and increased susceptibility to pests and diseases.
How often should I water my bottle gourd plant?
Bottle gourds need consistent watering, especially during hot and dry weather. Water deeply whenever the top inch of soil feels dry to the touch. Avoid overwatering, as this can lead to root rot. The frequency of watering will depend on factors such as the size of the container, the weather conditions, and the type of soil you are using. Check the soil moisture regularly and adjust your watering schedule accordingly. Mulching around the base of the plant can help to retain moisture and reduce the need for frequent watering.
What kind of fertilizer should I use for bottle gourd?
Bottle gourds are heavy feeders and require regular fertilization to support their rapid growth and fruit production. Use a balanced fertilizer with a ratio of 10-10-10 or 14-14-14, or a fertilizer specifically formulated for vegetables. Apply the fertilizer according to the package instructions, typically every 2-3 weeks. You can also supplement with organic fertilizers such as compost tea or fish emulsion. Avoid over-fertilizing, as this can lead to excessive vegetative growth and reduced fruit production.
How do I provide support for my bottle gourd vine in a small space?
Providing adequate support is crucial for growing bottle gourd in small spaces. Use a sturdy trellis, fence, or other vertical structure to support the vine as it grows. You can also use ropes or wires to train the vine to climb. Ensure that the support structure is strong enough to bear the weight of the mature vine and the developing gourds. Regularly prune the vine to control its size and shape and to encourage branching.
How do I prevent pests and diseases from affecting my bottle gourd plant?
Bottle gourds can be susceptible to various pests and diseases, such as aphids, squash bugs, powdery mildew, and downy mildew. To prevent these problems, practice good sanitation by removing any dead or diseased leaves and debris from around the plant. Regularly inspect your plant for signs of pests or diseases and take action promptly if you notice any problems. Use organic pest control methods such as insecticidal soap or neem oil to control pests. Ensure good air circulation around the plant to prevent fungal diseases.
How long does it take for bottle gourds to mature?
The time it takes for bottle gourds to mature depends on the variety and the growing conditions. Generally, it takes about 90-120 days from planting to harvest. The gourds are ready to harvest when they are mature and the skin is hard and dry. You can test the maturity by tapping on the gourd; a mature gourd will sound hollow. Use a sharp knife or pruning shears to cut the gourd from the vine, leaving a few inches of stem attached.
Can I grow bottle gourd in a hanging basket?
While it’s possible to grow smaller varieties of bottle gourd in a very large and sturdy hanging basket, it’s generally not recommended for the larger, more common varieties. The weight of the mature gourd can be significant, potentially causing the basket to break or the vine to detach. If you choose to try it, ensure the basket is extremely strong and well-supported, and select a miniature or ornamental variety of bottle gourd.
What can I do with my harvested bottle gourds?
Harvested bottle gourds can be used for a variety of purposes, depending on the variety and your preferences. Young, tender gourds can be eaten as a vegetable, while mature, dried gourds can be used for crafting and decoration. They can be made into bowls, dippers, musical instruments, and other decorative items. Before using a dried gourd for crafting, it needs to be properly cured and dried to prevent rotting.

Leave a Comment