

Growing grape vines at home might seem like something reserved for sprawling vineyards in Napa Valley, but trust me, it’s more achievable than you think! Imagine stepping into your backyard and plucking juicy, sun-ripened grapes straight from your own vine. Sounds dreamy, right? This isn’t just a pipe dream; it’s a delicious reality you can cultivate with a little know-how.
Grape cultivation boasts a rich history, dating back thousands of years. From ancient Egyptians to the Romans, grapes have been prized for their fruit and, of course, their wine. The practice of growing grape vines has been passed down through generations, evolving into the techniques we use today. But don’t worry, you don’t need centuries of experience to get started!
In today’s world, where we’re increasingly conscious of where our food comes from, growing your own grapes offers a fantastic opportunity to connect with nature and enjoy fresh, organic produce. Plus, let’s be honest, store-bought grapes just don’t compare to the flavor of homegrown ones. This DIY guide will equip you with simple yet effective tricks and hacks to successfully cultivate your own grapevine, even if you’re a complete beginner. I’m here to show you that with a little patience and these easy-to-follow steps, you can enjoy the sweet rewards of your own backyard vineyard!
DIY: From Seed to Sip – Growing Your Own Grape Vines
Okay, so you want to grow your own grapes? Awesome! It’s a rewarding experience, though it does require patience. Trust me, the taste of homemade wine or fresh-picked grapes from your own backyard is totally worth the effort. This guide will walk you through the entire process, from starting with seeds (a bit more challenging, but super satisfying!) to nurturing your vines for years to come.
Choosing Your Grape Variety
Before we dive into the nitty-gritty, let’s talk grapes! Picking the right variety is crucial for success. Consider your climate, soil type, and what you plan to do with your grapes.
* **Climate:** Some grape varieties thrive in warm climates, while others are more cold-hardy. Research which grapes are best suited for your region. Local nurseries are a great resource!
* **Soil:** Grapes generally prefer well-drained soil. We’ll talk about soil amendments later, but knowing your soil type upfront will help you choose the right variety.
* **Purpose:** Are you planning to make wine, juice, or just eat them fresh? Different varieties are better suited for different purposes. Wine grapes tend to be smaller and have a higher sugar content. Table grapes are larger and sweeter.
Some popular and relatively easy-to-grow varieties include:
* **Concord:** A classic American grape, known for its juice and jelly. Very cold-hardy.
* **Niagara:** Another American grape, similar to Concord but with a lighter flavor.
* **Thompson Seedless:** A popular table grape, but may require a warmer climate.
* **Cabernet Sauvignon:** A popular red wine grape, requires a longer growing season.
* **Chardonnay:** A popular white wine grape, adaptable to various climates.
Starting from Seed: A Labor of Love
Growing grapes from seed is a longer process than starting with cuttings or bare-root vines, but it’s a fun experiment and allows you to develop a truly unique plant. Be aware that grapes grown from seed may not be true to the parent plant, meaning they might not produce the exact same type of grape.
Important Note: Grape seeds require stratification (a period of cold, moist storage) to break dormancy.
Here’s how to do it:
1. **Collect or Purchase Grape Seeds:** You can collect seeds from ripe grapes (make sure they are from a variety you like!) or purchase them from a reputable seed supplier. If collecting, clean the seeds thoroughly by removing any pulp.
2. **Stratify the Seeds:** This is crucial! Place the seeds in a damp paper towel, fold it over, and then put it in a sealed plastic bag. Store the bag in the refrigerator (not the freezer!) for 2-3 months. The ideal temperature is around 35-40°F (2-4°C). Check the paper towel periodically to make sure it stays damp but not soggy.
3. **Prepare Seedling Trays:** Fill seedling trays with a well-draining seed-starting mix. I like to use a mix of peat moss, perlite, and vermiculite.
4. **Sow the Seeds:** After stratification, sow the seeds about ½ inch deep in the seedling trays. Gently water the soil.
5. **Provide Warmth and Light:** Place the seedling trays in a warm location (around 70-75°F or 21-24°C) with plenty of indirect sunlight. You can also use a grow light.
6. **Keep the Soil Moist:** Water the seedlings regularly, keeping the soil consistently moist but not waterlogged.
7. **Transplant Seedlings:** Once the seedlings have developed several sets of true leaves (usually after a few weeks), you can transplant them into larger pots. Use a well-draining potting mix.
8. **Harden Off Seedlings:** Before planting your grape seedlings outdoors, you need to “harden them off.” This means gradually exposing them to outdoor conditions over a period of 1-2 weeks. Start by placing them in a sheltered location for a few hours each day, gradually increasing the amount of time they spend outdoors.
9. **Planting Outdoors:** Choose a sunny location with well-drained soil. Dig a hole that is large enough to accommodate the root ball of the seedling. Gently remove the seedling from the pot and place it in the hole. Backfill with soil and water thoroughly. Space the seedlings according to the recommended spacing for your chosen grape variety (usually 8-10 feet apart).
Planting Bare-Root Vines: A Faster Start
Planting bare-root vines is a more common and often faster way to get started. You’ll receive dormant vines without soil, ready to be planted.
1. **Order Bare-Root Vines:** Order your bare-root vines from a reputable nursery in the late winter or early spring.
2. **Soak the Roots:** As soon as you receive your bare-root vines, soak the roots in water for 12-24 hours. This will rehydrate them and prepare them for planting.
3. **Prepare the Planting Site:** Choose a sunny location with well-drained soil. Grapes need at least 6-8 hours of sunlight per day. Amend the soil with compost or other organic matter to improve drainage and fertility.
4. **Dig the Planting Hole:** Dig a hole that is wide and deep enough to accommodate the root system of the vine. The hole should be about twice as wide as the root ball and deep enough so that the top of the root ball will be level with the ground surface.
5. **Plant the Vine:** Carefully remove the vine from the water and place it in the hole. Spread the roots out evenly. Backfill the hole with soil, gently tamping it down around the roots.
6. **Water Thoroughly:** Water the newly planted vine thoroughly.
7. **Prune the Vine:** After planting, prune the vine back to 2-3 buds. This will encourage strong growth.
8. **Install a Support System:** Grape vines need a support system to grow properly. You can use a trellis, arbor, or fence. Install the support system at the time of planting.
Caring for Your Grape Vines: The Long Haul
Once your grape vines are planted, it’s important to provide them with proper care to ensure healthy growth and a bountiful harvest.
Watering
* **First Year:** Water your grape vines regularly during the first year, especially during dry periods. Aim for about 1 inch of water per week.
* **Established Vines:** Once the vines are established, they are more drought-tolerant. Water them deeply but less frequently, allowing the soil to dry out slightly between waterings. Avoid overwatering, as this can lead to root rot.
Fertilizing
* **Soil Testing:** Before fertilizing, it’s a good idea to get your soil tested to determine its nutrient levels. This will help you choose the right fertilizer.
* **Fertilizer Application:** In general, grape vines benefit from a balanced fertilizer applied in the spring. Look for a fertilizer with a ratio of 10-10-10 or 12-12-12. Follow the instructions on the fertilizer label.
* **Organic Options:** You can also use organic fertilizers, such as compost, manure, or bone meal.
Pruning
Pruning is essential for grape vine health and fruit production. It helps to control the size and shape of the vine, improve air circulation, and increase fruit quality.
* **Dormant Pruning:** The best time to prune grape vines is during the dormant season (late winter or early spring), before the buds begin to swell.
* **Pruning Techniques:** There are several different pruning techniques, depending on the grape variety and the desired training system. Some common techniques include cane pruning and spur pruning. Research the best pruning method for your chosen variety.
* **Removing Dead or Diseased Wood:** Always remove any dead, damaged, or diseased wood during pruning.
Pest and Disease Control
Grape vines can be susceptible to various pests and diseases. Regular monitoring and preventative measures are important.
* **Common Pests:** Some common grape vine pests include aphids, Japanese beetles, and grape phylloxera.
* **Common Diseases:** Some common grape vine diseases include powdery mildew, downy mildew, and black rot.
* **Integrated Pest Management (IPM):** Use an integrated pest management approach, which combines cultural practices, biological controls, and chemical controls to minimize pest and disease problems.
* **Organic Options:** There are many organic options for pest and disease control, such as neem oil, insecticidal soap, and copper fungicides.
Weed Control
Weeds can compete with grape vines for water and nutrients. Keep the area around your grape vines free of weeds.
* **Mulching:** Mulching is a great way to suppress weeds and conserve moisture. Use organic mulches, such as wood chips, straw, or compost.
* **Hand-Weeding:** Hand-weeding is another effective way to control weeds.
* **Herbicides:** If you choose to use herbicides, be sure
Conclusion
So, there you have it – a comprehensive guide to successfully growing grape vines right in your own backyard! We’ve covered everything from selecting the right variety for your climate and soil to planting, pruning, and protecting your precious vines from pests and diseases. But why should you embark on this journey of cultivating your own grapes?
Simply put, growing your own grapes offers a unique and rewarding experience that store-bought grapes simply can’t match. Imagine the satisfaction of harvesting plump, juicy grapes that you nurtured from tiny vines, knowing exactly where they came from and how they were grown. The taste difference alone is often remarkable – homegrown grapes burst with flavor, offering a sweetness and complexity that is often lost in commercially grown varieties.
Beyond the superior taste, growing your own grapes allows you to control the entire process, ensuring that your grapes are grown organically and free from harmful pesticides. This is a huge benefit for those concerned about their health and the environment. Plus, the process of tending to your grape vines can be incredibly therapeutic, providing a connection to nature and a sense of accomplishment.
But the benefits don’t stop there! Grape vines are also beautiful additions to any landscape, providing shade and visual interest. They can be trained to grow on arbors, fences, or pergolas, creating stunning focal points in your garden. And, of course, there’s the potential to make your own wine, juice, or jams from your homegrown grapes!
Variations and Suggestions:
Don’t be afraid to experiment with different grape varieties to find the ones that thrive in your specific climate and soil conditions. Consider trying different training methods to achieve the desired aesthetic and maximize fruit production. You can also explore companion planting to attract beneficial insects and deter pests. For example, planting rosemary or lavender near your grape vines can help repel grape phylloxera.
If you live in a colder climate, consider growing your grape vines in containers so you can move them indoors during the winter months. This will protect them from frost and ensure that they survive the cold season. You can also use row covers or other protective measures to shield your vines from harsh weather conditions.
Another fun variation is to try grafting different grape varieties onto a single rootstock. This allows you to grow multiple types of grapes on the same vine, providing a wider range of flavors and textures.
A Must-Try DIY Project:
Growing grape vines is a must-try DIY project for anyone who enjoys gardening, appreciates fresh, flavorful produce, and wants to add a touch of beauty to their landscape. It’s a challenging but ultimately rewarding endeavor that will provide you with years of enjoyment.
We encourage you to take the plunge and start growing your own grapes today! Don’t be intimidated by the perceived complexity of the process. With a little research, planning, and effort, you can successfully cultivate your own vineyard, no matter how small.
And most importantly, we want to hear about your experiences! Share your tips, tricks, and successes with us in the comments below. Let’s create a community of grape-growing enthusiasts who can learn from each other and inspire others to embark on this exciting journey. So, get out there, plant those vines, and start enjoying the fruits (literally!) of your labor. Remember, the key to successful grape growing is patience, persistence, and a willingness to learn. Happy growing!
Frequently Asked Questions (FAQ)
What is the best time of year to plant grape vines?
The best time to plant grape vines is typically in the early spring or late fall when the vines are dormant. This allows the roots to establish themselves before the growing season begins. In warmer climates, fall planting is often preferred, as it gives the vines more time to develop a strong root system before the heat of summer arrives. In colder climates, spring planting is generally recommended to avoid the risk of frost damage to newly planted vines.
How much space do grape vines need?
Grape vines need adequate space to grow and thrive. The spacing between vines will depend on the variety and the training system you choose. As a general rule, allow at least 8-10 feet between vines in a row and 10-12 feet between rows. This will provide enough room for the vines to spread out and receive adequate sunlight and air circulation. If you are growing grape vines on an arbor or pergola, you may need to adjust the spacing accordingly.
What type of soil is best for growing grape vines?
Grape vines prefer well-drained soil that is rich in organic matter. The ideal soil pH is between 6.0 and 7.0. Before planting, it’s a good idea to test your soil to determine its pH and nutrient levels. Amend the soil as needed to improve drainage and fertility. Adding compost or other organic matter can help improve the soil structure and provide essential nutrients for the vines. Avoid planting grape vines in heavy clay soil, as this can lead to root rot.
How often should I water my grape vines?
Newly planted grape vines need regular watering to help them establish their root systems. Water deeply and frequently, especially during dry periods. Once the vines are established, they will be more drought-tolerant, but they will still benefit from occasional watering during hot, dry weather. Avoid overwatering, as this can lead to root rot. A good rule of thumb is to water when the top inch of soil feels dry to the touch.
How do I prune grape vines?
Pruning is essential for maintaining the health and productivity of grape vines. The timing and method of pruning will depend on the variety and the training system you choose. Generally, grape vines are pruned in the late winter or early spring when they are dormant. The goal of pruning is to remove dead, damaged, or diseased wood, as well as to shape the vine and promote fruit production. There are several different pruning methods, including cane pruning and spur pruning. Research the best pruning method for your specific grape variety and training system.
How do I protect my grape vines from pests and diseases?
Grape vines are susceptible to a variety of pests and diseases, including grape phylloxera, Japanese beetles, powdery mildew, and black rot. To protect your vines, it’s important to monitor them regularly for signs of infestation or disease. Use organic pest control methods whenever possible, such as insecticidal soap or neem oil. Prune your vines regularly to improve air circulation and reduce the risk of fungal diseases. You can also use row covers or other protective measures to shield your vines from pests and harsh weather conditions.
When will my grape vines start producing fruit?
Grape vines typically start producing fruit in their third or fourth year after planting. The amount of fruit they produce will increase as they mature. Be patient and continue to care for your vines, and you will eventually be rewarded with a bountiful harvest of delicious grapes. Remember that proper pruning and training are essential for maximizing fruit production.
Can I grow grape vines in containers?
Yes, you can grow grape vines in containers, especially if you live in a colder climate where you need to move them indoors during the winter. Choose a large container with good drainage and use a well-draining potting mix. Select a grape variety that is suitable for container growing, such as ‘Thompson Seedless’ or ‘Reliance’. Water and fertilize your container-grown grape vines regularly, and prune them as needed to maintain their shape and size.
What are some good grape varieties to grow for beginners?
Some good grape varieties to grow for beginners include ‘Concord’, ‘Niagara’, ‘Reliance’, and ‘Thompson Seedless’. These varieties are relatively easy to grow and are known for their disease resistance and good fruit production. Choose a variety that is well-suited to your climate and soil conditions.
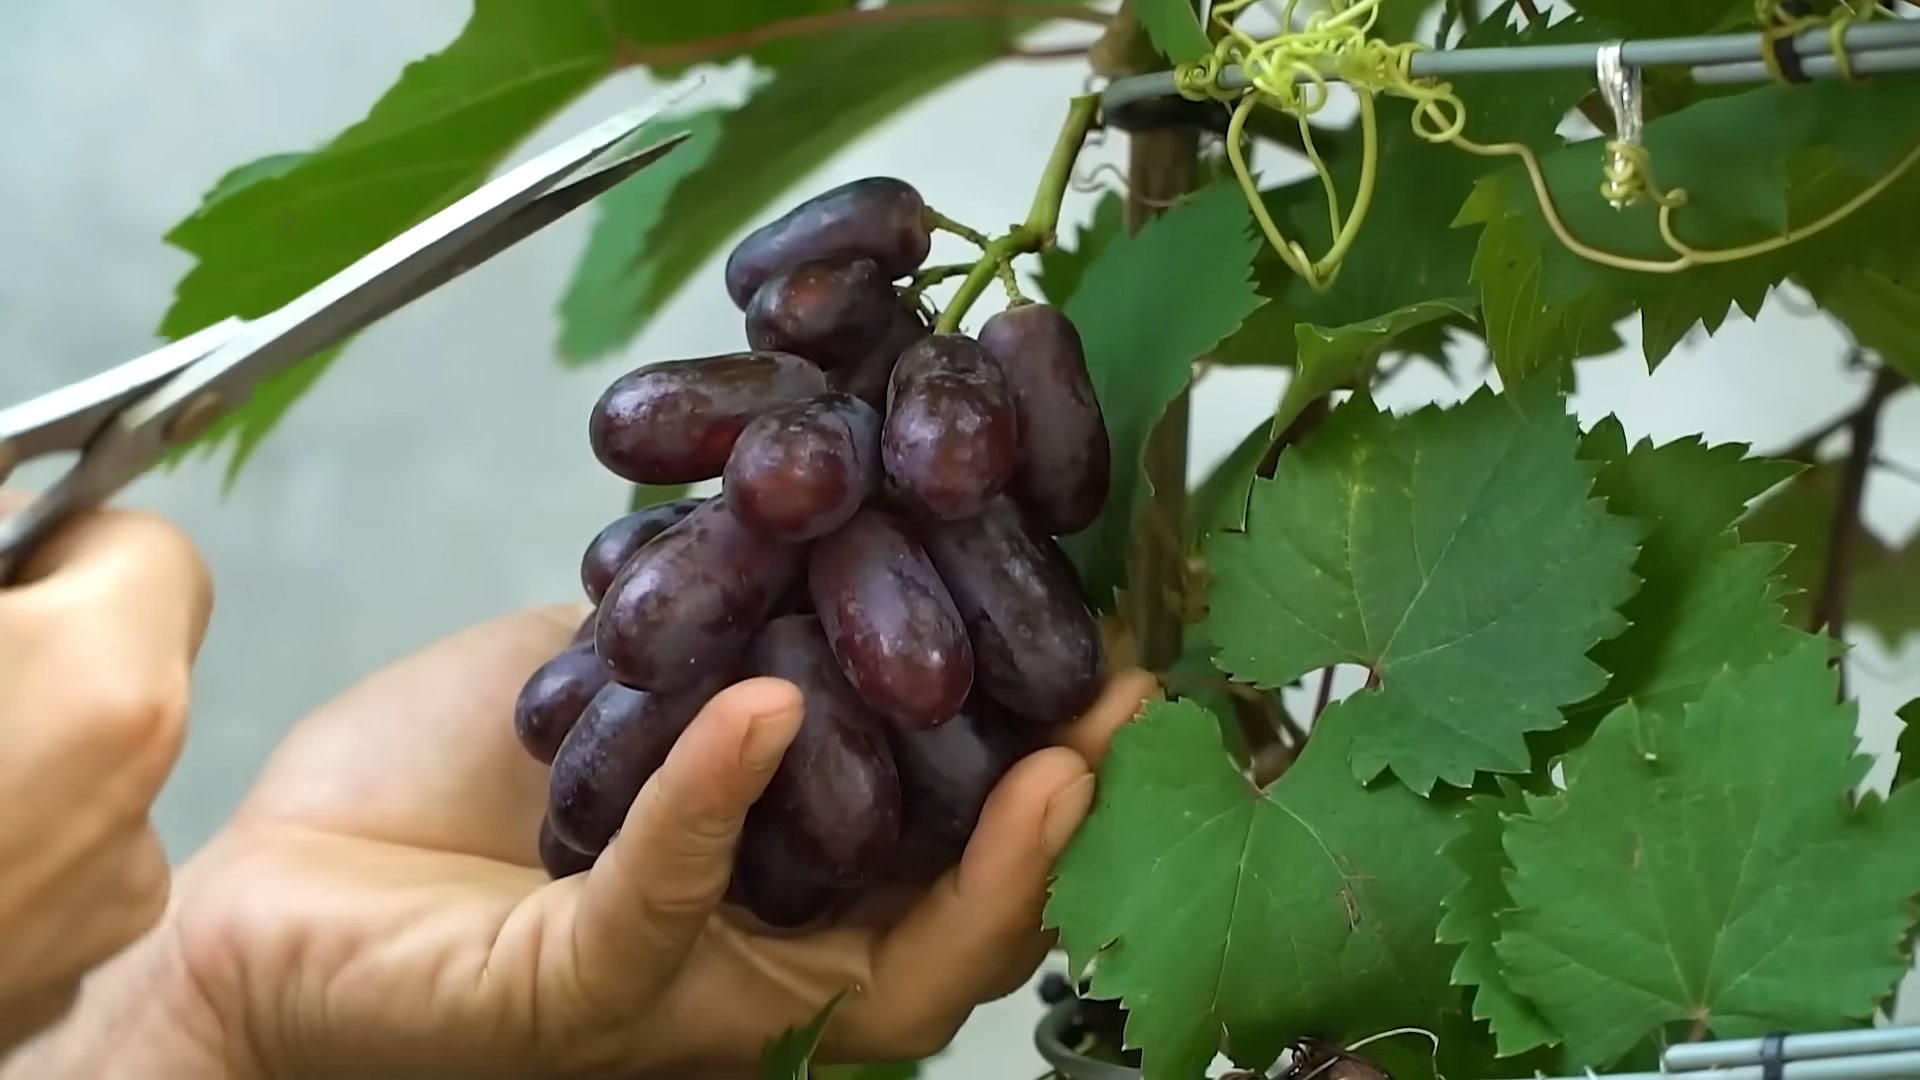
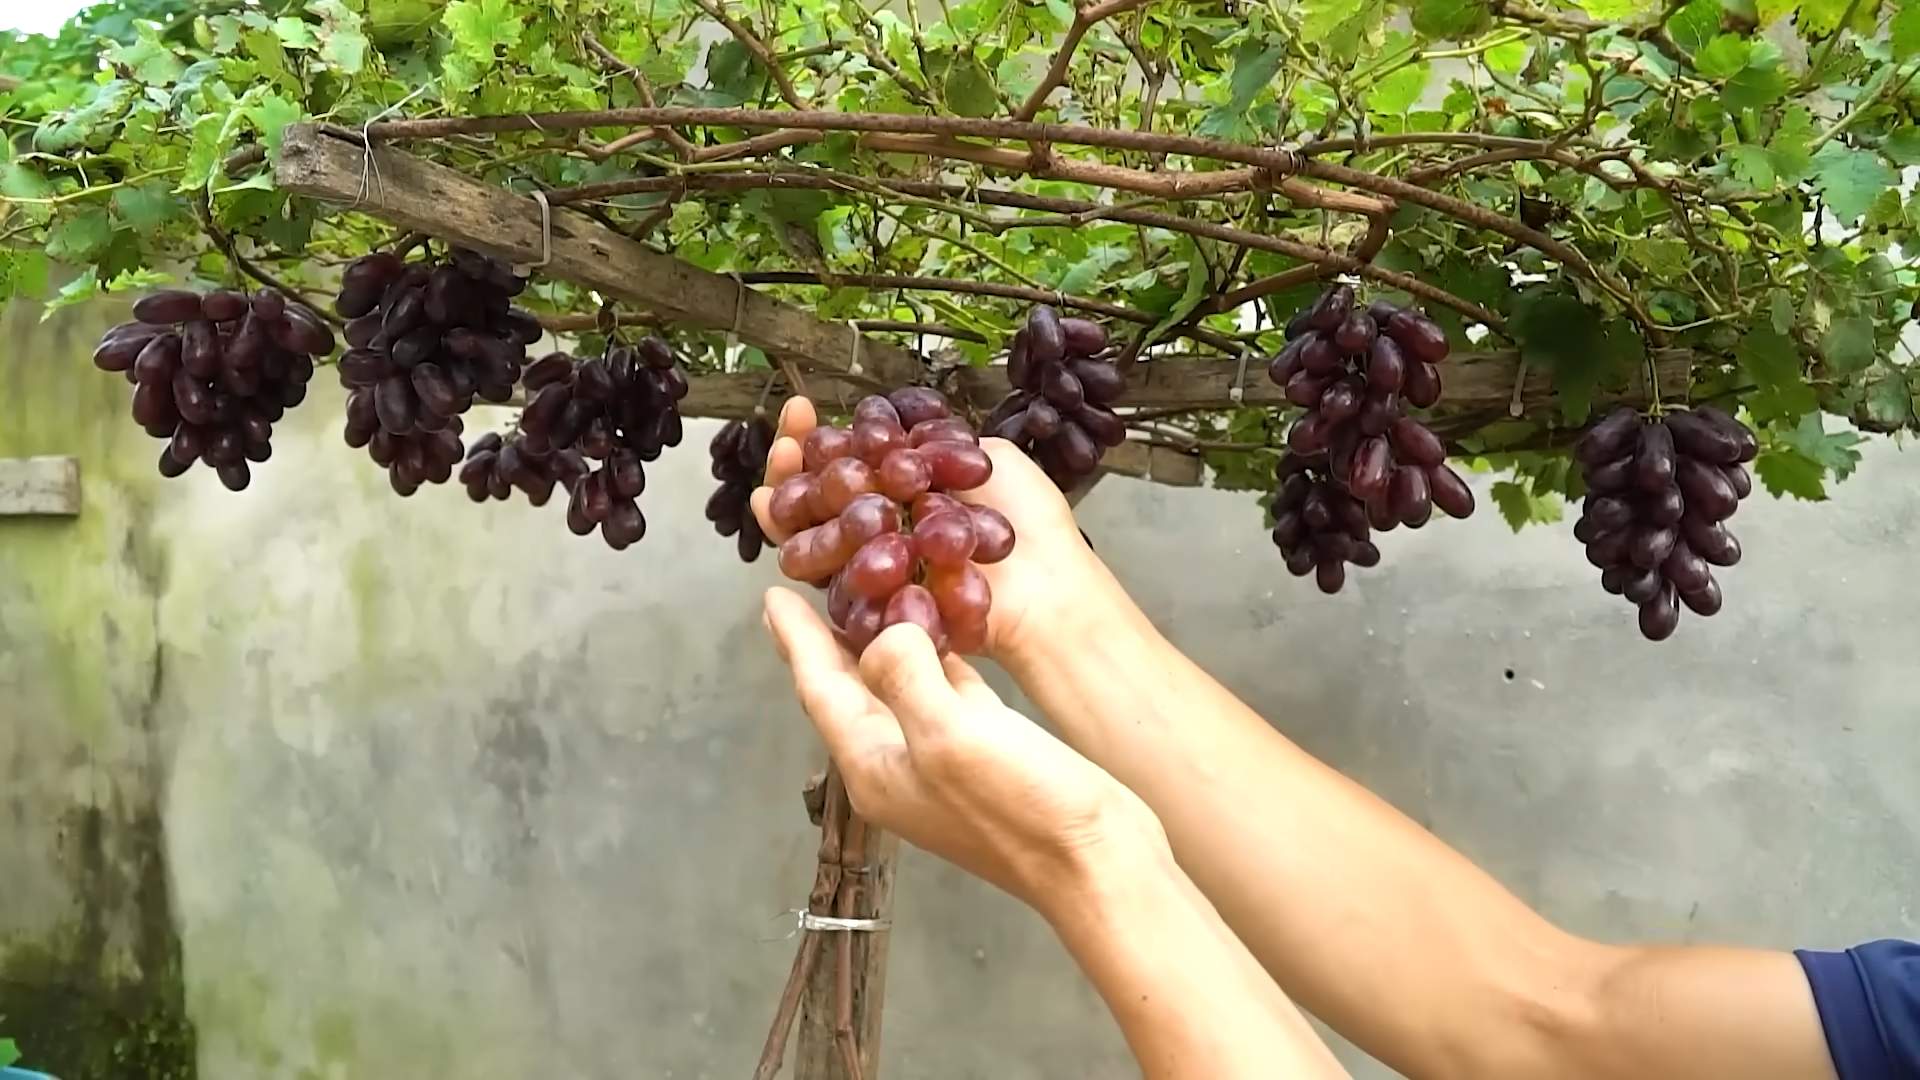
How do I know when my grapes are ripe?
The best way to know when your grapes are ripe is to taste them! Ripe grapes will be plump, juicy, and sweet. The color of the grapes will also change as they ripen, depending on the variety. You can also use a refractometer to measure the sugar content of the grapes. A reading of 18-24 Brix indicates that the grapes are ripe and ready to harvest.


Leave a Comment