

Growing Pumpkins at Home – imagine stepping out into your backyard and harvesting your very own plump, vibrant pumpkins! It’s not just a dream; it’s an achievable reality with a few clever tricks and a little DIY spirit. Forget those expensive grocery store pumpkins; we’re about to unlock the secrets to cultivating these autumnal beauties right in your own garden.
Pumpkins have a rich history, deeply intertwined with harvest festivals and folklore across many cultures. From ancient Native American traditions where they were a vital food source to the modern-day jack-o’-lanterns that light up our Halloween nights, pumpkins hold a special place in our hearts and traditions. But beyond their cultural significance, growing pumpkins at home offers a rewarding connection to nature and a sense of accomplishment that’s hard to beat.
Why should you embark on this DIY pumpkin-growing adventure? Well, for starters, it’s incredibly satisfying! Plus, you’ll have access to fresh, organic pumpkins for all your fall recipes, from pumpkin pie to roasted pumpkin seeds. More importantly, learning these simple tricks will save you money and give you complete control over the growing process, ensuring you have the healthiest, most delicious pumpkins possible. So, let’s dive in and discover the secrets to a bountiful pumpkin harvest, right in your own backyard!
Growing Pumpkins at Home: A Comprehensive DIY Guide
Hey there, fellow gardening enthusiasts! I’m so excited to share my experiences and tips on growing pumpkins right in your own backyard. It’s a rewarding process, and trust me, nothing beats carving a pumpkin you’ve nurtured from a tiny seed. Let’s dive in!
Choosing the Right Pumpkin Variety
Before we get our hands dirty, it’s important to choose the right pumpkin variety for your space and needs. Consider these factors:
* Size: Do you want giant pumpkins for competitions, medium-sized carving pumpkins, or smaller pie pumpkins?
* Space: Some pumpkin varieties are vining and require a lot of space, while others are more compact.
* Climate: Choose varieties that are well-suited to your local climate and growing season.
* Purpose: Are you growing pumpkins for carving, baking, or decoration?
Some popular pumpkin varieties include:
* Jack O’ Lantern: Classic carving pumpkin.
* Sugar Pie: Ideal for baking pies and other desserts.
* Connecticut Field: A good all-purpose pumpkin.
* Atlantic Giant: For those who want to grow massive pumpkins.
* Baby Boo: Small, white pumpkins perfect for decoration.
Once you’ve chosen your variety, you can purchase seeds from a reputable garden center or online retailer.
Preparing the Soil
Pumpkins are heavy feeders, so preparing the soil properly is crucial for a successful harvest. Here’s what I recommend:
* Sunlight: Pumpkins need at least 6-8 hours of direct sunlight per day. Choose a location that receives plenty of sun.
* Soil Type: Pumpkins prefer well-drained, fertile soil with a pH between 6.0 and 7.0.
* Soil Amendment: Amend the soil with plenty of organic matter, such as compost, aged manure, or leaf mold. This will improve drainage, fertility, and water retention.
* Fertilizer: Incorporate a slow-release fertilizer into the soil before planting. Look for a fertilizer that is high in phosphorus and potassium, which are essential for fruit development.
Step-by-Step Soil Preparation:
1. Clear the Area: Remove any weeds, grass, or debris from the planting area.
2. Till the Soil: Till the soil to a depth of at least 12 inches. This will loosen the soil and make it easier for the pumpkin roots to grow.
3. Add Organic Matter: Spread a 3-4 inch layer of compost, aged manure, or leaf mold over the planting area.
4. Incorporate Fertilizer: Sprinkle a slow-release fertilizer over the soil according to the package directions.
5. Mix Thoroughly: Use a tiller or garden fork to mix the organic matter and fertilizer into the soil.
6. Create Mounds: Create small mounds of soil about 1-2 feet apart. This will improve drainage and provide a warm, sunny spot for the pumpkin seeds to germinate.
Planting the Seeds
Now that the soil is prepared, it’s time to plant the pumpkin seeds. Here’s how I do it:
* Timing: Plant pumpkin seeds after the last frost in your area. Pumpkins need a long growing season (90-120 days) to mature.
* Direct Sowing: Pumpkins are best direct-sown into the garden. They don’t transplant well.
* Seed Depth: Plant the seeds about 1 inch deep.
* Spacing: Plant 2-3 seeds per mound.
* Watering: Water the soil thoroughly after planting.
Step-by-Step Planting Instructions:
1. Make a Hole: Use your finger or a small trowel to make a hole about 1 inch deep in the center of each mound.
2. Drop in Seeds: Drop 2-3 pumpkin seeds into each hole.
3. Cover with Soil: Cover the seeds with soil and gently pat it down.
4. Water Thoroughly: Water the soil thoroughly, being careful not to wash away the seeds.
5. Mark the Area: Mark the planting area with stakes or labels so you don’t accidentally disturb the seedlings.
Caring for Your Pumpkin Plants
Once the pumpkin seeds have germinated, it’s important to provide them with proper care to ensure a healthy and productive harvest.
* Thinning: Once the seedlings have emerged, thin them to one plant per mound. Choose the strongest and healthiest seedling to keep.
* Watering: Water the pumpkin plants regularly, especially during dry periods. Pumpkins need about 1 inch of water per week. Water deeply, soaking the soil around the base of the plants. Avoid watering the foliage, as this can lead to fungal diseases.
* Fertilizing: Fertilize the pumpkin plants every 2-3 weeks with a balanced fertilizer. You can also use a liquid fertilizer, such as fish emulsion or seaweed extract.
* Weeding: Keep the planting area free of weeds. Weeds compete with the pumpkin plants for water and nutrients.
* Pest Control: Monitor the pumpkin plants for pests, such as squash bugs, squash vine borers, and cucumber beetles. Take action to control pests as soon as they are detected.
* Pollination: Pumpkins are pollinated by bees. If you don’t see many bees in your garden, you may need to hand-pollinate the flowers.
Hand-Pollination Guide:
1. Identify Male and Female Flowers: Male flowers have a long, thin stem, while female flowers have a small, immature pumpkin at the base.
2. Collect Pollen: Use a small paintbrush to collect pollen from the male flower.
3. Transfer Pollen: Gently brush the pollen onto the stigma of the female flower.
4. Repeat: Repeat the process for all the female flowers that are open.
5. Timing: Hand-pollinate the flowers in the morning, when the pollen is most viable.
Protecting Your Pumpkins
As your pumpkins grow, it’s important to protect them from pests, diseases, and the elements.
* Pest Control: Use row covers to protect young plants from pests. You can also use organic insecticides, such as neem oil or insecticidal soap.
* Disease Prevention: Prevent fungal diseases by watering the plants in the morning and avoiding overhead watering. You can also use a fungicide if necessary.
* Sun Protection: Protect the pumpkins from sunburn by shading them with cloth or cardboard during the hottest part of the day.
* Support: If you’re growing large pumpkins, you may need to support them with boards or straw to prevent them from rotting on the ground.
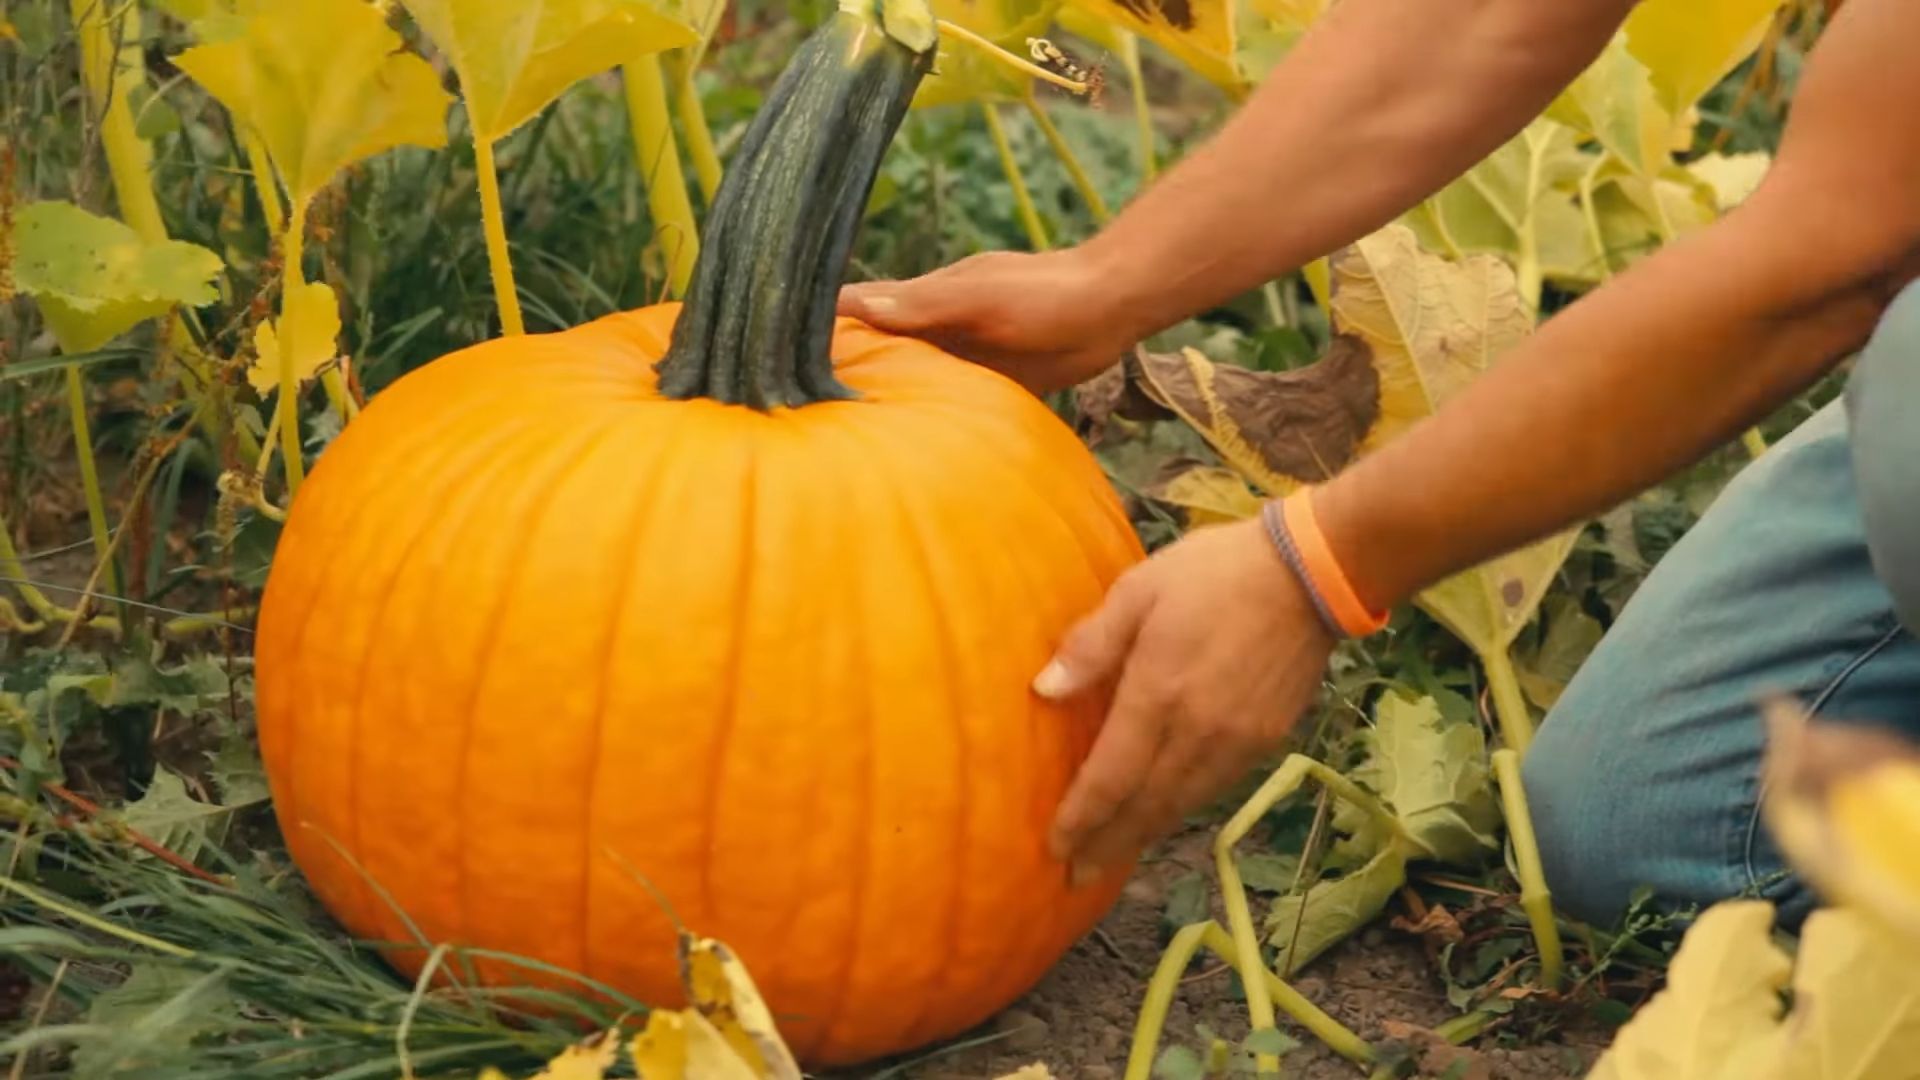
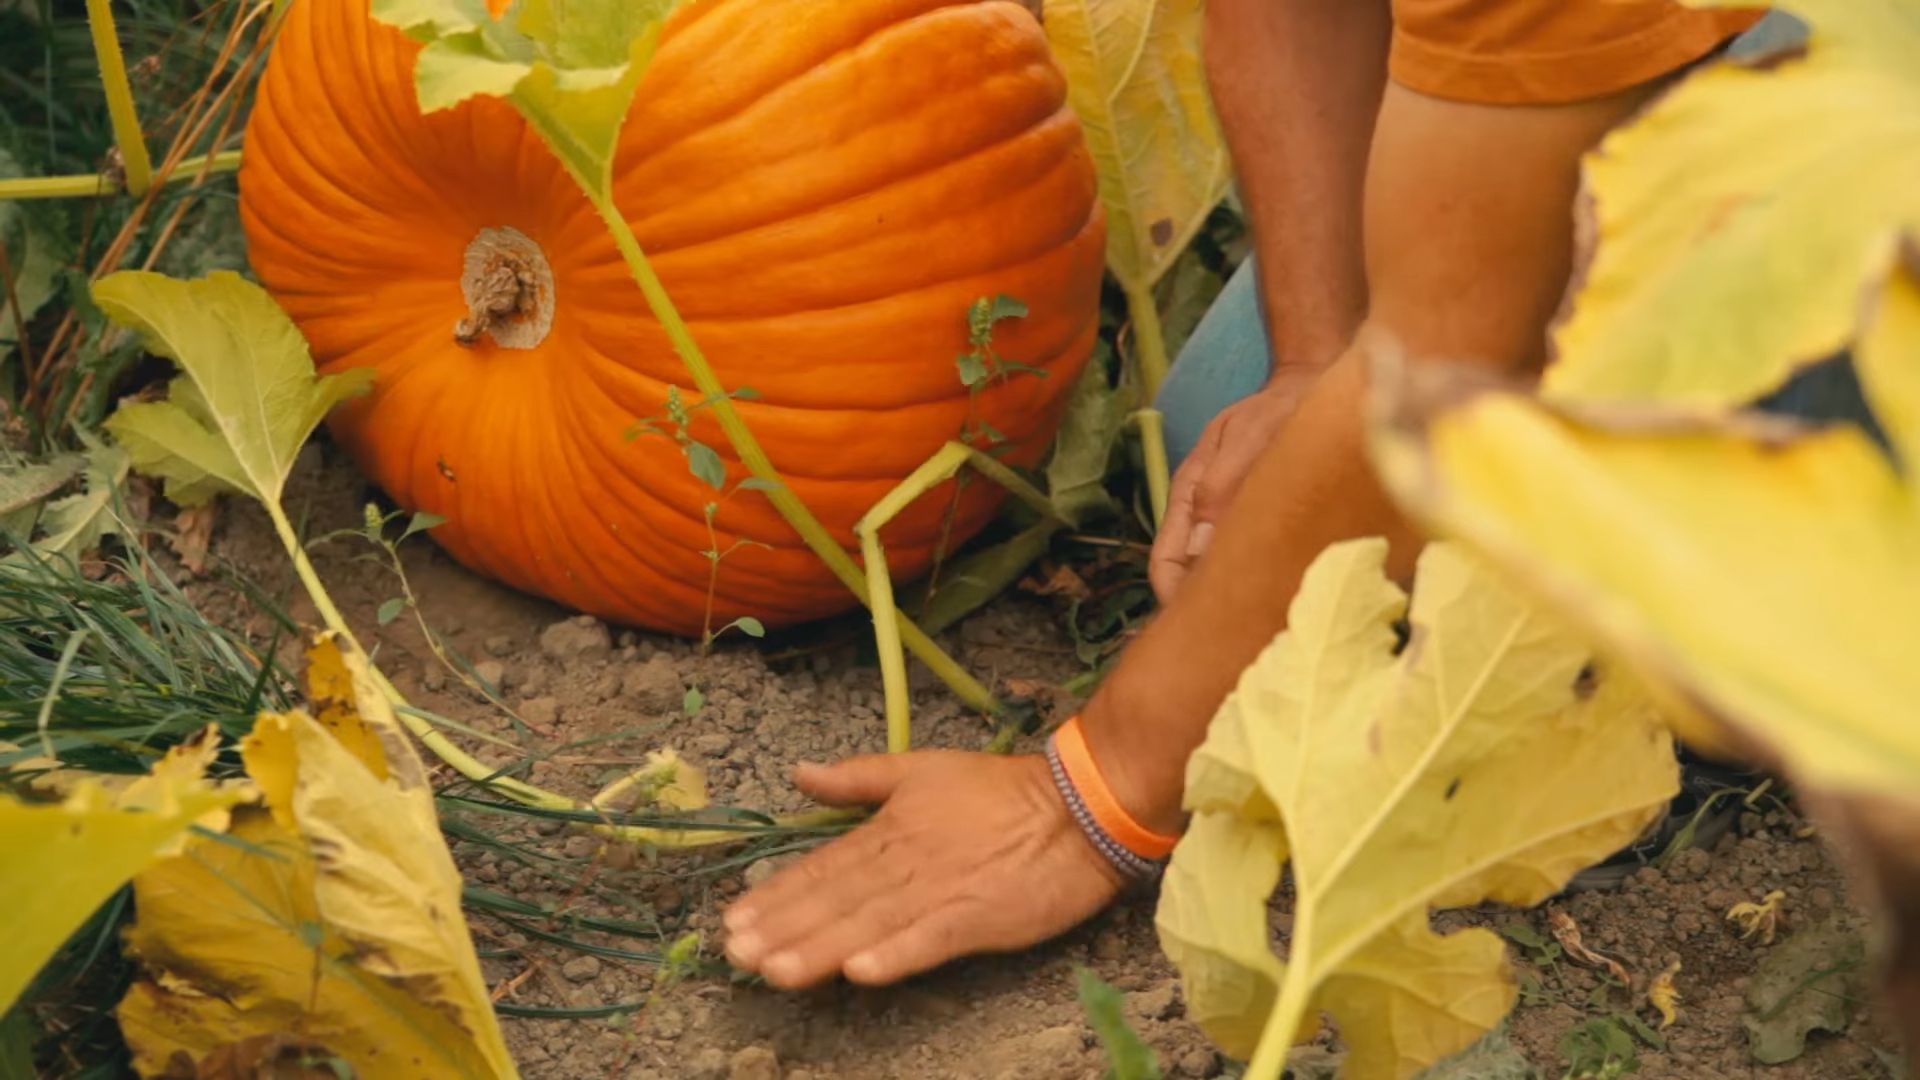
Harvesting Your Pumpkins
The moment we’ve all been waiting for! Knowing when to harvest is key.
* Timing: Pumpkins are typically ready to harvest in the fall, after the vines have started to die back.
* Color: The pumpkin should be a deep, solid color.
* Rind: The rind should be hard and resistant to scratching.
* Stem: The stem should be dry and brown.
Harvesting Steps:
1. Cut the Stem: Use a sharp knife or pruning shears to cut the stem of the pumpkin, leaving about 3-4 inches of stem attached.
2. Handle with Care: Handle the pumpkin carefully to avoid bruising or damaging the rind.
3. Curing: Cure the pumpkins in a warm, dry place for 1-2 weeks. This will help to harden the rind and extend their storage life.
Storing Your Pumpkins
Proper storage is essential for keeping your pumpkins fresh and preventing them from rotting.
* Location: Store pumpkins in a cool, dry place with good ventilation.
* Temperature: The ideal storage temperature is between 50 and 60 degrees Fahrenheit.
* Humidity: The humidity should be low.
* Avoid Bruising: Handle the pumpkins carefully to avoid bruising or damaging the rind.
* Check Regularly: Check the pumpkins regularly for signs of rot or decay. Remove any pumpkins that are starting to rot to prevent the spread of disease.
Troubleshooting Common Pumpkin Problems
Even with the best care, you may encounter some problems while growing pumpkins. Here are some common issues and how to address them:
* Powdery Mildew: A fungal disease that causes a white, powdery coating on the leaves. Treat with a fungicide or by improving air circulation.
* Squash Bugs: Pests that suck the sap from the leaves and stems. Handpick the bugs or use an insecticide.
* Squash Vine Borers: Pests that bore into the stems of the plants. Inject the stems with Bacillus thuringiensis (
Conclusion
So, there you have it! Growing pumpkins at home isn’t just a fun autumn activity; it’s a rewarding experience that connects you with nature and provides you with delicious, homegrown produce. From selecting the right variety to nurturing your seedlings and protecting them from pests, every step of the process is an opportunity to learn and appreciate the magic of gardening.
Why is this DIY pumpkin growing adventure a must-try? Because it offers a level of freshness and control you simply can’t get from store-bought pumpkins. Imagine carving a jack-o’-lantern from a pumpkin you nurtured from a tiny seed, or baking a pie with the rich, earthy flavors of your own harvest. The satisfaction is unparalleled. Plus, you’ll know exactly what went into growing your pumpkins, avoiding any unwanted pesticides or chemicals.
But the benefits extend beyond the kitchen and the Halloween season. Growing pumpkins is a fantastic way to teach children about plant life cycles, responsibility, and the importance of sustainable living. It’s a hands-on learning experience that fosters curiosity and a love for the natural world.
Looking for variations? Consider trying different pumpkin varieties! From the classic ‘Jack O’Lantern’ to the unique ‘Blue Hubbard’ or the miniature ‘Jack Be Little,’ each variety offers a distinct flavor, texture, and appearance. Experiment with companion planting to deter pests and improve soil health. Marigolds, nasturtiums, and herbs like basil and oregano are excellent choices. You can also try vertical gardening techniques to save space, especially if you have a smaller garden. Train your pumpkin vines to climb a trellis or fence for a stunning visual display.
Don’t be intimidated by the prospect of growing your own pumpkins. With a little planning, preparation, and patience, you can enjoy a bountiful harvest of these iconic autumn fruits. The key is to start early, provide ample sunlight and water, and protect your plants from pests and diseases. Remember to amend your soil with plenty of compost and organic matter to provide the nutrients your pumpkins need to thrive.
We wholeheartedly encourage you to embark on this DIY pumpkin growing journey. It’s an investment in your well-being, your family’s enjoyment, and the health of our planet. So, grab your seeds, prepare your garden, and get ready to witness the incredible transformation from tiny seed to magnificent pumpkin.
And most importantly, we want to hear about your experiences! Share your pumpkin growing stories, tips, and photos with us in the comments below. Let’s create a community of passionate pumpkin growers and inspire others to embrace the joy of homegrown produce. What challenges did you face? What successes did you celebrate? Your insights will be invaluable to fellow gardeners. Let’s all learn together and make this the best pumpkin growing season yet! This is your chance to master the art of **growing pumpkins at home**.
Frequently Asked Questions (FAQ)
How much space do I really need to grow pumpkins?
Pumpkin vines can be quite sprawling, so space is definitely a consideration. As a general rule, allow at least 6 to 8 feet of space per plant, especially for larger varieties like ‘Jack O’Lantern.’ Smaller varieties, like ‘Jack Be Little,’ can be grown closer together, about 3 to 4 feet apart. If space is limited, consider growing pumpkins vertically on a trellis or fence. This not only saves space but also adds a unique visual element to your garden. Remember to provide sturdy support for the heavy pumpkins as they grow.
What’s the best type of soil for growing pumpkins?
Pumpkins thrive in well-drained soil that is rich in organic matter. Before planting, amend your soil with plenty of compost, aged manure, or other organic materials. This will improve drainage, provide essential nutrients, and help retain moisture. A slightly acidic to neutral soil pH (around 6.0 to 7.0) is ideal. You can test your soil pH with a home testing kit or by sending a sample to your local agricultural extension office. If your soil is heavy clay, consider adding sand or other amendments to improve drainage.
How often should I water my pumpkin plants?
Pumpkins need consistent moisture, especially during hot, dry weather. Water deeply and regularly, aiming to keep the soil consistently moist but not waterlogged. Water at the base of the plants to avoid wetting the foliage, which can increase the risk of fungal diseases. Mulching around the plants with straw or other organic materials can help retain moisture and suppress weeds. As the pumpkins mature, you can gradually reduce watering to encourage ripening.
What are some common pests and diseases that affect pumpkins, and how can I prevent them?
Pumpkins are susceptible to a variety of pests and diseases, including squash bugs, squash vine borers, powdery mildew, and downy mildew. To prevent these problems, practice good garden hygiene, such as removing plant debris and weeds. Inspect your plants regularly for signs of pests or diseases and take action promptly. Companion planting with marigolds, nasturtiums, or herbs like basil and oregano can help deter pests. For fungal diseases, ensure good air circulation around the plants and avoid overhead watering. If necessary, use organic pesticides or fungicides as directed.
When is the best time to harvest my pumpkins?
Pumpkins are typically ready to harvest in the fall, when the vines begin to die back and the pumpkin skin becomes hard and resistant to scratching. The stem should also be dry and brown. Use a sharp knife or pruning shears to cut the pumpkin from the vine, leaving several inches of stem attached. Handle the pumpkins carefully to avoid bruising or damaging the skin. Cure the pumpkins in a warm, dry place for a week or two to harden the skin and improve their storage life.
Can I eat the pumpkin flowers?
Yes, pumpkin flowers are edible and can be a delicious addition to your culinary repertoire. They can be battered and fried, stuffed with cheese and herbs, or added to soups and salads. Harvest the male flowers, which do not produce pumpkins, to avoid reducing your pumpkin yield. Pick the flowers in the morning, when they are fully open.
How can I store my pumpkins after harvesting them?
Proper storage is essential to extend the shelf life of your pumpkins. Store them in a cool, dry place with good air circulation. A basement, garage, or shed is ideal. Avoid storing pumpkins in direct sunlight or near sources of heat. Handle them carefully to avoid bruising or damaging the skin. Check the pumpkins regularly for signs of spoilage, such as soft spots or mold. Properly stored pumpkins can last for several months.
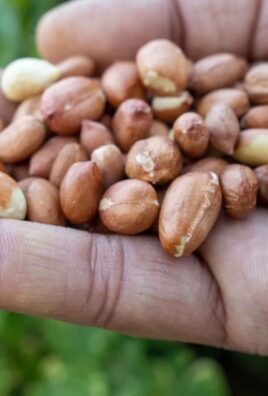
What can I do with the pumpkin seeds?
Don’t throw away those pumpkin seeds! They are a nutritious and delicious snack. Rinse the seeds to remove any pulp, then spread them out on a baking sheet and roast them in the oven at 300°F (150°C) for about 20-25 minutes, or until they are golden brown and crispy. Season them with salt, pepper, or your favorite spices. You can also save some of the seeds to plant next year’s pumpkin crop.
Is it possible to grow pumpkins in containers?
Yes, you can grow pumpkins in containers, but you’ll need a large container (at least 20 gallons) and a dwarf or bush variety of pumpkin. Ensure the container has good drainage and use a high-quality potting mix. Water and fertilize regularly, and provide support for the vines as they grow. Container-grown pumpkins may not be as large as those grown in the ground, but they can still provide a satisfying harvest.
How do I know if my pumpkin is ripe and ready to pick?
A ripe pumpkin will have a deep, solid color, depending on the variety. The skin should be hard and resistant to scratching. The stem should be dry and brown. You can also thump the pumpkin; a ripe pumpkin will sound hollow. If you’re unsure, it’s better to err on the side of caution and wait a few more days before harvesting.

Leave a Comment