

Growing Violets at Home can seem daunting, but trust me, it’s easier than you think! Imagine your windowsill bursting with vibrant purple, pink, or white blooms, adding a touch of whimsical charm to your living space. Forget those expensive bouquets – you can cultivate your own miniature paradise with just a few simple tricks.
Violets, with their delicate beauty, have a rich history. They were cherished by the ancient Greeks and Romans, who used them for medicinal purposes and adorned statues of their gods with these lovely flowers. In Victorian times, violets symbolized faithfulness and love, making them a popular gift. Today, they continue to captivate us with their understated elegance.
But why should you bother growing violets at home? Well, beyond their aesthetic appeal, violets are surprisingly low-maintenance. In today’s busy world, who has time for fussy plants? Plus, learning to propagate and care for these beauties is incredibly rewarding. I’m going to share some DIY tricks and hacks that will help you avoid common pitfalls and ensure your violets thrive. Whether you’re a seasoned gardener or a complete beginner, these tips will empower you to create a stunning violet display that will brighten your home and your mood. Let’s get started!
Growing Violets at Home: A DIY Guide to Blooming Success
Hey there, fellow plant enthusiasts! I’m so excited to share my secrets to growing beautiful, thriving violets right in your own home. These delicate beauties can seem a bit finicky, but with the right knowledge and a little TLC, you’ll be rewarded with a constant display of colorful blooms. Let’s dive in!
Choosing Your Violet
Before we get our hands dirty, let’s talk about selecting the perfect violet for your home. There are tons of varieties, each with its own unique charm.
* Standard Violets: These are the classic violets you probably picture. They have a rosette of leaves and come in a wide range of colors.
* Miniature Violets: Perfect for smaller spaces, these little guys are just as lovely as their larger counterparts.
* Trailing Violets: These are great for hanging baskets or displaying on shelves, as they cascade beautifully.
* Variegated Violets: These have leaves with interesting patterns and colors, adding extra visual appeal.
When choosing your violet, look for plants with healthy, vibrant green leaves and plenty of buds. Avoid plants with yellowing or brown leaves, or any signs of pests.
Gathering Your Supplies
To get started, you’ll need a few essential supplies. Don’t worry, most of these are easy to find and relatively inexpensive.
* African Violet Potting Mix: This is crucial! Regular potting soil is too heavy and dense for violets. African violet mix is specially formulated to provide good drainage and aeration. You can find it at most garden centers or online.
* Pot with Drainage Holes: Violets hate sitting in soggy soil, so drainage is key. Choose a pot that’s slightly larger than the root ball of your violet. Self-watering pots can also be a great option.
* Watering Can with a Long, Narrow Spout: This will allow you to water your violets without getting water on the leaves, which can cause spots.
* Fertilizer Specifically for African Violets: Use a balanced fertilizer diluted to half strength.
* Pebbles or Gravel: To create a humidity tray (more on that later!).
* Grow Lights (Optional): If you don’t have a bright, sunny window, grow lights can provide the necessary light for your violets to thrive.
* Soft Brush: For gently removing dust from the leaves.
Planting Your Violet
Now for the fun part! Let’s get your violet planted and ready to grow.
1. Prepare the Pot: If you’re using a new pot, make sure it’s clean. Add a layer of African violet potting mix to the bottom of the pot.
2. Remove the Violet from its Original Container: Gently squeeze the sides of the container to loosen the root ball. Carefully lift the violet out, being careful not to damage the roots.
3. Loosen the Roots: Gently tease the roots apart with your fingers. This will encourage them to grow outwards into the new potting mix.
4. Place the Violet in the Pot: Center the violet in the pot and add more potting mix around the root ball, making sure the crown of the plant (where the leaves meet the stem) is level with the soil surface.
5. Water Thoroughly: Water the violet gently until water drains out of the drainage holes. This will help settle the potting mix and ensure the roots are properly hydrated.
Watering Your Violet
Watering is one of the most important aspects of violet care. Overwatering is a common mistake that can lead to root rot.
1. Water from the Bottom: The best way to water violets is from the bottom. Place the pot in a saucer filled with water and let it sit for about 30 minutes, or until the top of the soil feels moist. Then, remove the pot from the saucer and let any excess water drain out.
2. Water When the Soil is Slightly Dry: Check the soil moisture by sticking your finger about an inch into the soil. If it feels dry, it’s time to water.
3. Use Room Temperature Water: Cold water can shock the roots of your violet.
4. Avoid Getting Water on the Leaves: As I mentioned earlier, water on the leaves can cause spots. If you accidentally get water on the leaves, gently blot it dry with a soft cloth.
Providing the Right Light
Violets need bright, indirect light to thrive.
1. East-Facing Window: An east-facing window is ideal, as it provides gentle morning sunlight.
2. West-Facing Window: A west-facing window can also work, but be careful to protect your violet from the harsh afternoon sun, which can scorch the leaves.
3. South-Facing Window: A south-facing window can be too intense for violets. If you place your violet in a south-facing window, be sure to filter the light with a sheer curtain.
4. Grow Lights: If you don’t have a suitable window, grow lights are a great option. Place the grow lights about 12-18 inches above your violet and leave them on for about 12-14 hours per day.
Fertilizing Your Violet
Violets need regular fertilization to produce those beautiful blooms.
1. Use a Balanced Fertilizer: Choose a fertilizer specifically formulated for African violets. These fertilizers typically have a balanced NPK ratio (nitrogen, phosphorus, and potassium).
2. Dilute the Fertilizer: Always dilute the fertilizer to half strength. Over-fertilizing can burn the roots of your violet.
3. Fertilize Regularly: Fertilize your violet every 2-4 weeks during the growing season (spring and summer). Reduce fertilization during the dormant season (fall and winter).
Maintaining Humidity
Violets love humidity! Here are a few ways to increase the humidity around your violet.
1. Humidity Tray: Fill a saucer with pebbles or gravel and add water. Place the pot on top of the pebbles, making sure the bottom of the pot doesn’t touch the water. As the water evaporates, it will increase the humidity around your violet.
2. Group Plants Together: Grouping plants together can create a more humid microclimate.
3. Humidifier: If you live in a dry climate, consider using a humidifier to increase the overall humidity in your home.
Grooming Your Violet
Regular grooming will help keep your violet healthy and looking its best.
1. Remove Dead or Yellowing Leaves: Gently remove any dead or yellowing leaves from the base of the plant. This will prevent disease and encourage new growth.
2. Remove Spent Blooms: Once the blooms have faded, remove them from the plant. This will encourage the violet to produce more blooms.
3. Dust the Leaves: Gently dust the leaves with a soft brush to remove any dust or debris. This will help the leaves absorb light more efficiently.
Repotting Your Violet
Violets need to be repotted every 1-2 years.
1. Choose a Pot Slightly Larger: Choose a pot that’s slightly larger than the current pot.
2. Use Fresh Potting Mix: Use fresh African violet potting mix.
3. Gently Remove the Violet: Gently remove the violet from its current pot.
4. Loosen the Roots: Gently loosen the roots with your fingers.
5. Place the Violet in the New Pot: Center the violet in the new pot and add more potting mix around the root ball.
6. Water Thoroughly: Water the violet thoroughly.
Dealing with Pests and Diseases
Even with the best care, violets can sometimes be susceptible to pests and diseases.
* Mealybugs: These are small, white, cottony insects that suck the sap from plants. You can remove them with a cotton swab dipped in rubbing alcohol.
* Spider Mites: These are tiny pests that create webs on the leaves of plants. You can control them by increasing the humidity around your violet and spraying it with insecticidal soap.
* Powdery Mildew: This is a fungal disease that causes a white, powdery coating on the leaves of plants. You can treat it with a fungicide.
* Root Rot: This is a fungal disease that causes the roots of plants to rot. It’s usually caused by overwatering. To prevent root rot, make sure your violet is planted in well-draining soil and avoid overwatering.
Troubleshooting Common Problems
Here are some common problems you might encounter when growing violets, and how to fix them.
* No Blooms: If your violet isn’t blooming, it could be due to a lack of light, fertilizer, or humidity. Make sure your violet is getting enough light, fertilize it regularly, and increase the humidity around it.
* Yellow
Conclusion
So, there you have it! Growing violets at home doesn’t have to be an intimidating endeavor reserved for seasoned gardeners. With a little patience, the right conditions, and this simple DIY trick, you can cultivate a thriving collection of these charming blooms right in your own living space. This method, focusing on creating the ideal microclimate and nutrient availability, is a game-changer, especially for those who’ve struggled with violet cultivation in the past.
Why is this DIY approach a must-try? Because it addresses the most common challenges faced by violet enthusiasts: inconsistent watering, inadequate humidity, and nutrient deficiencies. By creating a self-watering system and incorporating a balanced fertilizer regimen, you’re essentially setting your violets up for success from the get-go. You’ll notice healthier foliage, more abundant blooms, and an overall more robust plant.
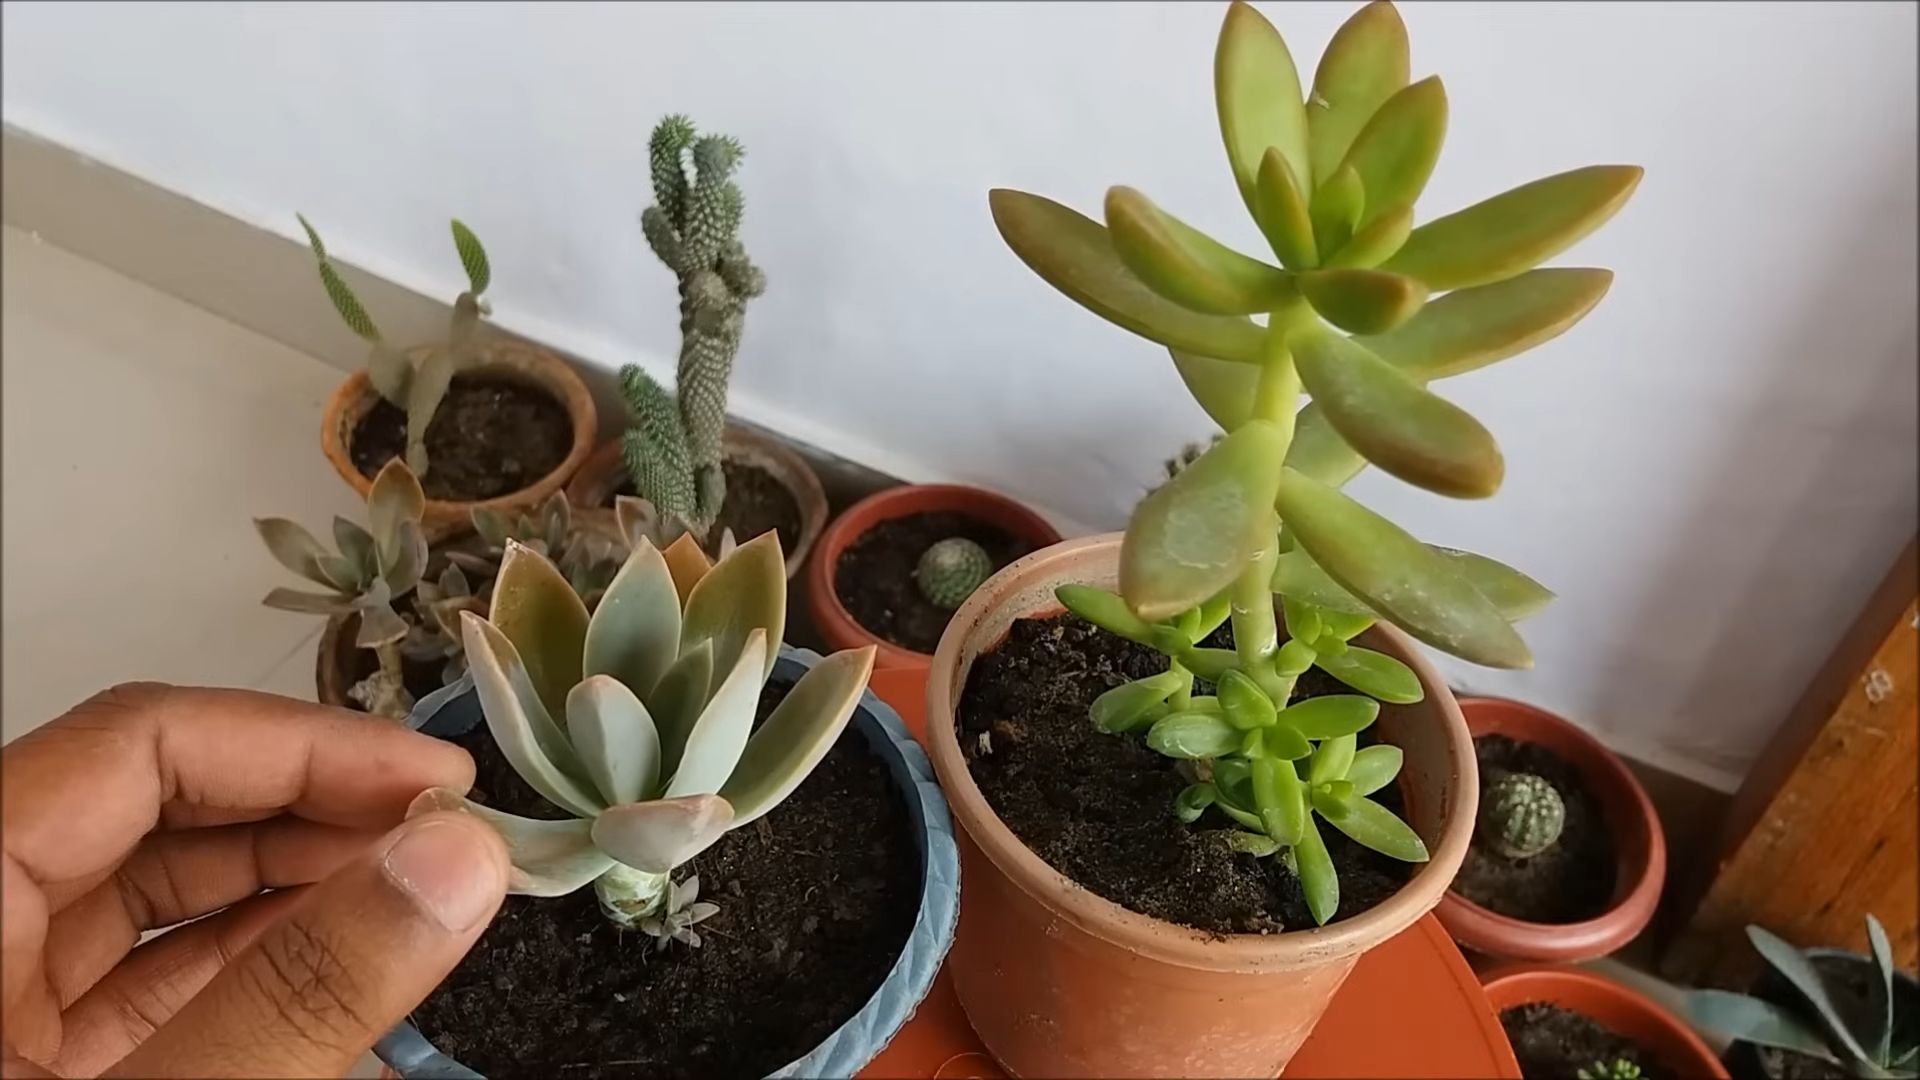
But don’t stop there! Experiment with different violet varieties to discover your favorites. Try trailing violets in hanging baskets for a cascading display of color, or opt for miniature varieties to create a charming tabletop arrangement. You can also play around with different potting mixes to find the blend that works best for your specific environment. Some growers swear by adding perlite for extra drainage, while others prefer a slightly heavier mix with more peat moss.
Consider these variations to further enhance your violet-growing experience:
* Wick Watering System: Instead of bottom watering, try using a wick watering system. A nylon wick is inserted into the soil, drawing water up from a reservoir below. This provides a consistent and controlled supply of moisture.
* Terrarium Cultivation: Create a miniature violet garden in a terrarium. The enclosed environment helps maintain high humidity levels, which violets adore.
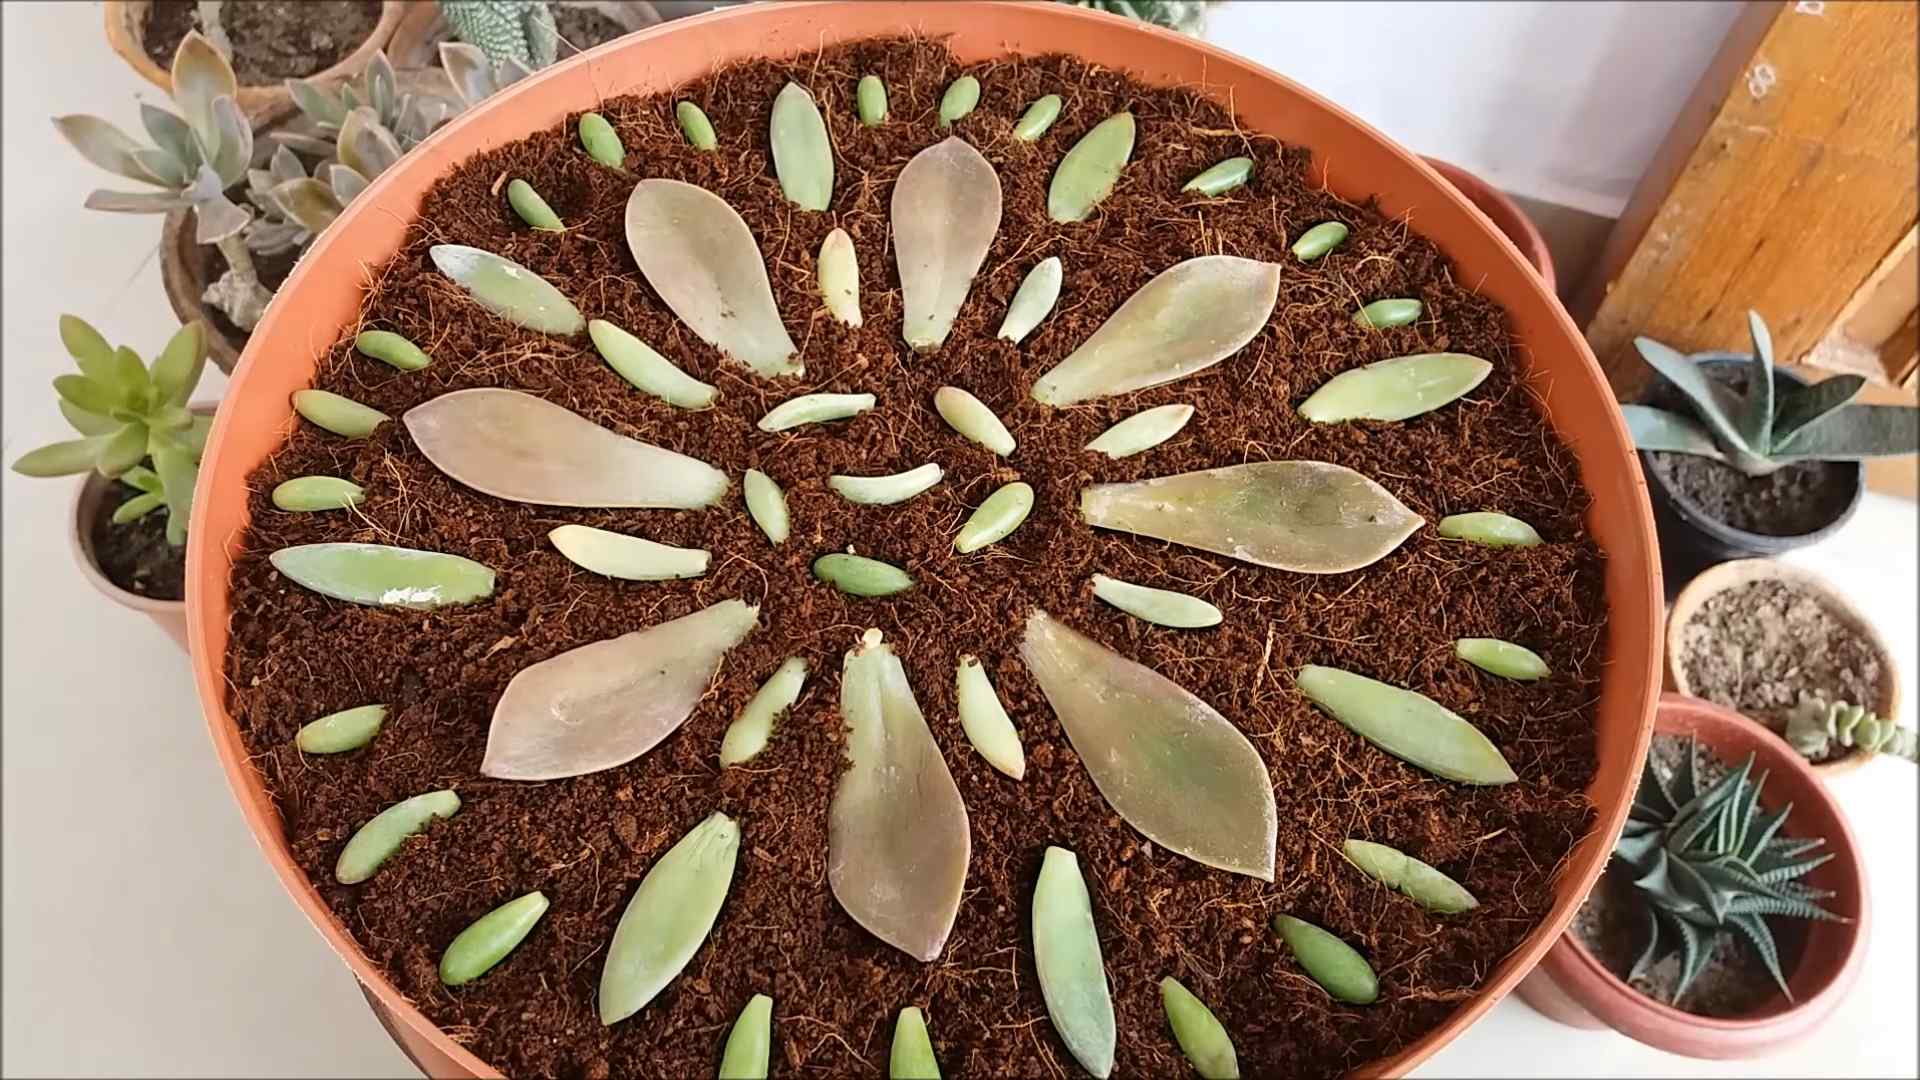
* Leaf Propagation: Once your violets are thriving, propagate new plants from leaf cuttings. This is a fun and rewarding way to expand your collection and share your love of violets with friends and family.
* Light Adjustment: Observe your violets closely and adjust their light exposure as needed. If the leaves are pale or stretched, they may need more light. If the leaves are scorched or bleached, they may be getting too much.
We wholeheartedly encourage you to give this DIY trick a try. It’s a simple, effective, and rewarding way to unlock the secrets to successful violet cultivation. And most importantly, don’t be afraid to experiment and adapt the method to suit your own unique growing conditions.
Once you’ve experienced the joy of growing violets at home using this method, we’d love to hear about your results! Share your photos, tips, and experiences in the comments below. Let’s create a community of violet enthusiasts and learn from each other’s successes (and even our failures!). Your insights could be invaluable to other aspiring violet growers. Happy growing!
FAQ
Frequently Asked Questions About Growing Violets at Home
Q: What kind of light do violets need?
A: Violets thrive in bright, indirect light. Direct sunlight can scorch their leaves, while too little light can result in leggy growth and a lack of blooms. An east-facing window is often ideal, providing gentle morning sun. If you don’t have access to natural light, you can supplement with fluorescent grow lights. Place the lights about 12-18 inches above the plants and keep them on for 12-14 hours per day.
Q: How often should I water my violets?
A: Overwatering is one of the most common mistakes when growing violets. Water only when the top inch of soil feels dry to the touch. Use room-temperature water and avoid getting water on the leaves, as this can lead to spotting. Bottom watering is a great option, as it allows the plant to absorb water as needed without wetting the foliage. Simply place the pot in a saucer of water for about 30 minutes, then remove it and allow any excess water to drain away.
Q: What kind of soil is best for violets?
A: Violets prefer a well-draining, slightly acidic potting mix. A commercially available violet potting mix is a good option, or you can create your own by combining equal parts peat moss, perlite, and vermiculite. Avoid using garden soil, as it can be too heavy and may contain pests or diseases.
Q: How often should I fertilize my violets?
A: Violets are relatively light feeders, so fertilize them sparingly. Use a balanced, water-soluble fertilizer specifically formulated for violets, diluted to half strength. Fertilize every 2-4 weeks during the growing season (spring and summer), and reduce or eliminate fertilization during the dormant season (fall and winter).
Q: Why aren’t my violets blooming?
A: There are several reasons why your violets may not be blooming. Insufficient light is a common culprit, as is improper watering or fertilization. Make sure your violets are receiving bright, indirect light and are being watered and fertilized appropriately. Another possible cause is temperature stress. Violets prefer temperatures between 65-75°F (18-24°C).
Q: My violet leaves are turning yellow or brown. What’s wrong?
A: Yellowing or browning leaves can be a sign of several problems. Overwatering is a common cause, as is nutrient deficiency or pest infestation. Check the soil moisture and adjust your watering accordingly. Inspect the leaves for any signs of pests, such as spider mites or mealybugs. If you suspect a nutrient deficiency, try fertilizing with a balanced violet fertilizer.
Q: How do I propagate violets?
A: Violets can be easily propagated from leaf cuttings. Select a healthy leaf from the center of the plant and cut it off with a clean, sharp knife. Insert the cut end of the leaf into a small pot filled with moist violet potting mix. Cover the pot with a plastic bag or dome to create a humid environment. Place the pot in a warm, bright location and wait for new plantlets to emerge. This can take several weeks or even months.
Q: Are violets susceptible to pests and diseases?
A: Yes, violets can be susceptible to pests and diseases, such as spider mites, mealybugs, and powdery mildew. Inspect your plants regularly for any signs of infestation or disease. If you spot any problems, treat them promptly with an appropriate insecticide or fungicide. Good air circulation and proper watering can help prevent many common violet problems.
Q: Can I grow violets outdoors?
A: While violets are typically grown indoors, they can be grown outdoors in mild climates. Choose a shady location with well-draining soil. Protect the plants from direct sunlight and extreme temperatures. Be sure to bring them indoors before the first frost.
Q: What are some common varieties of violets?
A: There are many different varieties of violets available, each with its own unique characteristics. Some popular varieties include ‘Optimara Millennia’, ‘Rhapsodie Clementine’, and ‘Ness’ Orange Pekoe’. Experiment with different varieties to find your favorites.
Q: How do I keep my violets looking their best?
A: To keep your violets looking their best, regularly remove any dead or yellowing leaves. Rotate the plants regularly to ensure even growth. Repot them every year or two into fresh potting mix. And most importantly, provide them with the right light, water, and nutrients. With a little care and attention, your violets will reward you with beautiful blooms for years to come.


Leave a Comment