

Heat Loving Herb Garden: Unleash the Flavor and Thrive! Ever dream of stepping into your backyard and snipping fresh, fragrant herbs to elevate your culinary creations? Imagine the vibrant aromas filling your kitchen, all thanks to your own green thumb. Well, stop dreaming and start doing! This DIY guide is your passport to creating a flourishing heat loving herb garden, even if you think you have a “black thumb.”
For centuries, herbs have been treasured not only for their culinary uses but also for their medicinal and aromatic properties. From ancient Egyptians using herbs in embalming to medieval monks cultivating them in monastery gardens, the history of herbs is deeply intertwined with human civilization. Today, we can tap into that rich heritage by growing our own!
Why should you embark on this heat loving herb garden adventure? Because store-bought herbs simply can’t compare to the freshness and flavor of homegrown ones. Plus, with rising grocery costs, growing your own herbs is a fantastic way to save money. But more than that, it’s about connecting with nature, reducing your carbon footprint, and experiencing the pure joy of nurturing something beautiful and useful. I’m here to guide you through every step, from choosing the right location to harvesting your bounty. Let’s get started and transform your space into a fragrant, flavorful oasis!
Creating Your Own Thriving Heat-Loving Herb Garden
Okay, so you want to grow herbs that can handle the heat? Awesome! I’m going to walk you through creating a fantastic herb garden that will flourish even when the temperatures soar. We’re talking about herbs that practically *beg* for sunshine and warm weather. Get ready for fresh flavors all summer long!
Choosing the Right Herbs
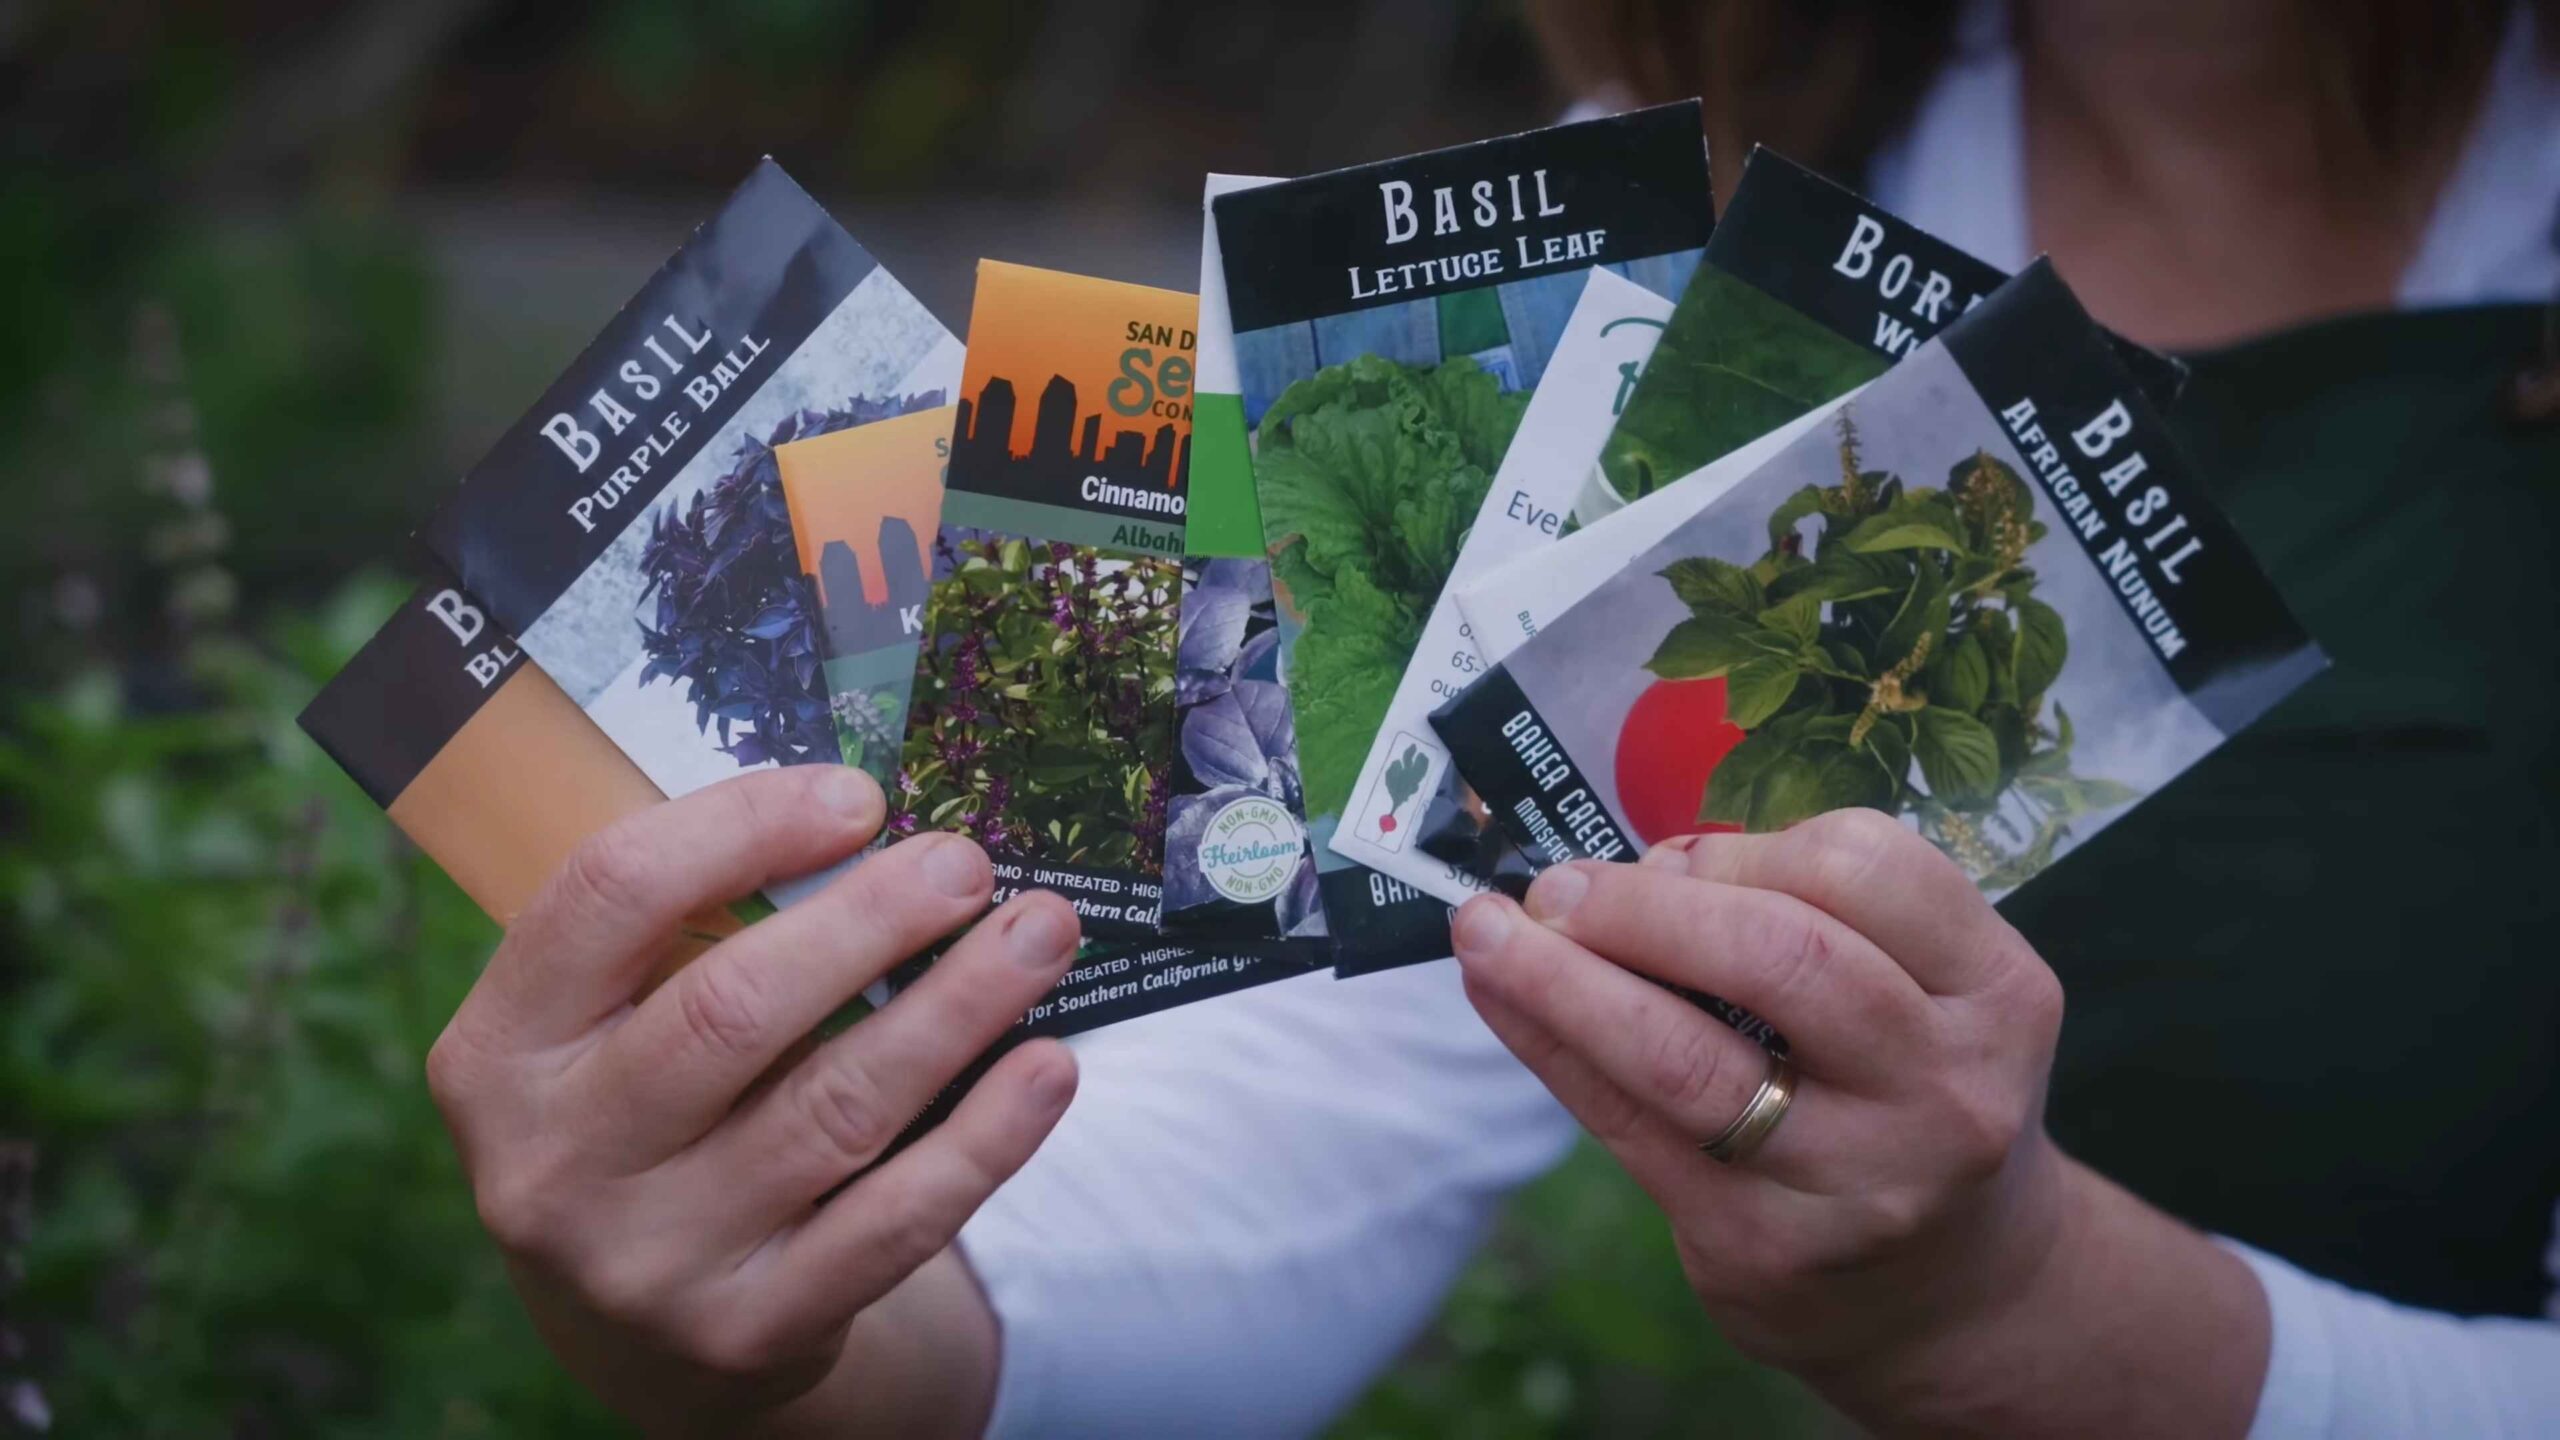
First things first, let’s talk about which herbs are actually going to thrive in a hot environment. Not all herbs are created equal, and some prefer cooler climates. Here’s a list of my favorites, along with a little about why they’re perfect for a heat-loving garden:
* Rosemary: This woody herb is a Mediterranean native and absolutely loves full sun and well-drained soil. It’s drought-tolerant once established, making it a low-maintenance choice. Plus, the aroma is divine!
* Thyme: Another Mediterranean gem, thyme is incredibly resilient and thrives in hot, dry conditions. There are many varieties to choose from, each with its own unique flavor.
* Sage: Sage is a beautiful and flavorful herb that prefers full sun and well-drained soil. It’s relatively drought-tolerant and adds a lovely silvery-green hue to your garden.
* Oregano: This robust herb is a staple in Italian and Greek cuisine and is incredibly easy to grow. It loves full sun and well-drained soil and can even tolerate poor soil conditions.
* Basil: While basil needs a bit more moisture than the other herbs on this list, it absolutely thrives in warm weather. Just make sure to water it regularly, especially during the hottest part of the day.
* Lavender: Not just for its calming scent, lavender is a beautiful and drought-tolerant herb that loves full sun and well-drained soil. It attracts pollinators and adds a touch of elegance to your garden.
* Marjoram: Similar to oregano, marjoram is a flavorful herb that prefers full sun and well-drained soil. It’s a bit more delicate than oregano, but still relatively easy to grow.
Planning Your Garden
Before you start digging, it’s important to plan your garden layout. Consider these factors:
* Sunlight: Make sure your garden receives at least 6-8 hours of direct sunlight per day. This is crucial for heat-loving herbs to thrive.
* Soil: Well-drained soil is essential. These herbs don’t like to sit in soggy soil, which can lead to root rot. If your soil is heavy clay, amend it with compost and sand to improve drainage.
* Space: Consider the mature size of each herb when planning your layout. Give them enough space to grow without overcrowding each other.
* Water Source: Easy access to a water source is important, especially during hot, dry periods.
* Accessibility: Make sure your garden is easily accessible for watering, weeding, and harvesting.
Step-by-Step Guide to Planting Your Heat-Loving Herb Garden
Alright, let’s get our hands dirty! Here’s a step-by-step guide to planting your heat-loving herb garden:
1. Preparing the Soil
This is arguably the most important step. Happy roots mean happy herbs!
1. Clear the Area: Remove any grass, weeds, rocks, or debris from the area where you plan to plant your garden.
2. Amend the Soil: If your soil is heavy clay or sandy, amend it with compost and other organic matter to improve drainage and fertility. I like to use a mix of compost, aged manure, and a little bit of sand.
3. Till or Dig: Till the soil to a depth of at least 12 inches to loosen it up and improve drainage. If you don’t have a tiller, you can use a shovel or garden fork to dig and turn the soil.
4. Rake Smooth: Rake the soil smooth to create a level planting surface.
2. Planting Your Herbs
Now for the fun part!
1. Choose Your Herbs: Select the herbs you want to grow from the list above. You can start with seedlings from a nursery or propagate your own from cuttings.
2. Dig Holes: Dig holes that are slightly larger than the root ball of each herb. Space the holes according to the mature size of each herb.
3. Plant the Herbs: Gently remove the herbs from their containers and loosen the root ball. Place each herb in its hole and backfill with soil.
4. Water Thoroughly: Water the herbs thoroughly after planting to help them settle in.
3. Watering and Maintenance
Keeping your herbs happy and healthy is key to a bountiful harvest.
1. Water Regularly: Water your herbs regularly, especially during hot, dry periods. Water deeply and less frequently, rather than shallowly and often. Allow the soil to dry out slightly between waterings.
2. Mulch: Apply a layer of mulch around your herbs to help retain moisture, suppress weeds, and regulate soil temperature. I like to use straw, wood chips, or shredded bark.
3. Fertilize: Fertilize your herbs sparingly with a balanced organic fertilizer. Avoid over-fertilizing, as this can lead to leggy growth and reduced flavor.
4. Prune Regularly: Prune your herbs regularly to encourage bushier growth and prevent them from becoming leggy. Pinch off the tips of the stems to promote branching.
5. Weed Regularly: Remove any weeds that pop up in your garden to prevent them from competing with your herbs for nutrients and water.
Container Gardening Option
Don’t have a lot of space? No problem! You can easily grow heat-loving herbs in containers. Here’s how:
1. Choose the Right Containers: Select containers that are at least 12 inches in diameter and have drainage holes. Terracotta pots are a good choice because they allow the soil to breathe.
2. Use a Good Quality Potting Mix: Use a well-draining potting mix that is specifically formulated for containers. Avoid using garden soil, as it can become compacted in containers.
3. Plant Your Herbs: Plant your herbs in the containers, following the same steps as above.
4. Water Regularly: Water your herbs regularly, as containers tend to dry out more quickly than garden beds.
5. Fertilize Regularly: Fertilize your herbs regularly with a liquid fertilizer.
6. Place in a Sunny Location: Place your containers in a sunny location that receives at least 6-8 hours of direct sunlight per day.
Harvesting Your Herbs
The best part!
1. Harvest Regularly: Harvest your herbs regularly to encourage continued growth.
2. Harvest in the Morning: Harvest your herbs in the morning, after the dew has dried but before the sun gets too hot. This is when the herbs have the highest concentration of essential oils.
3. Use Sharp Scissors or Pruners: Use sharp scissors or pruners to harvest your herbs.
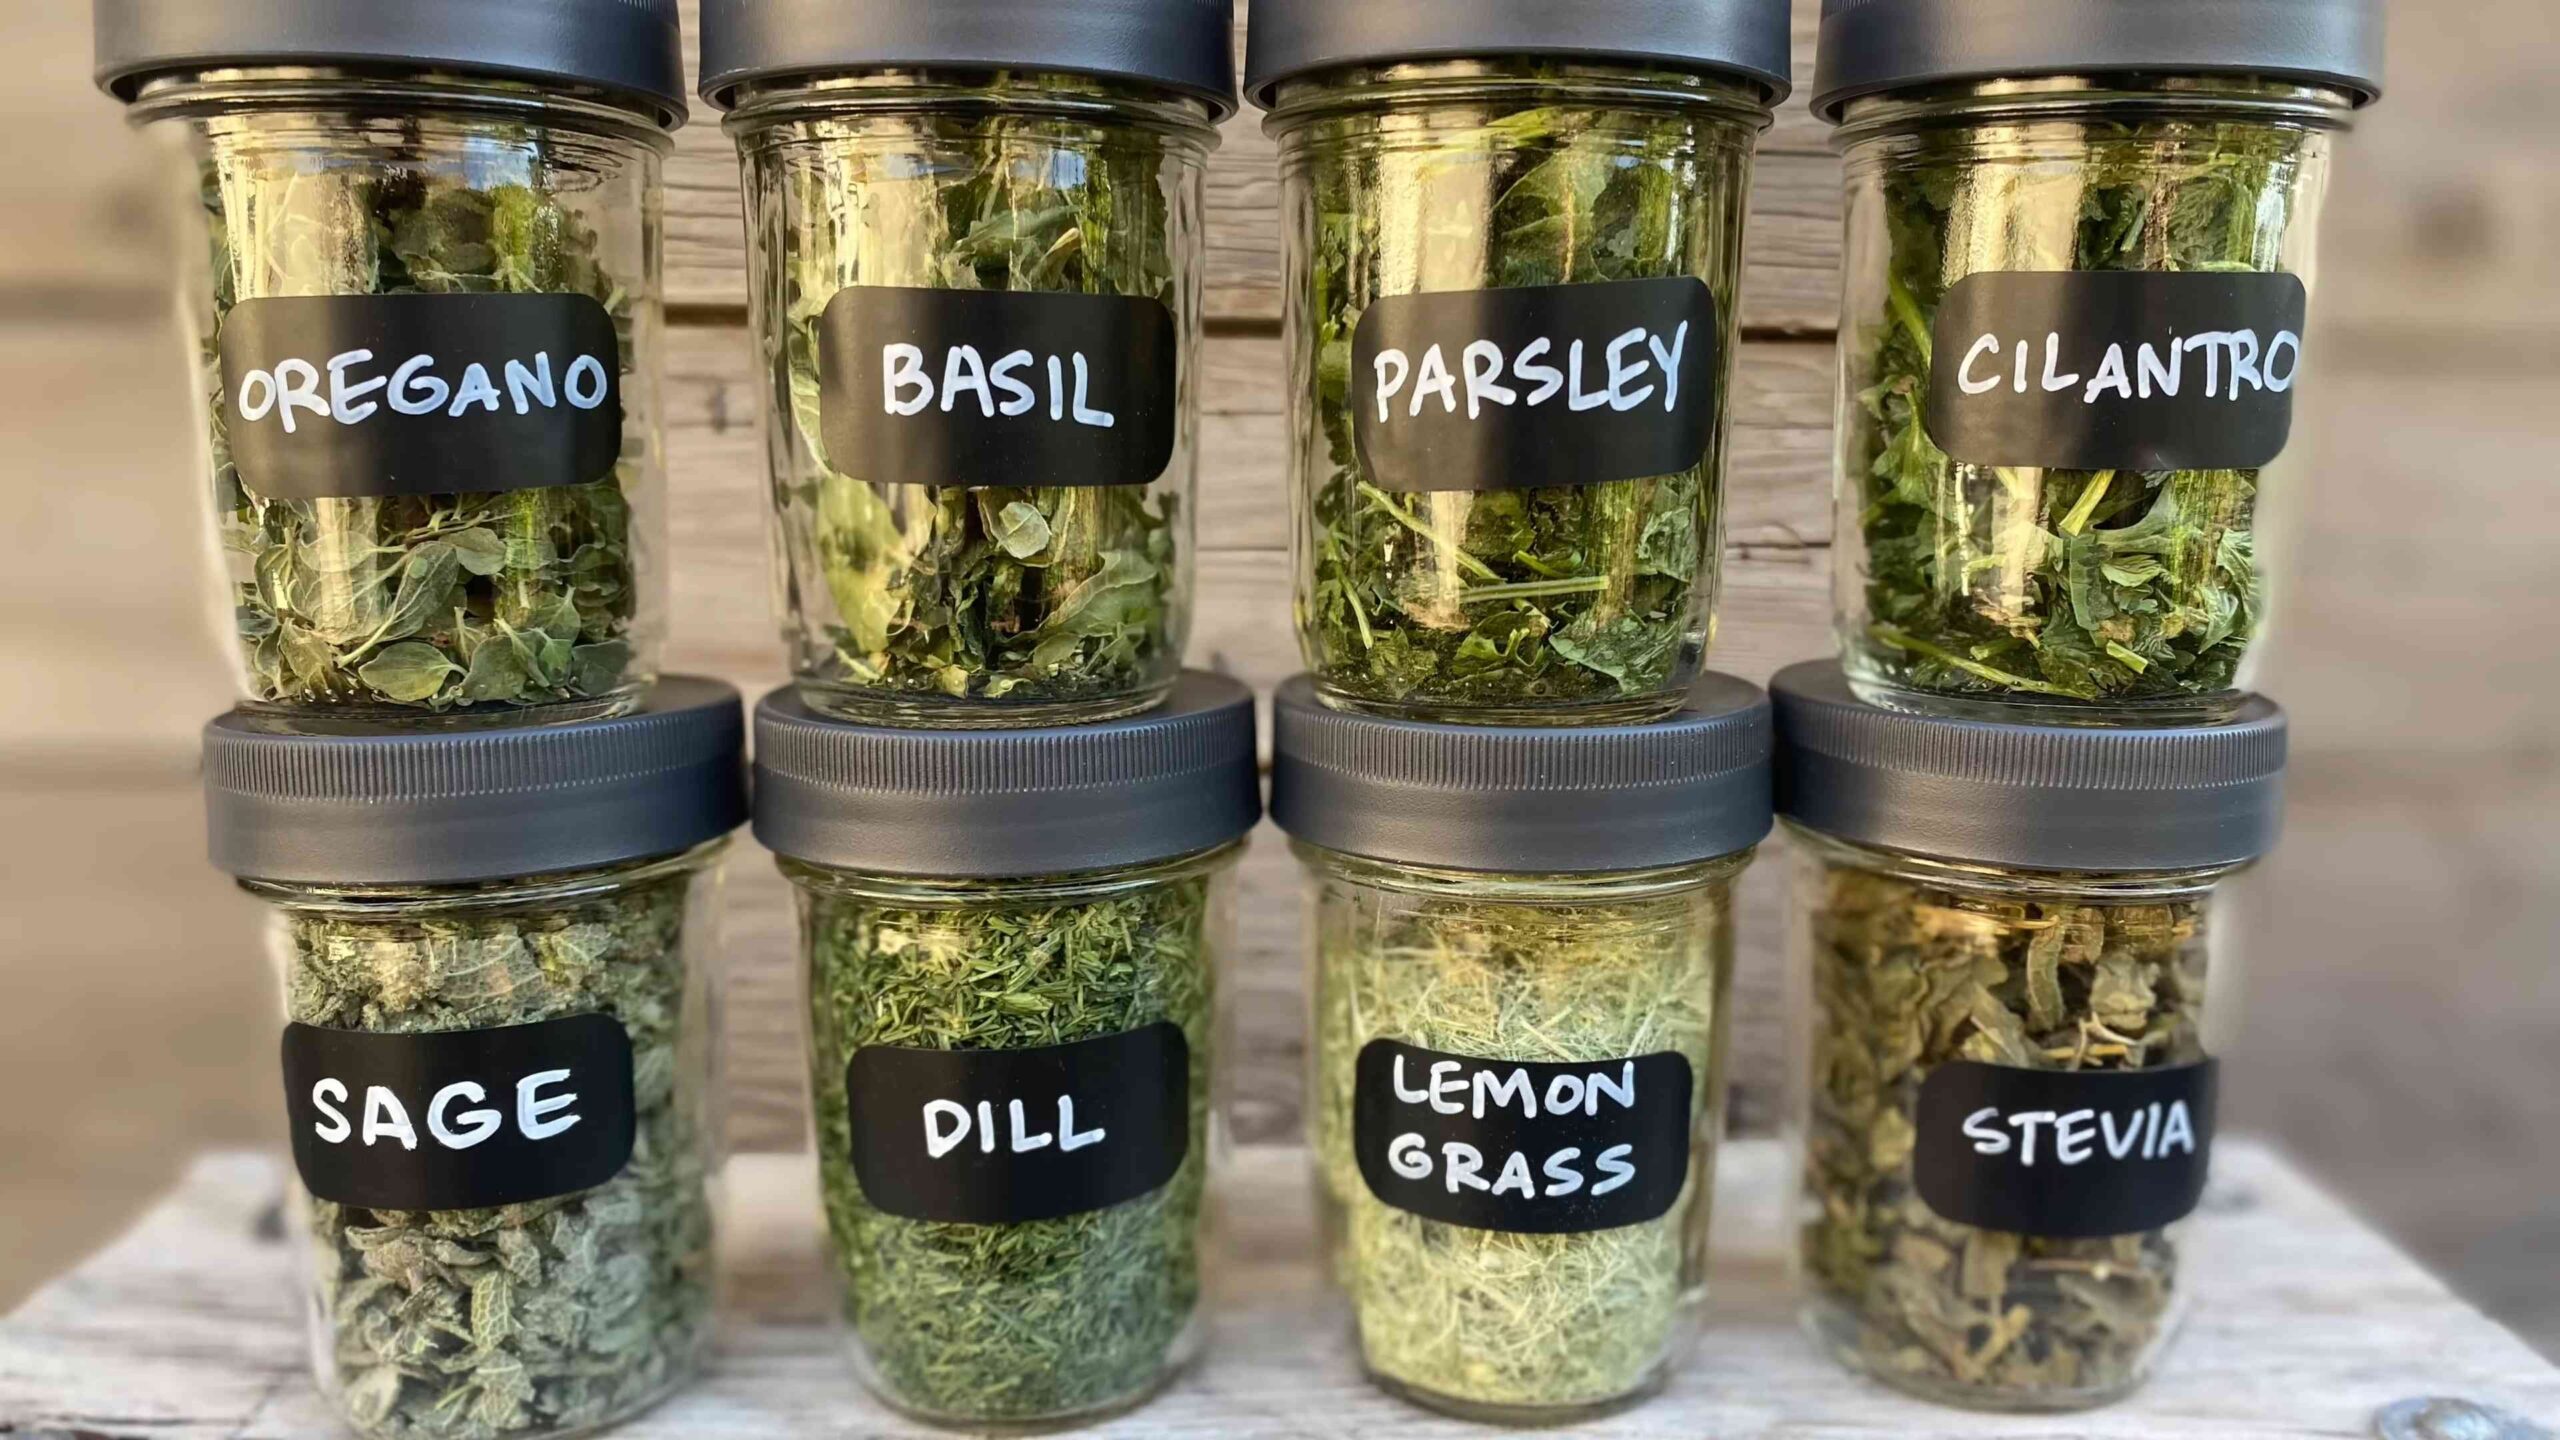
4. Store Properly: Store your herbs properly to preserve their flavor and aroma. You can dry them, freeze them, or use them fresh.
Troubleshooting Common Problems
Even with the best care, you might encounter some problems. Here’s how to deal with them:
* Pests: Aphids, spider mites, and whiteflies can sometimes attack herbs. Control them with insecticidal soap or neem oil.
* Diseases: Root rot can be a problem if the soil is too wet. Prevent root rot by ensuring good drainage and avoiding overwatering.
* Yellowing Leaves: Yellowing leaves can be a sign of nutrient deficiency. Fertilize your herbs with a balanced organic fertilizer.
* Leggy Growth: Leggy growth can be a sign of insufficient sunlight. Move your herbs to a sunnier location.
Enjoying Your Heat-Loving Herb Garden
Now that you’ve created your own thriving heat-loving herb garden, it’s time to enjoy the fruits (or rather, herbs!) of your labor. Use your fresh herbs in your favorite recipes, make herbal teas, or simply enjoy their fragrant aroma in your garden. There’s nothing quite like the taste of fresh, homegrown herbs! I love adding fresh basil to my pasta dishes, rosemary to roasted chicken, and thyme to soups and stews. The possibilities are endless!
Remember to experiment and find what works best for you and your garden. Happy gardening!
Conclusion
So, there you have it! Creating your own heat-loving herb garden is not just a fun project; it’s a game-changer for anyone who loves fresh, flavorful ingredients. Imagine stepping outside your door and snipping off vibrant basil leaves for your pasta, fragrant rosemary sprigs for roasting vegetables, or spicy oregano for your homemade pizza. No more wilted, overpriced herbs from the grocery store – just a thriving, aromatic oasis right at your fingertips.
This DIY approach is a must-try because it puts you in complete control. You get to choose the exact varieties of herbs you love most, ensuring you always have your favorite flavors on hand. Plus, you’ll be amazed at how much money you can save by growing your own herbs instead of constantly buying them. Beyond the practical benefits, nurturing your own garden is incredibly rewarding. There’s something deeply satisfying about watching tiny seeds sprout and grow into flourishing plants, knowing you played a part in their success.
Don’t be afraid to experiment with different variations! Try grouping herbs with similar watering needs together. Consider adding companion plants like marigolds to deter pests naturally. You can also explore different container options, from terracotta pots to raised beds, to find what works best for your space and aesthetic. For a truly unique touch, consider creating a vertical herb garden using repurposed pallets or hanging planters. This is a fantastic option for those with limited space, and it adds a beautiful visual element to your outdoor area.
Remember, the key to a successful heat-loving herb garden is providing the right conditions: plenty of sunshine, well-draining soil, and consistent watering. Don’t be discouraged if you encounter a few challenges along the way. Gardening is a learning process, and every mistake is an opportunity to grow (pun intended!).
We wholeheartedly encourage you to give this DIY trick a try. It’s a simple, affordable, and incredibly rewarding way to elevate your cooking and connect with nature. Once you experience the joy of harvesting your own fresh herbs, you’ll never go back to store-bought again.
And most importantly, we want to hear about your experiences! Share your photos, tips, and challenges in the comments below. Let’s create a community of herb-loving gardeners and inspire each other to grow the most delicious and vibrant gardens possible. What are your favorite heat-loving herbs to grow? What challenges have you faced, and how did you overcome them? Your insights will be invaluable to other readers who are just starting out. So, get your hands dirty, embrace the sunshine, and let’s grow something amazing together!
Frequently Asked Questions (FAQ)
What exactly are heat-loving herbs?
Heat-loving herbs are those that thrive in warm temperatures and plenty of sunshine. They typically originate from Mediterranean or tropical climates and are well-suited to hot, dry conditions. Some popular examples include basil, rosemary, thyme, oregano, sage, lavender, and mint. These herbs not only tolerate heat but actually require it to develop their full flavor and aroma.
How much sun do these herbs really need?
Most heat-loving herbs need at least 6-8 hours of direct sunlight per day to thrive. Without enough sunlight, they may become leggy, produce fewer leaves, and have a less intense flavor. Choose a location for your herb garden that receives ample sunlight throughout the day. If you live in a particularly hot climate, you may need to provide some afternoon shade to prevent the herbs from getting scorched.
What kind of soil is best for a heat-loving herb garden?
Well-draining soil is crucial for heat-loving herbs. They don’t like to sit in soggy soil, which can lead to root rot. A sandy loam soil is ideal, as it provides good drainage while still retaining enough moisture. You can improve the drainage of your soil by adding perlite or coarse sand. Avoid heavy clay soils, as they tend to retain too much water. Consider using raised beds or containers if your native soil is not well-draining.
How often should I water my heat-loving herbs?
The watering frequency will depend on the climate, soil type, and the specific herbs you are growing. As a general rule, water deeply but infrequently, allowing the soil to dry out slightly between waterings. Overwatering is a common mistake that can lead to root rot. Check the soil moisture by sticking your finger into the soil about an inch deep. If it feels dry, it’s time to water. During hot, dry periods, you may need to water more frequently.
What about fertilizer? Do heat-loving herbs need it?
Heat-loving herbs generally don’t require a lot of fertilizer. In fact, too much fertilizer can actually diminish their flavor. A light feeding of a balanced organic fertilizer in the spring is usually sufficient. Avoid using high-nitrogen fertilizers, as they can promote leafy growth at the expense of flavor. You can also amend the soil with compost or well-rotted manure to provide a slow-release source of nutrients.
How do I harvest my herbs?
Harvesting herbs regularly encourages them to grow bushier and produce more leaves. Use sharp scissors or pruning shears to snip off stems just above a leaf node (the point where leaves grow from the stem). Avoid removing more than one-third of the plant at a time, as this can stress the plant. The best time to harvest herbs is in the morning, after the dew has dried but before the sun gets too hot.
Can I grow heat-loving herbs indoors?
Yes, you can grow heat-loving herbs indoors, but you’ll need to provide them with the right conditions. Place them in a sunny window that receives at least 6 hours of direct sunlight per day. You may also need to supplement with grow lights, especially during the winter months. Use well-draining potting mix and water regularly, allowing the soil to dry out slightly between waterings.
How do I deal with pests and diseases?
Regularly inspect your herbs for signs of pests or diseases. Common pests include aphids, spider mites, and whiteflies. You can often control these pests by spraying the plants with a strong stream of water or using insecticidal soap. Diseases such as powdery mildew can be prevented by ensuring good air circulation and avoiding overhead watering. Remove any infected leaves or stems promptly.
What are some good companion plants for heat-loving herbs?
Companion planting can help to deter pests, attract beneficial insects, and improve the overall health of your herb garden. Some good companion plants for heat-loving herbs include marigolds, nasturtiums, and garlic. Marigolds repel nematodes and other soil pests, while nasturtiums attract aphids away from your herbs. Garlic has antifungal properties and can help to prevent diseases.
How do I preserve my herbs for later use?
There are several ways to preserve your herbs for later use. You can dry them by hanging them upside down in a cool, dry place or using a dehydrator. You can also freeze them by chopping them up and placing them in ice cube trays with water or olive oil. Another option is to make herb-infused oils or vinegars. Experiment with different methods to find what works best for you.

Leave a Comment