

Hydroponic Water Spinach DIY: Ready to ditch the grocery store greens and grow your own delicious, nutrient-packed water spinach right at home? I’m so excited to share this super simple and rewarding DIY project with you! For centuries, water spinach, also known as Ong Choy, has been a staple in Asian cuisine, prized for its crisp texture and mild, earthy flavor. It’s incredibly versatile, perfect for stir-fries, soups, or even eaten raw in salads.
But here’s the thing: finding fresh, high-quality water spinach can sometimes be a challenge. That’s where this hydroponic water spinach DIY comes in! Imagine harvesting your own vibrant, pesticide-free greens just steps from your kitchen. Not only will you have a constant supply of fresh veggies, but you’ll also experience the satisfaction of growing your own food. Plus, hydroponics is a fantastic way to garden in small spaces, making it ideal for apartment dwellers or anyone with limited outdoor space. This guide will walk you through each step, ensuring you’ll be enjoying your own homegrown water spinach in no time. Let’s get started!

DIY Hydroponic Water Spinach: A Beginner’s Guide
Hey there, fellow plant enthusiasts! Ever wanted to grow your own fresh, crunchy water spinach (also known as kangkong or ong choy) right in your kitchen? Well, you’re in the right place! This guide will walk you through a super simple and rewarding DIY hydroponic setup, perfect for beginners. Trust me, if I can do it, you can too! We’ll be using the Kratky method, which is a passive hydroponic system – meaning no pumps or electricity needed after the initial setup. Let’s get started!
What You’ll Need: The Shopping List
Before we dive in, let’s gather our supplies. Don’t worry, most of these are easily accessible and won’t break the bank.
* A Container: This is your reservoir. I recommend a dark-colored, opaque plastic container (like a storage tote or a bucket) with a lid. Dark colors prevent algae growth. Size depends on how much water spinach you want to grow, but a 5-gallon container is a good starting point.
* Net Pots: These will hold your water spinach seedlings. I usually use 2-inch or 3-inch net pots. You can find them at most garden centers or online.
* Growing Medium: This provides support for the roots. I prefer coco coir or rockwool cubes, but you can also use perlite or a mix of these. Just make sure it’s inert and doesn’t decompose easily.
* Hydroponic Nutrients: This is the food for your plants! You’ll need a balanced hydroponic nutrient solution specifically formulated for leafy greens. Look for a two-part or three-part nutrient system for best results. I use a brand called General Hydroponics, but there are many good options out there.
* Water Spinach Seeds: Obviously! You can find these at Asian grocery stores or online seed suppliers. Make sure they’re fresh for best germination rates.
* pH Meter or pH Test Kit: This is crucial for maintaining the correct pH level of your nutrient solution. A digital pH meter is more accurate, but a test kit with pH drops is a cheaper alternative.
* Rockwool Starter Plugs (Optional): These are great for starting your seeds. They provide a sterile and well-draining environment for germination.
* Spray Bottle: For misting the seedlings.
* Drill or Hole Saw: To make holes in the container lid for the net pots.
* Measuring Cups and Spoons: For accurately measuring the nutrient solution.
* Gloves: To protect your hands.
* Safety Glasses: To protect your eyes when drilling.
Phase 1: Germinating Your Water Spinach Seeds
This is where the magic begins! Getting your seeds to sprout is the first step to a bountiful harvest.
1. Soaking the Seeds: I like to soak my water spinach seeds in warm water for 12-24 hours before planting. This helps to soften the seed coat and improve germination. Just put them in a small bowl with warm water and let them sit.
2. Preparing the Rockwool (Optional): If you’re using rockwool starter plugs, soak them in pH-adjusted water (pH 5.5-6.0) for a few minutes. This helps to remove any excess alkalinity from the rockwool.
3. Planting the Seeds: Place 2-3 water spinach seeds in each rockwool plug or directly into your chosen growing medium if you’re skipping the rockwool. Gently cover the seeds with a thin layer of the medium.
4. Creating a Humid Environment: Place the rockwool plugs or your seed-filled container in a tray or container with a lid to create a humid environment. This helps to keep the seeds moist and encourages germination.
5. Misting Regularly: Mist the seeds with water 2-3 times a day to keep the growing medium moist but not soggy.
6. Providing Light: Place the tray or container in a warm, well-lit location. A sunny windowsill or a grow light will work perfectly.
7. Waiting for Germination: Water spinach seeds typically germinate within 3-7 days. Keep an eye on them and continue to mist them regularly.
Phase 2: Setting Up Your Hydroponic System
Now that your seeds have sprouted, it’s time to build your hydroponic system!
1. Preparing the Container Lid: Using your drill or hole saw, create holes in the container lid that are slightly smaller than the diameter of your net pots. You want the net pots to fit snugly into the holes. The number of holes you drill will depend on the size of your container and how much water spinach you want to grow. I usually space them about 4-6 inches apart.
2. Assembling the Net Pots: Place your chosen growing medium (coco coir, rockwool, perlite, etc.) into the net pots. Make sure the medium is packed firmly enough to support the seedlings but not so tightly that it restricts root growth.
3. Preparing the Nutrient Solution: Fill your container with water. Then, add the hydroponic nutrients according to the manufacturer’s instructions. It’s crucial to follow the instructions carefully to avoid over- or under-fertilizing your plants. I always start with half the recommended dose and gradually increase it as needed.
4. Adjusting the pH: Use your pH meter or pH test kit to check the pH of the nutrient solution. Water spinach prefers a pH of 5.5-6.5. If the pH is too high, add a pH-down solution. If it’s too low, add a pH-up solution. Adjust the pH gradually and recheck it after each adjustment.
5. Placing the Net Pots in the Lid: Carefully place the net pots filled with the growing medium into the holes in the container lid.
6. Positioning the Seedlings: Gently remove the water spinach seedlings from the rockwool plugs (if you used them) and place them into the net pots. Make sure the roots are in contact with the growing medium. If you planted directly into the growing medium, simply thin out the seedlings, leaving the strongest ones in each net pot.
7. Placing the Lid on the Container: Carefully place the lid with the net pots and seedlings onto the container. Make sure the roots of the seedlings are submerged in the nutrient solution. The water level should be high enough to reach the bottom of the net pots, but not so high that it covers the stems of the seedlings.
Phase 3: Maintaining Your Hydroponic Water Spinach
Congratulations! Your hydroponic system is up and running. Now, it’s time to maintain it and watch your water spinach thrive.
1. Monitoring the Water Level: Check the water level in the container regularly (every few days) and add more nutrient solution as needed. The water level will gradually decrease as the plants absorb water and nutrients.
2. Checking the pH: Check the pH of the nutrient solution at least once a week and adjust it as needed.
3. Changing the Nutrient Solution: Change the entire nutrient solution every 2-3 weeks. This helps to prevent the buildup of salts and other impurities that can harm your plants. When changing the solution, thoroughly clean the container and lid before refilling it with fresh nutrient solution.
4. Providing Light: Water spinach needs plenty of light to grow well. If you’re growing it indoors, provide it with at least 6-8 hours of direct sunlight per day or use a grow light.
5. Ensuring Proper Ventilation: Good ventilation is important for preventing fungal diseases. Make sure there’s adequate airflow around your plants. You can use a small fan to improve air circulation.
6. Pest Control: Keep an eye out for pests such as aphids or spider mites. If you find any pests, treat them with an organic insecticide or insecticidal soap.
7. Supporting the Plants (Optional): As your water spinach grows, it may need some support. You can use bamboo stakes or trellises to help support the stems.
8. Harvesting: You can start harvesting your water spinach about 3-4 weeks after transplanting the seedlings. Simply cut the stems a few inches above the water level. The plants will continue to grow and produce more leaves. I usually harvest a portion of the plants at a time, leaving some to continue growing.
Troubleshooting Tips
Even with the best planning, you might encounter some challenges. Here are a few common issues and how to address them:
* Yellowing Leaves: This could be a sign of nutrient deficiency. Make sure you’re using a balanced hydroponic nutrient solution and that the pH is within the correct range.
* Slow Growth: This could be due to insufficient light, low temperatures, or nutrient deficiencies. Make sure your plants are getting enough light and warmth, and that you’re providing them with adequate nutrients.
* Algae Growth: Algae can grow
Conclusion
So, there you have it! Cultivating your own hydroponic water spinach is not only surprisingly simple, but also incredibly rewarding. Forget those wilted, overpriced bunches at the grocery store. With this easy DIY trick, you can have a constant supply of fresh, crisp water spinach right at your fingertips. Imagine the satisfaction of harvesting your own greens, knowing exactly where they came from and what went into growing them.
This method isn’t just about convenience; it’s about control. You control the nutrients, the environment, and ultimately, the quality of your harvest. Plus, it’s a fantastic way to reduce your carbon footprint by minimizing transportation and packaging waste. Think of all the delicious stir-fries, soups, and salads you can create with your homegrown bounty!
But the benefits don’t stop there. Hydroponic gardening is a fantastic learning experience, especially for children. It teaches them about plant life cycles, nutrient requirements, and the importance of sustainable food production. It’s a hands-on activity that can spark a lifelong interest in gardening and healthy eating.
Feeling adventurous? Why not experiment with different nutrient solutions? Some growers swear by specific blends for optimal growth, while others prefer to keep it simple with readily available fertilizers. You can also try varying the light exposure to see how it affects the taste and texture of your water spinach. Perhaps you’ll discover a unique growing technique that yields even better results!
Another variation to consider is the container you use. While we’ve outlined a simple DIY setup, you can easily adapt this method to larger containers or even create a multi-tiered hydroponic system for maximum yield. The possibilities are endless!
This DIY hydroponic water spinach project is a game-changer for anyone looking to enjoy fresh, healthy greens without the hassle of traditional gardening. It’s cost-effective, space-saving, and incredibly satisfying.
We truly believe that anyone can succeed with this method, regardless of their gardening experience. So, what are you waiting for? Gather your supplies, follow our simple steps, and get ready to harvest your own delicious water spinach.
We’re confident that you’ll be amazed by the results. And once you’ve experienced the joy of growing your own food, you’ll never look at store-bought vegetables the same way again.
Don’t forget to share your experiences with us! We’d love to see your hydroponic water spinach setups and hear about your successes (and any challenges you encounter along the way). Post photos and tips on social media using #HydroponicWaterSpinachDIY and let’s build a community of homegrown goodness! We are eager to hear about your journey with this **hydroponic water spinach** project.
Frequently Asked Questions (FAQ)
What exactly is hydroponics, and why is it good for growing water spinach?
Hydroponics is a method of growing plants without soil, using mineral nutrient solutions in water. It’s beneficial for water spinach because it allows for faster growth, higher yields, and better control over the growing environment. Water spinach thrives in water-rich environments, making hydroponics a natural fit. You can precisely control the nutrients the plants receive, ensuring optimal growth and flavor. Plus, it eliminates soilborne diseases and pests, reducing the need for pesticides.
What kind of nutrient solution should I use for my hydroponic water spinach?
A balanced hydroponic nutrient solution specifically formulated for leafy greens is ideal. Look for solutions that contain essential macronutrients like nitrogen, phosphorus, and potassium, as well as micronutrients like iron, manganese, and zinc. You can find these solutions at most garden centers or online retailers. Follow the manufacturer’s instructions carefully when mixing the solution. A general rule of thumb is to start with a diluted solution and gradually increase the concentration as the plants grow. Some growers also use organic nutrient solutions, but these may require more frequent monitoring and adjustments.
How much light does hydroponic water spinach need?
Water spinach needs plenty of light to thrive. Aim for at least 6-8 hours of direct sunlight per day. If you’re growing indoors, you’ll need to supplement with artificial lighting. LED grow lights are a popular choice because they’re energy-efficient and provide the full spectrum of light that plants need. Position the lights close enough to the plants to provide adequate illumination, but not so close that they burn the leaves. You can also use a timer to automate the lighting schedule.
How often should I change the nutrient solution?
The frequency of nutrient solution changes depends on the size of your container and the growth rate of your water spinach. As a general guideline, change the solution every 1-2 weeks. This helps to prevent nutrient imbalances and the buildup of harmful bacteria or algae. When changing the solution, thoroughly clean the container to remove any debris or residue. You can also use a water quality meter to monitor the pH and nutrient levels of the solution and adjust accordingly.
How long does it take to harvest hydroponic water spinach?
Hydroponic water spinach typically grows much faster than soil-grown water spinach. You can usually start harvesting within 3-4 weeks of planting the seeds or cuttings. Harvest the outer leaves first, allowing the inner leaves to continue growing. You can harvest multiple times from the same plant, providing a continuous supply of fresh greens.
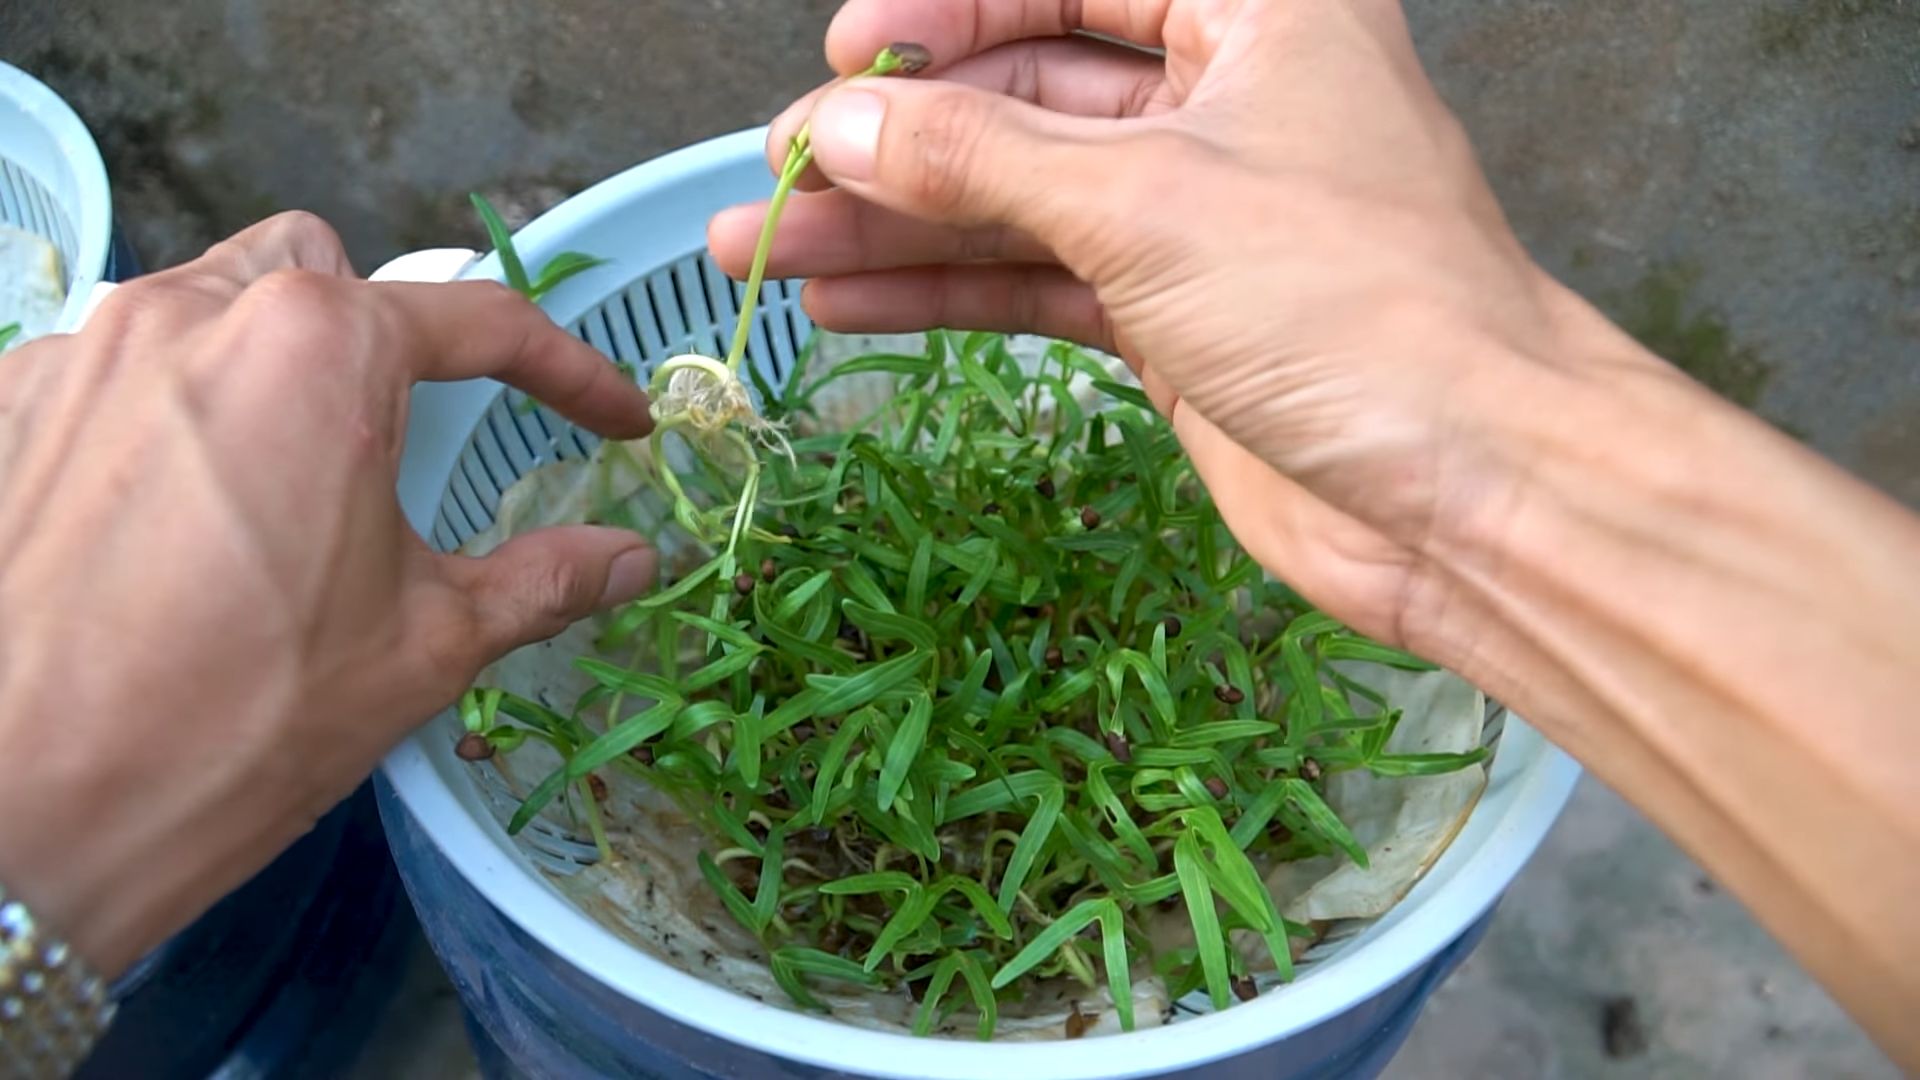
Can I grow hydroponic water spinach from cuttings instead of seeds?
Yes, growing from cuttings is a faster and easier way to propagate water spinach. Simply take cuttings from a mature plant, making sure each cutting has at least a few nodes (the points where leaves emerge). Place the cuttings in water until roots develop, then transfer them to your hydroponic system. This method allows you to bypass the germination stage and start harvesting sooner.
What are some common problems I might encounter when growing hydroponic water spinach, and how can I fix them?
Some common problems include nutrient deficiencies, algae growth, and pest infestations. Nutrient deficiencies can be identified by yellowing or browning leaves. Adjust the nutrient solution accordingly. Algae growth can be prevented by keeping the container clean and using an opaque container to block out light. Pest infestations are less common in hydroponic systems, but if they occur, you can use organic pest control methods like neem oil or insecticidal soap. Regularly inspect your plants for any signs of problems and address them promptly.
Is hydroponic water spinach as nutritious as soil-grown water spinach?
In many cases, hydroponic water spinach can be even more nutritious than soil-grown water spinach. Because you have precise control over the nutrient solution, you can ensure that the plants receive all the essential nutrients they need to thrive. This can result in higher levels of vitamins, minerals, and antioxidants. However, the nutritional content can also vary depending on the specific nutrient solution used and the growing conditions.
Can I grow other vegetables using the same hydroponic system as water spinach?
Yes, you can grow other leafy greens like lettuce, spinach, and kale in the same hydroponic system as water spinach. However, it’s important to choose plants that have similar nutrient requirements and growth rates. Avoid growing plants that are significantly larger or have different pH preferences, as this can lead to imbalances in the system.
How do I store harvested hydroponic water spinach?
Store harvested water spinach in the refrigerator in a plastic bag or container. It’s best to use it within a few days for optimal freshness and flavor. You can also blanch and freeze water spinach for longer storage.


Leave a Comment