

Indoor Fern Care can feel like a daunting task, right? I get it! You bring home this lush, vibrant fern, envisioning a mini-jungle oasis in your living room, only to find it slowly turning brown and crispy. Don’t worry, you’re not alone! Many plant parents struggle with these beautiful, but sometimes finicky, green companions.
Ferns have a rich history, dating back millions of years, even predating flowering plants! They’ve been admired and cultivated across cultures, from Victorian parlors to Japanese gardens, symbolizing resilience and tranquility. But bringing that tranquility indoors requires understanding their specific needs.
That’s why I’ve put together this guide packed with easy indoor fern care tricks and DIY solutions. We’ll ditch the complicated jargon and focus on practical tips that actually work. I’ll show you how to create the perfect environment, from humidity hacks to watering techniques, so you can finally enjoy a thriving, healthy fern that brings life and beauty to your home. No more brown fronds – just lush, green goodness! Let’s get started!
Reviving Your Fern: A DIY Guide to Lush Indoor Fronds
Okay, fern fanatics! Let’s face it, those beautiful, delicate fronds can be a bit… dramatic. One wrong move and they’re turning brown faster than you can say “humidity.” But don’t despair! I’m here to share my tried-and-true methods for bringing your ferns back from the brink and keeping them thriving indoors. This isn’t just about watering; it’s about creating the perfect fern paradise right in your home.
Understanding Your Fern’s Needs
Before we dive into the DIY magic, let’s quickly cover the basics. Ferns are all about:
* Humidity: They crave it! Think rainforest vibes.
* Light: Bright, indirect light is their jam. Direct sun will scorch those delicate leaves.
* Watering: Consistent moisture is key, but soggy soil is a no-no.
* Soil: Well-draining, slightly acidic soil is what they prefer.
* Temperature: They like it moderate – not too hot, not too cold.
Assessing the Damage: Why is My Fern Looking Sad?
First things first, let’s play detective. What’s causing your fern’s distress? Here are some common culprits:
* Brown, crispy fronds: Usually a sign of low humidity or underwatering.
* Yellowing fronds: Could be overwatering, poor drainage, or lack of nutrients.
* Pale, weak growth: Insufficient light is often the reason.
* Pests: Keep an eye out for spider mites, mealybugs, or scale.
Once you’ve identified the problem, you can tailor your revival strategy accordingly.
The Ultimate Fern Revival Plan: Step-by-Step
Alright, let’s get our hands dirty! This is my go-to method for bringing even the most neglected ferns back to life.
Phase 1: The Hydration Station
Ferns are thirsty creatures, so let’s start with a good soak.
1. Remove the Fern from its Pot: Gently ease the fern out of its pot. If it’s root-bound (roots circling tightly around the pot), loosen them up a bit with your fingers.
2. Submerge the Root Ball: Fill a sink or bucket with lukewarm water. Submerge the entire root ball of the fern in the water for about 15-20 minutes. This allows the roots to thoroughly rehydrate. You’ll see air bubbles escaping as the soil gets saturated.
3. Drain Thoroughly: After soaking, let the fern drain completely. You don’t want it sitting in standing water, which can lead to root rot.
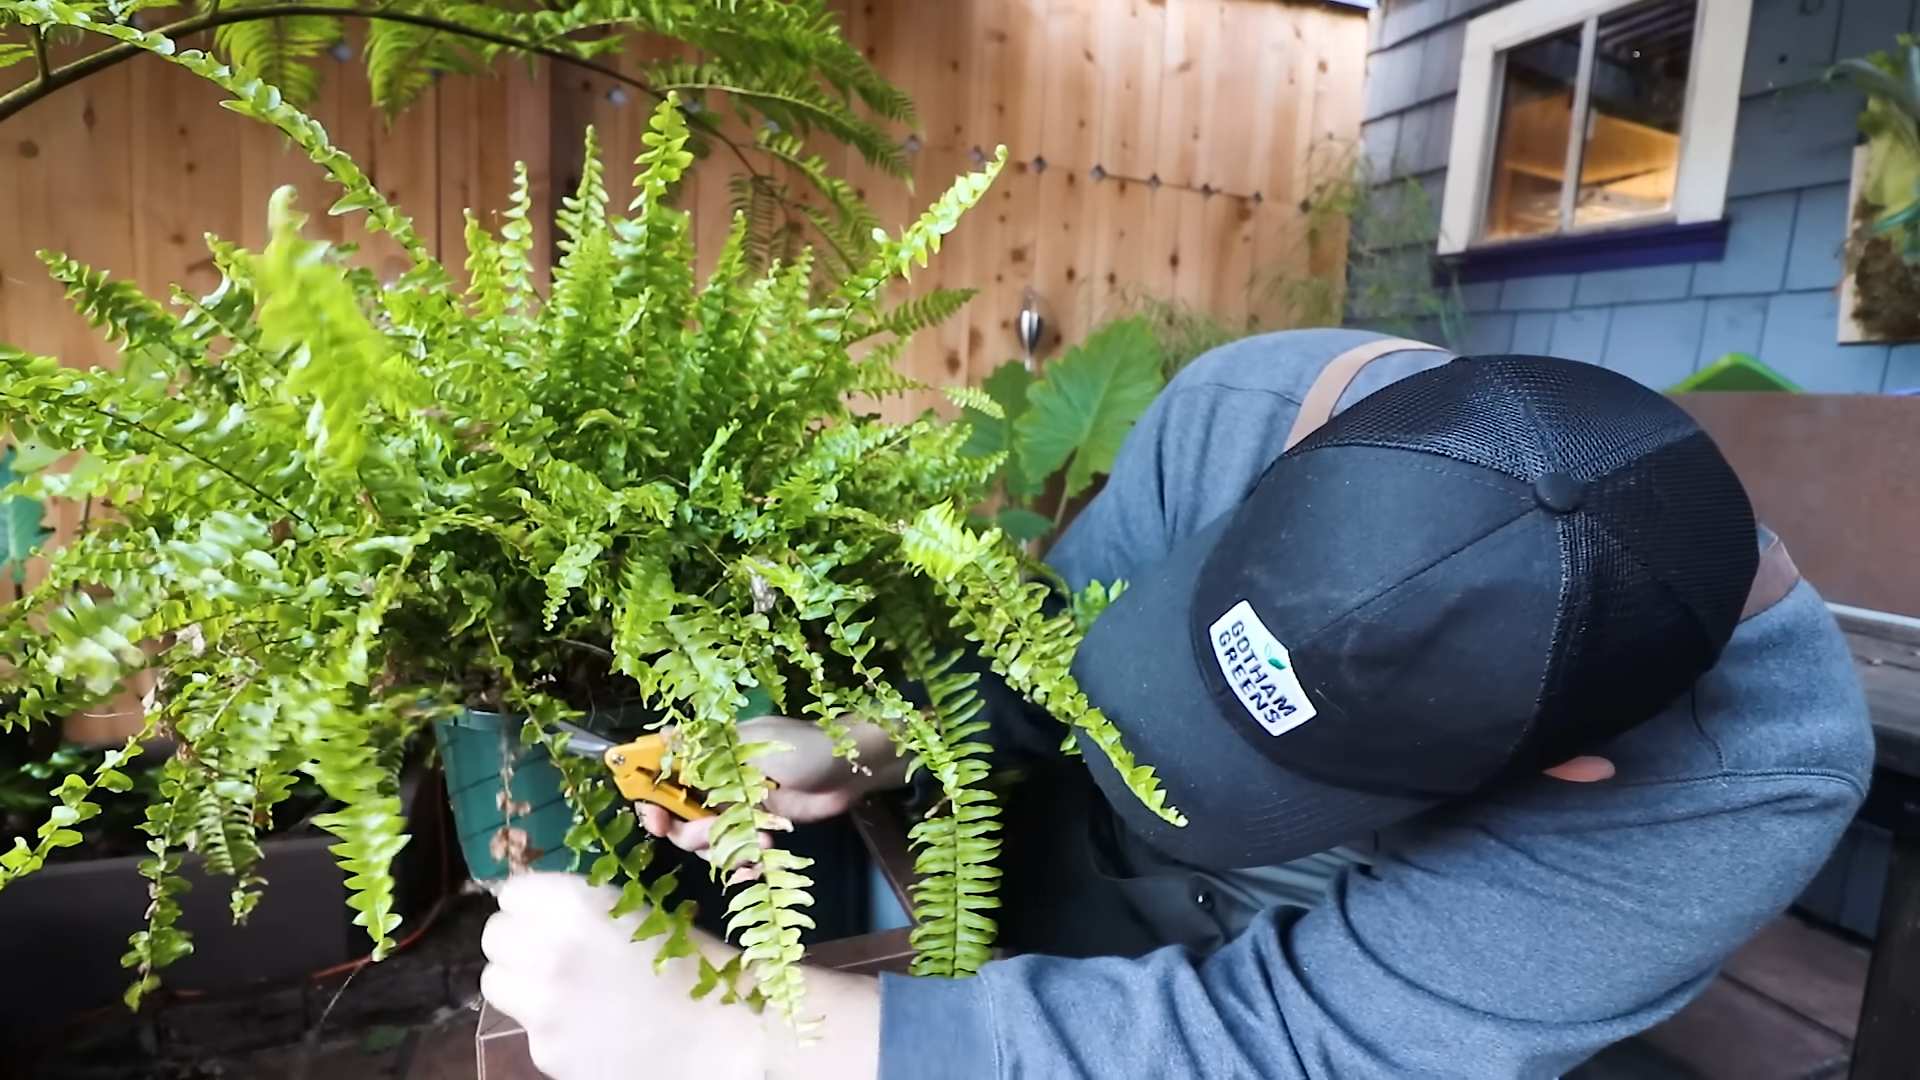
Phase 2: The Pruning Power-Up
Time to get rid of those unsightly brown fronds.
1. Gather Your Tools: You’ll need a pair of clean, sharp scissors or pruning shears. Sterilize them with rubbing alcohol to prevent the spread of disease.
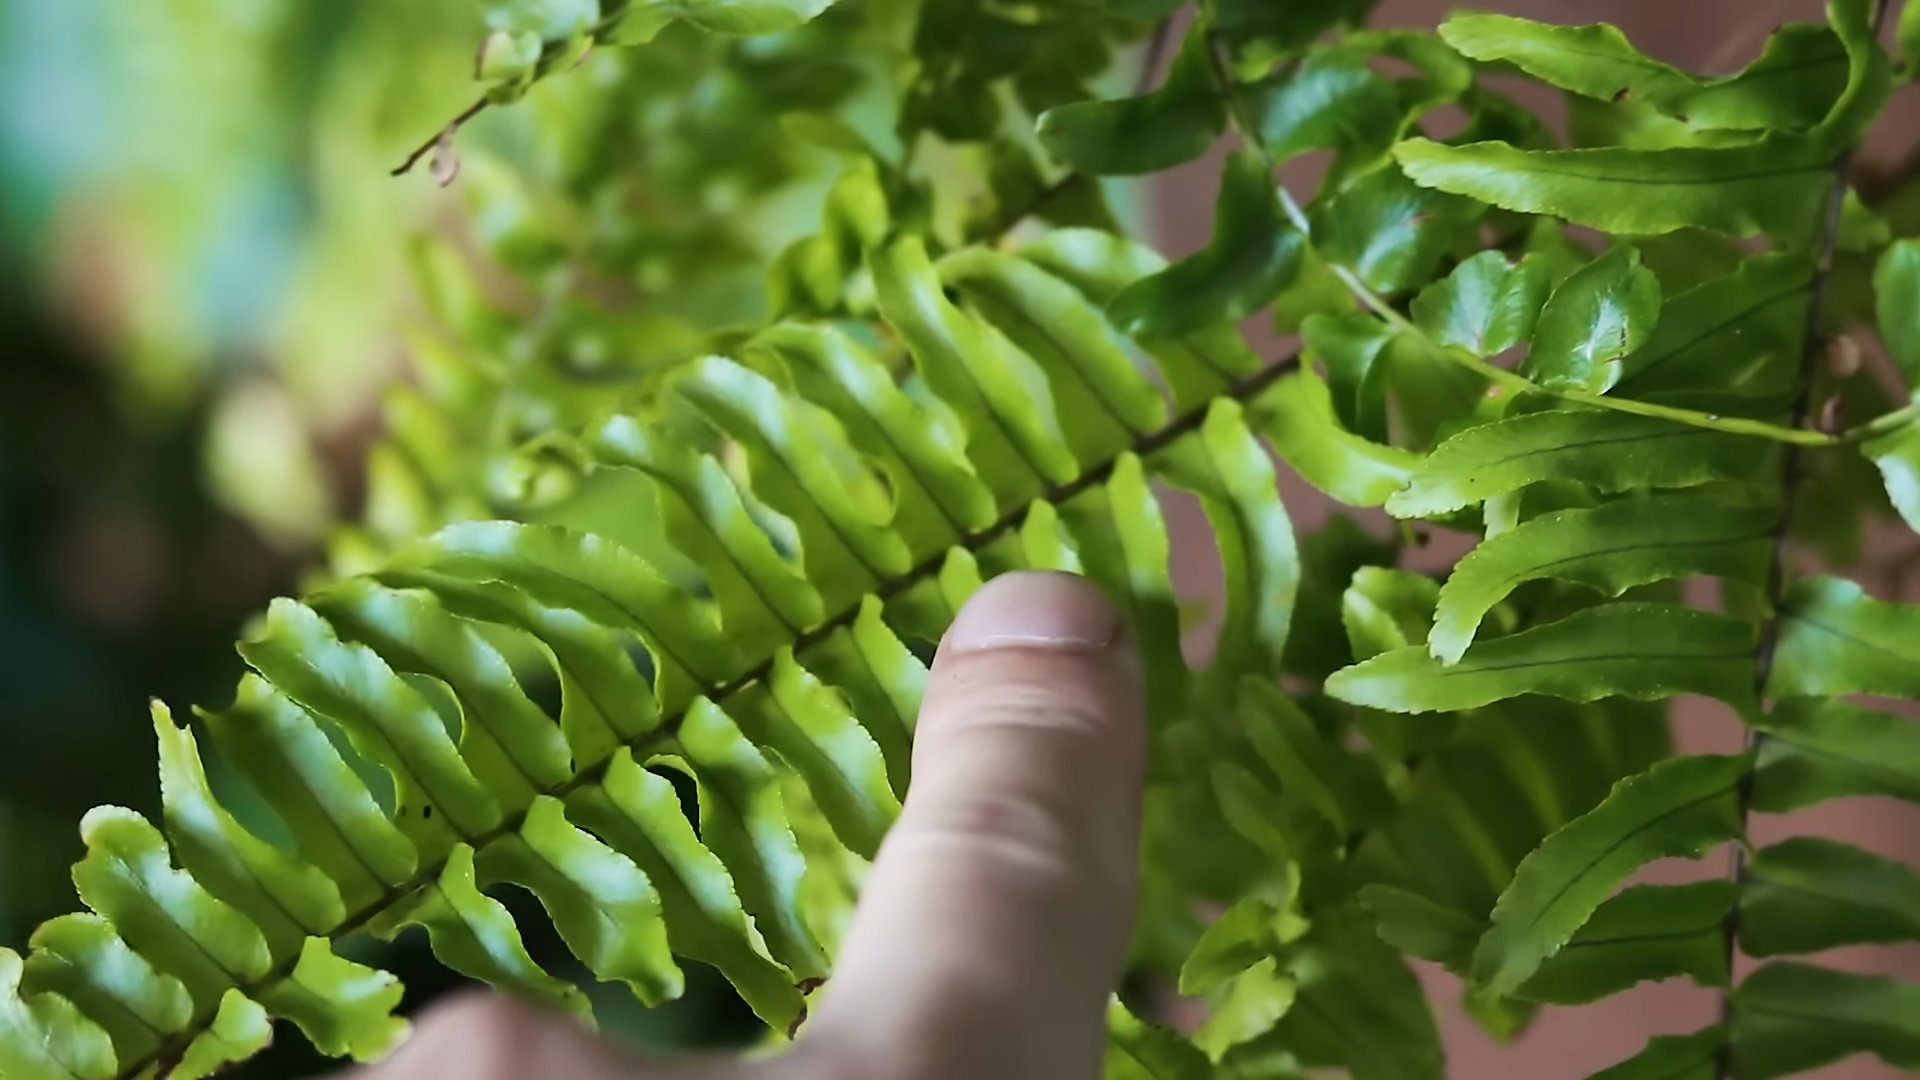
2. Identify Dead or Damaged Fronds: Look for fronds that are completely brown, crispy, or severely damaged.
3. Cut Back to the Base: Using your sterilized scissors, cut the dead or damaged fronds back to the base of the plant, as close to the soil line as possible. Don’t be afraid to be aggressive – removing the dead foliage encourages new growth.
4. Remove Debris: Clear away any fallen leaves or debris from the surface of the soil.
Phase 3: The Humidity Haven
This is where the magic happens! Creating a humid environment is crucial for fern health.
1. Choose Your Humidity-Boosting Method: You have several options here, so pick what works best for you:
* Pebble Tray: Fill a shallow tray with pebbles and add water until it’s just below the top of the pebbles. Place your fern on top of the pebble tray. As the water evaporates, it will increase the humidity around the plant. This is my personal favorite!
* Humidifier: A humidifier is a great investment for any plant lover, especially if you live in a dry climate. Place the humidifier near your fern and set it to a moderate humidity level (around 50-60%).
* Grouping Plants: Grouping your ferns with other plants can also help increase humidity. Plants naturally release moisture through transpiration, so the more plants you have together, the more humid the environment will be.
* Misting: Misting your fern regularly can provide a temporary boost of humidity. However, it’s not a long-term solution, as the humidity will dissipate quickly. If you choose to mist, use distilled or filtered water to avoid mineral buildup on the leaves.
2. Monitor Humidity Levels: Use a hygrometer (humidity meter) to keep an eye on the humidity levels around your fern. This will help you adjust your humidity-boosting methods as needed.
Phase 4: The Light Adjustment
Finding the right light is essential for fern happiness.
1. Assess Your Current Lighting: Where is your fern currently located? Is it getting direct sunlight, indirect light, or low light?
2. Move to a Brighter Location (If Necessary): If your fern is in a low-light area, move it to a spot that receives bright, indirect light. An east-facing window is often a good choice. Avoid direct sunlight, which can scorch the leaves.
3. Consider Supplemental Lighting: If you don’t have a naturally bright spot, you can use a grow light to supplement the light. Place the grow light a few feet away from the fern and use it for several hours each day.
Phase 5: The Soil Refresh
Healthy soil is the foundation of a healthy fern.
1. Check the Soil Condition: Is the soil compacted, dry, or waterlogged? Does it smell musty?
2. Repot if Necessary: If the soil is in poor condition or if the fern is root-bound, it’s time to repot. Choose a pot that’s slightly larger than the current one and use a well-draining potting mix specifically formulated for ferns. I like to add some peat moss or coco coir to improve moisture retention.
3. Top Dress with Compost: If you don’t want to repot, you can simply top dress the soil with a layer of compost. This will provide the fern with essential nutrients.
Phase 6: The Watering Wisdom
Watering correctly is crucial for preventing both underwatering and overwatering.
1. Water When the Top Inch of Soil is Dry: Stick your finger into the soil to check the moisture level. Water thoroughly when the top inch of soil feels dry to the touch.
2. Water Slowly and Evenly: Water the fern slowly and evenly, allowing the water to soak into the soil. Avoid getting water on the fronds, as this can promote fungal growth.
3. Ensure Proper Drainage: Make sure the pot has drainage holes to allow excess water to escape. Empty the saucer beneath the pot after watering to prevent the fern from sitting in standing water.
4. Use Filtered or Distilled Water: Ferns are sensitive to chemicals in tap water, so it’s best to use filtered or distilled water.
Phase 7: The Fertilizing Finesse
Ferns aren’t heavy feeders, but they do benefit from occasional fertilization.
1. Use a Balanced Liquid Fertilizer: Choose a balanced liquid fertilizer (e.g., 20-20-20) and dilute it to half strength.
2. Fertilize During the Growing Season: Fertilize your fern every 2-4 weeks during the growing season (spring and summer).
3. Avoid Over-Fertilizing: Over-fertilizing can burn the roots and damage the plant. It’s better to err on the side of under-fertilizing.
Phase 8: The Pest Patrol
Keep an eye out for pests and take action immediately if you spot any.
1. Inspect Regularly: Regularly inspect your fern for signs of pests, such as spider mites, mealybugs, or scale.
2. Treat Infestations Promptly: If you find pests, treat them promptly with insecticidal soap or neem oil. Follow the instructions on the product label carefully.
3. Isolate Infected Plants: If you have other plants, isolate the infected fern to prevent the pests from spreading.
Maintaining Your Thriving Fern: Long-Term Care Tips
Congratulations! You’ve successfully revived your fern. Now, let’s keep it happy and healthy for the long haul.
* Regularly Check Humidity: Continue to monitor the humidity levels around your fern and adjust your humidity-boosting methods as needed.
* Rotate the Plant: Rotate the plant regularly to ensure that all sides receive equal light.
* Dust the Fronds: Dust the fronds regularly with a damp cloth to remove dust and
Conclusion
So, there you have it! This simple DIY trick for boosting your indoor fern care is a game-changer. Forget expensive fertilizers and complicated routines. This method is not only cost-effective and environmentally friendly, but it also provides your ferns with the specific nutrients they crave, leading to vibrant, healthy growth. The secret lies in understanding your fern’s needs and providing them with a gentle, natural boost.
Why is this a must-try? Because it works! You’ll notice a visible difference in your fern’s appearance within weeks. The fronds will become lusher, the color will deepen, and you’ll likely see new growth emerging. Plus, it’s incredibly satisfying to know you’re providing your plants with the best possible care using simple, readily available resources.
Looking for variations? Consider experimenting with different types of organic matter. While coffee grounds are a fantastic source of nitrogen, you can also try using diluted compost tea or even finely crushed eggshells for added calcium. Just remember to always dilute your mixtures to avoid over-fertilizing. Another variation is to adjust the frequency of application based on your fern’s specific needs. If you notice any signs of over-fertilization, such as brown tips or yellowing leaves, simply reduce the frequency.
We’re confident that this DIY trick will revolutionize your indoor fern care routine. It’s easy, effective, and sustainable. Don’t just take our word for it, though. Give it a try and see the amazing results for yourself! We encourage you to experiment, adapt the method to your specific ferns, and most importantly, share your experiences with us. Let us know in the comments below how this trick worked for you, what variations you tried, and any tips you discovered along the way. Together, we can create a community of thriving indoor fern enthusiasts! Your success stories will inspire others to embrace this simple yet powerful approach to indoor fern care. We can’t wait to hear from you and see your beautiful, healthy ferns!
Frequently Asked Questions (FAQ)
What exactly makes this DIY trick so effective for indoor fern care?
This DIY trick is effective because it provides a slow-release, natural source of nutrients that ferns readily absorb. Unlike synthetic fertilizers, which can sometimes burn the roots or lead to nutrient imbalances, this method delivers a gentle and consistent supply of essential elements. The organic matter used, such as coffee grounds or compost tea, breaks down gradually, releasing nitrogen, phosphorus, potassium, and other micronutrients that are vital for healthy fern growth. This slow-release mechanism mimics the natural environment where ferns thrive, promoting strong root development, lush foliage, and overall plant vigor. Furthermore, using organic matter improves soil structure, enhancing drainage and aeration, which are crucial for preventing root rot and other common fern problems.
How often should I apply this DIY treatment to my indoor ferns?
The frequency of application depends on several factors, including the type of fern, the size of the pot, and the overall health of the plant. As a general guideline, you can apply the diluted coffee grounds or compost tea every 2-4 weeks during the growing season (spring and summer). During the dormant season (fall and winter), reduce the frequency to once every 6-8 weeks. Always observe your fern closely for any signs of over-fertilization, such as brown tips or yellowing leaves. If you notice these symptoms, reduce the frequency or dilute the mixture further. It’s always better to err on the side of caution and under-fertilize rather than over-fertilize. Remember, consistency is key, so establish a regular schedule and stick to it as much as possible.
Can I use this DIY trick on all types of indoor ferns?
While this DIY trick is generally safe and effective for most types of indoor ferns, it’s always a good idea to do a small test on a single frond before applying it to the entire plant. Some ferns, such as maidenhair ferns, are more sensitive to changes in soil pH and nutrient levels. If you’re unsure about your specific type of fern, research its specific needs or consult with a local gardening expert. In most cases, this method will be beneficial, but it’s always best to proceed with caution, especially when dealing with delicate or rare fern varieties. Monitor your fern closely after the initial application and adjust the frequency or concentration as needed.
What are the signs of over-fertilization in indoor ferns, and how can I correct it?
The most common signs of over-fertilization in indoor ferns include brown tips or edges on the fronds, yellowing leaves, stunted growth, and a build-up of salts on the soil surface. If you notice any of these symptoms, it’s important to take action immediately to prevent further damage. The first step is to flush the soil thoroughly with water to remove excess nutrients. Place the pot in a sink or tub and slowly pour water through the soil until it drains freely from the bottom. Repeat this process several times to ensure that all the excess salts and nutrients are washed away. After flushing the soil, allow it to dry out slightly before watering again. Reduce the frequency of fertilization and dilute the mixture further in the future. In severe cases of over-fertilization, you may need to repot the fern with fresh, well-draining soil.
What if I don’t have coffee grounds or compost tea? Are there any other alternatives I can use?
Yes, there are several other alternatives you can use if you don’t have coffee grounds or compost tea. One option is to use diluted fish emulsion, which is a natural fertilizer made from fish waste. Fish emulsion is rich in nitrogen and other essential nutrients, but it can have a strong odor, so it’s best to use it outdoors or in a well-ventilated area. Another option is to use diluted seaweed extract, which is a natural source of micronutrients and growth hormones. Seaweed extract is also beneficial for improving soil structure and promoting root growth. You can also try using finely crushed eggshells, which are a good source of calcium. Simply crush the eggshells into a fine powder and sprinkle them around the base of the fern. Remember to always dilute any fertilizer before applying it to your ferns to avoid over-fertilization.
My fern is still not thriving after trying this DIY trick. What else could be the problem?
If your fern is still not thriving after trying this DIY trick, there could be several other factors contributing to the problem. One possibility is that the fern is not getting enough light. Ferns typically prefer bright, indirect light, so make sure it’s not placed in direct sunlight, which can scorch the fronds. Another possibility is that the humidity is too low. Ferns thrive in humid environments, so consider placing the fern on a pebble tray filled with water or using a humidifier to increase the humidity around the plant. Overwatering or underwatering can also cause problems. Make sure the soil is consistently moist but not soggy, and allow the top inch of soil to dry out slightly between waterings. Finally, check for pests, such as spider mites or mealybugs, which can weaken the plant and prevent it from thriving. If you find any pests, treat the fern with an appropriate insecticide or horticultural oil. By addressing these potential issues, you can create a more favorable environment for your fern and help it thrive.

Leave a Comment