

Kitchen tips and tricks – who doesn’t love them? I know I do! We all dream of effortlessly whipping up gourmet meals and keeping our kitchens sparkling clean without spending hours slaving away. But let’s be honest, sometimes the kitchen feels more like a battleground than a culinary haven. That’s where clever DIY solutions come in, transforming everyday tasks into manageable, even enjoyable, experiences.
For generations, resourceful cooks have passed down their secret kitchen tips and tricks, often born out of necessity and a desire to make the most of limited resources. Think about your grandmother’s ingenious method for keeping herbs fresh or her foolproof way to prevent milk from boiling over – these aren’t just random hacks; they’re a legacy of culinary wisdom! These time-tested methods are more relevant than ever in today’s fast-paced world.
Why do you need these DIY tricks and hacks? Because they save you time, money, and frustration! Imagine effortlessly removing stubborn stains from your countertops, preventing your avocados from browning, or even regrowing vegetables from scraps. These aren’t just minor conveniences; they’re game-changers that can revolutionize your cooking experience and reduce food waste. In this article, I’m excited to share some of my favorite and most effective DIY kitchen solutions that will transform your kitchen into a well-oiled, efficient, and enjoyable space. Get ready to unlock the secrets to a happier, healthier, and more delicious life!
DIY Kitchen Hacks to Make Your Life Easier (and Tastier!)
Okay, let’s be honest, the kitchen can be a chaotic place. Between prepping meals, cleaning up, and trying to find that one elusive spice, it’s easy to get overwhelmed. But fear not! I’m here to share some of my favorite DIY kitchen hacks that will save you time, money, and maybe even a little bit of your sanity. Get ready to transform your kitchen into a well-oiled, efficient machine!
Hack 1: Revive Limp Celery and Lettuce
Is your celery looking a little sad and your lettuce wilting? Don’t toss them just yet! This simple trick will bring them back to life.
What you’ll need:
* A large bowl or container
* Cold water
* Ice cubes (optional, but recommended)
Step-by-step instructions:
1. Prepare the ice bath: Fill your bowl with cold water. Add a handful of ice cubes if you have them. The colder the water, the better!
2. Submerge the veggies: Place your limp celery stalks or lettuce leaves into the ice bath. Make sure they are fully submerged.
3. Let them soak: Leave the celery or lettuce in the ice bath for at least 30 minutes, or even up to an hour for really wilted veggies.
4. Pat dry and store: Remove the revived veggies from the water and gently pat them dry with a clean towel or paper towels. Store them in an airtight container in the refrigerator. They should be crisp and ready to use!
Hack 2: Prevent Avocado Browning
Avocados are delicious, but their tendency to brown quickly is a major bummer. Here’s how to keep your avocado green and fresh for longer.
What you’ll need:
* Half an avocado (the half with the pit still attached works best)
* Lemon or lime juice (optional)
* An airtight container
Step-by-step instructions:
1. Keep the pit: If you’re only using half an avocado, leave the pit in the other half. The pit helps slow down the oxidation process.
2. Lemon/Lime Juice (Optional): Lightly brush the cut surface of the avocado with lemon or lime juice. The citric acid acts as a natural preservative.
3. Airtight storage: Place the avocado half in an airtight container.
4. Add water (optional, but effective): For even better results, add a thin layer of water to the bottom of the container, just enough to cover the cut surface of the avocado. This creates a barrier against the air.
5. Refrigerate: Seal the container tightly and store it in the refrigerator.
6. Before using: When you’re ready to use the avocado, simply drain the water (if you used it) and scrape off the very top layer if it has browned slightly. The rest of the avocado should be perfectly green and ready to enjoy!
Hack 3: Sharpen Your Blender Blades
Did you know you can sharpen your blender blades without taking them apart? This is a quick and easy way to keep your blender performing at its best.
What you’ll need:
* Eggshells (clean and dry)
* Water
* Your blender
Step-by-step instructions:
1. Prepare the eggshells: Collect a few eggshells (about half a dozen should do). Make sure they are clean and completely dry. You can even bake them in the oven at a low temperature (around 200°F) for a few minutes to ensure they are extra dry and brittle.
2. Add eggshells to the blender: Place the dried eggshells into your blender.
3. Add water: Fill the blender with water, just enough to cover the blades.
4. Blend: Secure the lid tightly and blend on high speed for about 1-2 minutes. The eggshells will act as a natural abrasive, sharpening the blades.
5. Rinse and repeat (if necessary): Carefully pour out the eggshell mixture and rinse the blender thoroughly with water. If you feel the blades still need a little sharpening, you can repeat the process.
6. Dry thoroughly: Make sure the blender is completely dry before storing it.
Hack 4: Easily Peel Garlic
Peeling garlic can be a tedious task. This hack makes it quick and painless!
What you’ll need:
* A head of garlic
* Two bowls (preferably metal)
Step-by-step instructions:
1. Separate the cloves: Break apart the head of garlic into individual cloves. You don’t need to peel them at this point.
2. Shake it up: Place the unpeeled garlic cloves into one of the bowls. Cover with the other bowl, creating a sealed container.
3. Shake vigorously: Hold the bowls tightly together and shake vigorously for about 20-30 seconds.
4. Check the results: Carefully separate the bowls and check the garlic cloves. The skins should be mostly loosened or completely removed.
5. Peel any remaining cloves: If some cloves still have their skins on, they should be much easier to peel by hand now.
Hack 5: Keep Brown Sugar Soft
Brown sugar has a tendency to harden into a rock-solid lump. Here’s how to keep it soft and scoopable.
What you’ll need:
* Brown sugar
* An airtight container
* A slice of bread, an apple slice, or a few marshmallows
Step-by-step instructions:
1. Choose your softening agent: You can use a slice of fresh bread, a slice of apple, or a few marshmallows. All of these will release moisture into the container, keeping the brown sugar soft.
2. Place in container: Place the brown sugar in an airtight container.
3. Add softening agent: Place the slice of bread, apple slice, or marshmallows on top of the brown sugar.
4. Seal and store: Seal the container tightly and store it in a cool, dry place.
5. Check and replace: Check the container every few days. If the bread or apple slice becomes dry or moldy, replace it with a fresh one. The marshmallows will eventually dry out, but they will still help keep the brown sugar soft.
Hack 6: Make Your Own Vegetable Broth
Don’t throw away those vegetable scraps! You can use them to make your own delicious and healthy vegetable broth.
What you’ll need:
* Vegetable scraps (onion peels, carrot tops, celery ends, mushroom stems, etc.)
* Water
* A large pot
* A strainer or cheesecloth
Step-by-step instructions:
1. Collect your scraps: Save your vegetable scraps in a bag in the freezer until you have a good amount (about 4-6 cups). Avoid using strong-flavored vegetables like broccoli or cabbage, as they can overpower the broth.
2. Combine scraps and water: Place the vegetable scraps in a large pot and cover them with water.
3. Simmer: Bring the water to a boil, then reduce the heat and simmer for at least 1 hour, or up to 2 hours for a richer flavor.
4. Strain: Carefully strain the broth through a fine-mesh strainer or cheesecloth to remove the vegetable solids.
5. Cool and store: Let the broth cool completely before storing it in airtight containers in the refrigerator for up to 5 days, or in the freezer for up to 3 months.
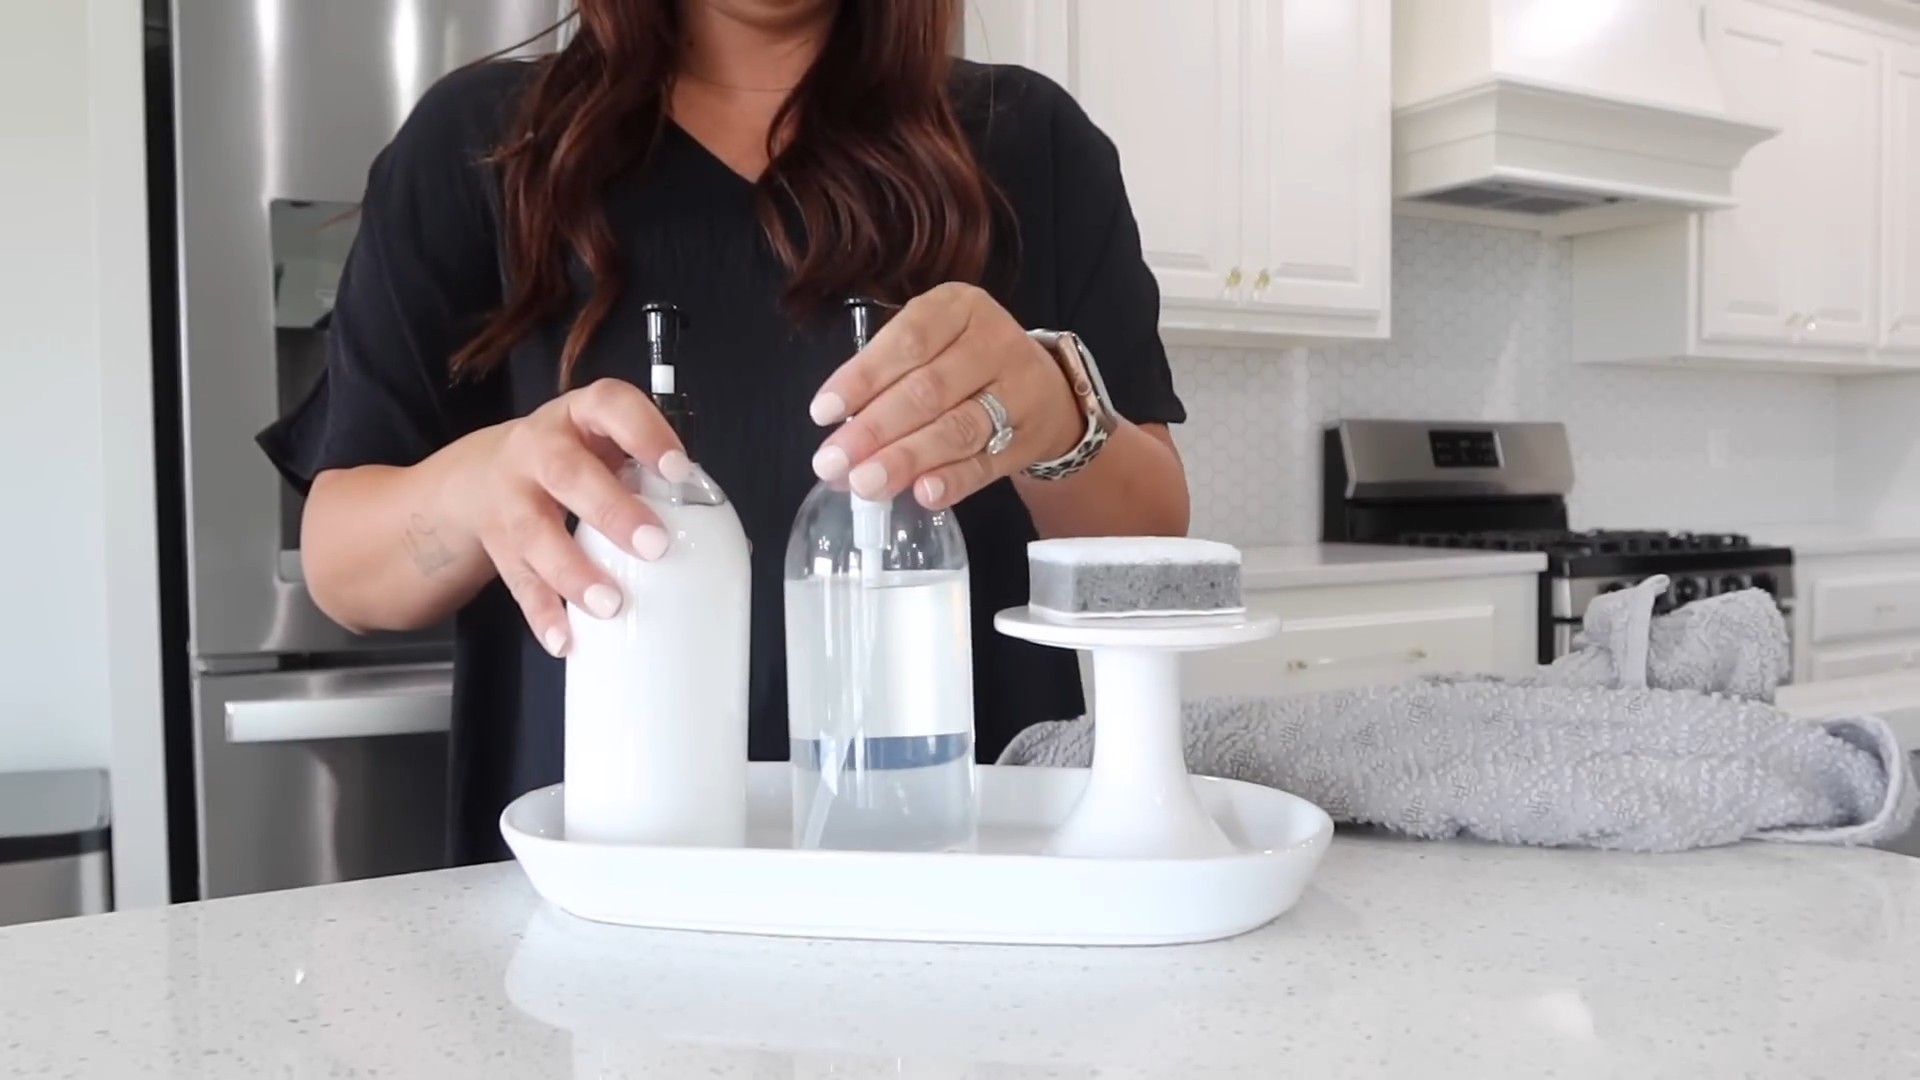
Hack 7: Clean a Burnt Pot or Pan
Burnt food stuck to the bottom of your pot or pan? Don’t despair! This simple trick will help you clean it without excessive scrubbing.
What you’ll need:
* Water
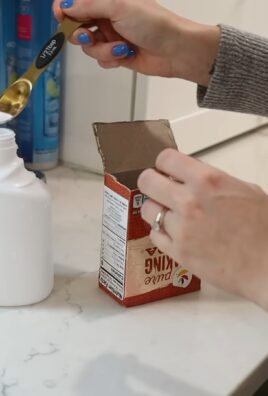
* Baking soda
* Dish soap
* A non-abrasive sponge or scrubber
Step-by-step instructions:
1. Fill with water: Fill the burnt pot or pan with enough water to cover the burnt food.
2. Add baking soda: Add a generous amount of baking soda (about 1-2 tablespoons) to the water.
3. Boil: Bring the water to a boil and let it simmer for about 10-15 minutes. The baking soda will help loosen the burnt food.
4. Let it cool: Remove the pot or pan from the heat and let it cool slightly.
5. Scrub: Use a non-abrasive sponge or scrubber to gently scrub away the remaining burnt food. The baking soda should have loosened it enough that it comes off easily.
6. Wash as usual: Wash the pot or pan with dish soap and water as usual.
Hack 8: Make

Conclusion
So, there you have it! Mastering these simple yet effective kitchen tips and tricks can truly revolutionize your cooking experience. From effortlessly peeling garlic to reviving stale bread, these hacks are designed to save you time, money, and unnecessary frustration in the kitchen. But the real magic lies in the power of the DIY approach. By embracing these techniques, you’re not just following a recipe; you’re becoming a more resourceful and confident cook.
Why is this a must-try? Because it’s about more than just convenience. It’s about minimizing food waste, maximizing flavor, and unlocking a deeper connection with the ingredients you use. Think about it: perfectly fluffy rice every time, no more struggling with stubborn eggshells, and the satisfaction of knowing you’ve transformed a seemingly unusable ingredient into something delicious. These are the small victories that make cooking a joy, not a chore.
And the best part? These kitchen tips and tricks are incredibly versatile. Feel free to experiment and adapt them to your own preferences and dietary needs. For example, if you’re looking for a healthier alternative to oil sprays, try using a refillable mister filled with your favorite olive oil or avocado oil. Or, if you’re a fan of spicy food, infuse your olive oil with chili flakes for an extra kick. You can even use the herb-freezing technique to preserve other delicate herbs like basil or cilantro. The possibilities are endless!
Don’t be afraid to get creative and put your own spin on these techniques. The kitchen is your laboratory, and these tips are just the starting point.
We wholeheartedly encourage you to try these DIY kitchen tips and tricks. We are confident that they will become indispensable tools in your culinary arsenal. But don’t just take our word for it. The real test is in the doing. So, roll up your sleeves, gather your ingredients, and get ready to experience the transformative power of these simple hacks.
Once you’ve tried them, we’d love to hear about your experience! Share your successes, your challenges, and any variations you’ve discovered in the comments below. Let’s build a community of resourceful cooks who are passionate about making the most of their time in the kitchen. Your insights could inspire others to embrace these techniques and unlock their own culinary potential.
Remember, cooking is a journey, not a destination. And with these kitchen tips and tricks, you’ll be well-equipped to navigate any culinary challenge that comes your way. So, go forth, experiment, and most importantly, have fun! We can’t wait to hear about your kitchen adventures.
Frequently Asked Questions (FAQ)
Q: Are these kitchen tips and tricks suitable for beginners?
A: Absolutely! These tips are designed to be accessible and easy to implement, regardless of your cooking experience. We’ve focused on techniques that are straightforward and require minimal equipment. Even if you’re a complete novice in the kitchen, you’ll find these hacks to be incredibly helpful and confidence-boosting. The goal is to simplify the cooking process and make it more enjoyable for everyone.
Q: Can these tips help me reduce food waste?
A: Yes, many of these tips are specifically aimed at reducing food waste. For example, the technique for reviving stale bread can save you from throwing away perfectly good loaves. Similarly, the herb-freezing method allows you to preserve fresh herbs before they wilt and spoil. By implementing these strategies, you can significantly reduce your food waste and save money in the long run.
Q: What if I don’t have all the equipment mentioned in the tips?
A: Don’t worry! Most of these tips can be adapted to suit the equipment you have on hand. For example, if you don’t have a vegetable peeler, you can use a paring knife to peel vegetables. If you don’t have a specific type of container for freezing herbs, you can use freezer bags or even ice cube trays. The key is to be resourceful and find creative solutions that work for you.
Q: How often should I use these tips?
A: As often as you need them! These tips are designed to be integrated into your daily cooking routine. The more you use them, the more natural they will become, and the more time and effort you’ll save in the kitchen. Think of them as tools in your culinary toolbox that you can reach for whenever you need them.
Q: Are there any safety precautions I should be aware of when using these tips?
A: Yes, as with any cooking activity, it’s important to prioritize safety. Always use sharp knives with caution and be mindful of hot surfaces and appliances. When working with hot liquids or oils, take extra care to avoid spills and burns. And always follow the manufacturer’s instructions for any kitchen equipment you’re using.
Q: Can I use these tips for meal prepping?
A: Absolutely! Many of these tips are perfect for meal prepping. For example, you can use the herb-freezing method to prepare herbs in advance for your meals. You can also use the rice-cooking technique to cook large batches of rice that you can then use throughout the week. By incorporating these tips into your meal prepping routine, you can save time and effort during the week.
Q: What are some other variations I can try?
A: The possibilities are endless! Here are a few ideas to get you started:
* **Infused Oils:** Experiment with different herbs and spices to create your own custom-infused oils. Try adding garlic, rosemary, or chili flakes to olive oil for a flavorful cooking oil.
* **Flavored Salts:** Make your own flavored salts by combining sea salt with dried herbs, spices, or citrus zest. These salts can add a burst of flavor to any dish.
* **Homemade Spice Blends:** Create your own spice blends by combining your favorite spices in different ratios. This is a great way to customize the flavor of your dishes and avoid store-bought blends that may contain unwanted additives.
* **DIY Cleaning Solutions:** Use natural ingredients like vinegar, baking soda, and lemon juice to create your own cleaning solutions for your kitchen. These solutions are effective, eco-friendly, and safe to use around food.
Q: How can I share my experience with these tips?
A: We’d love to hear from you! You can share your experience in the comments section below this article. You can also share your photos and videos on social media using the hashtag #KitchenTipsAndTricks. We’ll be monitoring the hashtag and sharing our favorite posts. We’re excited to see what you create!
Q: Where can I find more kitchen tips and tricks?
A: Stay tuned to our website for more articles and videos on kitchen tips and tricks. We’re constantly adding new content to help you become a more confident and resourceful cook. You can also subscribe to our newsletter to receive updates and exclusive content directly to your inbox.


Leave a Comment