

Leaf Mustard Bottle Gardening: Ever dreamt of fresh, peppery greens right at your fingertips, even if you’re short on space? I know I have! Forget sprawling gardens and back-breaking labor; we’re diving into the wonderful world of upcycled gardening with a fun, easy, and incredibly rewarding project: growing leaf mustard in plastic bottles!
Bottle gardening, while seemingly modern, actually echoes ancient practices of container gardening. Think of the Hanging Gardens of Babylon, a testament to human ingenuity in cultivating plants in limited spaces. While we might not be building wonders of the world, we *are* creating miniature edible landscapes with a sustainable twist.
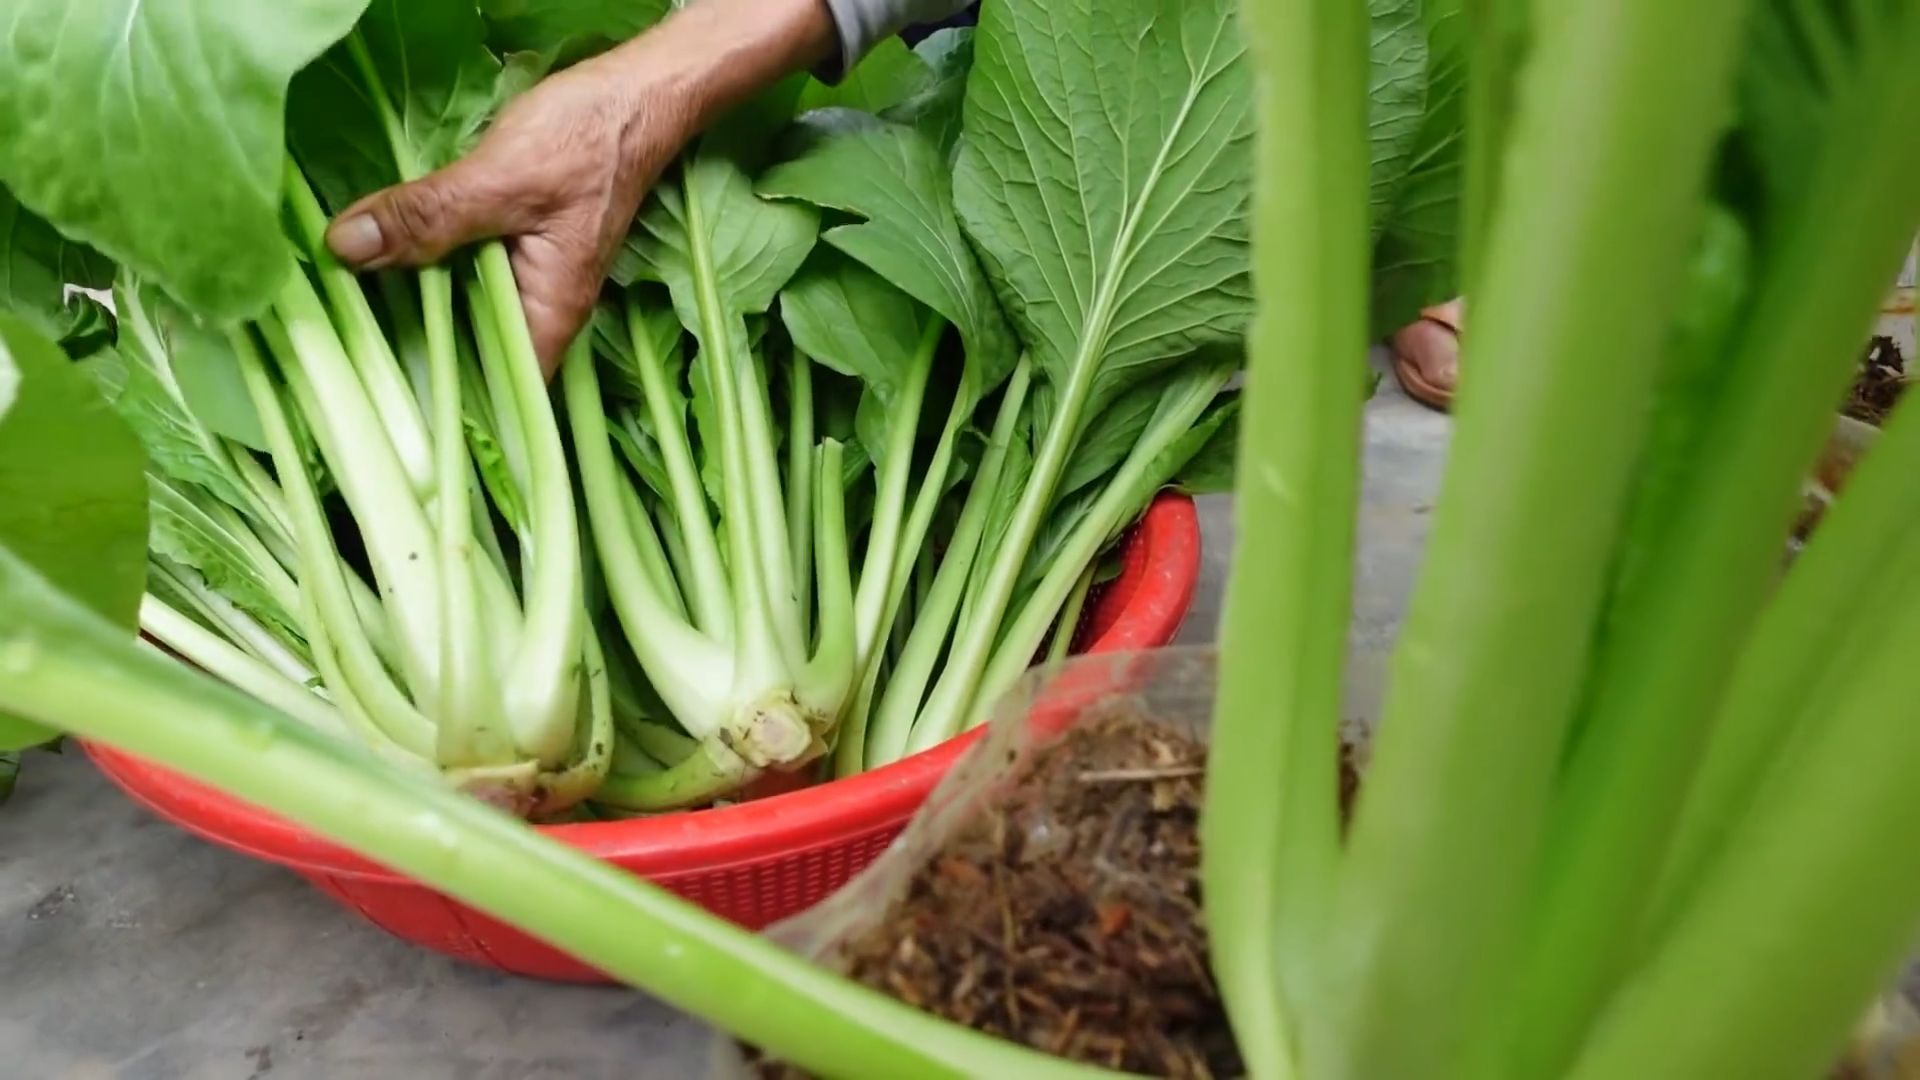
Why leaf mustard, and why bottles? Well, leaf mustard is a nutritional powerhouse, packed with vitamins and antioxidants, and adds a delightful zing to salads, stir-fries, and more. Plus, it’s incredibly fast-growing, making it perfect for impatient gardeners like myself! And let’s face it, we all have plastic bottles lying around. Instead of contributing to landfill waste, let’s transform them into thriving mini-gardens. This leaf mustard bottle gardening project is not only eco-friendly and budget-friendly, but it’s also a fantastic way to introduce kids (or even yourself!) to the joys of gardening. Get ready to turn trash into treasure and enjoy a harvest of fresh, flavorful greens in no time!
Turning Empty Leaf Mustard Bottles into Thriving Mini-Gardens
Hey there, fellow DIY enthusiasts! I’m so excited to share this super simple and rewarding project with you: transforming those empty leaf mustard bottles (or any similar plastic bottles, really!) into adorable and functional mini-gardens. Not only is this a fantastic way to recycle, but it also allows you to grow fresh herbs, succulents, or even small veggies right on your windowsill or balcony. Let’s dive in!
Materials You’ll Need
Before we get started, gather these supplies. Don’t worry, most of them are things you probably already have around the house!
* Empty Leaf Mustard Bottles (or similar plastic bottles): The sturdier, the better! Make sure they’re thoroughly cleaned.
* Scissors or a Utility Knife: For cutting the bottles. Be careful!
* Potting Soil: Choose a good quality potting mix suitable for what you plan to grow.
* Gravel or Small Stones: For drainage.
* Seeds or Seedlings: Herbs, succulents, lettuce, spinach – the choice is yours!
* Watering Can or Spray Bottle: For watering your new plants.
* Optional: Paint, Markers, or Decorative Materials: To personalize your mini-gardens.
* Optional: Drill or Nail: For creating drainage holes (if your bottle doesn’t have them).
* Optional: Measuring Tape or Ruler: To ensure accurate cuts.
Preparing the Bottles
This is where the magic begins! We’ll transform those empty containers into the perfect vessels for our little green friends.
1. Clean the Bottles Thoroughly: This is crucial! Wash the bottles inside and out with warm, soapy water. Rinse them really well to remove any residue. You don’t want any lingering mustard flavor affecting your plants! Let them dry completely before moving on.
2. Decide on Your Cutting Method: There are a few ways you can cut the bottles, depending on the look you’re going for.
* Horizontal Cut (Classic Planter): This is the simplest method. Decide where you want to cut the bottle – usually about halfway down. Use a marker to draw a line around the bottle as a guide. Carefully use your scissors or utility knife to cut along the line. I find it easier to start with a small puncture and then work my way around.
* Vertical Cut (Hanging Planter): This method creates a unique hanging planter. Cut the bottle vertically, starting from the top and going down to about an inch from the bottom. You can make multiple cuts to create a fringed effect.
* Creative Cuts: Get creative! You can cut the bottle at an angle, create scalloped edges, or even cut out shapes. Just make sure your cuts are safe and won’t create sharp edges.
3. Smooth the Edges: After cutting, the edges of the plastic can be sharp. Use sandpaper or a lighter (carefully!) to smooth them out. If using a lighter, hold the flame near the edge for a second or two to melt the plastic slightly. Be extremely cautious and avoid burning yourself.
4. Create Drainage Holes (If Necessary): Most leaf mustard bottles don’t have drainage holes. If yours doesn’t, you’ll need to create some. You can use a drill with a small drill bit or carefully poke holes with a nail. Make sure to create at least 3-4 holes in the bottom of the bottle. Drainage is essential to prevent root rot.
Planting Your Mini-Garden
Now for the fun part – bringing your mini-garden to life!
1. Add a Layer of Drainage: Place a layer of gravel or small stones at the bottom of the bottle. This will help with drainage and prevent the soil from becoming waterlogged. About an inch or two of gravel is usually sufficient.
2. Fill with Potting Soil: Add potting soil to the bottle, leaving about an inch of space at the top. Gently pat down the soil to remove any air pockets.
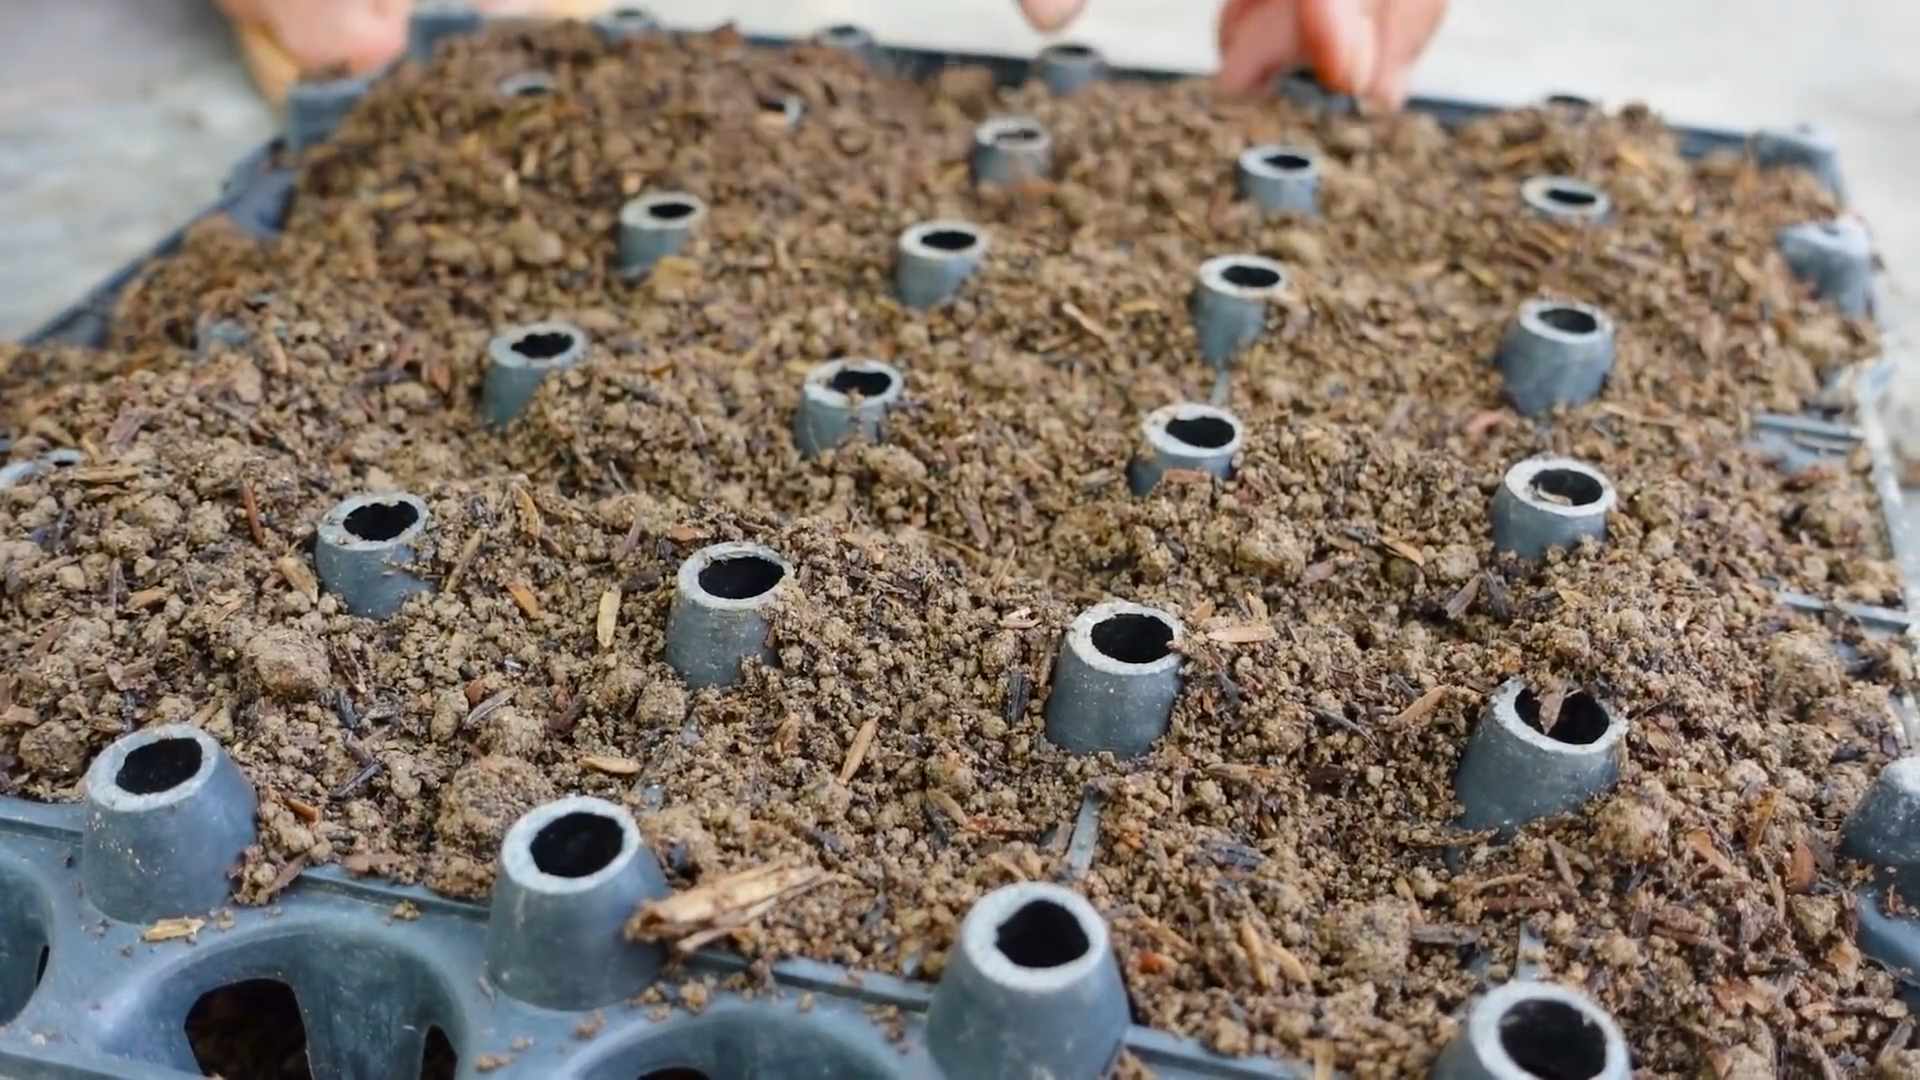
3. Plant Your Seeds or Seedlings:
* Seeds: Follow the instructions on your seed packet for planting depth and spacing. Sprinkle the seeds evenly over the soil and cover them with a thin layer of potting soil.
* Seedlings: Gently remove the seedling from its container. Loosen the roots slightly and place the seedling in the center of the bottle. Fill in around the seedling with potting soil and gently pat it down.
4. Water Thoroughly: Water your newly planted seeds or seedlings thoroughly. Use a watering can or spray bottle to gently moisten the soil. Avoid overwatering, which can lead to root rot.
5. Choose the Right Location: Place your mini-garden in a location that receives adequate sunlight. Most herbs and vegetables need at least 6 hours of sunlight per day. Succulents generally prefer bright, indirect light.
Decorating Your Mini-Garden (Optional)
This is where you can really let your creativity shine! Personalize your mini-gardens to match your style and décor.
1. Painting: Use acrylic paint to decorate the outside of the bottles. You can paint them solid colors, create patterns, or even paint miniature landscapes. Make sure the paint is non-toxic and waterproof.
2. Markers: Use permanent markers to draw designs, write plant names, or add fun messages to your mini-gardens.
3. Decorative Materials: Glue on beads, buttons, shells, or other decorative materials to add texture and visual interest.
4. Labels: Create labels for your plants using popsicle sticks, small stones, or waterproof labels. This will help you keep track of what you’re growing.
Caring for Your Mini-Garden
Maintaining your mini-garden is easy, but it’s important to pay attention to your plants’ needs.
1. Watering: Water your plants regularly, but avoid overwatering. The soil should be moist, but not soggy. Check the soil moisture by sticking your finger into the soil. If the top inch of soil is dry, it’s time to water.
2. Fertilizing: Fertilize your plants every few weeks with a balanced liquid fertilizer. Follow the instructions on the fertilizer label.
3. Pruning: Prune your herbs and vegetables regularly to encourage growth. Pinch off the tips of the stems to promote bushier growth.
4. Pest Control: Keep an eye out for pests, such as aphids or spider mites. If you notice any pests, treat them with an organic insecticide or insecticidal soap.
5. Repotting: As your plants grow, they may need to be repotted into larger containers. When the roots start to outgrow the bottle, gently remove the plant and transplant it into a larger pot with fresh potting soil.
Specific Plant Recommendations and Tips
Here are a few of my favorite plants to grow in recycled leaf mustard bottles, along with some specific tips for each:
* Herbs:
* Basil: Basil loves sunshine and well-drained soil. Water regularly and pinch off the flower buds to encourage leaf growth.
* Mint: Mint is easy to grow and thrives in moist soil. Be careful, though, as mint can be invasive. It’s best to keep it contained in a pot.
* Chives: Chives are a hardy herb that can tolerate a wide range of conditions. Water regularly and cut the leaves as needed.
* Parsley: Parsley prefers well-drained soil and partial shade. Water regularly and harvest the leaves as needed.
* Oregano: Oregano is a drought-tolerant herb that prefers well-drained soil and full sun. Water sparingly and harvest the leaves as needed.
* Succulents:
* Echeveria: Echeveria are beautiful succulents that come in a variety of colors and shapes. They prefer well-drained soil and bright, indirect light. Water sparingly, allowing the soil to dry out completely between waterings.
* Sedum: Sedum are hardy succulents that can tolerate a wide range of conditions. They prefer well-drained soil and full sun. Water sparingly, allowing the soil to dry out completely between waterings.
* Aloe Vera: Aloe vera is a medicinal succulent that is easy to grow. It prefers well-drained soil and bright, indirect light. Water sparingly, allowing the soil to dry out completely between waterings.
* Small Vegetables:
* Lettuce: Lettuce is a fast-growing vegetable that can be grown in small containers. It prefers well-drained soil and partial shade. Water regularly and harvest the leaves as needed.
* Spinach: Spinach is a nutritious vegetable that can be grown in small containers. It prefers well-drained soil and partial shade. Water regularly and harvest the leaves as needed.
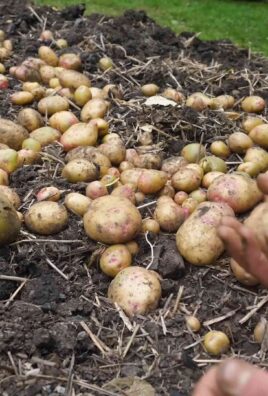
* Radishes: Radishes are a fast-growing vegetable that can be grown in small containers. They prefer well-drained soil and full sun. Water regularly
Conclusion
So, there you have it! Transforming a simple plastic bottle into a thriving mini-garden for your leaf mustard is not just a fun project; it’s a sustainable, space-saving, and incredibly rewarding way to enjoy fresh greens right at your fingertips. We’ve walked you through the process, highlighting the ease and accessibility of this DIY trick. But why is this method a must-try?
Firstly, it’s about control. You dictate the growing environment, minimizing pests and diseases that can plague outdoor gardens. You choose the soil, the nutrients, and the watering schedule, ensuring your leaf mustard receives the optimal care for robust growth. This level of control translates to healthier, tastier greens.
Secondly, it’s about sustainability. Repurposing plastic bottles reduces waste and gives these materials a new lease on life. It’s a small step towards a more eco-conscious lifestyle, and every little bit helps. Plus, growing your own food reduces your carbon footprint associated with transportation and packaging.
Thirdly, it’s about accessibility. Whether you live in an apartment with a tiny balcony or a house with a sprawling yard, this method works. It’s perfect for urban dwellers, beginner gardeners, and anyone looking for a simple and effective way to grow their own food.
But the beauty of this DIY project lies in its adaptability. Feel free to experiment with different bottle sizes and shapes. Try using different types of soil or adding organic fertilizers for enhanced growth. You could even create a vertical garden by stacking multiple bottle planters, maximizing your space and creating a visually stunning display. Consider adding drainage holes at different levels to create a self-watering system.
For a spicier kick, try growing different varieties of leaf mustard, such as ‘Red Giant’ or ‘Florida Broadleaf’. You can also companion plant with herbs like cilantro or parsley to create a diverse and flavorful mini-garden. Remember to adjust your watering schedule based on the weather and the specific needs of your chosen varieties.
Ultimately, this leaf mustard bottle gardening project is more than just a recipe for growing greens; it’s an invitation to connect with nature, embrace sustainability, and experience the joy of harvesting your own food. It’s a simple yet powerful way to bring a touch of green into your life, regardless of your space or experience.
We wholeheartedly encourage you to give this DIY trick a try. It’s a fun, educational, and rewarding experience that will leave you with a bounty of fresh, flavorful leaf mustard. And once you’ve harvested your first batch, don’t forget to share your experience with us! We’d love to see your bottle gardens, hear about your successes (and challenges!), and learn from your unique variations. Share your photos and stories on social media using #LeafMustardBottleGarden and let’s inspire others to join the fun. Happy gardening!
Frequently Asked Questions (FAQ)
What kind of plastic bottle is best for leaf mustard bottle gardening?
Ideally, you should use food-grade plastic bottles, such as those that previously contained water, juice, or soda. Avoid bottles that held harsh chemicals or cleaning products, as these may leach harmful substances into the soil. PET (polyethylene terephthalate) bottles, commonly used for water and soda, are a good choice. Make sure to thoroughly wash and rinse the bottle before using it for planting. The size of the bottle depends on how much leaf mustard you want to grow. A 2-liter bottle is a good starting point.
What type of soil should I use for growing leaf mustard in a bottle?
A well-draining potting mix is essential for successful leaf mustard bottle gardening. Avoid using garden soil, as it can be too heavy and compact, hindering drainage and root growth. A good potting mix will contain a blend of peat moss, perlite, and vermiculite, providing adequate aeration and moisture retention. You can also amend the potting mix with compost or other organic matter to enrich the soil and provide essential nutrients. Consider using a seed starting mix if you are starting from seeds.
How often should I water my leaf mustard plants in a bottle?
Watering frequency depends on several factors, including the weather, the size of the bottle, and the type of soil you’re using. Generally, you should water your leaf mustard plants when the top inch of soil feels dry to the touch. Avoid overwatering, as this can lead to root rot. Ensure that the bottle has adequate drainage holes to prevent water from accumulating at the bottom. During hot weather, you may need to water more frequently. Check the soil moisture daily and adjust your watering schedule accordingly.
How much sunlight does leaf mustard need when grown in a bottle?
Leaf mustard thrives in full sun, which means at least 6 hours of direct sunlight per day. However, it can also tolerate partial shade, especially during the hottest part of the day. If you’re growing your leaf mustard indoors, place the bottle near a sunny window or use a grow light to provide adequate illumination. Insufficient sunlight can result in leggy growth and reduced yields. Rotate the bottle regularly to ensure that all sides of the plant receive equal exposure to sunlight.
How long does it take for leaf mustard to grow in a bottle?
Leaf mustard is a fast-growing green, and you can typically start harvesting leaves within 30-45 days of planting. The exact time will depend on the variety of leaf mustard, the growing conditions, and the size of the plant you want to harvest. You can harvest individual leaves as needed, or you can cut the entire plant at the base. New leaves will typically regrow, allowing for multiple harvests.
Can I grow other vegetables or herbs in a bottle using the same method?
Yes, the bottle gardening method is versatile and can be used to grow a variety of other vegetables and herbs. Some good options include lettuce, spinach, kale, arugula, basil, parsley, and cilantro. Choose plants that have shallow root systems and don’t require a lot of space. Consider the specific needs of each plant in terms of sunlight, water, and nutrients.
How do I prevent pests and diseases from affecting my leaf mustard plants in a bottle?
While bottle gardening can help minimize pests and diseases, it’s still important to take precautions. Regularly inspect your plants for signs of infestation or disease. Common pests that may affect leaf mustard include aphids, flea beetles, and slugs. You can control these pests by handpicking them off the plants, using insecticidal soap, or introducing beneficial insects like ladybugs. To prevent diseases, ensure good air circulation, avoid overwatering, and use a well-draining potting mix.
How do I fertilize my leaf mustard plants in a bottle?
Leaf mustard benefits from regular fertilization, especially when grown in a container. You can use a liquid fertilizer diluted to half strength, or you can add slow-release fertilizer granules to the potting mix. Choose a fertilizer that is rich in nitrogen, which promotes leafy growth. Fertilize every 2-3 weeks, or as needed, based on the plant’s growth and appearance. Avoid over-fertilizing, as this can lead to nutrient burn.
Can I reuse the plastic bottle for multiple plantings?
Yes, you can reuse the plastic bottle for multiple plantings, but it’s important to clean and sterilize it thoroughly between uses. Wash the bottle with soap and water, and then rinse it with a solution of bleach and water (1 part bleach to 9 parts water). This will help kill any pathogens that may be present. Allow the bottle to dry completely before reusing it.
What are some creative ways to display my leaf mustard bottle garden?
There are many creative ways to display your leaf mustard bottle garden. You can hang the bottles from a fence or balcony railing, create a vertical garden by stacking multiple bottles, or simply place them on a windowsill or tabletop. You can also decorate the bottles with paint, stickers, or other embellishments to add a personal touch. Get creative and have fun with it!
Leave a Comment