

Leather Couch Restoration DIY: Is your beloved leather couch looking a little worse for wear? Don’t despair! Before you resign yourself to buying a brand new one, let me tell you, you can breathe new life into it with some clever DIY techniques. For generations, leather furniture has been a symbol of luxury and comfort, gracing homes with its timeless elegance. From the handcrafted saddles of the Wild West to the plush Chesterfield sofas of Victorian England, leather has always held a special place in our hearts and homes.
But let’s face it, life happens! Scratches, stains, and general wear and tear are inevitable. That’s where this guide comes in. I’m going to share some easy-to-follow, budget-friendly leather couch restoration DIY methods that will have your couch looking fantastic again. Why spend a fortune on professional services when you can achieve amazing results yourself? Not only will you save money, but you’ll also gain a sense of accomplishment and a renewed appreciation for your furniture. So, grab your supplies, and let’s get started on this rewarding project!
Leather Couch Restoration: Breathing New Life into Your Beloved Sofa
Okay, so your leather couch has seen better days, right? Scratches, fading, maybe even a few stubborn stains? Don’t despair! Before you even *think* about replacing it, let’s try to restore it. I’m going to walk you through a DIY process that can bring back that supple, luxurious look and feel. This isn’t a quick fix, but with a little patience and elbow grease, you’ll be amazed at the results.
What You’ll Need: The Arsenal of Restoration
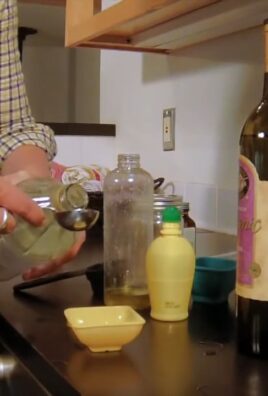
Before we dive in, let’s gather our supplies. Having everything on hand will make the process much smoother.
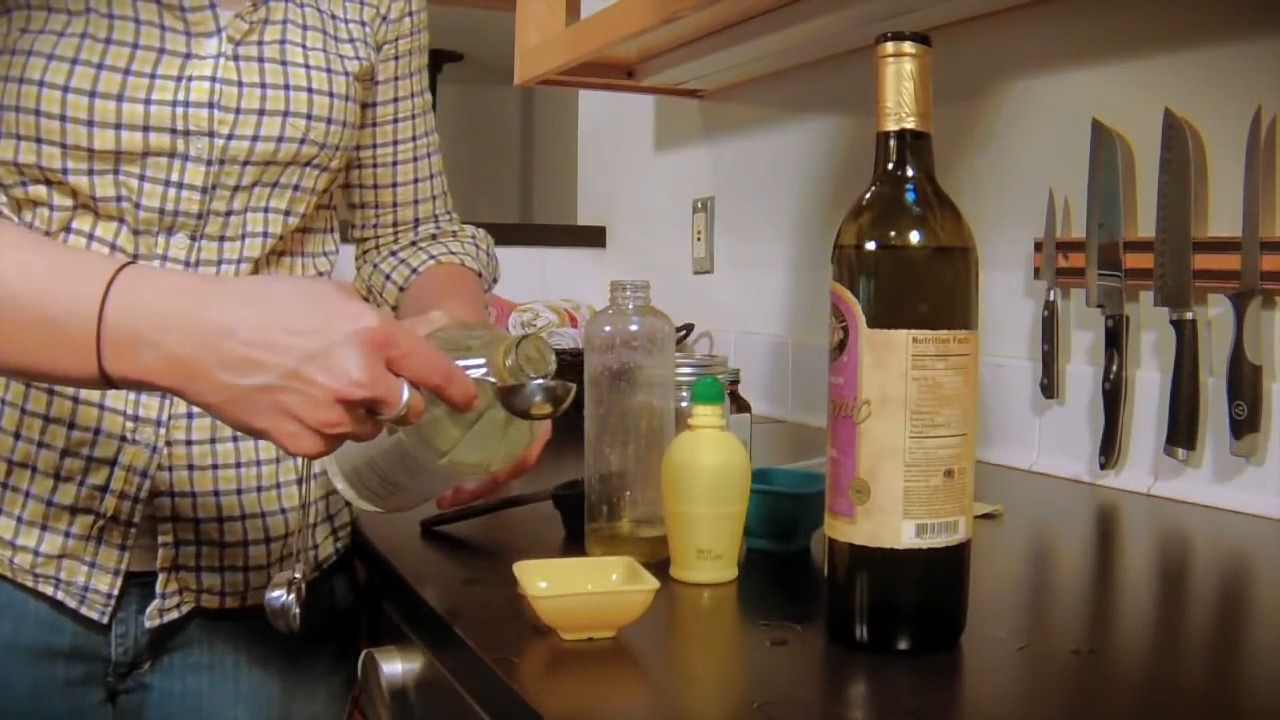
* Leather Cleaner: A good quality leather cleaner is essential. Avoid harsh chemicals that can dry out the leather. I recommend a pH-balanced cleaner specifically designed for leather furniture.
* Leather Conditioner: This is your leather’s moisturizer. It replenishes the oils and keeps it supple, preventing cracking and fading.
* Leather Dye or Color Restorer (Optional): If your couch has significant fading or color loss, you’ll need a dye or color restorer that matches your leather. Make sure to test it in an inconspicuous area first!
* Leather Filler (Optional): For deeper scratches or cracks, a leather filler will help smooth out the surface.
* Soft Cloths: Microfiber cloths are ideal. You’ll need several for cleaning, conditioning, and applying dye.
* Soft Brushes: A soft-bristled brush (like a horsehair brush) is great for working cleaner and conditioner into the leather’s pores.
* Sponge: For applying leather filler.
* Fine-Grit Sandpaper (Optional): For smoothing out filled areas. Use very sparingly and gently!
* Painter’s Tape: To protect surrounding areas (like wood trim or fabric) from dye.
* Gloves: To protect your hands from cleaner and dye.
* Drop Cloth or Old Sheets: To protect your floor.
* Vacuum Cleaner with Brush Attachment: To remove loose dirt and debris.
* Heat Gun or Hair Dryer (Optional): To help set the dye or filler. Use with caution!
Phase 1: Deep Cleaning – The Foundation for Success
Cleaning is the most important step. You can’t properly restore leather that’s covered in dirt and grime.
1. Vacuum Thoroughly: Start by vacuuming the entire couch, paying special attention to crevices and seams where dirt tends to accumulate. Use the brush attachment to avoid scratching the leather.
2. Apply Leather Cleaner: Spray the leather cleaner onto a soft cloth (not directly onto the couch). Gently wipe down the entire surface of the couch in a circular motion. Work in small sections to prevent the cleaner from drying out.
3. Wipe Away Excess Cleaner: Use a clean, damp cloth to wipe away any excess cleaner. Make sure the cloth is only slightly damp, not soaking wet.
4. Let it Dry: Allow the couch to air dry completely. This could take several hours, depending on the humidity. Don’t rush this step!
Phase 2: Addressing Scratches and Cracks – Filling the Gaps
If your couch has scratches or cracks, now’s the time to address them.
1. Clean the Affected Area: Use a leather cleaner to thoroughly clean the area around the scratch or crack.
2. Apply Leather Filler: Using a small sponge or applicator, apply a thin layer of leather filler to the scratch or crack. Overfill slightly, as the filler will shrink as it dries.
3. Let it Dry: Allow the filler to dry completely according to the manufacturer’s instructions. This could take several hours or even overnight.
4. Sand (Optional): If the filled area is uneven, gently sand it down with fine-grit sandpaper. Be extremely careful not to damage the surrounding leather. Use light pressure and sand in a circular motion.
5. Repeat if Necessary: For deeper scratches or cracks, you may need to apply multiple layers of filler, allowing each layer to dry completely before applying the next.
Phase 3: Color Restoration – Bringing Back the Hue
If your couch has faded or has uneven color, this step will make a huge difference.
1. Prepare the Area: Make sure the couch is clean and dry. Use painter’s tape to protect any surrounding areas (like wood trim or fabric) from dye.
2. Test the Dye: Before applying the dye to the entire couch, test it in an inconspicuous area (like the back or underneath the cushions) to make sure it’s a good color match.
3. Apply the Dye: Using a soft cloth, apply the leather dye or color restorer to the couch in thin, even layers. Work in small sections and use a circular motion to ensure even coverage.
4. Wipe Away Excess Dye: After applying the dye, use a clean, dry cloth to wipe away any excess. This will help prevent the dye from transferring to clothing or other surfaces.
5. Let it Dry: Allow the dye to dry completely according to the manufacturer’s instructions. This could take several hours or even overnight.
6. Apply a Second Coat (Optional): If the color isn’t as vibrant as you’d like, you can apply a second coat of dye. Allow the first coat to dry completely before applying the second.
7. Heat Setting (Optional): Some dyes benefit from heat setting. Using a heat gun or hair dryer on a low setting, gently heat the dyed area to help the dye bond to the leather. Be careful not to overheat the leather, as this could damage it. Keep the heat gun moving and don’t hold it in one spot for too long.
Phase 4: Conditioning – The Final Touch
Conditioning is crucial for keeping your leather soft, supple, and protected.
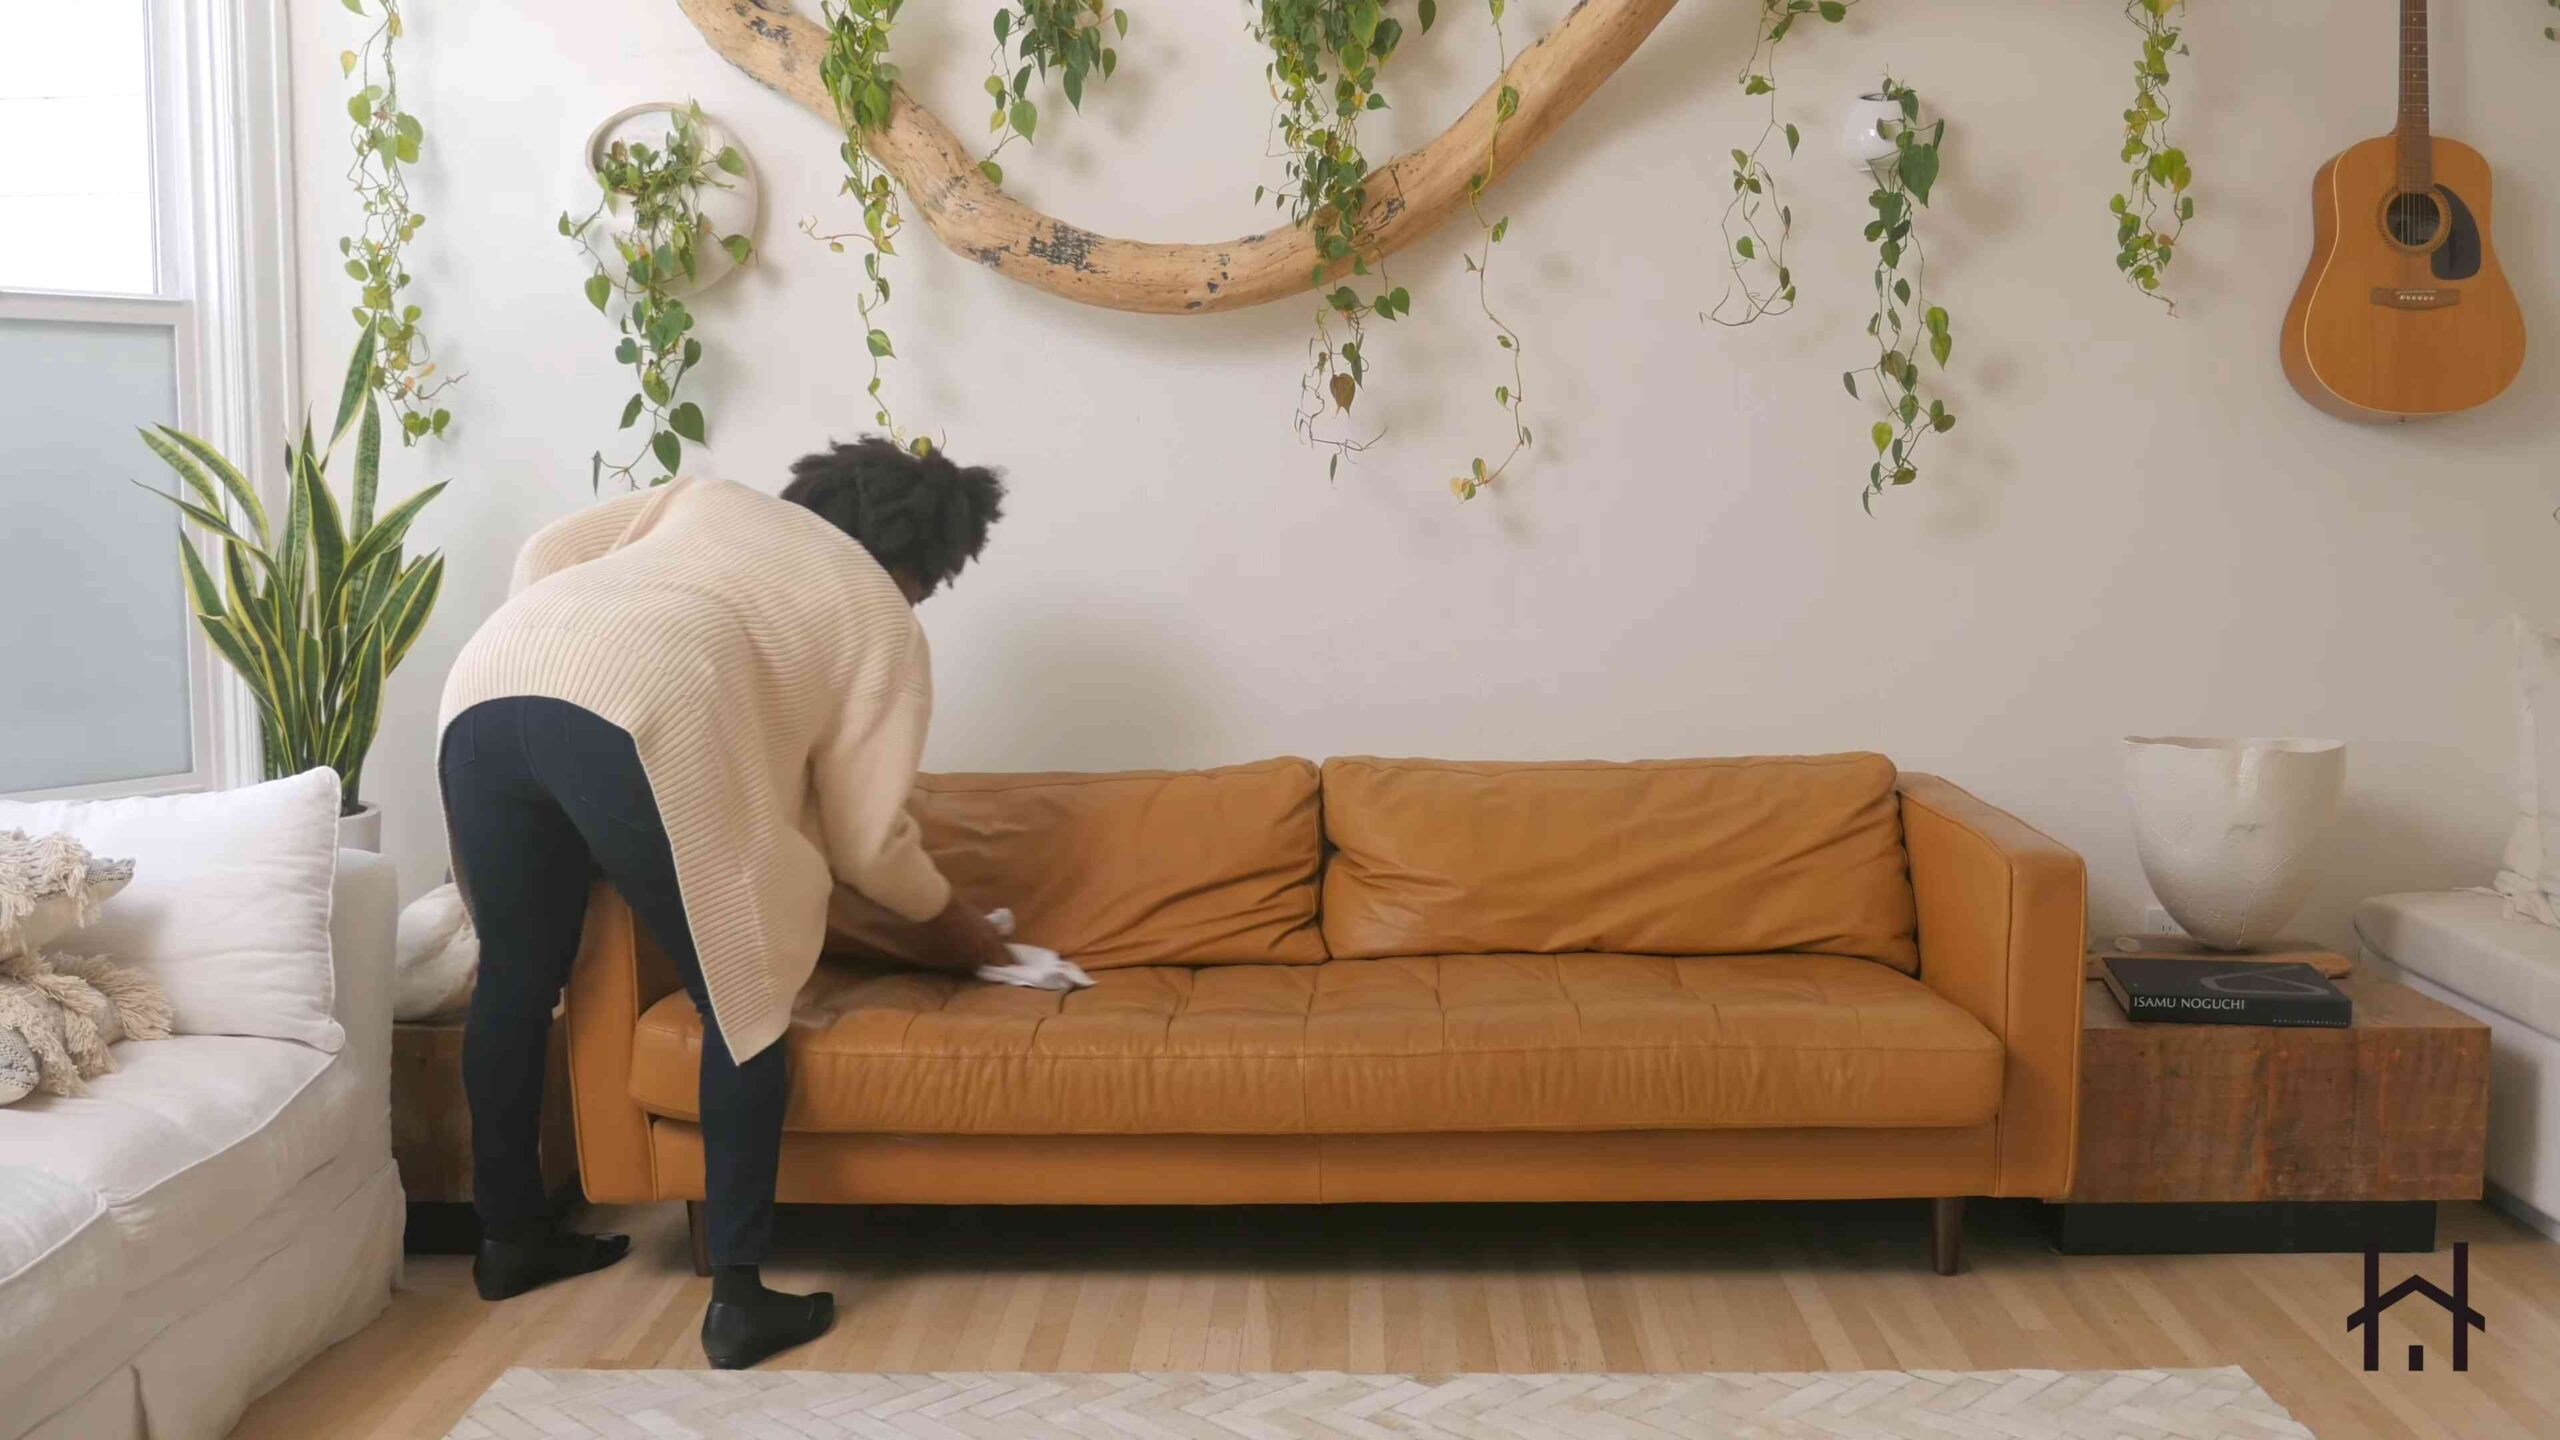
1. Apply Leather Conditioner: Apply a small amount of leather conditioner to a soft cloth. Gently massage the conditioner into the leather in a circular motion. Work in small sections to ensure even coverage.
2. Let it Absorb: Allow the conditioner to absorb into the leather for at least 30 minutes.
3. Wipe Away Excess Conditioner: Use a clean, dry cloth to wipe away any excess conditioner.
4. Buff the Leather: Use a clean, soft cloth to buff the leather to a shine. This will help to remove any remaining residue and enhance the leather’s natural luster.
Important Considerations and Tips:
* Always test products in an inconspicuous area first. This is crucial to ensure that the cleaner, dye, or conditioner doesn’t damage or discolor your leather.
* Work in a well-ventilated area. Leather cleaners and dyes can have strong odors.
* Don’t over-saturate the leather. Too much cleaner or conditioner can damage the leather.
* Be patient. Leather restoration takes time and effort. Don’t rush the process.
* Use the right products for your type of leather. Different types of leather require different types of care. If you’re not sure what type of leather your couch is made of, consult a professional.
* Consider professional help for severe damage. If your couch has extensive damage, it may be best to consult a professional leather restorer.
* Regular maintenance is key. Clean and condition your leather couch regularly to keep it looking its best.
Maintaining Your Restored Leather Couch:
* Dust Regularly: Use a soft cloth or vacuum with a brush attachment to dust your leather couch regularly.
* Clean Spills Immediately: Blot up spills immediately with a clean, dry cloth. Don’t rub!
* Condition Every 6-12 Months: Condition your leather couch every 6-12 months to keep it soft and supple.
* Avoid Direct Sunlight: Direct sunlight can fade and dry out leather. Try to keep your couch out of direct sunlight.
* Use Leather Protector: Consider using a leather protector spray to help protect your couch from stains and spills.
By following these steps, you can restore your leather couch and enjoy it for many years to come. It’s a rewarding project that will save you money and give your beloved sofa a new lease on life! Good luck, and happy restoring!
Conclusion
So, there you have it! Reviving your beloved leather couch doesn’t require a professional’s touch or a hefty investment. This Leather Couch Restoration DIY method is a game-changer for anyone looking to breathe new life into their worn-out furniture. We’ve walked you through a simple, cost-effective process that can dramatically improve the appearance and longevity of your leather.
Why is this DIY trick a must-try? Because it empowers you to take control of your furniture’s destiny. Instead of resigning yourself to living with unsightly scratches, fading, or minor damages, you can actively restore its beauty and extend its lifespan. Think of the money you’ll save by avoiding professional cleaning services or, even worse, replacing the entire couch! This method is not only budget-friendly but also incredibly satisfying. There’s a unique sense of accomplishment that comes from seeing the tangible results of your hard work.
But the benefits extend beyond just aesthetics and cost savings. By restoring your leather couch, you’re also contributing to a more sustainable lifestyle. You’re preventing a perfectly good piece of furniture from ending up in a landfill, reducing waste, and minimizing your environmental impact. It’s a win-win situation for you and the planet.
Now, let’s talk about variations and suggestions. While we’ve focused on a general restoration process, you can tailor it to your specific needs and preferences. For instance, if you’re dealing with stubborn stains, consider using a specialized leather stain remover before proceeding with the cleaning and conditioning steps. Always test the product in an inconspicuous area first to ensure it doesn’t damage the leather.
If you’re feeling adventurous, you can even experiment with different types of leather conditioners to achieve your desired level of softness and sheen. Some conditioners are designed to provide a matte finish, while others offer a more glossy look. Choose the one that best complements your couch’s style and your personal taste.
For deeper scratches or cracks, you might want to consider using a leather filler. These fillers are designed to fill in the damaged areas, creating a smooth surface that can then be colored to match the surrounding leather. This requires a bit more skill and patience, but the results can be truly remarkable. Remember to always follow the manufacturer’s instructions carefully when using any specialized leather care products.
Another variation involves the use of natural oils like olive oil or coconut oil as a leather conditioner. While these oils can be effective in moisturizing the leather, they can also leave a greasy residue if used in excess. Therefore, it’s crucial to apply them sparingly and buff the leather thoroughly after application.
Ultimately, the key to successful Leather Couch Restoration DIY is to be patient, meticulous, and willing to experiment. Don’t be afraid to try different techniques and products until you find what works best for your couch. And most importantly, don’t give up if you don’t see immediate results. Leather restoration is a process that takes time and effort, but the rewards are well worth it.
So, what are you waiting for? Gather your supplies, roll up your sleeves, and get ready to transform your leather couch from drab to fab! We’re confident that you’ll be amazed by the results.
We’re eager to hear about your experiences with this DIY method. Share your before-and-after photos, tips, and tricks in the comments section below. Let’s create a community of leather restoration enthusiasts and inspire others to give their furniture a new lease on life. Your insights could be invaluable to someone else who’s just starting their leather restoration journey. Let’s get restoring!
Frequently Asked Questions (FAQ)
Q: How often should I condition my leather couch?
A: The frequency of conditioning depends on several factors, including the type of leather, the climate you live in, and how often the couch is used. As a general rule, you should aim to condition your leather couch every 3-6 months. If you live in a dry climate or if the couch is exposed to direct sunlight, you may need to condition it more frequently. Conversely, if you live in a humid climate or if the couch is rarely used, you can condition it less often. Look for signs of dryness, such as cracking or fading, as indicators that it’s time to condition the leather.
Q: Can I use this DIY method on all types of leather?
A: This DIY method is generally safe for most types of finished leather, including aniline and semi-aniline leather. However, it’s not recommended for use on nubuck or suede leather, as these types of leather require specialized cleaning and conditioning techniques. Always check the manufacturer’s instructions or consult with a leather care professional if you’re unsure about the type of leather you have. Before applying any cleaning or conditioning product to the entire couch, test it in an inconspicuous area to ensure it doesn’t cause any discoloration or damage.
Q: What if I accidentally use too much conditioner?
A: If you accidentally apply too much conditioner, don’t panic! The key is to act quickly and remove the excess conditioner before it has a chance to soak into the leather. Use a clean, dry microfiber cloth to gently blot the affected area, working in small circular motions. Avoid rubbing the leather too vigorously, as this can damage the surface. If the leather still feels greasy or oily after blotting, you can try sprinkling a small amount of cornstarch or talcum powder onto the area to absorb the excess conditioner. Let the powder sit for a few hours, then vacuum it up with a brush attachment.
Q: How do I remove ink stains from my leather couch?
A: Ink stains can be tricky to remove from leather, but it’s not impossible. The first step is to act quickly and blot the stain with a clean, dry cloth. Avoid rubbing the stain, as this can spread it further. You can then try using a specialized leather ink remover, following the manufacturer’s instructions carefully. Alternatively, you can try using a mixture of equal parts rubbing alcohol and water. Dip a cotton swab into the mixture and gently dab the stain, working from the outside in. Be careful not to saturate the leather, and always test the solution in an inconspicuous area first. After removing the stain, condition the leather to restore its moisture.
Q: My leather couch has a musty smell. How can I get rid of it?
A: A musty smell in a leather couch is often caused by moisture or mildew. To get rid of the odor, start by thoroughly vacuuming the couch, paying attention to the crevices and seams. You can then try using a leather cleaner specifically designed to remove odors. Alternatively, you can try sprinkling baking soda onto the couch and letting it sit for several hours or overnight. Baking soda is a natural odor absorber and can help to neutralize the musty smell. Vacuum up the baking soda thoroughly after it has had time to work. If the smell persists, you may need to consult with a professional leather cleaner. Ensure the room where the couch is located has adequate ventilation to prevent moisture buildup.
Q: Can I use baby wipes to clean my leather couch?
A: While baby wipes may seem like a convenient option for cleaning leather, they’re not always the best choice. Many baby wipes contain chemicals and fragrances that can damage or discolor the leather over time. Additionally, some baby wipes can leave a residue on the leather, which can attract dirt and dust. It’s always best to use a leather cleaner specifically designed for leather furniture. If you do choose to use baby wipes, make sure they are alcohol-free and fragrance-free, and always test them in an inconspicuous area first.
Q: How do I prevent my leather couch from fading?
A: The best way to prevent your leather couch from fading is to protect it from direct sunlight. Sunlight can cause the leather to dry out and fade over time. Position your couch away from windows or use curtains or blinds to block out the sun’s rays. You can also apply a leather protectant spray to help shield the leather from UV damage. Regularly conditioning the leather will also help to keep it moisturized and prevent it from fading.
Q: What are the best tools for cleaning and conditioning leather?
A: For cleaning and conditioning leather, you’ll need a few essential tools:
* **Microfiber cloths:** These are soft, absorbent, and won’t scratch the leather.
* **Soft-bristled brush:** This is useful for removing dirt and debris from the crevices and seams of the couch.
* **Spray bottle:** This is handy for applying leather cleaner or conditioner.
* **Vacuum cleaner with a brush attachment:** This is essential for removing dust and dirt from the couch.
* **Leather cleaning and conditioning products:** Choose products specifically designed for leather furniture.
Q: My leather couch has pet scratches. Can this DIY method help?
A: This DIY method can help minimize the appearance of minor pet scratches. Cleaning and conditioning the leather will help to moisturize the scratches and make them less noticeable. For deeper scratches, you may need to use a leather filler to fill in the damaged areas. After applying the filler, you can color it to match the surrounding leather. This requires a bit more skill and patience, but it can significantly improve the appearance of the scratches. Consider consulting a professional for severe damage.
Leave a Comment