

Lipstick stain removal baking soda – sounds like a science experiment gone wrong, right? Actually, it’s your secret weapon against those frustrating lipstick mishaps! We’ve all been there: a gorgeous swipe of color, a quick hug, and suddenly, your favorite blouse is sporting a bright red kiss. Don’t panic! Before you resign that garment to the “stained forever” pile, let’s dive into a simple, effective, and surprisingly historical solution.
Using baking soda for cleaning isn’t exactly new. Our grandmothers and great-grandmothers relied on this humble ingredient for everything from scrubbing sinks to freshening carpets. It’s a testament to its versatility and effectiveness that it’s still a go-to cleaning agent today. But did you know it’s also a champion against stubborn lipstick stains?
Why is this DIY trick so crucial? Because life’s too short to worry about ruined clothes! Lipstick stains can be notoriously difficult to remove with conventional detergents, often leaving a faint shadow or even setting the stain further. This simple hack using lipstick stain removal baking soda offers a gentle yet powerful alternative, saving you time, money, and the heartache of losing a beloved item. I’m excited to share this easy method with you, so let’s get started and banish those lipstick stains for good!
DIY Lipstick Stain Removal: Baking Soda Magic!
Hey there! Lipstick stains, am I right? They’re the bane of every fashion lover’s existence. Whether it’s a rogue swipe on your favorite white shirt or a smudge on your car seat, those vibrant pigments can be incredibly stubborn. But don’t despair! Before you resign yourself to a ruined garment or a permanent mark, I’m here to share my go-to, super-effective, and surprisingly simple method for removing lipstick stains using the power of baking soda. Yes, that humble box in your pantry is about to become your stain-fighting superhero!
This method works wonders on a variety of fabrics, including cotton, linen, and even some synthetics. However, always test a small, inconspicuous area first to ensure the fabric is colorfast and won’t be damaged by the baking soda paste. Better safe than sorry!
What You’ll Need
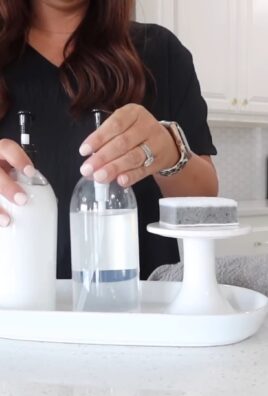
Before we dive in, let’s gather our supplies. You probably have most of these items already:
* Baking Soda
* Water
* Clean Cloth or Sponge (white or light-colored is best to avoid color transfer)
* Soft-Bristled Brush (an old toothbrush works great!)
* Spoon or Small Bowl
* Vacuum (optional, for upholstery)
* Laundry Detergent (for clothing)
Prepping for Stain Removal
Okay, let’s get started! The key to successful stain removal is acting fast. The sooner you treat the stain, the easier it will be to remove.
1. Blot, Don’t Rub: The very first thing you need to do is gently blot the stain with a clean cloth or paper towel. Rubbing will only spread the lipstick and push it deeper into the fibers, making it even harder to remove. Blot from the outside of the stain inwards to prevent it from spreading further.
2. Remove Excess Lipstick: If there’s any excess lipstick sitting on the surface of the fabric, carefully scrape it off with a dull knife or the edge of a spoon. Again, be gentle to avoid damaging the material.
Creating the Baking Soda Paste
Now for the magic ingredient! We’re going to create a simple yet powerful baking soda paste.
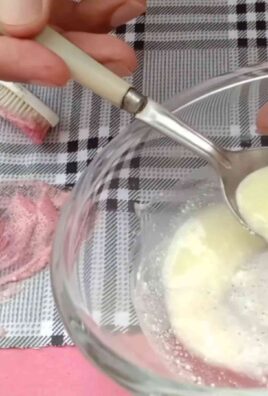
1. Mix Baking Soda and Water: In a small bowl, mix baking soda with a small amount of water. You want to create a thick paste, similar in consistency to toothpaste. Start with a tablespoon of baking soda and add water drop by drop until you achieve the desired consistency.
2. Test the Paste (Important!): Before applying the paste to the entire stain, test it on a hidden area of the fabric, like an inside seam or hem. Apply a small amount of the paste, let it sit for a few minutes, and then wipe it away with a damp cloth. Check for any discoloration or damage to the fabric. If everything looks good, you can proceed with treating the stain.
Applying the Baking Soda Paste to the Stain
Alright, time to tackle that lipstick stain head-on!
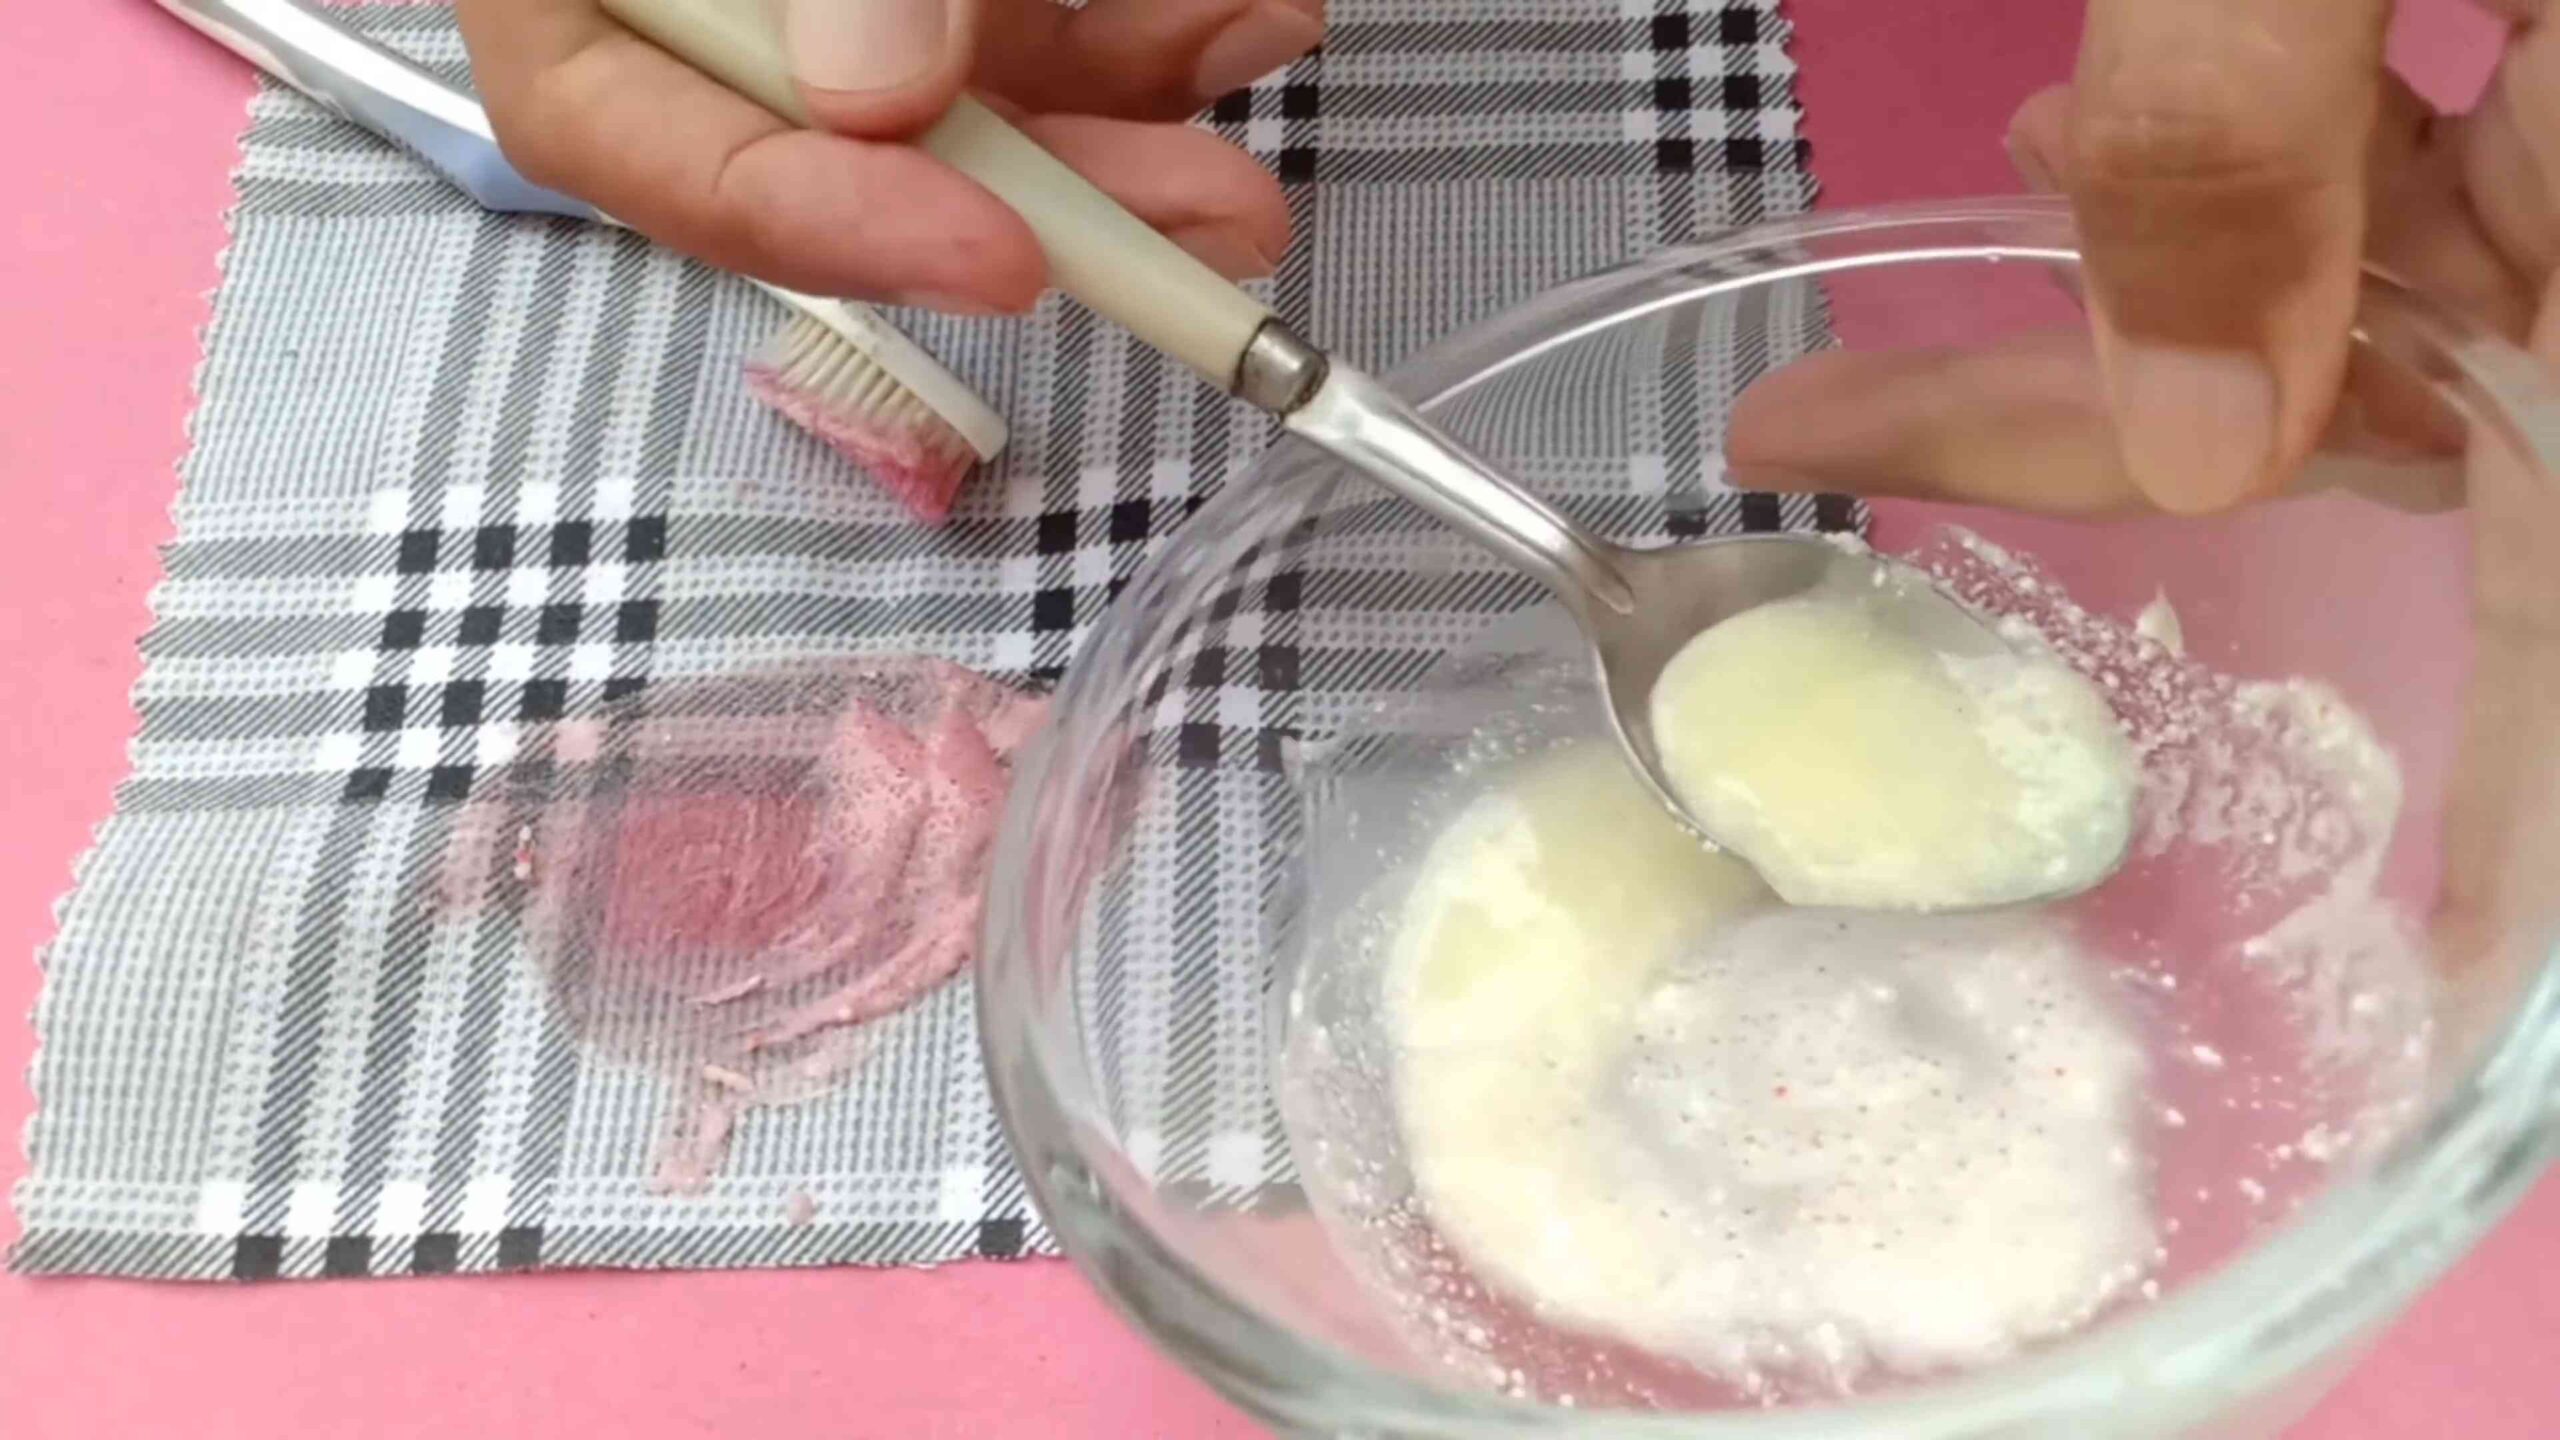
1. Apply the Paste: Using your finger or a spoon, carefully apply the baking soda paste directly to the lipstick stain. Make sure the entire stain is covered with a generous layer of the paste.
2. Gently Work the Paste In: Using a soft-bristled brush (like an old toothbrush), gently work the paste into the fibers of the fabric. Use small, circular motions to loosen the lipstick pigment. Be careful not to scrub too hard, as this could damage the fabric.
3. Let it Sit: Now, patience is key! Allow the baking soda paste to sit on the stain for at least 30 minutes, or even longer for stubborn stains. The baking soda will absorb the lipstick pigment and help lift it from the fabric. For really tough stains, you can let the paste sit overnight.
Removing the Baking Soda Paste
Almost there! Now we need to remove the baking soda and see if our stain has vanished.
1. Rinse with Cold Water: After the paste has had time to work its magic, rinse the treated area with cold water. Make sure to remove all traces of the baking soda paste.
2. Check for Remaining Stain: Examine the area closely to see if the lipstick stain is completely gone. If you can still see a faint stain, repeat the process from creating the paste to rinsing. Sometimes, it takes a couple of applications to completely remove the stain.
Final Steps: Laundry or Spot Cleaning
Now that the stain is (hopefully!) gone, let’s finish up.
For Clothing:
1. Launder as Usual: If you’re treating a garment, launder it as usual according to the care label instructions. Use a good quality laundry detergent.
2. Air Dry: After washing, air dry the garment instead of putting it in the dryer. The heat from the dryer can set any remaining stain, making it even harder to remove. If you still see a faint stain after air drying, repeat the entire process again before putting it in the dryer.
For Upholstery:
1. Blot Dry: After rinsing the treated area, blot it dry with a clean cloth.
2. Vacuum: Once the area is completely dry, vacuum it to remove any remaining baking soda residue.
Dealing with Stubborn Stains
Sometimes, despite our best efforts, a lipstick stain just won’t budge. Don’t give up! Here are a few extra tips for tackling those stubborn stains:
* Pre-Treat with Stain Remover: Before applying the baking soda paste, try pre-treating the stain with a commercial stain remover. Follow the instructions on the product label.
* Use a Laundry Booster: When washing the garment, add a laundry booster to the wash cycle. Laundry boosters contain enzymes that help break down stains.
* Try a Different Solvent: For very stubborn stains, you can try using a different solvent, such as rubbing alcohol or nail polish remover (acetone). However, always test the solvent on a hidden area of the fabric first to make sure it won’t damage the material. Apply the solvent to a clean cloth and gently blot the stain.
* Professional Cleaning: If all else fails, take the garment or upholstery to a professional cleaner. They have specialized equipment and cleaning solutions that can often remove even the most stubborn stains.
Important Considerations
* Fabric Type: Always consider the type of fabric you’re treating. Delicate fabrics, such as silk or wool, may require special care. Test any cleaning solution on a hidden area first.
* Colorfastness: Before treating any stain, test the cleaning solution on a hidden area of the fabric to make sure it’s colorfast. If the color bleeds, stop using the solution and try a different method.
* Old Stains: Old stains are often more difficult to remove than fresh stains. If you’re dealing with an old stain, you may need to repeat the cleaning process several times.
* Prevention is Key: The best way to deal with lipstick stains is to prevent them from happening in the first place! Be careful when applying lipstick, and avoid touching your face or clothing while wearing it.
And there you have it! My tried-and-true method for removing lipstick stains using the power of baking soda. I hope this helps you save your favorite clothes and keep your upholstery looking its best. Good luck, and happy stain fighting! Remember to always test in an inconspicuous area first!
Conclusion
So, there you have it! This simple yet incredibly effective DIY trick using baking soda is a game-changer when it comes to tackling stubborn lipstick stains. We’ve all been there – that favorite blouse, a cherished scarf, or even a piece of furniture falling victim to an errant swipe of lipstick. Instead of resigning yourself to a permanent mark or resorting to harsh chemicals that could damage your precious items, this gentle and readily available solution offers a safe and reliable alternative.
The beauty of this method lies in its simplicity and accessibility. Baking soda, a staple in most households, acts as a natural absorbent, drawing the lipstick pigments away from the fabric or surface without causing discoloration or weakening the fibers. It’s a far cry from the aggressive scrubbing and potentially harmful solvents that are often recommended, making it a particularly attractive option for delicate materials.
But the benefits don’t stop there. Beyond its effectiveness and gentleness, this DIY approach is also incredibly cost-effective. Forget about expensive stain removers that promise the world but often fall short. With just a sprinkle of baking soda and a little bit of elbow grease, you can achieve professional-level results without breaking the bank.
Looking for variations? Consider these options to tailor the method to your specific needs:
* For particularly stubborn stains: Create a paste of baking soda and water, apply it to the stain, and let it sit for a longer period (up to an hour) before gently blotting.
* For delicate fabrics: Test the baking soda on an inconspicuous area first to ensure it doesn’t cause any discoloration. You can also use a softer brush or cloth to avoid damaging the material.
* For upholstery: Vacuum the baking soda thoroughly after it has absorbed the stain. You may need to repeat the process for older or more deeply embedded stains.
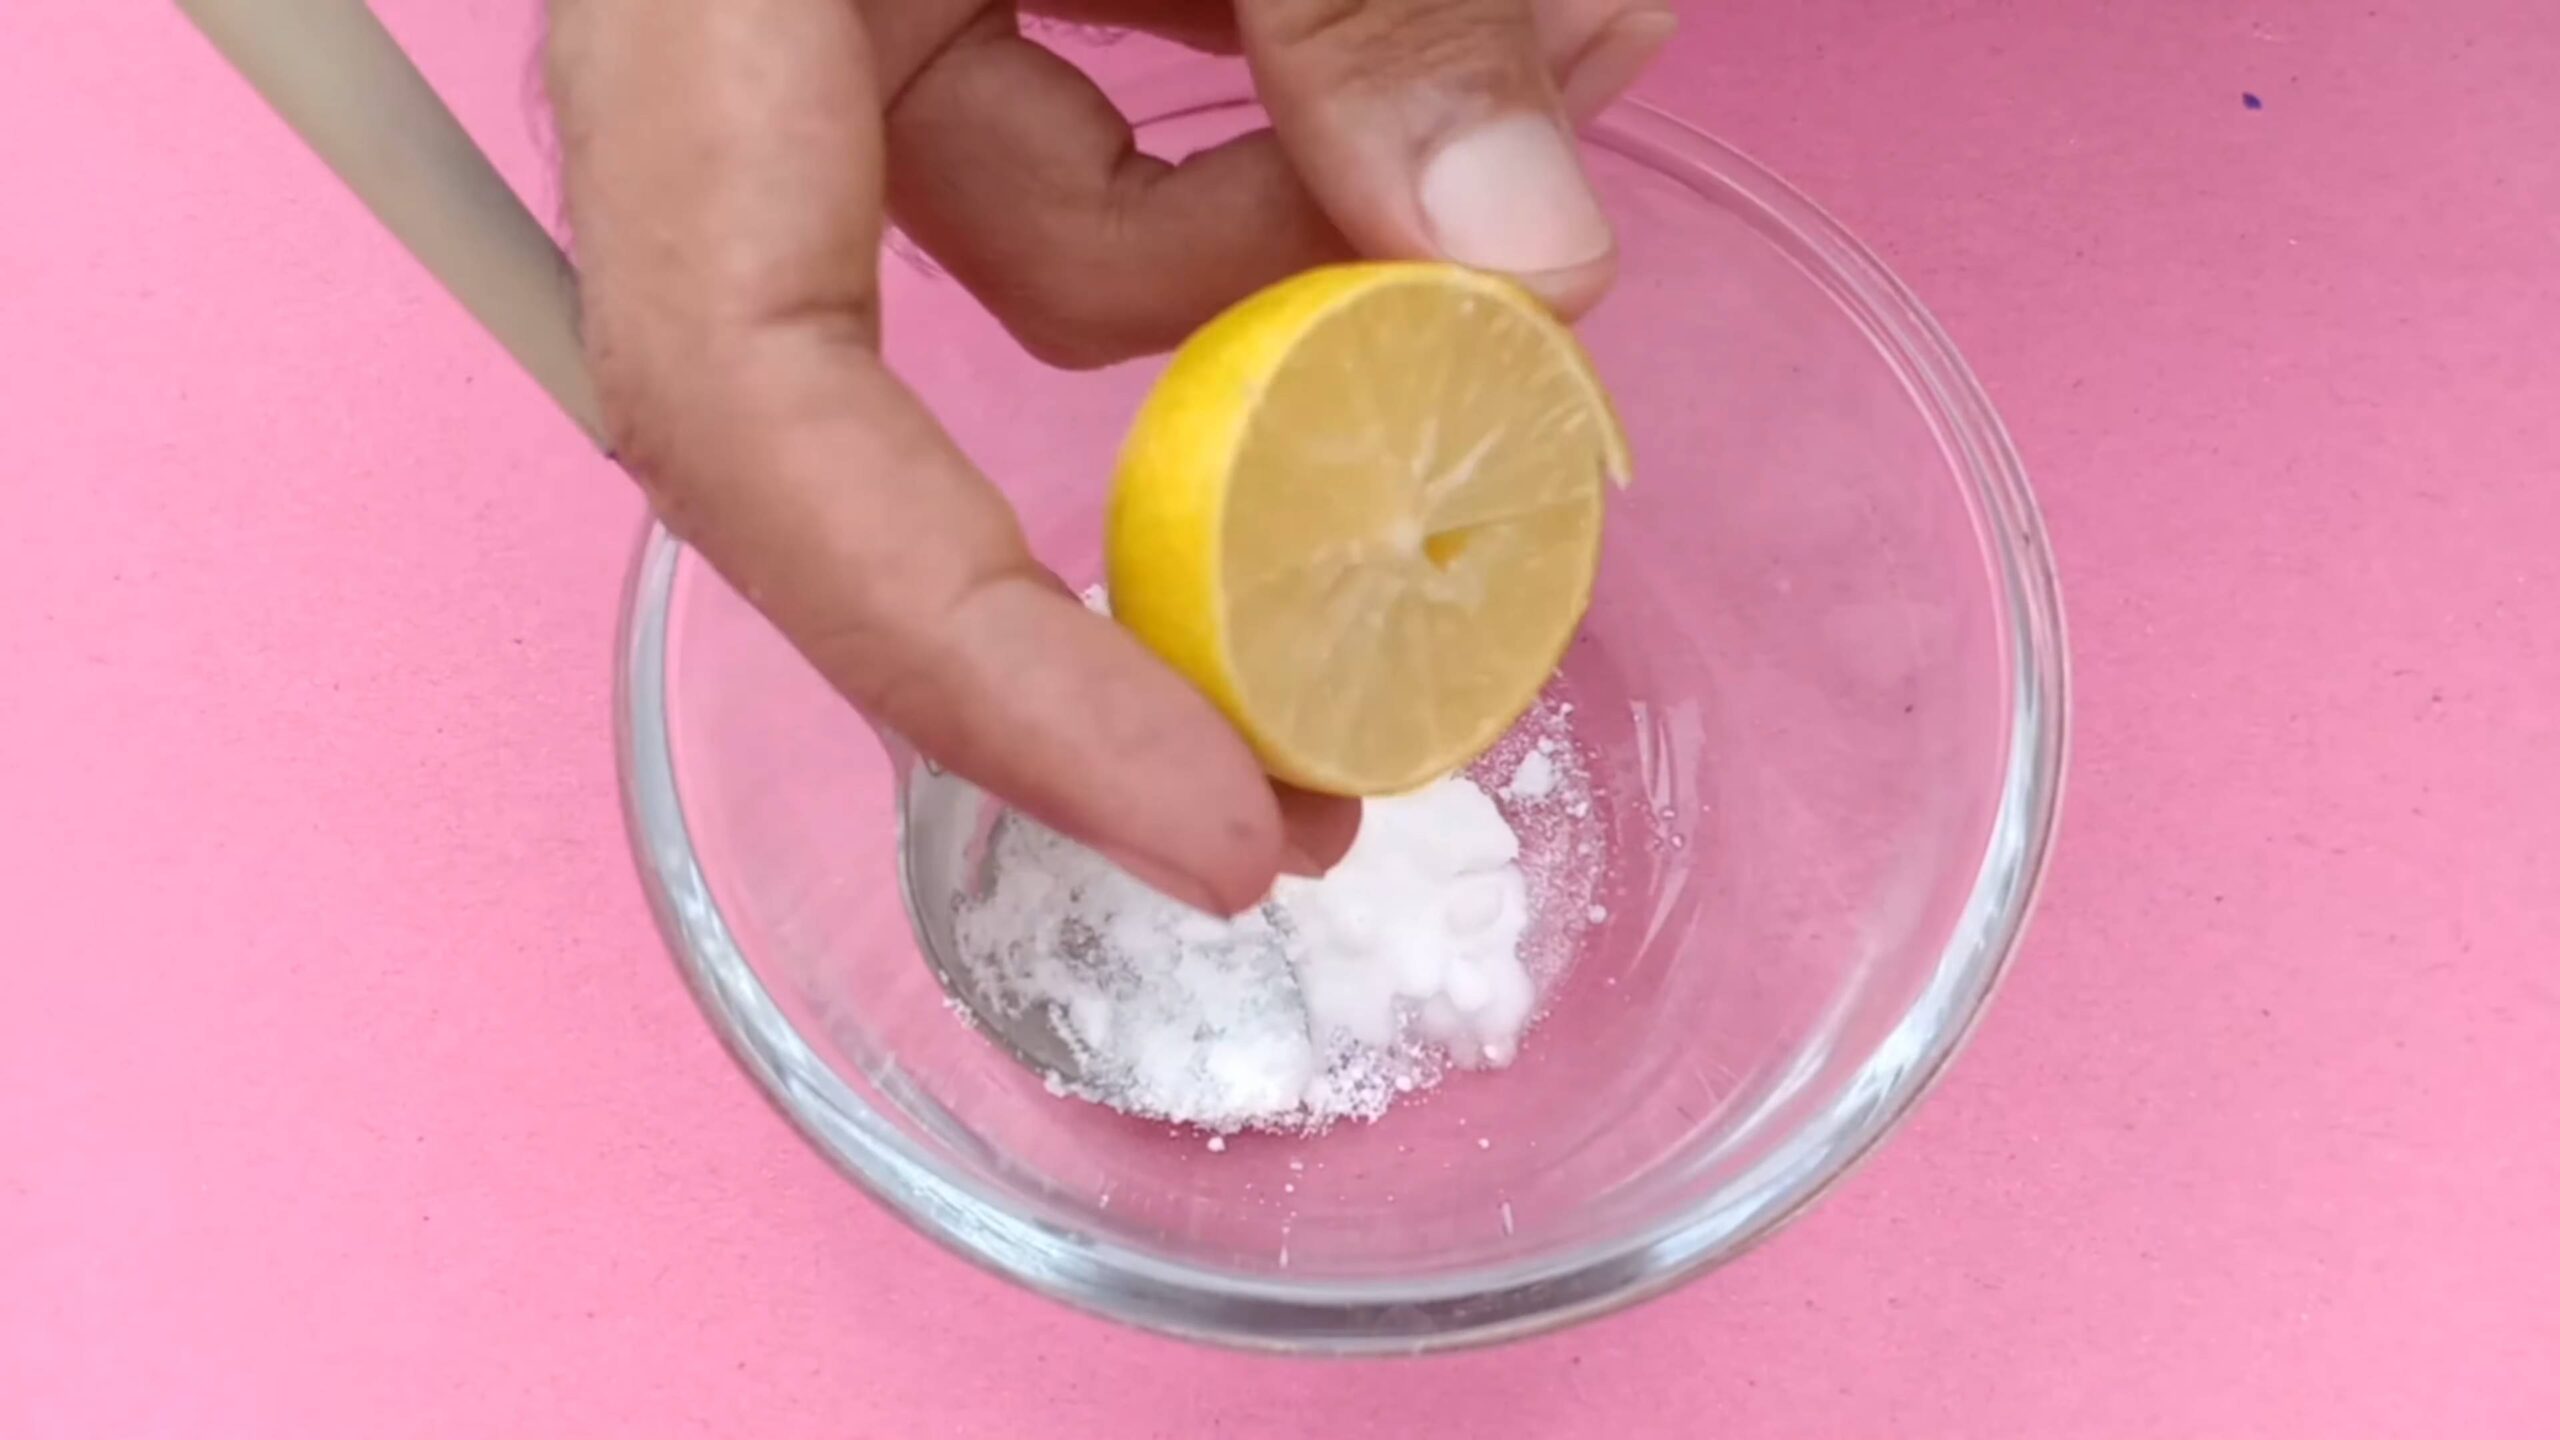
* Adding Vinegar: For some stains, a small amount of white vinegar can be added to the baking soda paste. The fizzing action can help lift the stain. However, always test this mixture in an inconspicuous area first, especially on colored fabrics, as vinegar can sometimes cause fading.
This DIY lipstick stain removal baking soda trick is more than just a quick fix; it’s a sustainable and practical solution that empowers you to take control of your stain removal woes. It’s about saving your favorite items from the brink of disaster and doing so in a way that’s kind to both your belongings and your wallet.
We wholeheartedly encourage you to give this method a try the next time you’re faced with a lipstick stain. We’re confident that you’ll be amazed by the results. And once you’ve experienced the magic of baking soda, we’d love to hear about your experience! Share your before-and-after photos, your tips and tricks, and any variations you’ve discovered in the comments below. Let’s create a community of stain-fighting experts and help each other keep our clothes and homes looking their best! Don’t let lipstick stains ruin your day – embrace the power of baking soda and reclaim your fabrics!
Frequently Asked Questions (FAQs)
Q1: Will baking soda work on all types of lipstick stains?
A: Baking soda is generally effective on most types of lipstick stains, especially fresh ones. However, the success rate can vary depending on the type of lipstick (e.g., matte, glossy, long-lasting), the fabric or surface it’s on, and how long the stain has been there. Older, more deeply embedded stains may require multiple treatments or a combination of methods. For particularly stubborn stains, pre-treating with a stain remover specifically designed for makeup can sometimes help before applying the baking soda. Remember to always test any cleaning method on an inconspicuous area first to ensure it doesn’t damage the material.
Q2: Can I use baking powder instead of baking soda for lipstick stain removal?
A: No, baking powder is not a suitable substitute for baking soda in this case. Baking soda (sodium bicarbonate) is a pure alkali that helps to lift stains through its absorbent properties. Baking powder, on the other hand, contains baking soda plus an acidic agent (like cream of tartar) and a drying agent. This combination is designed to create a leavening effect in baking, and it won’t have the same stain-removing power as pure baking soda. Using baking powder could even potentially worsen the stain, so it’s best to stick with baking soda for this DIY trick.
Q3: How long should I leave the baking soda on the lipstick stain?
A: The amount of time you leave the baking soda on the stain depends on the severity and age of the stain. For fresh, light stains, 30 minutes to an hour may be sufficient. For older or more stubborn stains, you can leave the baking soda on for several hours, or even overnight. Just be sure to keep the area dry and avoid rubbing the baking soda into the fabric, as this could spread the stain. After the allotted time, gently blot or vacuum away the baking soda and assess the results. You may need to repeat the process if the stain is still visible.
Q4: Will baking soda damage delicate fabrics like silk or wool?
A: While baking soda is generally considered a gentle cleaning agent, it’s always best to exercise caution when using it on delicate fabrics like silk or wool. Before applying baking soda to the entire stain, test it on an inconspicuous area of the fabric to ensure it doesn’t cause any discoloration or damage. If you’re concerned about the fabric’s sensitivity, you can also dilute the baking soda with water to create a less concentrated solution. When blotting the stain, use a soft cloth and avoid rubbing aggressively, as this could damage the fibers. If you’re still unsure, it’s always best to consult a professional dry cleaner for advice.
Q5: What if the lipstick stain is on upholstery? Can I still use baking soda?
A: Yes, baking soda can be used to remove lipstick stains from upholstery. However, it’s important to take extra care to avoid damaging the fabric or leaving behind a residue. Start by blotting the stain with a clean, dry cloth to remove any excess lipstick. Then, sprinkle a generous amount of baking soda onto the stain and let it sit for several hours, or even overnight. The baking soda will absorb the lipstick pigments. After the allotted time, vacuum the baking soda thoroughly using an upholstery attachment. If the stain is still visible, repeat the process. For particularly stubborn stains, you can create a paste of baking soda and water and gently apply it to the stain, but be sure to test it on an inconspicuous area first. Avoid getting the upholstery too wet, as this could lead to mildew growth.
Q6: Can I use this method on leather or suede?
A: Using baking soda on leather or suede is generally not recommended, as it can dry out these materials and potentially cause discoloration or damage. Leather and suede require specialized cleaning products and techniques. For lipstick stains on leather or suede, it’s best to consult a professional leather cleaner or use a cleaning product specifically designed for these materials. They will have the expertise and tools to safely remove the stain without harming the delicate surface.
Q7: What other household items can I use to remove lipstick stains if I don’t have baking soda?
A: While baking soda is a highly effective and readily available option, there are a few other household items you can try for lipstick stain removal:
* Dish soap: Gently rub a small amount of dish soap into the stain with a damp cloth, then rinse thoroughly.
* Rubbing alcohol: Dab the stain with rubbing alcohol using a cotton ball, working from the outside in. Be sure to test it on an inconspicuous area first, as it can sometimes cause discoloration.
* Hairspray: Spray hairspray onto the stain, let it sit for a few minutes, and then blot with a clean cloth.
* White vinegar: Dilute white vinegar with water and dab the stain with a cloth soaked in the solution.
Remember to always test any cleaning method on an inconspicuous area first and to blot the stain gently rather than rubbing it.
Q8: How do I prevent lipstick stains in the first place?
A: Prevention is always better than cure! Here are a few tips to help prevent lipstick stains:
* Set your lipstick: Use a setting spray or powder to help your lipstick stay in place and prevent it from transferring.
* Blot your lips: After applying lipstick, blot your lips with a tissue to remove any excess product.
* Be mindful of your surroundings: Be careful when eating, drinking, or touching your face to avoid smudging your lipstick.
* Use a straw: When drinking, use a straw to avoid direct contact between your lips and the glass.
* Choose long-lasting formulas: Opt for long-lasting lipstick formulas that are less likely to transfer.
By following these simple tips, you can significantly reduce your chances of getting lipstick stains on your clothes, furniture, or other belongings.
Leave a Comment