

Simple daily cleaning routine – sounds daunting, right? But what if I told you it could actually be your secret weapon against a chaotic home and a stressed-out mind? Forget those overwhelming weekend cleaning marathons! We’re diving into the world of bite-sized, manageable tasks that will transform your living space and your life.
For centuries, cultures around the globe have understood the power of a tidy environment. From the ancient practice of Feng Shui, emphasizing harmony and balance through organized spaces, to the Scandinavian concept of “hygge,” where comfort and coziness reign supreme, a clean and clutter-free home has always been linked to well-being. Think of it as a mini-meditation, a daily reset that sets the tone for a productive and peaceful day.
Let’s face it, life is busy! Between work, family, and social commitments, who has time to spend hours scrubbing and dusting? That’s where this DIY article comes in. I’m going to share my tried-and-true simple daily cleaning routine hacks that will keep your home sparkling without sacrificing your precious free time. These aren’t just cleaning tips; they’re time-saving strategies designed to make your life easier and more enjoyable. Say goodbye to weekend dread and hello to a consistently clean and comfortable home!
DIY Your Way to a Sparkling Home: A Simple Daily Cleaning Routine
Okay, let’s be honest, nobody *loves* cleaning. But a little bit each day can make a huge difference in keeping your home feeling fresh and inviting. I’m going to share my super simple daily cleaning routine that helps me stay on top of things without feeling overwhelmed. Trust me, it’s totally doable!
The Philosophy Behind My Daily Cleaning Routine
Before we dive into the nitty-gritty, let’s talk about the mindset. This isn’t about achieving perfection. It’s about maintaining a baseline level of cleanliness so that deep cleaning becomes less frequent and less daunting. Think of it as preventative maintenance for your home! The key is consistency and focusing on high-impact areas.
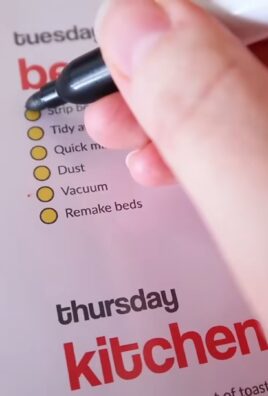
The Daily Cleaning Checklist: Your Secret Weapon
Here’s a breakdown of the tasks I tackle each day. Remember, you can adjust this to fit your own lifestyle and needs.
* Make the Bed: Seriously, this takes less than a minute and instantly makes your bedroom look tidier.
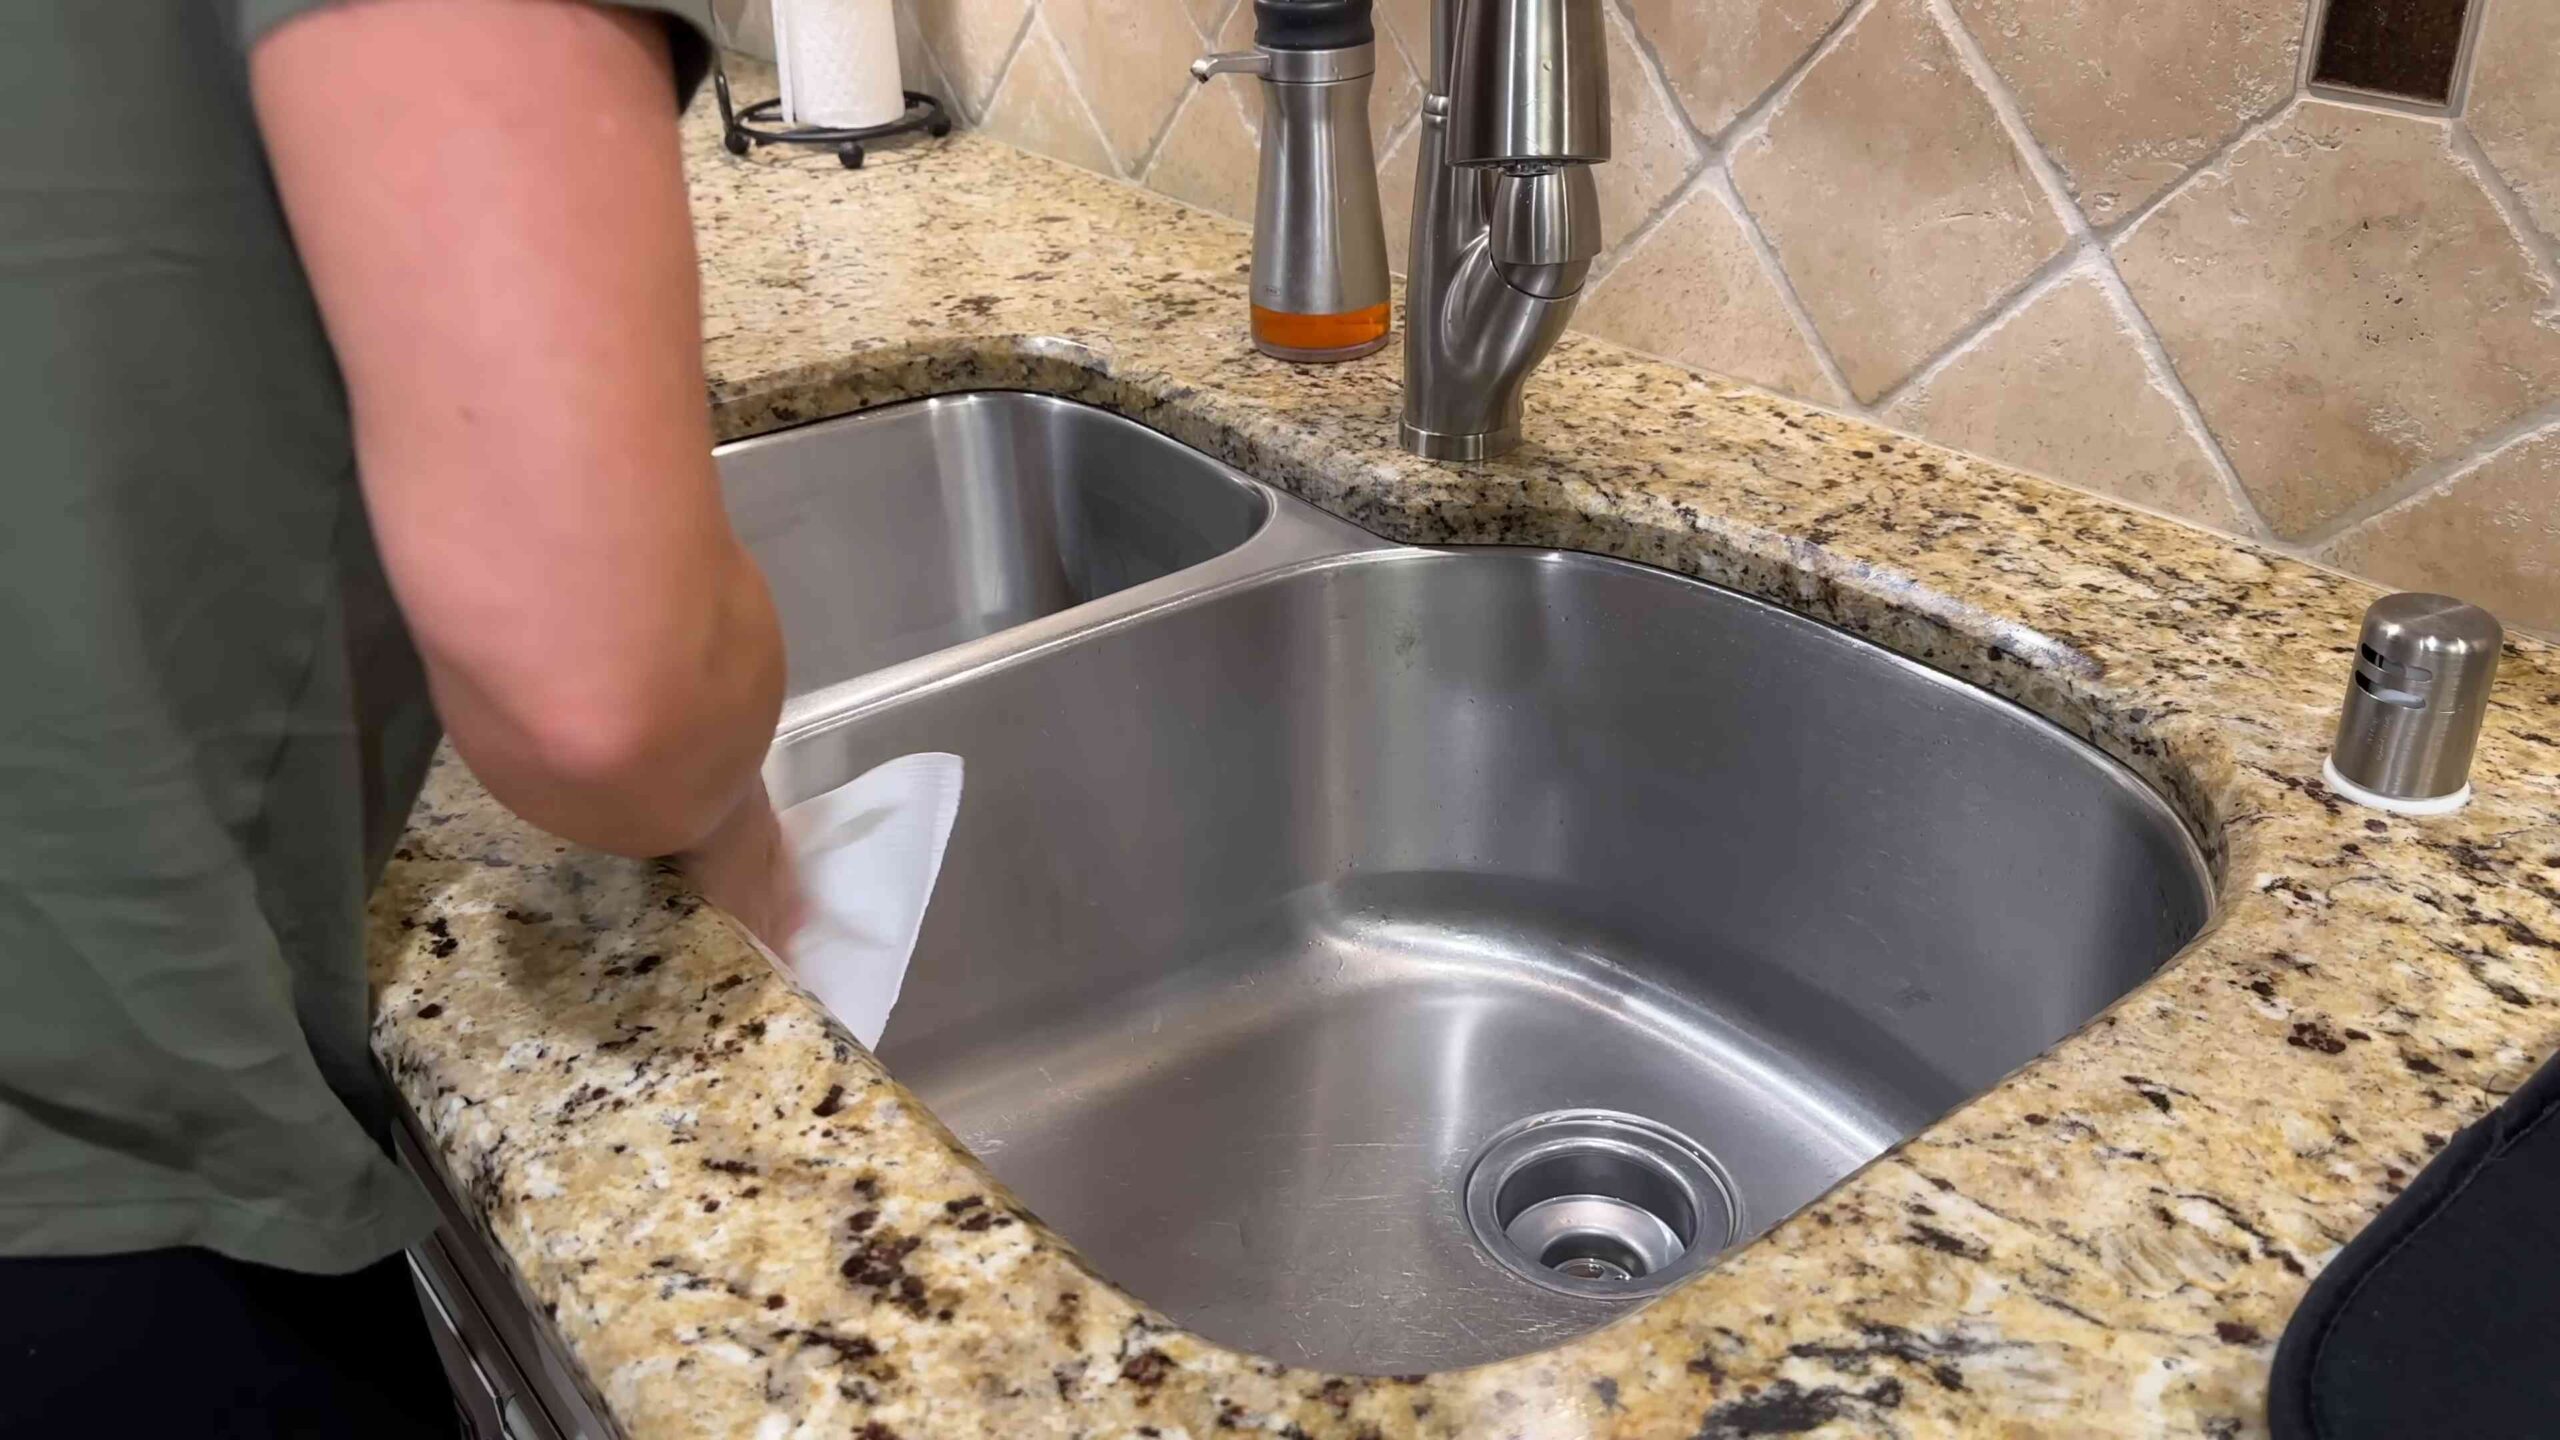
* Wipe Down Kitchen Counters and Sink: After every meal, give your counters and sink a quick wipe. This prevents food buildup and keeps things sanitary.
* Load and Run the Dishwasher (or Wash Dishes): Don’t let dishes pile up! Empty the dishwasher in the morning and load it throughout the day.
* Sweep or Vacuum High-Traffic Areas: A quick sweep or vacuum in the kitchen and entryway can prevent dirt from spreading throughout the house.
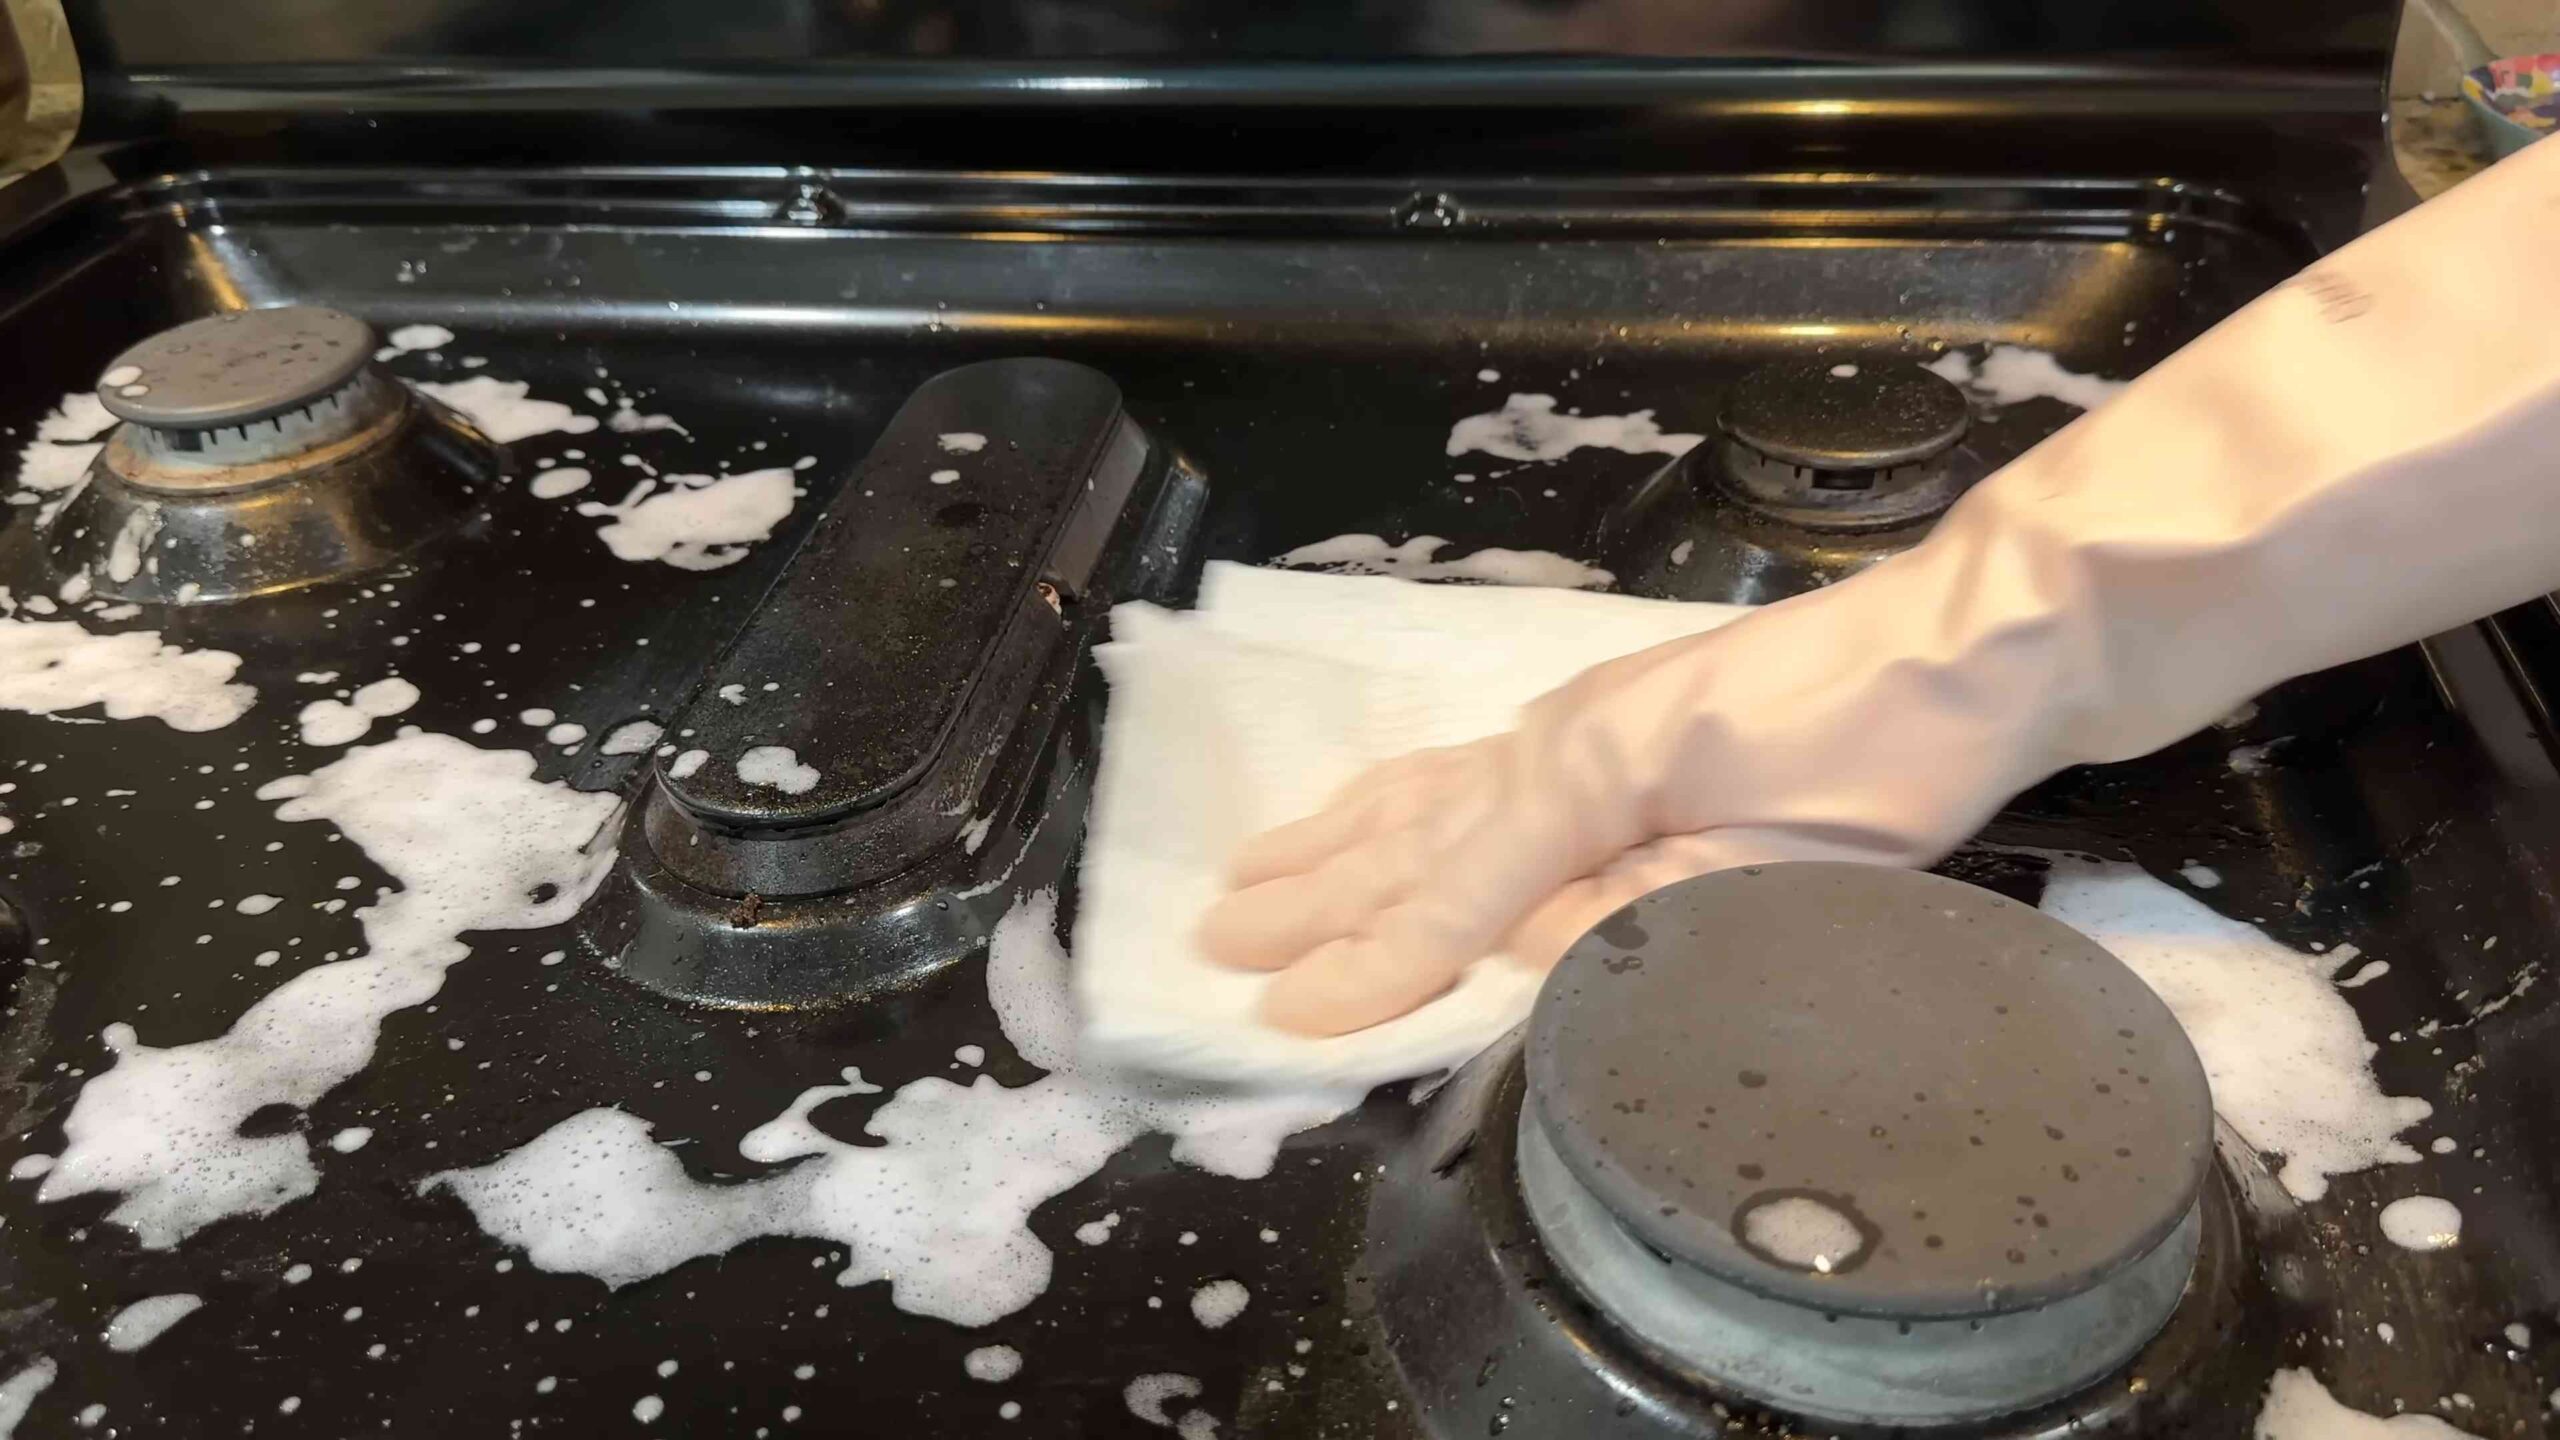
* Quick Bathroom Wipe-Down: Wipe down the sink and toilet seat after use. This prevents soap scum and keeps things fresh.
* One Load of Laundry: Doing a load of laundry every day (or every other day) prevents mountains of clothes from accumulating.
* Tidy Up Clutter: Spend 5-10 minutes putting things back where they belong. This could be anything from toys to mail to books.
Step-by-Step Instructions: Making it Happen
Now, let’s break down each task into simple, actionable steps.
1. Making the Bed: The Easiest Win
1. Pull up the sheets: Straighten out your fitted sheet and top sheet.
2. Fluff the pillows: Give your pillows a good fluff to restore their shape.
3. Arrange the pillows: Place your pillows neatly at the head of the bed.
4. Pull up the comforter or duvet: Smooth out your comforter or duvet and arrange it neatly over the bed.
5. Add decorative pillows (optional): If you have decorative pillows, arrange them in front of your sleeping pillows.
2. Wiping Down Kitchen Counters and Sink: Preventing Grime
1. Gather your supplies: You’ll need a cleaning spray (I like a simple all-purpose cleaner or even a vinegar and water solution) and a clean cloth or sponge.
2. Clear the counters: Remove any items from the counters, such as appliances, dishes, or food.
3. Spray the counters: Spray the cleaning solution evenly over the counters.
4. Wipe the counters: Use the clean cloth or sponge to wipe down the counters, paying attention to any spills or sticky spots.
5. Rinse the sink (if needed): If you used a cleaning solution that leaves a residue, rinse the sink with water.
6. Dry the counters and sink: Use a clean, dry cloth to dry the counters and sink.
3. Loading and Running the Dishwasher (or Washing Dishes): No More Dish Piles!
1. Scrape food scraps: Scrape any leftover food scraps from your dishes into the trash or garbage disposal.
2. Load the dishwasher: Load the dishes into the dishwasher, following the manufacturer’s instructions. Make sure not to overcrowd the dishwasher, as this can prevent the dishes from getting clean.
3. Add detergent: Add dishwasher detergent to the dispenser.
4. Run the dishwasher: Select the appropriate cycle and start the dishwasher.
5. (If washing by hand): Fill the sink: Fill the sink with hot, soapy water.
6. (If washing by hand): Wash the dishes: Wash the dishes one by one, using a sponge or dishcloth.
7. (If washing by hand): Rinse the dishes: Rinse the dishes thoroughly with clean water.
8. (If washing by hand): Dry the dishes: Dry the dishes with a clean dish towel or let them air dry.
4. Sweeping or Vacuuming High-Traffic Areas: Keeping Dirt at Bay
1. Gather your supplies: You’ll need a broom and dustpan or a vacuum cleaner.
2. Sweep or vacuum: Sweep or vacuum the high-traffic areas, such as the kitchen, entryway, and hallways. Pay attention to corners and edges.
3. Empty the dustpan or vacuum: Empty the dustpan or vacuum cleaner when it’s full.
5. Quick Bathroom Wipe-Down: Preventing Soap Scum
1. Gather your supplies: You’ll need a cleaning spray (again, all-purpose or vinegar and water works great) and a clean cloth or sponge.
2. Spray the sink: Spray the cleaning solution on the sink and faucet.
3. Wipe the sink: Wipe down the sink and faucet with the clean cloth or sponge.
4. Spray the toilet seat: Spray the cleaning solution on the toilet seat.
5. Wipe the toilet seat: Wipe down the toilet seat with the clean cloth or sponge.
6. (Optional) Wipe the mirror: If the mirror is dirty, spray it with glass cleaner and wipe it down with a clean cloth.
6. One Load of Laundry: Conquering the Laundry Monster
1. Gather your laundry: Collect the dirty laundry from around the house.
2. Sort the laundry: Sort the laundry by color and fabric type.
3. Load the washing machine: Load the sorted laundry into the washing machine.
4. Add detergent: Add laundry detergent to the dispenser.
5. Select the appropriate cycle: Select the appropriate cycle for the type of laundry you’re washing.
6. Start the washing machine: Start the washing machine.
7. Transfer to dryer (or hang to dry): Once the washing machine is finished, transfer the laundry to the dryer or hang it up to dry.
8. Fold and put away: Once the laundry is dry, fold it and put it away.
7. Tidy Up Clutter: The 5-10 Minute Miracle
1. Grab a basket or bag: This will be your “clutter collector.”
2. Walk through each room: Spend a few minutes in each room, looking for items that are out of place.
3. Collect the clutter: Place any out-of-place items in your basket or bag.
4. Put things away: Once you’ve collected all the clutter, go through the basket or bag and put each item back where it belongs.
Tools and Supplies I Swear By
Having the right tools can make all the difference. Here are a few of my favorites:
* Microfiber cloths: These are amazing for cleaning surfaces without leaving streaks.
* All-purpose cleaner: A good all-purpose cleaner is a must-have for tackling a variety of messes.
* Vinegar and water solution: This is a natural and effective cleaning solution for many surfaces.
* Dish soap: Essential for washing dishes and cleaning other items.
* Vacuum cleaner: A good vacuum cleaner is essential for keeping your floors clean.
* Broom and dustpan: For quick sweeps and small messes.
* Spray bottles: For storing cleaning solutions.
Adapting the Routine to Your Life
The beauty of this routine is that it’s flexible. Don’t feel like you have to do everything perfectly every day. Some days you might only have time for the essentials, like making the bed and wiping down the kitchen. Other days, you might have more time to tackle the laundry and tidying up. The key is to find a routine that works for you and stick with it as much as possible.
Troubleshooting Common Challenges
* Feeling overwhelmed? Break the tasks down into even smaller chunks. Focus on one room at a time, or even just one task at a time.
* Lack of time? Prioritize the tasks that are most important to you. Maybe you skip the laundry one day and focus on the kitchen instead.
* Procrastination? Set a timer for 15 minutes and see how much you can get done. You might be surprised at how much you can accomplish in a short amount of time.
The Long-Term Benefits
Conclusion
So, there you have it! Transforming your daily cleaning routine with this simple DIY trick is more than just a way to save money; it’s about taking control of the ingredients you bring into your home and creating a healthier, more sustainable living space. We’ve shown you how easy it is to ditch harsh chemicals and embrace a natural, effective cleaning solution that’s gentle on your surfaces and your family.
The beauty of this DIY approach lies in its adaptability. Feel free to experiment with different essential oils to find your signature scent. Lavender, lemon, tea tree, and eucalyptus are all fantastic options, each offering unique cleaning and aromatherapy benefits. For a deeper clean, consider adding a tablespoon of borax to your solution, especially for tackling stubborn grime in bathrooms or kitchens. Remember to always test your DIY cleaner on an inconspicuous area first, particularly on delicate surfaces like wood or marble.
Beyond the immediate benefits of a sparkling clean home, this DIY cleaning trick empowers you to make conscious choices about the products you use. You’ll reduce your reliance on single-use plastic bottles, minimize your exposure to potentially harmful chemicals, and contribute to a healthier planet. It’s a win-win situation!
We understand that switching to a DIY cleaning routine might seem daunting at first, but we promise it’s easier than you think. Once you’ve made your first batch of this simple cleaner, you’ll be amazed at how quickly and effectively it works. You’ll also appreciate the peace of mind that comes with knowing exactly what’s in your cleaning products.
Don’t just take our word for it, though. We wholeheartedly encourage you to try this DIY trick for yourself and experience the difference firsthand. We’re confident that you’ll be pleasantly surprised by the results. And most importantly, we want to hear about your experience! Share your tips, variations, and success stories in the comments below. Let’s build a community of DIY cleaning enthusiasts who are passionate about creating healthier homes and a more sustainable future. Let us know what essential oil combinations you loved, or if you found a particular surface that this cleaner worked wonders on. Your feedback is invaluable and will help others on their DIY cleaning journey.
Ready to revolutionize your simple daily cleaning routine? Grab your ingredients, follow the simple steps outlined, and prepare to be amazed. Happy cleaning!
Frequently Asked Questions (FAQ)
What exactly are the benefits of switching to a DIY cleaning routine?
Switching to a DIY cleaning routine offers a multitude of benefits. Firstly, it allows you to control the ingredients you’re using, avoiding harsh chemicals and potential allergens found in many commercial cleaners. This is particularly important for households with children, pets, or individuals with sensitivities. Secondly, it’s significantly more cost-effective. The ingredients for DIY cleaners are typically inexpensive and readily available, saving you money in the long run. Thirdly, it’s environmentally friendly. By reducing your reliance on single-use plastic bottles and chemical-laden products, you’re contributing to a more sustainable lifestyle. Finally, many DIY cleaning solutions are just as effective, if not more so, than their commercial counterparts.
Can I use this DIY cleaner on all surfaces?
While this DIY cleaner is generally safe for most surfaces, it’s always best to test it on an inconspicuous area first, especially on delicate materials like wood, marble, granite, or painted surfaces. The acidity of vinegar, for example, can potentially damage certain finishes. If you’re unsure, consult the manufacturer’s recommendations for your specific surface. For porous surfaces, consider using a slightly diluted solution to prevent staining.
What essential oils are best for cleaning, and what are their benefits?
Several essential oils possess powerful cleaning properties. Lavender is known for its antibacterial and antifungal properties, as well as its calming scent. Lemon is a natural degreaser and disinfectant, leaving a fresh, citrusy aroma. Tea tree oil is a potent antiseptic and antifungal agent, ideal for tackling mold and mildew. Eucalyptus oil is effective against bacteria and viruses, and its invigorating scent can help clear congestion. Other popular options include peppermint, rosemary, and orange essential oils. When choosing essential oils, opt for high-quality, pure oils for the best results.
How long will this DIY cleaner last?
This DIY cleaner typically lasts for several weeks when stored properly in an airtight container. To prevent bacterial growth, it’s best to use distilled water in your solution. Store the cleaner in a cool, dark place away from direct sunlight. If you notice any changes in color, odor, or consistency, it’s best to discard the solution and make a fresh batch.
Can I add other ingredients to this DIY cleaner?
Yes, you can customize this DIY cleaner to suit your specific needs. For extra cleaning power, consider adding a tablespoon of borax, washing soda, or baking soda. Borax is a natural mineral that helps to boost the cleaning and disinfecting properties of the solution. Washing soda is a stronger alkali cleaner that’s effective for removing grease and grime. Baking soda is a mild abrasive that can help to scrub away stubborn stains. Remember to always use caution when adding new ingredients and test the solution on an inconspicuous area first.
Is this DIY cleaner safe for pets and children?
While this DIY cleaner is generally safer than commercial cleaners, it’s still important to exercise caution when using it around pets and children. Essential oils can be toxic to pets if ingested, so keep the cleaner out of their reach. Avoid spraying the cleaner directly on pets or allowing them to lick surfaces that have been cleaned with it. When cleaning around children, ensure that the area is well-ventilated and that they don’t come into contact with the cleaner until it has dried completely. As with any cleaning product, it’s always best to store this DIY cleaner in a safe place out of the reach of children and pets.
What if I don’t have vinegar? Can I substitute it with something else?
If you don’t have vinegar, you can substitute it with lemon juice. Lemon juice has similar acidic properties to vinegar and can effectively clean and disinfect surfaces. However, lemon juice may not be as effective as vinegar for removing stubborn stains or odors. You can also try using rubbing alcohol (isopropyl alcohol) as a disinfectant, but be sure to dilute it with water and use it in a well-ventilated area.
How do I clean up spills with this cleaner?
For spills, simply spray the DIY cleaner onto the affected area and wipe it up with a clean cloth or paper towel. For stubborn spills, let the cleaner sit for a few minutes before wiping it away. If the spill is oily or greasy, you may need to use a stronger cleaner or degreaser.
What are some other DIY cleaning recipes I can try?
There are countless DIY cleaning recipes you can try! Some popular options include:
* **All-purpose cleaner:** Mix equal parts vinegar and water in a spray bottle.
* **Glass cleaner:** Mix 1/4 cup vinegar, 1/2 teaspoon dish soap, and 2 cups water in a spray bottle.
* **Toilet bowl cleaner:** Pour 1 cup of vinegar into the toilet bowl and let it sit for 30 minutes before scrubbing.
* **Oven cleaner:** Make a paste of baking soda and water and spread it on the inside of the oven. Let it sit overnight and then scrub it clean.
Experiment with different recipes and find what works best for you and your home. Remember to always research the safety of ingredients before using them and to test any new cleaner on an inconspicuous area first.

Leave a Comment