

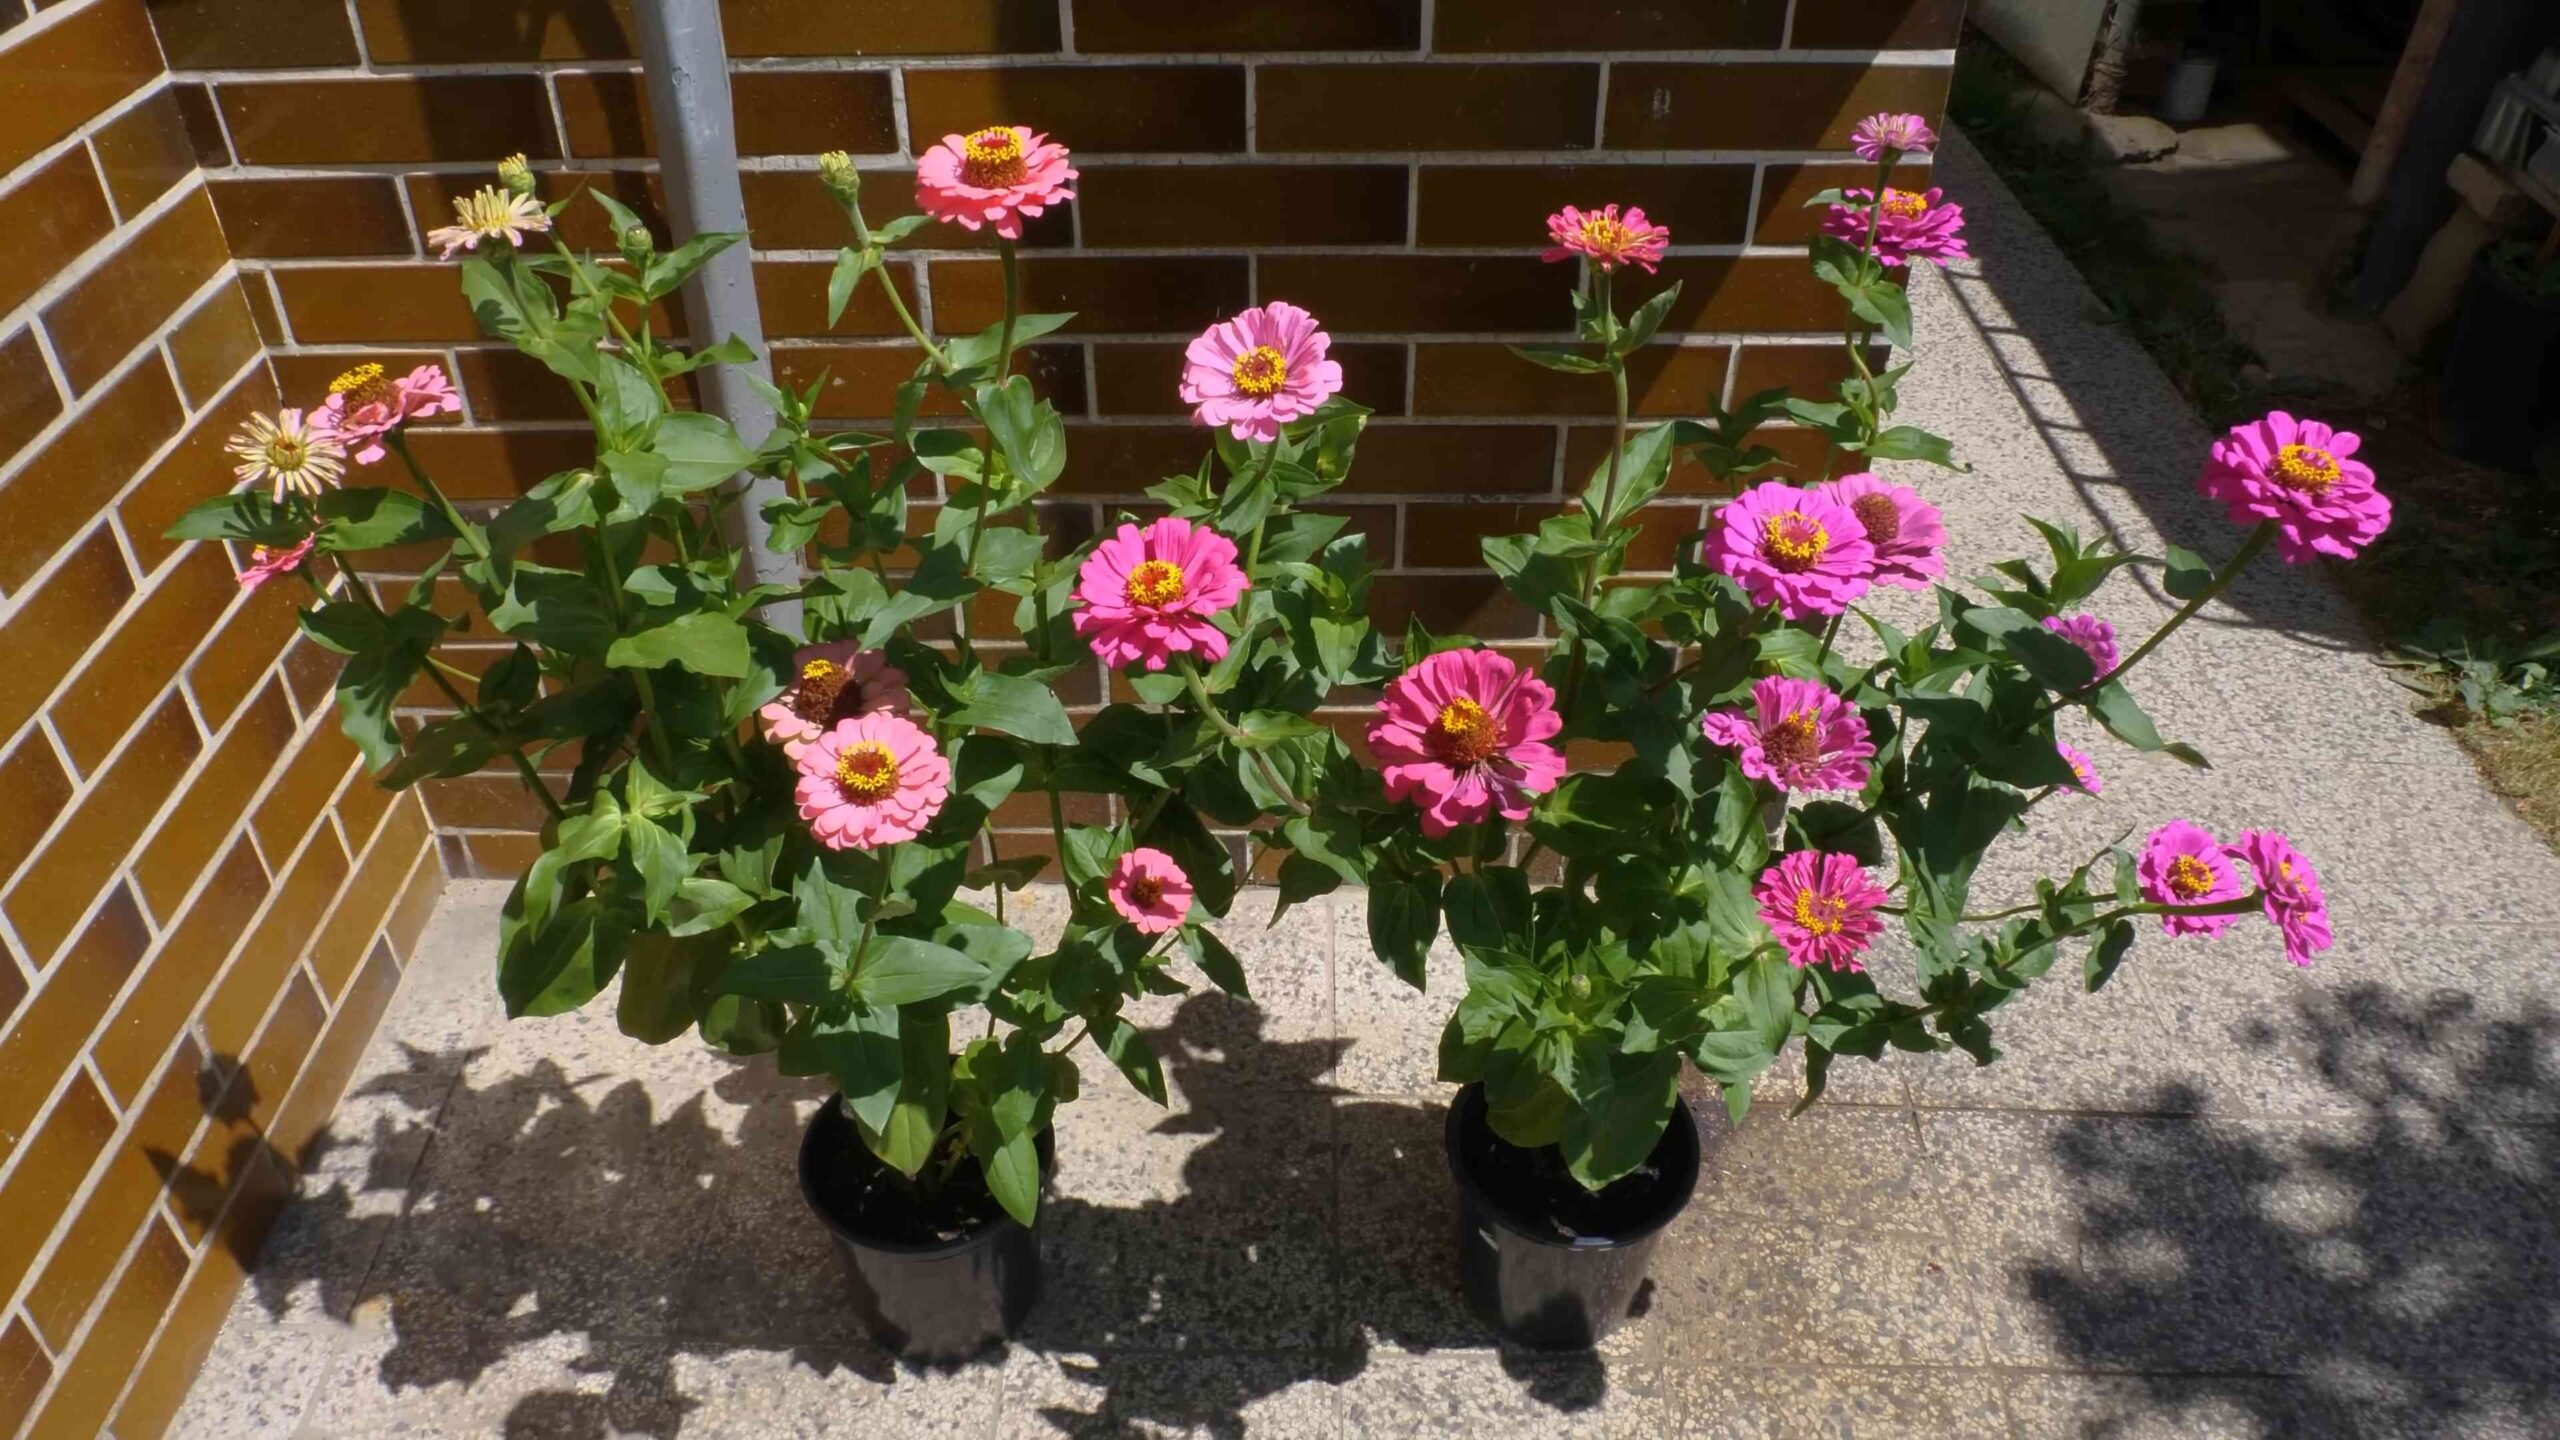
Start Zinnias from Seeds and unlock a vibrant explosion of color in your very own garden! Have you ever dreamed of a garden bursting with cheerful blooms, attracting butterflies and hummingbirds with their irresistible charm? I know I have! And the best part? You don’t need to be a seasoned gardener to make it happen. This DIY guide will walk you through the surprisingly simple process of starting zinnias from seeds, transforming your outdoor space into a personal paradise.
Zinnias, with their daisy-like heads and dazzling array of colors, have a rich history. Originating in Mexico, they were initially considered rather unattractive weeds by the Spanish. However, their resilience and vibrant hues eventually won them over, and they spread across the globe, becoming a beloved flower in gardens everywhere. For centuries, zinnias have symbolized remembrance and affection, making them a meaningful addition to any garden.
Why should you learn to start zinnias from seeds yourself? Well, for starters, it’s incredibly cost-effective! Buying seedlings from a nursery can quickly add up, but a packet of zinnia seeds is surprisingly affordable. Plus, you’ll have a much wider selection of varieties to choose from, allowing you to create a truly unique and personalized garden. More importantly, starting from seed gives you complete control over the growing process, ensuring your zinnias are healthy and strong from the very beginning. So, let’s dive in and discover the secrets to successfully growing these beautiful blooms!
Starting Zinnias from Seeds: A Complete DIY Guide
Hey there, fellow flower enthusiasts! I’m so excited to share my tried-and-true method for starting zinnias from seeds. Zinnias are one of my absolute favorite flowers – they’re vibrant, easy to grow, and attract tons of pollinators. Plus, starting them from seed is incredibly rewarding and saves you money compared to buying transplants. Let’s dive in!
Why Start Zinnias from Seed?
Before we get started, let’s talk about why starting zinnias from seed is such a great idea:
* Cost-Effective: Seeds are way cheaper than buying established plants. You can get a whole packet of zinnia seeds for the price of just a few transplants.
* Variety: You’ll have access to a much wider range of zinnia varieties when you start from seed. Nurseries often only carry a limited selection.
* Timing: Starting seeds indoors allows you to get a head start on the growing season, especially if you live in a cooler climate.
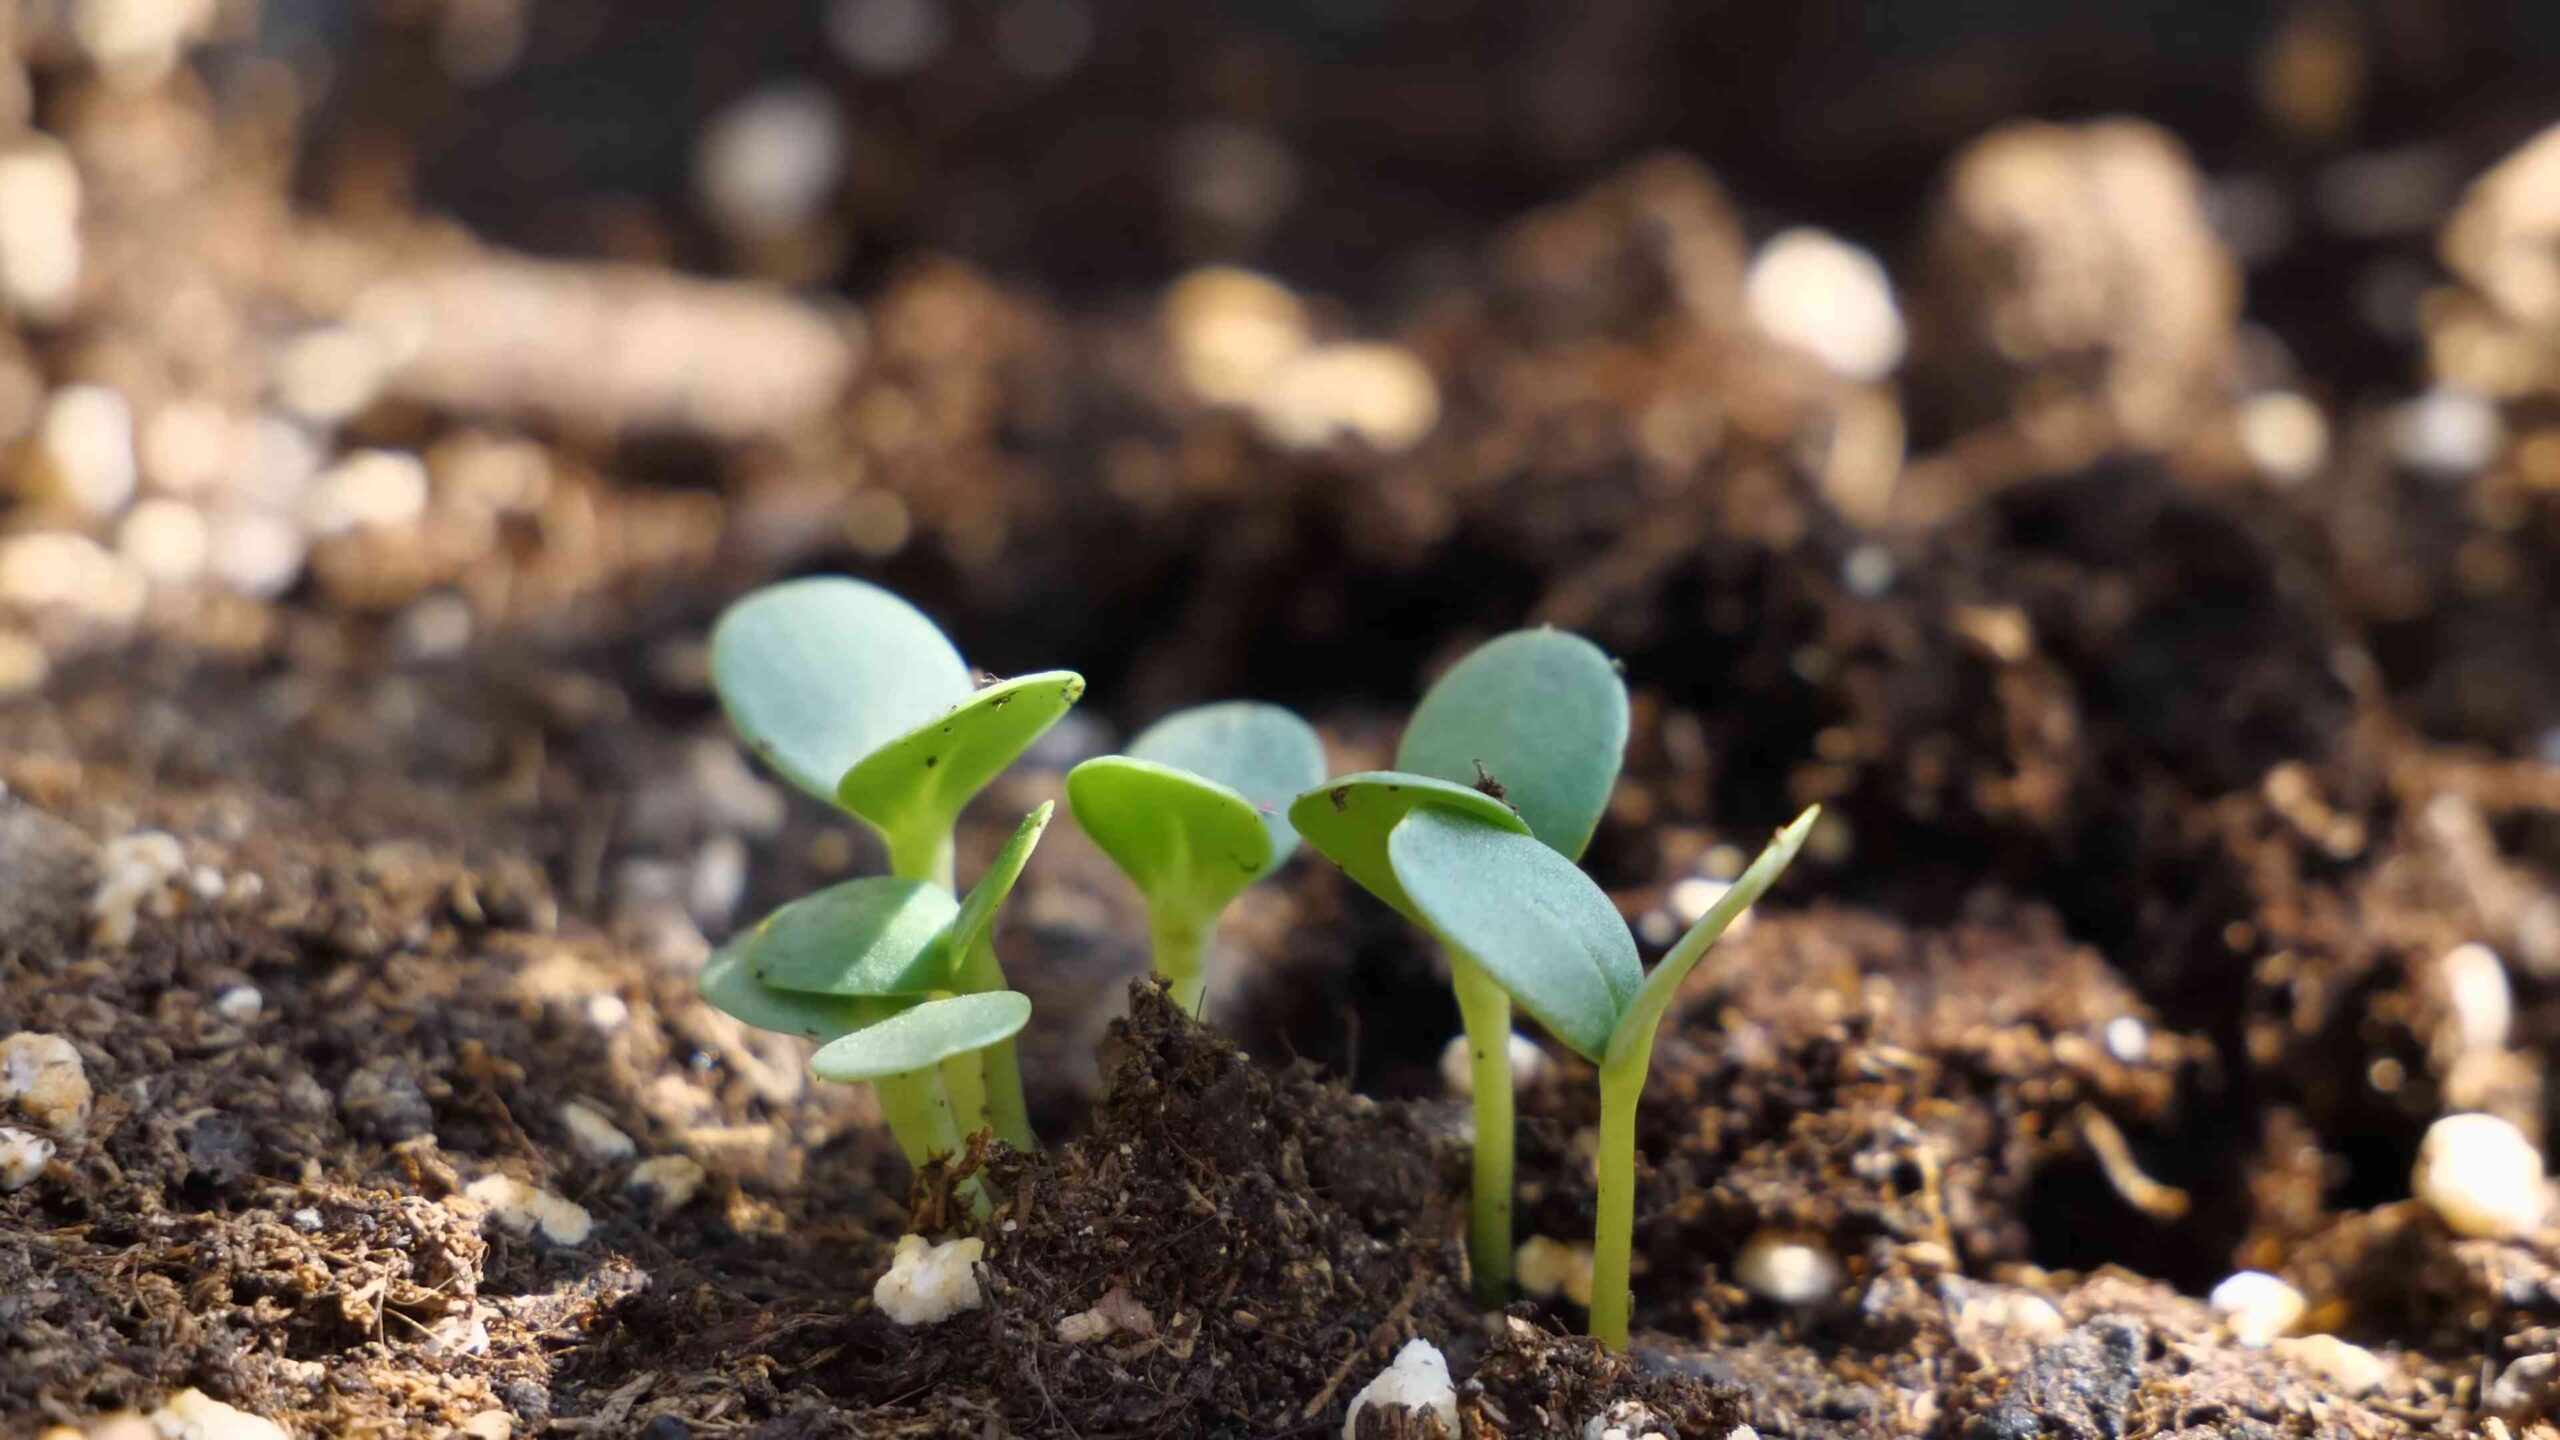
* Satisfaction: There’s nothing quite like the feeling of watching a tiny seed sprout and grow into a beautiful flower that you nurtured from the very beginning!
Materials You’ll Need
Okay, let’s gather our supplies. Here’s what you’ll need to successfully start your zinnia seeds:
* Zinnia Seeds: Choose your favorite varieties! I personally love ‘Benary’s Giant’ for large blooms and ‘Profusion’ for disease resistance.
* Seed Starting Trays or Pots: You can use plastic seed starting trays with individual cells, peat pots, or even recycled yogurt containers (just make sure to poke drainage holes!).
* Seed Starting Mix: This is crucial! Don’t use regular garden soil, as it’s too heavy and can harbor diseases. Seed starting mix is light, airy, and sterile.
* Watering Can or Spray Bottle: For gentle watering.
* Heat Mat (Optional): Zinnias germinate best with warm soil, so a heat mat can speed up the process.
* Grow Lights (Optional): If you don’t have a sunny windowsill, grow lights will provide the necessary light for healthy seedling growth.
* Plant Labels: To keep track of which variety is which.
* Small Trowel or Spoon: For filling the trays/pots with seed starting mix.
* Clear Plastic Dome or Plastic Wrap: To create a humid environment for germination.
Step-by-Step Instructions: Sowing the Seeds
Now for the fun part! Let’s get those zinnia seeds planted.
1. Prepare Your Seed Starting Trays/Pots: Fill your chosen containers with seed starting mix. Gently tap the containers to settle the mix, but don’t pack it down too tightly. Leave about half an inch of space at the top.
2. Moisten the Seed Starting Mix: Before planting, thoroughly moisten the seed starting mix. You want it to be damp, but not soggy. I like to use a spray bottle to avoid disturbing the mix.
3. Sow the Seeds: Zinnias are relatively large seeds, which makes them easy to handle. Place 2-3 seeds in the center of each cell or pot. This increases your chances of at least one seed germinating.
4. Cover the Seeds: Lightly cover the seeds with a thin layer (about ¼ inch) of seed starting mix. Zinnias need darkness to germinate, so don’t skip this step.
5. Water Gently: Water the seeds again, being careful not to dislodge them. Use a gentle spray or watering can with a rose attachment.
6. Create a Humid Environment: Cover the seed starting trays with a clear plastic dome or plastic wrap. This will help retain moisture and create a warm, humid environment that’s ideal for germination.
7. Provide Warmth: Place the trays on a heat mat if you’re using one. Otherwise, find a warm spot in your house, ideally around 70-75°F (21-24°C).
8. Label Everything: Don’t forget to label each tray or pot with the zinnia variety you planted. Trust me, you’ll thank yourself later!
Step-by-Step Instructions: Caring for Seedlings
Once your seeds have germinated (usually within 5-10 days), it’s time to provide them with the care they need to grow into strong, healthy seedlings.
1. Remove the Dome/Plastic Wrap: As soon as you see the first seedlings emerge, remove the plastic dome or plastic wrap. This will prevent fungal diseases.
2. Provide Light: Zinnias need plenty of light to grow properly. If you’re using a sunny windowsill, rotate the trays regularly to ensure even growth. If you’re using grow lights, position them a few inches above the seedlings and keep them on for 14-16 hours per day.
3. Water Regularly: Keep the seed starting mix consistently moist, but not soggy. Water when the top inch of soil feels dry to the touch. Avoid overwatering, as this can lead to root rot.
4. Thin Seedlings (If Necessary): If more than one seed germinated in a cell or pot, thin them out by snipping off the weaker seedlings at the soil line with small scissors. Leave only the strongest seedling in each cell.
5. Fertilize (Optional): Once the seedlings have their first set of true leaves (the leaves that look like miniature versions of the adult leaves), you can start fertilizing them with a diluted liquid fertilizer. Use a balanced fertilizer (e.g., 20-20-20) diluted to half strength. Fertilize every 1-2 weeks.
6. Harden Off Seedlings: Before transplanting your zinnia seedlings outdoors, you need to “harden them off.” This process gradually acclimates them to the outdoor environment, preventing shock. Start by placing the seedlings outdoors in a sheltered location for a few hours each day, gradually increasing the amount of time they spend outside over the course of a week or two. Protect them from direct sunlight and strong winds during this process.
Step-by-Step Instructions: Transplanting Outdoors
The final step is transplanting your zinnia seedlings into your garden or containers.
1. Choose a Sunny Location: Zinnias need at least 6-8 hours of sunlight per day to thrive. Choose a location in your garden that receives plenty of sun.
2. Prepare the Soil: Zinnias prefer well-drained soil that is rich in organic matter. Amend your soil with compost or other organic matter before planting.
3. Transplant the Seedlings: Gently remove the seedlings from their trays or pots. If they’re in peat pots, you can plant the entire pot directly into the ground. If they’re in plastic trays, carefully loosen the roots and plant them at the same depth they were growing in the trays. Space the seedlings about 6-12 inches apart, depending on the variety.
4. Water Thoroughly: After transplanting, water the seedlings thoroughly.
5. Mulch (Optional): Apply a layer of mulch around the plants to help retain moisture, suppress weeds, and regulate soil temperature.
6. Protect from Pests: Keep an eye out for pests like aphids and spider mites. If you notice any infestations, treat them with insecticidal soap or neem oil.
Troubleshooting Tips
Even with the best care, sometimes things can go wrong. Here are a few common problems you might encounter when starting zinnias from seed, and how to fix them:
* Seeds Not Germinating: Make sure the soil is warm enough (70-75°F). Also, ensure the seed starting mix is moist, but not soggy. Old seeds may also have a lower germination rate.
* Leggy Seedlings: This means your seedlings aren’t getting enough light. Move them to a sunnier location or use grow lights.
* Damping Off: This is a fungal disease that can kill young seedlings. Prevent it by using sterile seed starting mix, avoiding overwatering, and providing good air circulation.
* Yellowing Leaves: This could be a sign of overwatering, nutrient deficiency, or pest infestation. Adjust your watering schedule, fertilize if necessary, and inspect the plants for pests.
Choosing the Right Zinnia Variety
With so many zinnia varieties available, it can be tough to choose! Here are a few of my favorites, along with some tips for selecting the right ones for your garden:
* ‘Benary’s Giant’: These zinnias produce huge, dahlia-like blooms in a wide range of colors. They’re perfect for cut flowers.
* ‘Profusion’: These zinnias are known for their disease resistance and long bloom time. They’re a great choice for beginners.
Conclusion
So, there you have it! Starting Zinnias from seeds isn’t just a cost-effective way to fill your garden with vibrant color; it’s a deeply rewarding experience that connects you to the natural world. Forget those expensive nursery starts – with a little patience and these simple steps, you can cultivate a dazzling display of Zinnias that will be the envy of the neighborhood.
Why is this DIY trick a must-try? Because it puts you in control. You get to choose the exact varieties you want, from the classic Benary’s Giant to the whimsical cactus-flowered types. You can tailor your Zinnia selection to perfectly complement your garden’s aesthetic and attract specific pollinators. Plus, there’s an undeniable satisfaction in watching those tiny seeds sprout and transform into blooming beauties, all thanks to your care and attention.
But the fun doesn’t stop there! Feel free to experiment with different Zinnia varieties. Try a mix of colors and heights to create a dynamic and visually appealing display. Consider succession planting – sowing seeds every few weeks – to extend your Zinnia bloom time throughout the summer and into the fall. You can also try starting your seeds indoors a few weeks before the last expected frost to get a head start on the growing season, especially if you live in a cooler climate. Another variation is to direct sow into containers for a portable burst of color on patios or balconies.
Don’t be afraid to get creative with your soil mix, too. While a standard seed-starting mix works perfectly well, you can amend it with a bit of compost or worm castings for an extra boost of nutrients. Just be sure to avoid using garden soil, as it can be too heavy and may contain pathogens that can harm your seedlings.
And remember, starting Zinnias from seeds is a journey, not a race. There will be successes and maybe a few setbacks along the way. But that’s all part of the learning process. The most important thing is to enjoy the experience and celebrate the beauty that you’ve created.
We’re confident that you’ll find starting Zinnias from seeds to be a surprisingly easy and incredibly fulfilling project. So, grab your seeds, gather your supplies, and get ready to witness the magic of germination. We can’t wait to hear about your Zinnia-growing adventures! Share your photos, tips, and experiences in the comments below. Let’s create a community of Zinnia enthusiasts and inspire others to embrace the joy of growing their own flowers. Happy gardening!
Frequently Asked Questions (FAQs)
Q: When is the best time to start Zinnias from seeds?
A: Zinnias are warm-weather annuals, so they thrive in warm soil and sunny conditions. The ideal time to start Zinnias from seeds is typically 4-6 weeks before the last expected frost if you’re starting them indoors. If you prefer direct sowing, wait until the soil has warmed up to at least 60°F (15°C) and all danger of frost has passed. This is usually in late spring or early summer, depending on your climate. Starting too early, especially outdoors, can lead to poor germination or stunted growth.
Q: What kind of soil is best for starting Zinnia seeds?
A: The best soil for starting Zinnia seeds is a well-draining seed-starting mix. These mixes are typically lightweight and sterile, which helps prevent fungal diseases that can affect young seedlings. Avoid using garden soil, as it can be too heavy and may contain pathogens. You can also make your own seed-starting mix by combining equal parts peat moss (or coconut coir), perlite, and vermiculite. Ensure the mix is moist but not soggy before sowing your seeds.
Q: How deep should I plant Zinnia seeds?
A: Zinnia seeds should be planted about ¼ inch deep. They need light to germinate, so don’t bury them too deeply. Gently press the seeds into the soil and cover them with a thin layer of seed-starting mix or vermiculite. Water gently to avoid disturbing the seeds.
Q: How often should I water Zinnia seedlings?
A: Keep the soil consistently moist but not waterlogged. Water when the top inch of soil feels dry to the touch. Use a gentle watering can or spray bottle to avoid disturbing the seedlings. Overwatering can lead to fungal diseases, while underwatering can cause the seedlings to dry out and die.
Q: How much light do Zinnia seedlings need?
A: Zinnia seedlings need plenty of light to grow strong and healthy. If you’re starting them indoors, place them under grow lights for 14-16 hours per day. If you don’t have grow lights, place them in a sunny window that receives at least 6 hours of direct sunlight per day. Rotate the seedlings regularly to prevent them from leaning towards the light.
Q: When should I transplant Zinnia seedlings outdoors?
A: Transplant Zinnia seedlings outdoors after all danger of frost has passed and the soil has warmed up. Harden off the seedlings by gradually exposing them to outdoor conditions for a week or two before transplanting. Start by placing them in a sheltered location for a few hours each day, gradually increasing the amount of time they spend outdoors. Choose a sunny location with well-draining soil for transplanting. Space the seedlings according to the variety’s mature size, typically 6-12 inches apart.
Q: What are some common problems when starting Zinnias from seeds?
A: Some common problems include damping off (a fungal disease that causes seedlings to rot), leggy seedlings (caused by insufficient light), and poor germination (caused by old seeds or improper watering). To prevent damping off, use a sterile seed-starting mix and avoid overwatering. To prevent leggy seedlings, provide plenty of light. To improve germination, use fresh seeds and keep the soil consistently moist.
Q: Can I save seeds from my Zinnia plants?
A: Yes, you can save seeds from your Zinnia plants, especially if they are heirloom varieties. Allow the flower heads to dry completely on the plant. Once they are dry and brown, cut them off and gently crush them to release the seeds. Store the seeds in a cool, dry place in an airtight container. Label the container with the variety and date. Keep in mind that seeds from hybrid varieties may not produce plants that are true to type.
Q: What are some good companion plants for Zinnias?
A: Zinnias attract pollinators, making them excellent companion plants for vegetables and other flowering plants. Some good companion plants for Zinnias include tomatoes, peppers, cucumbers, basil, and marigolds. Marigolds, in particular, are known to repel nematodes and other pests that can harm Zinnias.
Q: How do I encourage more blooms on my Zinnia plants?
A: To encourage more blooms on your Zinnia plants, deadhead spent flowers regularly. This prevents the plants from putting energy into seed production and encourages them to produce more flowers. You can also fertilize your Zinnia plants with a balanced fertilizer every few weeks. Avoid over-fertilizing, as this can lead to excessive foliage growth at the expense of flowers.

Leave a Comment