

Summer crops to grow? Absolutely! Imagine stepping into your backyard and harvesting sun-ripened tomatoes, crisp cucumbers, and vibrant peppers, all grown with your own two hands. Sounds idyllic, right? Well, it’s more achievable than you might think! For centuries, humans have cultivated gardens, from the hanging gardens of Babylon to the victory gardens of World War II, demonstrating our innate connection to the earth and our desire to nurture life.
But let’s be honest, not everyone has acres of land or the time to dedicate to intensive gardening. That’s where these DIY tricks and hacks come in. I’m here to share some simple, effective methods to maximize your yield and minimize your effort, even if you only have a small balcony or a sunny windowsill.
Why do you need these tricks? Because growing your own food is incredibly rewarding! Not only will you enjoy fresher, healthier produce, but you’ll also reduce your carbon footprint and save money. Plus, there’s something deeply satisfying about nurturing a plant from seed to harvest. So, let’s dive into some fantastic ways to make the most of your space and learn how to grow amazing summer crops to grow, no matter your experience level!
DIY Guide: Creating a Thriving Summer Vegetable Garden
Okay, let’s dive into creating your very own summer vegetable garden! I’m so excited for you to experience the joy of harvesting fresh, homegrown produce. This guide will walk you through everything you need to know, from planning your garden to harvesting your bounty.
Planning Your Summer Garden
Before you even think about digging, a little planning goes a long way. Here’s what we need to consider:
* Sunlight: Most vegetables need at least 6-8 hours of direct sunlight per day. Observe your yard throughout the day to identify the sunniest spots.
* Soil: Healthy soil is crucial. We’ll talk about soil testing and amendments later.
* Space: Consider how much space you have available. Even a small balcony can accommodate a container garden.
* Climate: Know your region’s growing season and average last frost date. This will determine when you can safely plant your seedlings outdoors.
* Water Source: Easy access to water is essential. Think about how you’ll water your plants – a hose, watering can, or even a drip irrigation system.
* What to Grow: Choose vegetables you actually enjoy eating! Consider your family’s preferences and the space you have available.
Choosing Your Summer Crops
Here are some popular and relatively easy-to-grow summer vegetables:
* Tomatoes: A classic! Choose from various varieties like cherry, Roma, or beefsteak.
* Peppers: Bell peppers, jalapeños, and other peppers thrive in warm weather.
* Cucumbers: Great for salads, pickles, and snacking.
* Zucchini: Prolific producers! Be prepared to share with your neighbors.
* Beans: Bush beans and pole beans are both good options.
* Eggplant: A beautiful and versatile vegetable.
* Corn: Requires a larger space, but the taste of homegrown corn is unbeatable.
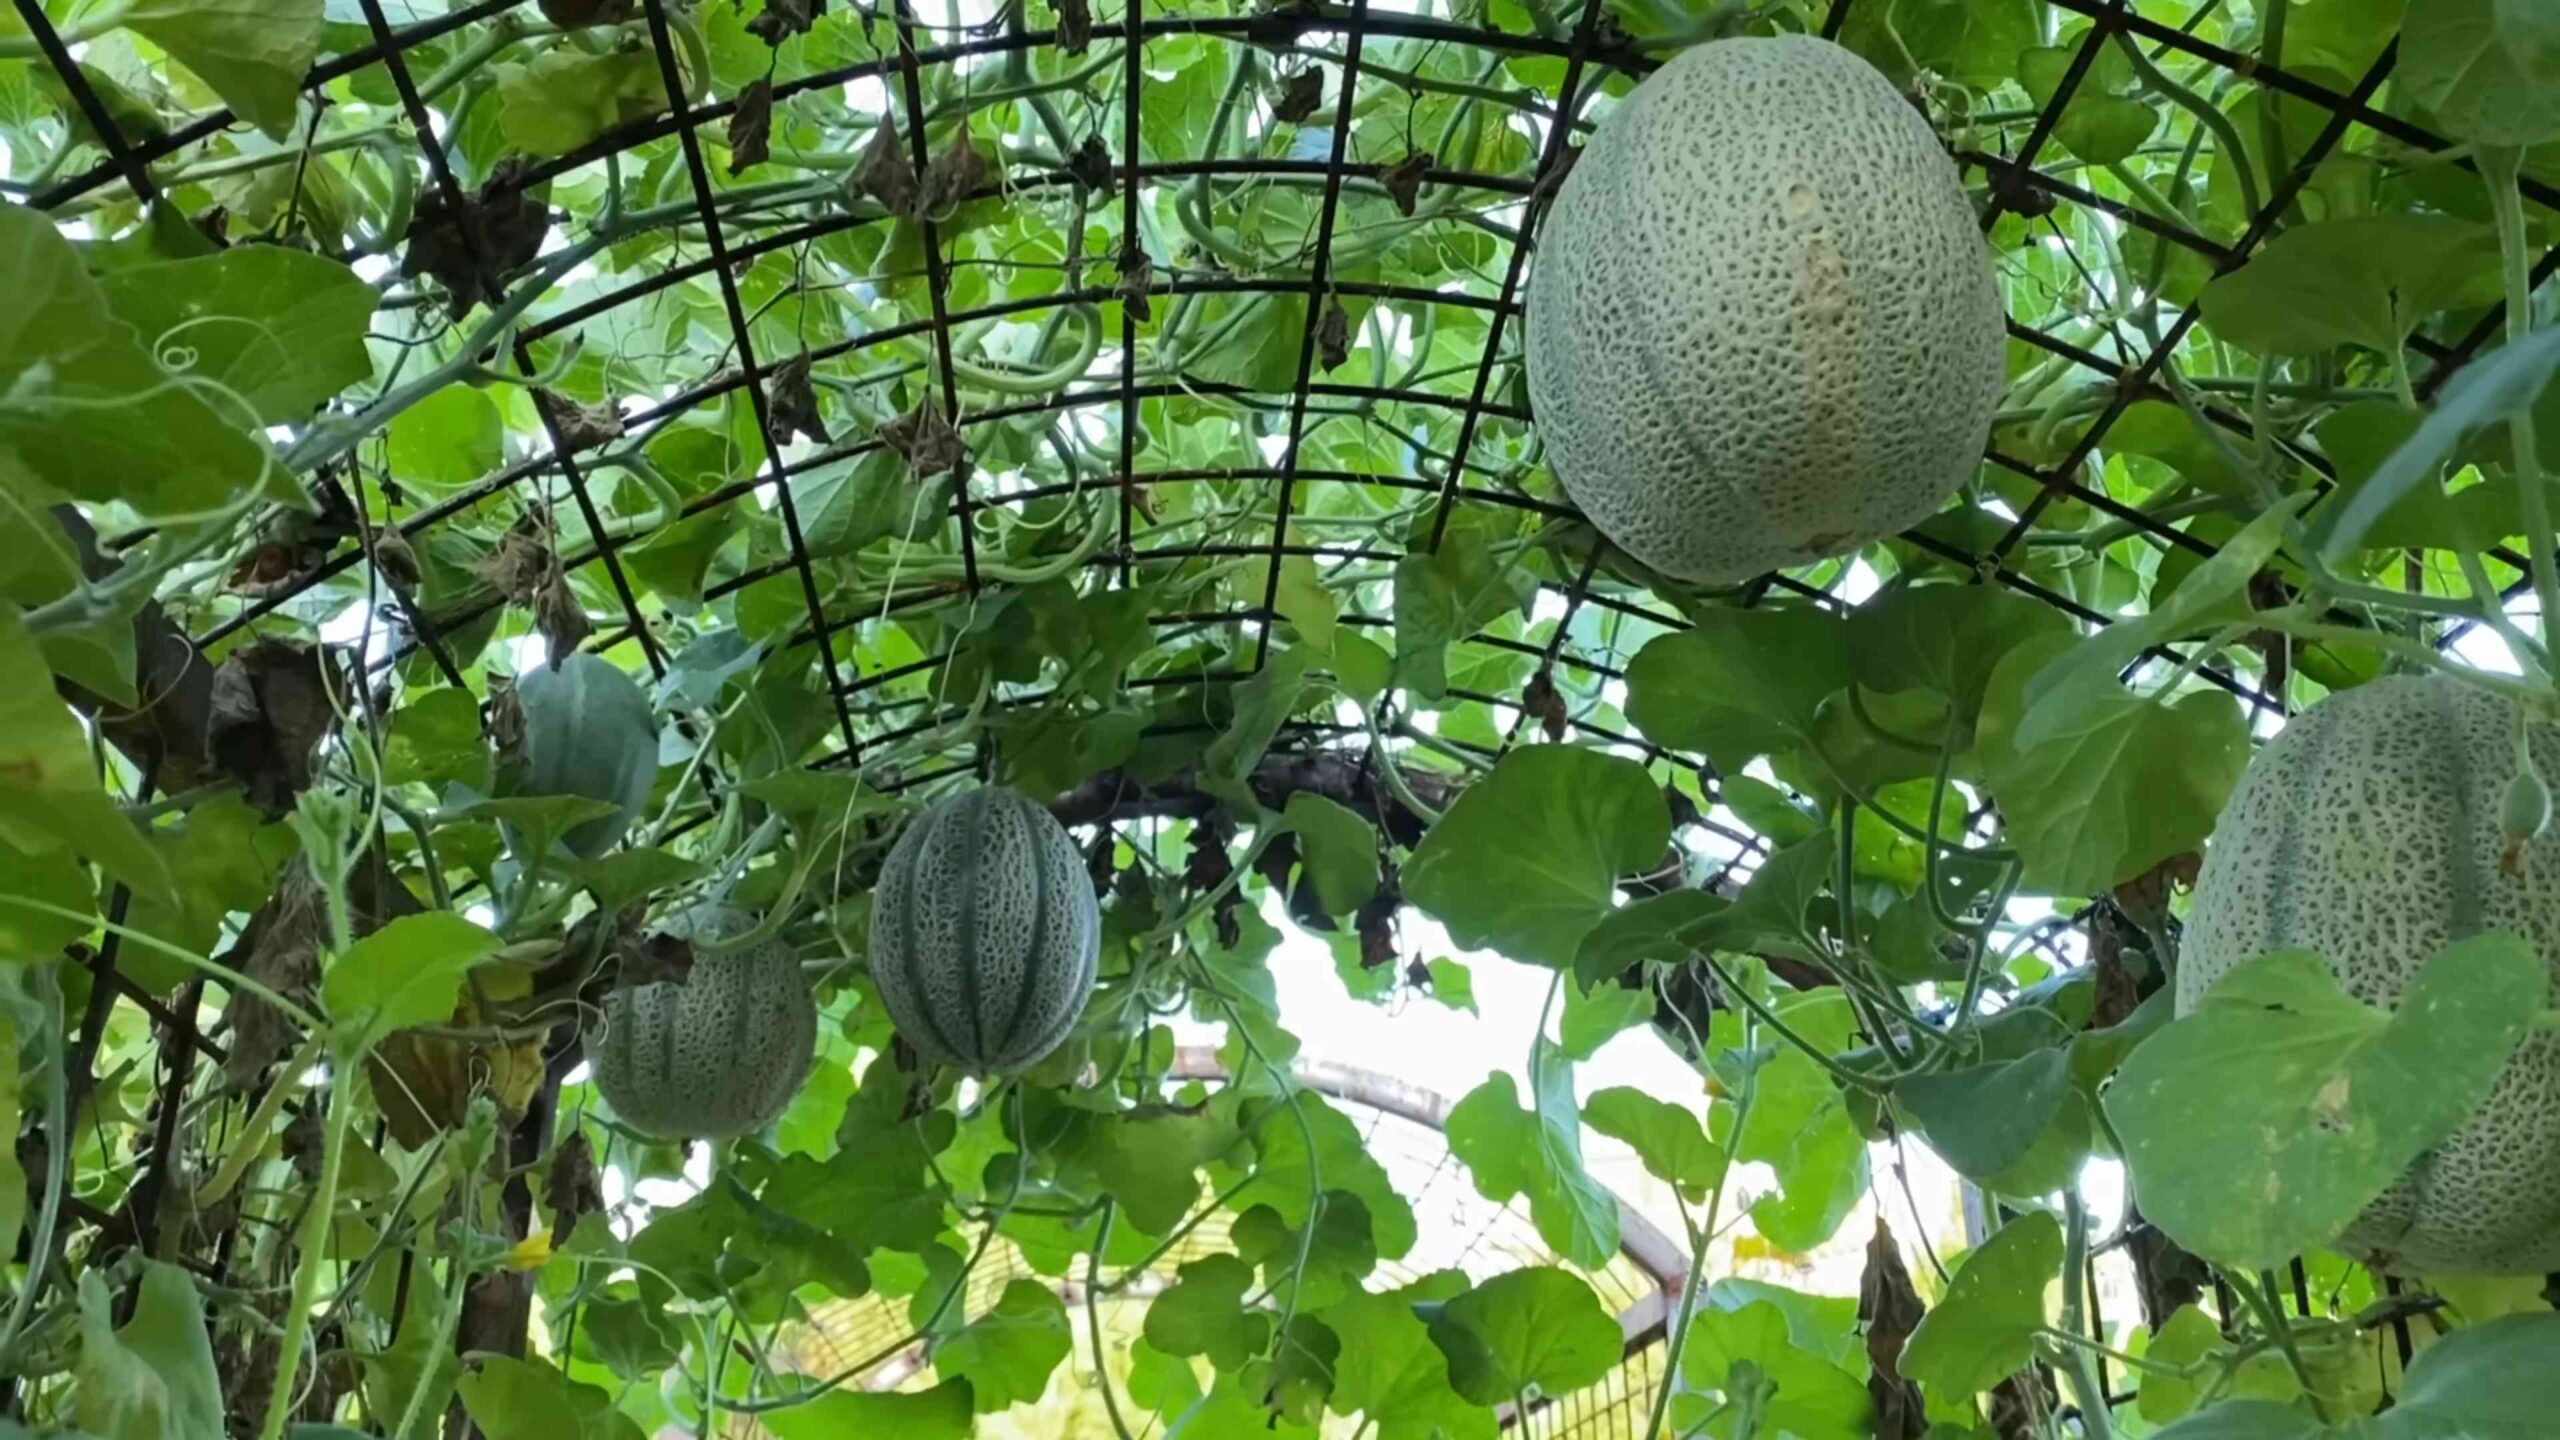
* Melons: Watermelons and cantaloupes need plenty of sun and space.
* Herbs: Basil, oregano, thyme, and other herbs are great companions for vegetables.
Preparing the Soil
Good soil is the foundation of a successful garden. Here’s how to get your soil ready:
* Soil Testing: A soil test will tell you the pH level and nutrient content of your soil. You can purchase a soil test kit at most garden centers or send a sample to your local agricultural extension office.
* Amending the Soil: Based on your soil test results, you may need to amend your soil. Common amendments include compost, aged manure, and peat moss.
* Tilling or Digging: Loosen the soil to a depth of at least 12 inches. This will improve drainage and allow roots to grow easily. You can use a tiller or simply dig with a shovel.
* Removing Rocks and Debris: Remove any rocks, roots, or other debris from the soil.
* Creating Raised Beds (Optional): Raised beds offer excellent drainage and can be easier to manage.
Step-by-Step Planting Guide
Now for the fun part – planting!
1. Start Seeds Indoors (Optional): Some vegetables, like tomatoes and peppers, benefit from being started indoors 6-8 weeks before the last frost. This gives them a head start on the growing season.
* Use seed starting trays or small pots.
* Fill them with seed starting mix.
* Sow seeds according to package directions.
* Keep the soil moist and provide plenty of light.
2. Harden Off Seedlings: Before transplanting seedlings outdoors, you need to “harden them off.” This gradually acclimates them to outdoor conditions.
* Start by placing the seedlings outdoors in a sheltered location for a few hours each day.
* Gradually increase the amount of time they spend outdoors over the course of a week.
* Protect them from strong winds and direct sunlight at first.
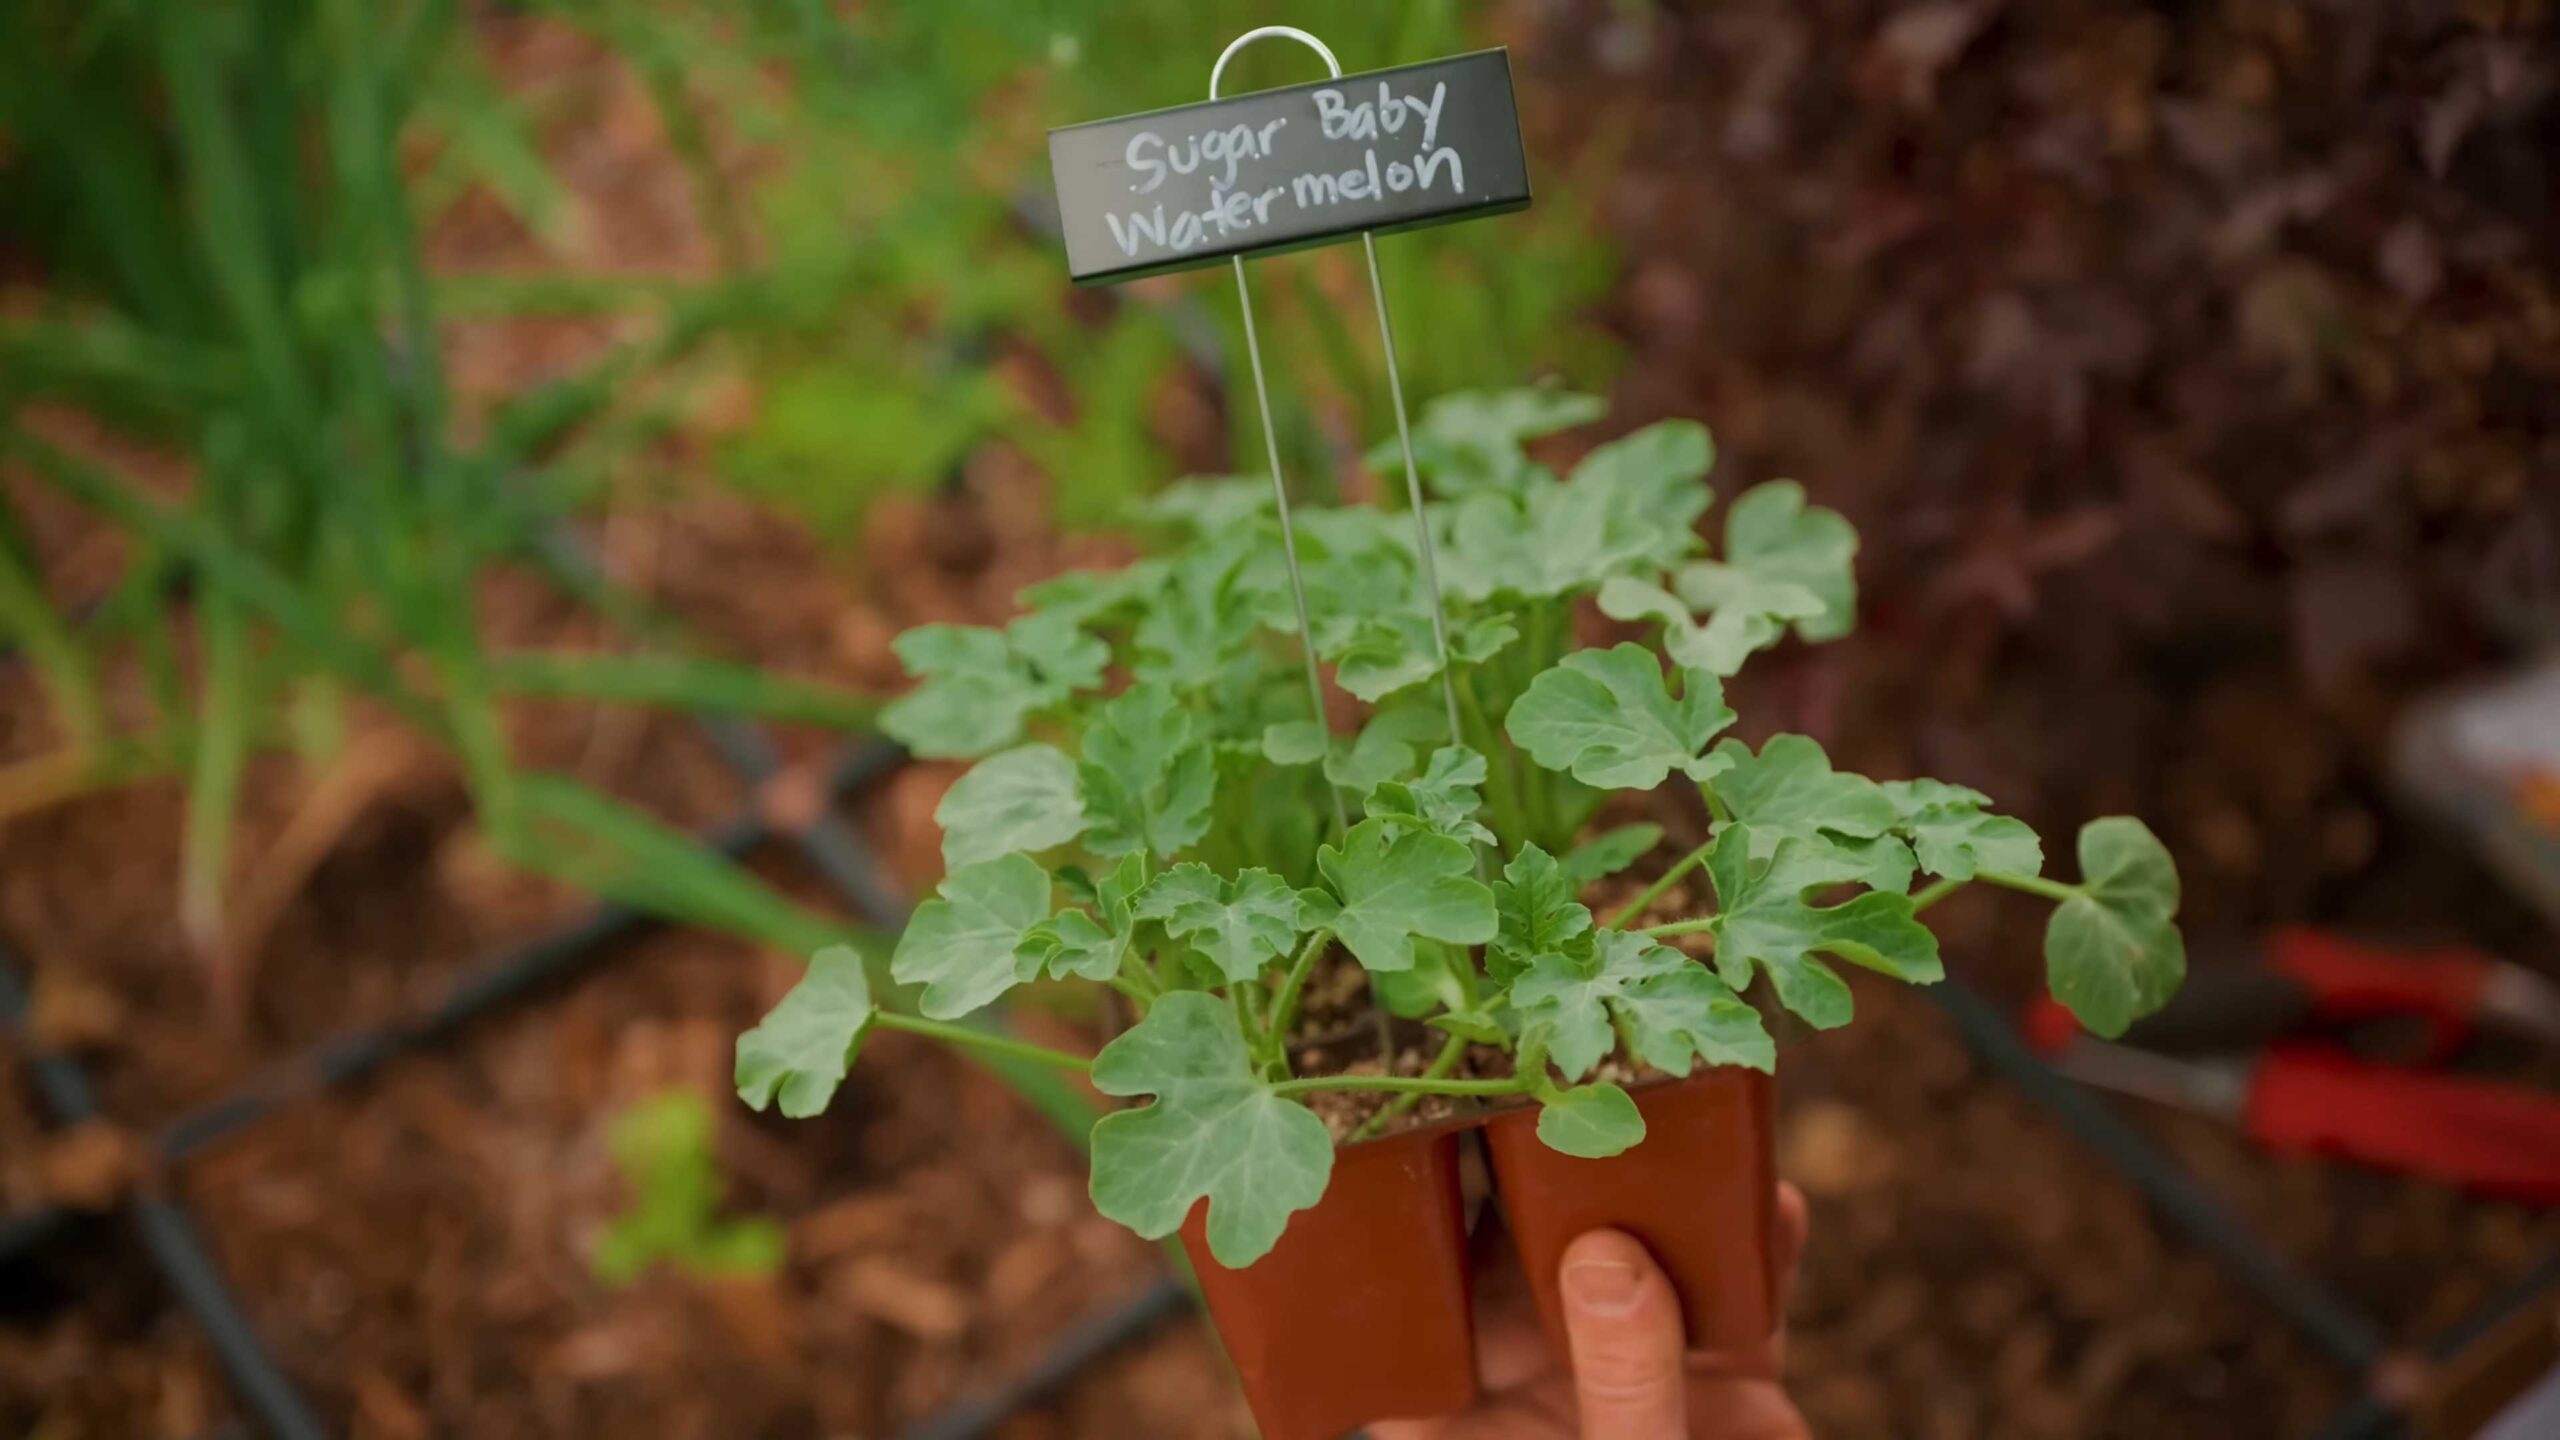
3. Transplant Seedlings: Once the danger of frost has passed, you can transplant your seedlings into the garden.
* Choose a cloudy day or late afternoon to minimize stress on the plants.
* Dig a hole slightly larger than the root ball.
* Gently remove the seedling from its container.
* Place the seedling in the hole and backfill with soil.
* Water thoroughly.
4. Direct Sow Seeds: Some vegetables, like beans, cucumbers, and zucchini, can be directly sown into the garden.
* Follow the package directions for spacing and depth.
* Keep the soil moist until the seeds germinate.
5. Watering: Water your plants regularly, especially during hot, dry weather.
* Water deeply and less frequently, rather than shallowly and often.
* Water at the base of the plants to avoid wetting the foliage, which can lead to disease.
* Consider using a soaker hose or drip irrigation system.
6. Fertilizing: Fertilize your plants every few weeks with a balanced fertilizer.
* Follow the package directions for application rates.
* Avoid over-fertilizing, which can burn the plants.
7. Weeding: Keep your garden free of weeds. Weeds compete with your vegetables for water and nutrients.
* Hand-pull weeds regularly.
* Mulch around your plants to suppress weed growth.
8. Pest and Disease Control: Monitor your plants regularly for pests and diseases.
* Identify any problems early and take action promptly.
* Use organic pest control methods whenever possible.
* Consider companion planting to deter pests.
9. Support: Some vegetables, like tomatoes and cucumbers, need support to grow properly.
* Use stakes, cages, or trellises to support the plants.
10. Mulching: Apply a layer of mulch around your plants. Mulch helps to retain moisture, suppress weeds, and regulate soil temperature.
* Use organic mulches like straw, wood chips, or shredded leaves.
Specific Crop Tips
Let’s look at some specific tips for growing some of the most popular summer vegetables:
Tomatoes
* Choose a sunny location with well-drained soil.
* Plant tomatoes deeply, burying the stem up to the first set of leaves. This will encourage the development of a strong root system.
* Stake or cage your tomato plants to provide support.
* Pinch off suckers (the small shoots that grow between the main stem and the branches) to encourage fruit production.
* Water regularly and fertilize every few weeks.
* Watch out for common tomato pests and diseases, such as tomato hornworms and blossom end rot.
Peppers
* Choose a sunny location with well-drained soil.
* Peppers prefer warm temperatures, so wait until the soil has warmed up before planting.
* Water regularly and fertilize every few weeks.
* Harvest peppers when they are fully colored and firm.
Cucumbers
* Choose a sunny location with well-drained soil.
* Cucumbers need plenty of water, especially during hot weather.
* Provide a trellis or other support for the vines to climb.
* Harvest cucumbers when they are young and tender.
Zucchini
* Choose a sunny location with well-drained soil.
* Zucchini plants are prolific producers, so give them plenty of space.
* Water regularly and fertilize every few weeks.
* Harvest zucchini when they are young and tender. Don’t let them get too large and seedy.
Beans
* Choose a sunny location with well-drained soil.
* Beans can be directly sown into the garden.
* Provide a trellis or other support for pole beans.
* Harvest beans when the pods are plump and the beans are tender.
Harvesting Your Vegetables
Harvesting is the most rewarding part of gardening!
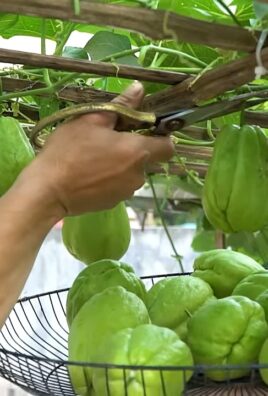
* Harvest vegetables when they are ripe and at their peak flavor.
* Check your plants regularly for ripe vegetables.
* Use a sharp knife or scissors to harvest vegetables.
* Handle vegetables gently to avoid bruising.
* Store vegetables properly to prolong their shelf life.
Troubleshooting Common Problems
Even with the best planning, you may encounter some problems in your garden. Here are some common issues and how to address them:
* Pests: Identify the pest and use appropriate control measures. Organic options include insecticidal soap, neem oil, and hand-picking.
* Diseases: Identify the disease and take steps to prevent its spread. Remove infected leaves or plants. Improve air circulation and avoid overwatering.
* Nutrient Deficiencies: Yellowing leaves or stunted growth can indicate a nutrient deficiency. Amend the soil with compost or fertilizer.
* Poor Poll
Conclusion
So, there you have it! This simple yet effective DIY trick for maximizing your summer crop yield is a game-changer for any gardener, regardless of experience level. We’ve walked you through the process, highlighting the benefits of creating your own nutrient-rich soil amendment using readily available materials. From boosting plant health and vigor to significantly increasing your harvest, this method offers a sustainable and cost-effective alternative to expensive store-bought fertilizers.
The beauty of this DIY approach lies in its adaptability. Feel free to experiment with different ratios of ingredients based on your specific soil conditions and the needs of your chosen summer crops. For example, if you’re growing tomatoes, consider adding a bit of crushed eggshells for extra calcium, which helps prevent blossom-end rot. For leafy greens like lettuce and spinach, a slightly higher nitrogen content can encourage lush growth. Don’t be afraid to tweak the recipe to suit your unique gardening environment.
Why is this a must-try? Because it empowers you to take control of your garden’s health and productivity. You’re not just passively relying on commercial products; you’re actively creating a thriving ecosystem that supports your plants from seed to harvest. Plus, you’re reducing waste by repurposing materials that might otherwise end up in the landfill. It’s a win-win situation for you and the environment.
We’re confident that once you try this DIY trick, you’ll be amazed by the results. Imagine baskets overflowing with juicy tomatoes, crisp cucumbers, and vibrant peppers, all thanks to your own homemade soil amendment. The satisfaction of harvesting your own bountiful summer crops is truly unparalleled.
Don’t just take our word for it, though. We wholeheartedly encourage you to give this DIY trick a try in your own garden. Start small, perhaps with a single raised bed or a few containers, and observe the difference it makes. We’re eager to hear about your experiences! Share your photos, tips, and variations in the comments section below. Let’s build a community of gardeners who are passionate about sustainable and productive gardening practices. Let us know how this DIY trick helped you grow your summer crops.
Remember, gardening is a journey of continuous learning and experimentation. Embrace the process, have fun, and enjoy the fruits (and vegetables!) of your labor. Happy gardening!
Frequently Asked Questions (FAQ)
What exactly are “summer crops” that this DIY trick is beneficial for?
Summer crops generally refer to plants that thrive in warm weather and require a long growing season with plenty of sunshine. Common examples include tomatoes, peppers, cucumbers, zucchini, squash, beans, corn, melons (watermelon, cantaloupe), eggplant, okra, and various herbs like basil and rosemary. This DIY trick is designed to provide these crops with the essential nutrients they need to flourish during the summer months.
Can I use this DIY soil amendment for all types of plants, or is it specifically for summer crops?
While this DIY soil amendment is particularly well-suited for summer crops due to their high nutrient demands, it can also be beneficial for other plants. However, it’s important to consider the specific needs of each plant species. Some plants, like blueberries or azaleas, prefer acidic soil, and this amendment might not be ideal for them. Always research the specific requirements of your plants before applying any soil amendment. You might need to adjust the ingredients or ratios to better suit their needs.
How often should I apply this DIY soil amendment to my summer crops?
The frequency of application depends on several factors, including the type of soil you have, the specific needs of your plants, and the weather conditions. As a general guideline, you can apply this DIY soil amendment every 4-6 weeks during the growing season. Observe your plants closely for signs of nutrient deficiencies, such as yellowing leaves or stunted growth. If you notice any deficiencies, you may need to apply the amendment more frequently. You can also incorporate it into the soil at planting time to give your summer crops a strong start.
What if I don’t have all the ingredients listed in the recipe? Can I substitute anything?
The beauty of this DIY trick is its flexibility. While the listed ingredients are ideal, you can often substitute them with similar materials. For example, if you don’t have coffee grounds, you can use tea leaves or other nitrogen-rich organic matter. If you don’t have bone meal, you can use rock phosphate or other phosphorus sources. The key is to understand the nutritional value of each ingredient and find a suitable alternative that provides similar benefits. Don’t be afraid to experiment and see what works best for your garden.
Is there a risk of over-fertilizing my plants with this DIY soil amendment?
Yes, there is always a risk of over-fertilizing, even with organic amendments. Over-fertilizing can lead to nutrient imbalances, salt buildup in the soil, and even plant damage. To avoid over-fertilizing, start with small amounts of the amendment and observe your plants closely. Avoid applying the amendment too frequently, and always water thoroughly after application to help distribute the nutrients evenly. If you notice signs of over-fertilization, such as leaf burn or wilting, reduce the amount and frequency of application.
How do I store the leftover DIY soil amendment?
Store any leftover DIY soil amendment in an airtight container in a cool, dry place. This will help prevent it from drying out or becoming moldy. You can also store it in a sealed plastic bag. Properly stored, the amendment should last for several months. Before using stored amendment, check it for any signs of spoilage, such as a foul odor or mold growth. If you notice any spoilage, discard the amendment.
Can I use this DIY soil amendment in containers as well as in the ground?
Yes, this DIY soil amendment is suitable for both container gardening and in-ground gardening. When using it in containers, be sure to mix it thoroughly with your potting mix to ensure even distribution of nutrients. You may also need to adjust the amount of amendment you use, as containers tend to dry out more quickly than in-ground gardens. Monitor the moisture levels in your containers regularly and water as needed.
What are some signs that my summer crops need more nutrients?
Several signs can indicate that your summer crops are lacking essential nutrients. These include:
* **Yellowing leaves:** This can be a sign of nitrogen deficiency.
* **Stunted growth:** This can indicate a lack of phosphorus or other essential nutrients.
* **Blossom-end rot:** This is a common problem in tomatoes and is caused by a calcium deficiency.
* **Poor fruit production:** This can be a sign of a general nutrient deficiency.
* **Pale green leaves:** This can indicate an iron deficiency.
If you notice any of these signs, consider applying this DIY soil amendment to provide your plants with the nutrients they need to thrive.
How does this DIY trick help with water retention in the soil?
The organic matter in this DIY soil amendment, such as compost and coffee grounds, helps improve the soil’s water-holding capacity. Organic matter acts like a sponge, absorbing and retaining water, which reduces the need for frequent watering. This is especially beneficial during the hot summer months when plants are more susceptible to drought stress. By improving water retention, this DIY trick helps your summer crops stay hydrated and healthy.
Is this DIY trick safe for organic gardening?
Yes, this DIY trick is generally considered safe for organic gardening, as it relies on natural and readily available materials. However, it’s important to ensure that the ingredients you use are sourced from organic sources whenever possible. For example, use organic compost and coffee grounds to avoid introducing synthetic pesticides or herbicides into your garden. By using organic ingredients, you can be confident that you’re creating a healthy and sustainable growing environment for your summer crops.
Leave a Comment