

Tennis ball scuff mark removal – sounds like a niche problem, right? But trust me, if you’ve ever had a rogue tennis ball (or energetic kids!) wreak havoc on your walls, you know the frustration is real. I’ve been there, staring at those unsightly black streaks, wondering if I’d have to repaint the entire room.
Believe it or not, the struggle with scuff marks isn’t new. While tennis balls might be a relatively modern culprit, people have been battling blemishes on their walls for centuries. From soot stains in ancient Roman villas to crayon masterpieces in Victorian parlors, keeping walls pristine has always been a challenge. Thankfully, we’ve moved beyond harsh chemicals and back-breaking scrubbing!
Why do you need this DIY trick? Because life’s too short to spend hours scrubbing walls! Plus, constantly repainting is expensive and time-consuming. This simple, effective method for tennis ball scuff mark removal will save you time, money, and your sanity. I’m going to share my go-to method that uses common household items, so you can say goodbye to those pesky marks and hello to a fresh, clean space in minutes. Let’s get started!
DIY Tennis Ball Scuff Mark Removal: A Comprehensive Guide
Hey there! Are you tired of those unsightly tennis ball scuff marks ruining the look of your beautiful floors? Don’t worry, I’ve been there! As a tennis enthusiast (and a bit of a klutz, if I’m being honest), I’ve battled my fair share of these stubborn marks. Luckily, I’ve discovered some tried-and-true methods to banish them for good. Let’s dive in and get your floors looking pristine again!
Understanding Tennis Ball Scuff Marks
Before we jump into the solutions, let’s quickly understand what we’re dealing with. Tennis ball scuff marks are essentially rubber residue left behind when the ball rubs against your flooring. The friction creates heat, which transfers a bit of the ball’s material onto the surface. The good news is that because it’s just surface residue, it’s usually removable with the right techniques.
Materials You’ll Need
Here’s a list of the supplies you might need, depending on the method you choose. I recommend gathering everything beforehand to make the process smoother.
* Microfiber cloths: These are essential for gentle cleaning and buffing.
* Soft-bristled brush: An old toothbrush or a small cleaning brush will work wonders.
* Warm water: The base of most of our cleaning solutions.
* Dish soap: A mild dish soap is great for cutting through grime.
* Baking soda: A natural abrasive that’s gentle enough for most surfaces.
* Pencil eraser: A classic trick for removing small scuffs.
* Tennis ball (yes, another one!): Sounds counterintuitive, but it can actually help!
* Magic Eraser: For tougher marks, a Magic Eraser can be a lifesaver.
* Rubbing alcohol (isopropyl alcohol): Use with caution and test in an inconspicuous area first.
* Vinegar (white distilled): Another natural cleaning agent, but dilute it properly.
* Floor cleaner (specific to your floor type): Always a good option for general cleaning.
* Protective gloves: To keep your hands clean and protected.
Method 1: The Warm Water and Dish Soap Approach
This is my go-to method for tackling fresh or light scuff marks. It’s gentle, effective, and uses readily available supplies.
1. Prepare your solution: In a bucket or bowl, mix a few drops of mild dish soap with warm water. Don’t overdo the soap – too much can leave a residue.
2. Dampen your microfiber cloth: Dip a clean microfiber cloth into the soapy water and wring it out thoroughly. You want the cloth to be damp, not soaking wet.
3. Gently scrub the scuff mark: Using circular motions, gently scrub the affected area. Avoid applying too much pressure, as this could damage the floor’s finish.
4. Rinse with clean water: Dampen another clean microfiber cloth with plain warm water and wipe away any soap residue.
5. Dry the area: Use a dry microfiber cloth to thoroughly dry the cleaned area. This will prevent water spots and ensure a streak-free finish.
6. Repeat if necessary: If the scuff mark is still visible, repeat steps 2-5 until it disappears.
Method 2: Baking Soda Paste Power
For slightly more stubborn scuff marks, baking soda can work wonders. Its mild abrasive properties help lift the residue without scratching the floor.
1. Create a baking soda paste: In a small bowl, mix baking soda with a small amount of water to form a thick paste. The consistency should be similar to toothpaste.
2. Apply the paste to the scuff mark: Using your finger or a clean cloth, apply a small amount of the baking soda paste directly to the scuff mark.
3. Gently scrub: With a damp microfiber cloth or a soft-bristled brush, gently scrub the paste into the scuff mark using circular motions. Be careful not to apply too much pressure.
4. Wipe away the paste: Use a clean, damp microfiber cloth to wipe away all traces of the baking soda paste.
5. Rinse with clean water: Dampen another clean microfiber cloth with plain warm water and wipe the area to remove any remaining residue.
6. Dry thoroughly: Use a dry microfiber cloth to dry the cleaned area completely.
Method 3: The Magic Eraser Miracle
Magic Erasers are fantastic for tackling a wide range of cleaning tasks, and they can be quite effective on tennis ball scuff marks. However, use them with caution, as they can be slightly abrasive and may dull the finish on some floors.
1. Dampen the Magic Eraser: Lightly dampen the Magic Eraser with water. Do not saturate it.
2. Gently rub the scuff mark: Using light pressure, gently rub the Magic Eraser over the scuff mark. Avoid scrubbing too hard or concentrating on one spot for too long.
3. Wipe away residue: Use a clean, damp microfiber cloth to wipe away any residue left by the Magic Eraser.
4. Dry the area: Dry the cleaned area thoroughly with a dry microfiber cloth.
5. Test in an inconspicuous area first: Before using a Magic Eraser on a large or visible area, test it on a small, hidden spot to ensure it doesn’t damage the floor’s finish.
Method 4: Rubbing Alcohol (Use with Caution!)
Rubbing alcohol is a powerful solvent that can dissolve stubborn scuff marks. However, it can also damage certain floor finishes, so it’s crucial to use it sparingly and test it in an inconspicuous area first.
1. Test in a hidden area: Before applying rubbing alcohol to the scuff mark, test it on a small, hidden area of the floor to ensure it doesn’t cause any discoloration or damage.
2. Dampen a cloth with rubbing alcohol: Lightly dampen a clean microfiber cloth with rubbing alcohol. Do not saturate the cloth.
3. Gently rub the scuff mark: Gently rub the dampened cloth over the scuff mark. Avoid applying too much pressure or scrubbing aggressively.
4. Wipe away residue: Use a clean, damp microfiber cloth to wipe away any alcohol residue.
5. Dry the area: Dry the cleaned area thoroughly with a dry microfiber cloth.
6. Ventilate the area: Rubbing alcohol has a strong odor, so make sure to ventilate the area well after using it.
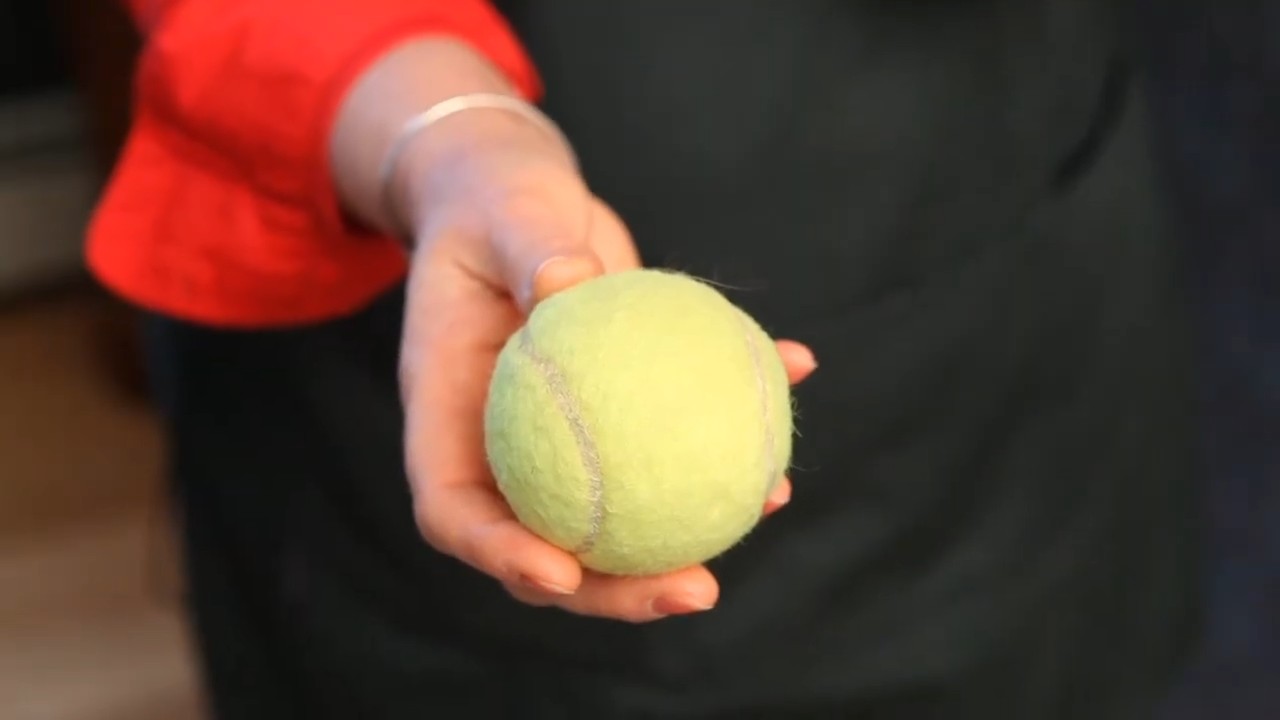
Method 5: The Tennis Ball Trick (Surprisingly Effective!)
This might sound crazy, but using a tennis ball to remove scuff marks can actually work! The fuzz on the ball acts as a gentle abrasive, lifting the scuff without damaging the floor.
1. Find a clean tennis ball: Make sure the tennis ball you’re using is clean and free of dirt or debris.
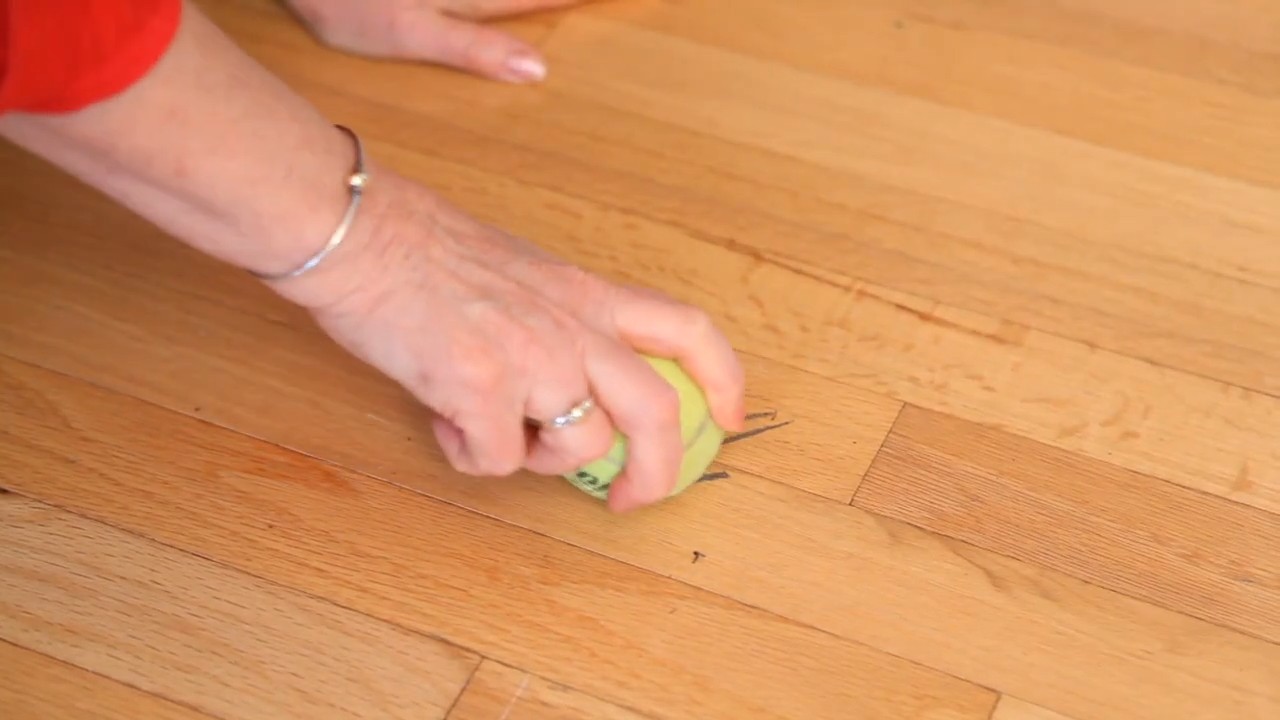
2. Rub the scuff mark: Hold the tennis ball firmly and rub it back and forth over the scuff mark. Apply moderate pressure.
3. Check your progress: Periodically check to see if the scuff mark is disappearing.
4. Repeat if necessary: Continue rubbing until the scuff mark is gone.
5. Wipe away any residue: Use a clean, damp microfiber cloth to wipe away any residue left by the tennis ball.
6. Dry the area: Dry the cleaned area thoroughly with a dry microfiber cloth.
Method 6: Vinegar Solution (Diluted!)
Vinegar is a natural cleaning agent, but it’s acidic and can damage some floor finishes if used undiluted. Always dilute vinegar with water before using it on your floors.
1. Prepare the vinegar solution: Mix 1/2 cup of white distilled vinegar with 1 gallon of warm water.
2. Dampen a mop or cloth: Dip a mop or microfiber cloth into the vinegar solution and wring it out thoroughly.
3. Mop or wipe the floor: Mop or wipe the affected area with the damp mop or cloth.
4. Rinse with clean water: If necessary, rinse the area with clean water to remove any vinegar residue.
5. Dry the floor: Dry the floor thoroughly with a clean, dry mop or cloth.
Important Considerations for Different Floor Types
* Hardwood Floors: Be extra careful with hardwood floors, as they can be easily damaged by harsh chemicals or excessive moisture. Avoid using abrasive cleaners or soaking the floor with water. Always dry the floor thoroughly after cleaning.
* Laminate Floors: Laminate floors are generally more durable than hardwood, but they can still be damaged by excessive moisture. Avoid using steam cleaners or soaking the floor with water.
* Tile Floors: Tile floors are typically the most durable and can withstand more aggressive cleaning methods. However
Conclusion
So, there you have it! No more unsightly tennis ball scuff marks plaguing your pristine walls and floors. This simple, yet incredibly effective, DIY trick is a game-changer for anyone battling the persistent aftermath of playful pups, energetic kids, or even just the accidental bump of a tennis racket. We’ve shown you how to banish those blemishes with minimal effort and maximum impact, saving you time, money, and the frustration of living with marred surfaces.
Why is this a must-try? Because it’s easy, affordable, and uses items you likely already have in your home. Forget harsh chemicals and expensive cleaning solutions. This method is gentle on your surfaces, yet tough on those stubborn scuff marks. It’s a win-win! Plus, the satisfaction of seeing those marks disappear before your eyes is truly rewarding.
Beyond the basic method, feel free to experiment with variations to suit your specific needs. For instance, if you’re dealing with particularly stubborn marks on a textured wall, try using a slightly damp microfiber cloth in conjunction with the tennis ball. The added moisture can help loosen the scuff marks, making them easier to remove. Alternatively, for delicate surfaces, you might want to test the tennis ball on an inconspicuous area first to ensure it doesn’t cause any damage. You could also try using a magic eraser gently after the tennis ball to remove any remaining residue. Remember, gentle pressure is key!
We’re confident that this tennis ball scuff mark removal technique will become your go-to solution for keeping your home looking its best. It’s a quick, efficient, and environmentally friendly way to tackle those everyday messes.
Now, it’s your turn! We encourage you to give this DIY trick a try and see the amazing results for yourself. Don’t let those scuff marks win! Grab a tennis ball, follow our simple steps, and prepare to be amazed.
But the best part? We want to hear about your experience! Did this trick work wonders for you? Did you discover any helpful variations? Share your stories, tips, and before-and-after photos in the comments below. Your feedback will not only help other readers but also contribute to a community of DIY enthusiasts who are passionate about keeping their homes clean and beautiful. Let’s conquer those scuff marks together!
Frequently Asked Questions (FAQs)
Q: What kind of tennis ball should I use?
A: A standard, used tennis ball is ideal. The slightly worn texture provides the perfect amount of friction to remove scuff marks without being too abrasive. Avoid using brand new tennis balls, as they might be too firm and could potentially damage delicate surfaces. Also, make sure the tennis ball is clean and free of dirt or debris before using it on your walls or floors. You don’t want to transfer any additional grime onto the surface you’re trying to clean.
Q: Will this trick work on all types of surfaces?
A: This trick is generally safe and effective on most painted walls, baseboards, and some types of flooring. However, it’s always a good idea to test it on an inconspicuous area first, especially if you’re dealing with delicate or textured surfaces. Avoid using it on glossy or high-shine finishes, as it could potentially dull the surface. For wallpaper, proceed with extreme caution and test in a hidden area, as the tennis ball could damage the paper. If you’re unsure, consult with a professional cleaner or refer to the manufacturer’s instructions for your specific surface.
Q: How much pressure should I apply when rubbing the tennis ball?
A: Gentle pressure is key! Avoid pressing too hard, as this could damage the surface or leave behind a mark. Start with light pressure and gradually increase it as needed until the scuff mark begins to fade. Remember, patience is important. It might take a few passes to completely remove the mark, especially if it’s a stubborn one.
Q: What if the scuff mark doesn’t come off completely?
A: If the scuff mark is particularly stubborn, try dampening a microfiber cloth and gently wiping the area after using the tennis ball. The added moisture can help loosen the remaining residue. You can also try using a magic eraser, but be sure to test it on an inconspicuous area first, as it can be abrasive. In some cases, the scuff mark might be too deep or ingrained to be completely removed. If that’s the case, you might need to consider touching up the paint or refinishing the surface.
Q: Can I use this trick to remove other types of marks besides tennis ball scuffs?
A: While this trick is specifically designed for removing tennis ball scuff marks, it might also be effective on other types of light scuff marks, such as those caused by shoes or furniture. However, it’s important to test it on an inconspicuous area first to ensure it doesn’t damage the surface. For other types of marks, such as crayon or pen, you might need to use a different cleaning solution or method.
Q: Is this trick safe for children and pets?
A: Yes, this trick is generally safe for children and pets, as it doesn’t involve the use of harsh chemicals. However, it’s always a good idea to keep cleaning supplies out of reach of children and pets. Also, be sure to supervise children while they’re helping with cleaning tasks.
Q: How often can I use this trick?
A: You can use this trick as often as needed to remove tennis ball scuff marks. However, it’s important to avoid over-cleaning, as this could potentially damage the surface over time. If you’re concerned about damaging the surface, try to spot-clean only the affected areas rather than cleaning the entire wall or floor.
Q: What are some other ways to prevent tennis ball scuff marks?
A: Prevention is always better than cure! To minimize tennis ball scuff marks, consider using furniture pads on the legs of your furniture to prevent them from scratching the walls or floors. You can also train your pets to avoid playing with tennis balls indoors or designate a specific area for playing with them. Additionally, you can use a protective coating on your walls or floors to make them more resistant to scuff marks.
Q: Where can I buy a tennis ball if I don’t have one?
A: Tennis balls are readily available at most sporting goods stores, department stores, and even some drugstores. You can also purchase them online from various retailers. If you don’t want to buy a new tennis ball, you can often find used ones at tennis clubs or from friends who play tennis. Just make sure the tennis ball is clean and free of dirt or debris before using it on your walls or floors.

Leave a Comment