

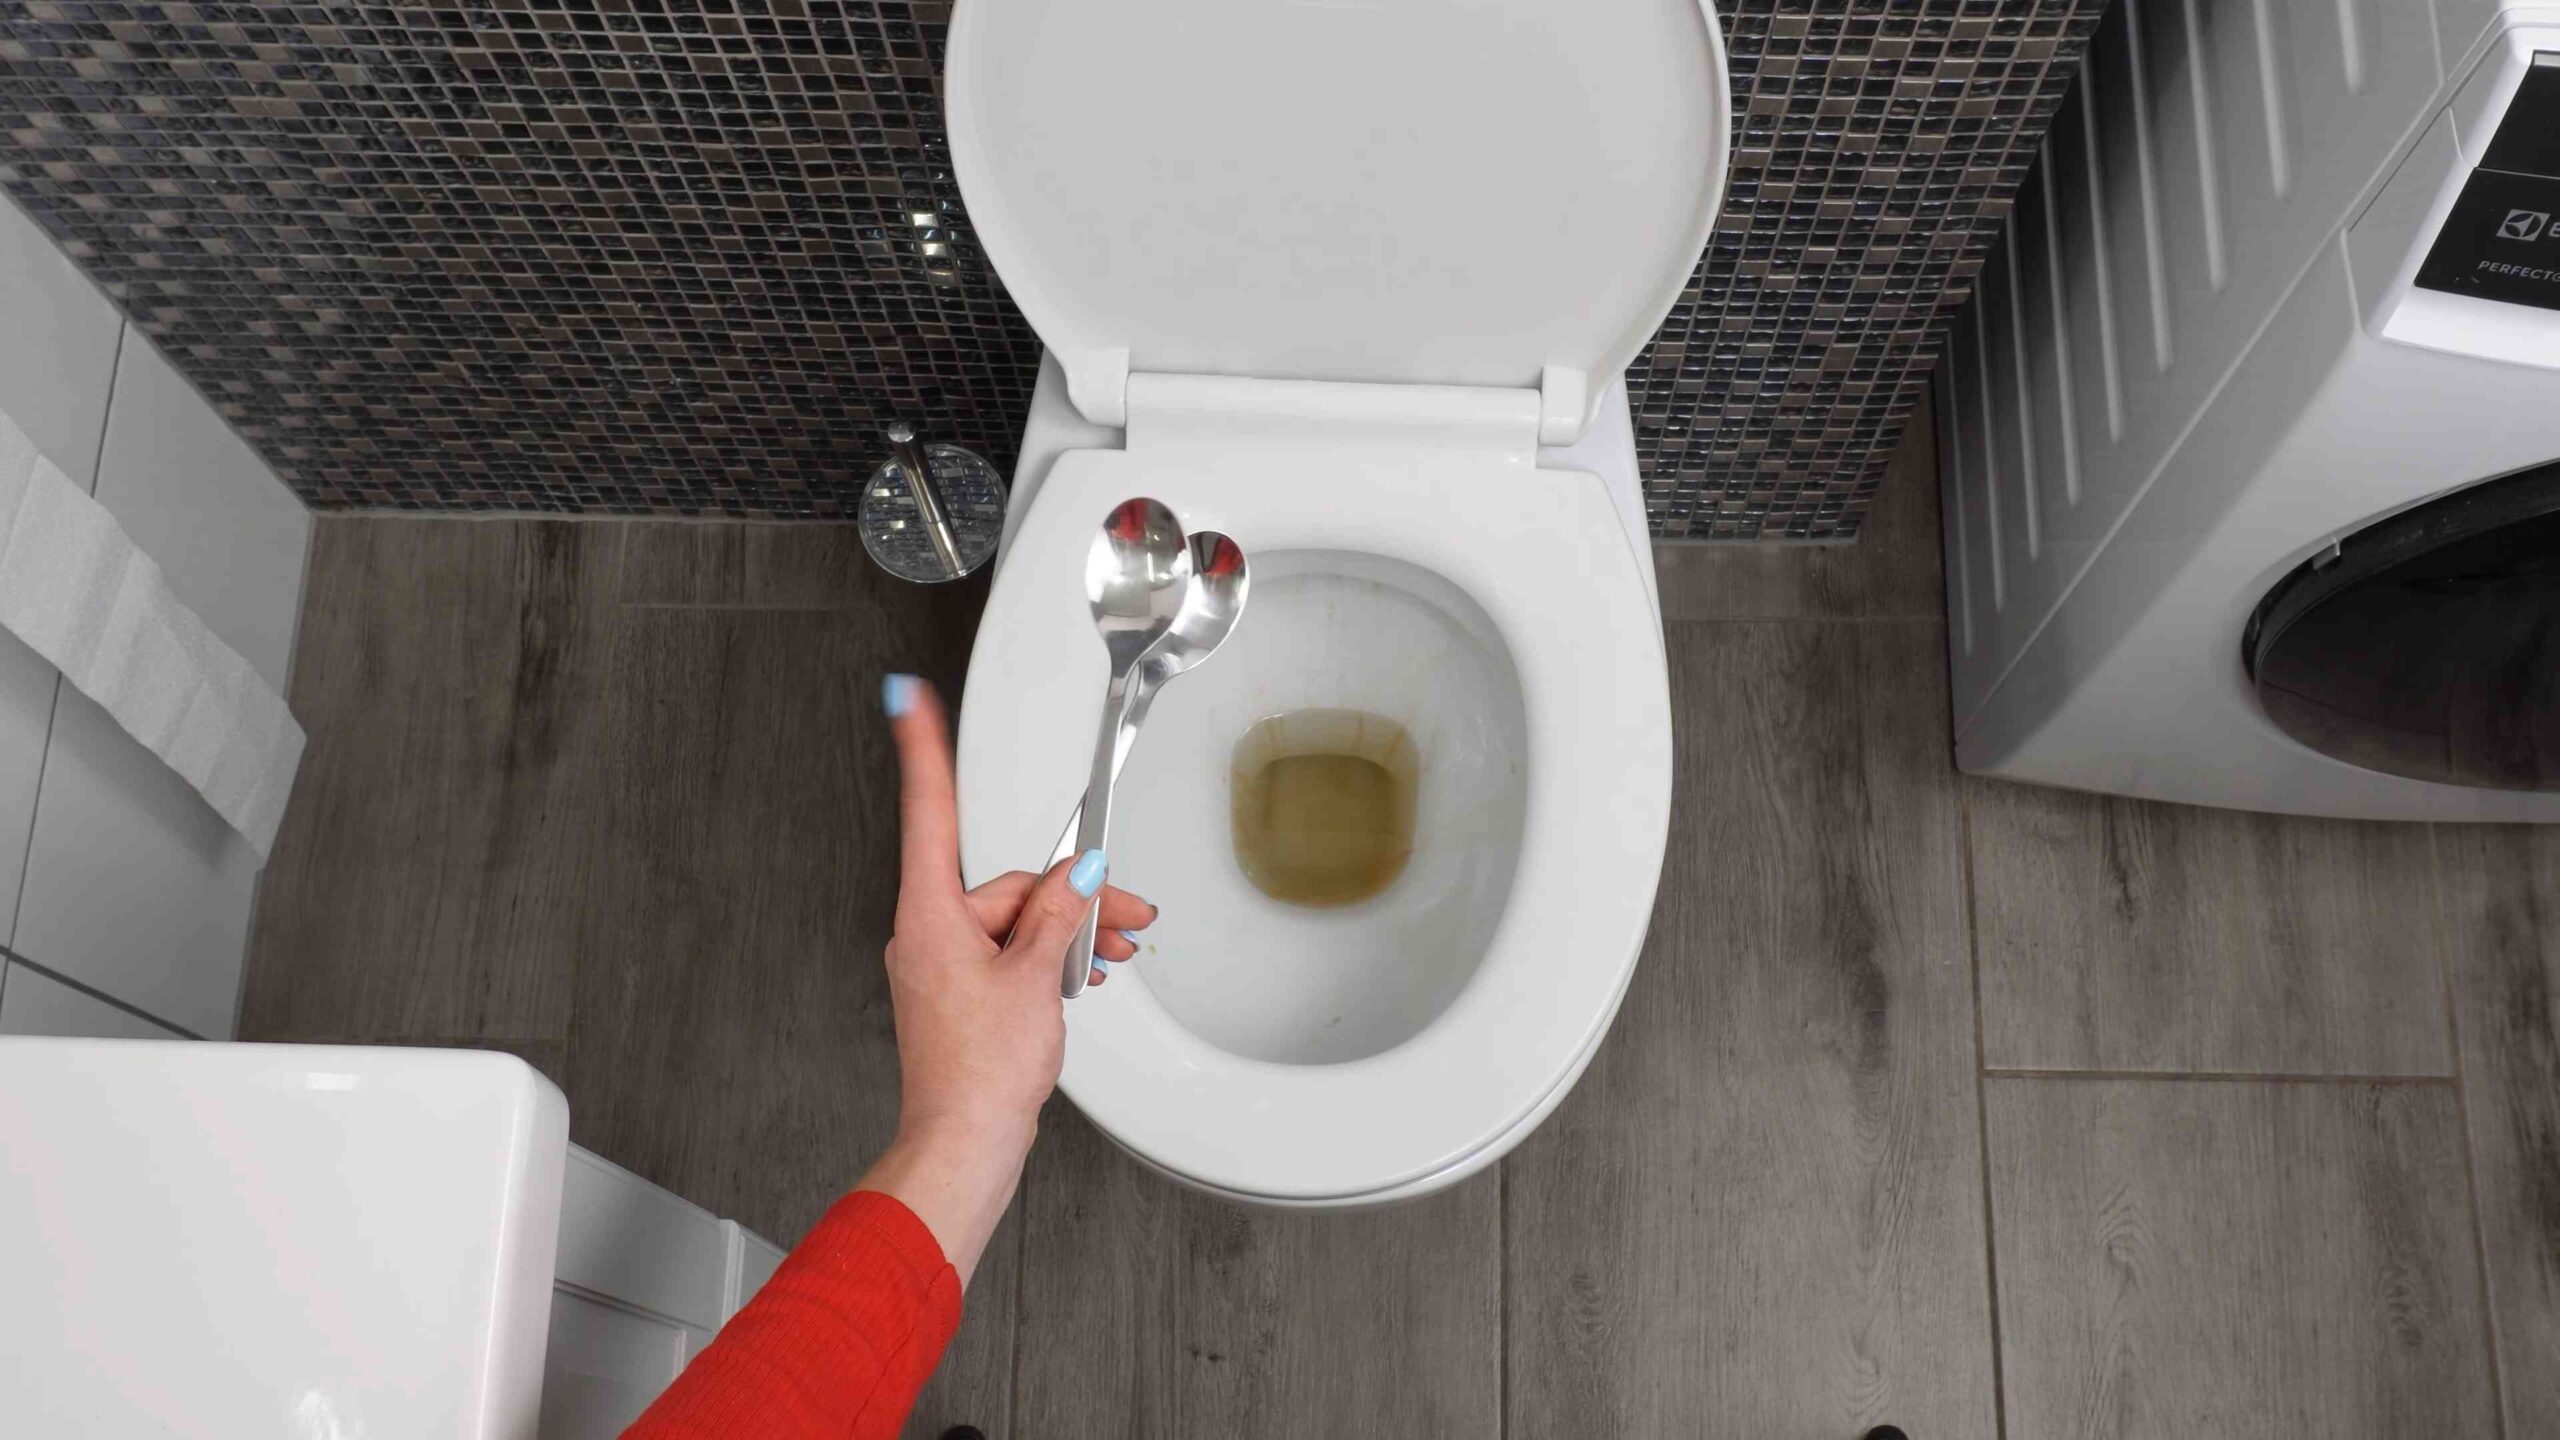
Toilet limescale removal can feel like a never-ending battle, right? I know the frustration! You scrub, you pour, you hope, but that stubborn, crusty buildup just keeps clinging on. But don’t despair! This isn’t just about aesthetics; limescale can actually damage your toilet over time, leading to costly repairs. Think of it as a tiny, slow-motion demolition crew working against your porcelain throne!
For centuries, keeping our homes clean has been a sign of respect and care, and while our ancestors didn’t have the same chemical solutions we do today, they certainly understood the importance of a sparkling loo. They relied on natural remedies and elbow grease, a tradition we can tap into even now.
That’s why I’m sharing some of my favorite DIY tricks and hacks for effective toilet limescale removal. These aren’t just quick fixes; they’re strategies to help you win the war against limescale for good. We’ll explore simple, affordable solutions using ingredients you probably already have in your pantry. Get ready to say goodbye to stubborn stains and hello to a sparkling clean toilet – without breaking the bank or resorting to harsh chemicals!
DIY Toilet Limescale Removal: A Sparkling Clean Throne Awaits!
Okay, let’s face it, nobody *likes* cleaning the toilet. But that stubborn limescale buildup? It’s not just unsightly, it can actually affect the efficiency of your flush. So, I’m going to walk you through a few tried-and-true methods to banish that limescale and get your toilet bowl sparkling again. We’ll cover everything from gentle approaches to the heavy-duty solutions, so you can choose what works best for you and your toilet.
Understanding Limescale
Before we dive in, let’s quickly understand what we’re fighting. Limescale is that hard, chalky deposit you see in your toilet bowl, especially around the waterline and in the jets. It’s primarily made up of calcium and magnesium carbonates, which are left behind when hard water evaporates. The longer you leave it, the harder it becomes to remove. So, regular cleaning is key!
Method 1: The Gentle Approach – Vinegar and Baking Soda
This is my go-to method for tackling mild limescale or for regular maintenance. It’s eco-friendly, uses ingredients you probably already have, and is relatively gentle on your toilet.
What You’ll Need:
* White vinegar (at least 5% acidity)
* Baking soda
* Toilet brush
* Gloves (optional, but recommended)
* Kettle (for heating the vinegar)
* Old towel or rags
Step-by-Step Instructions:
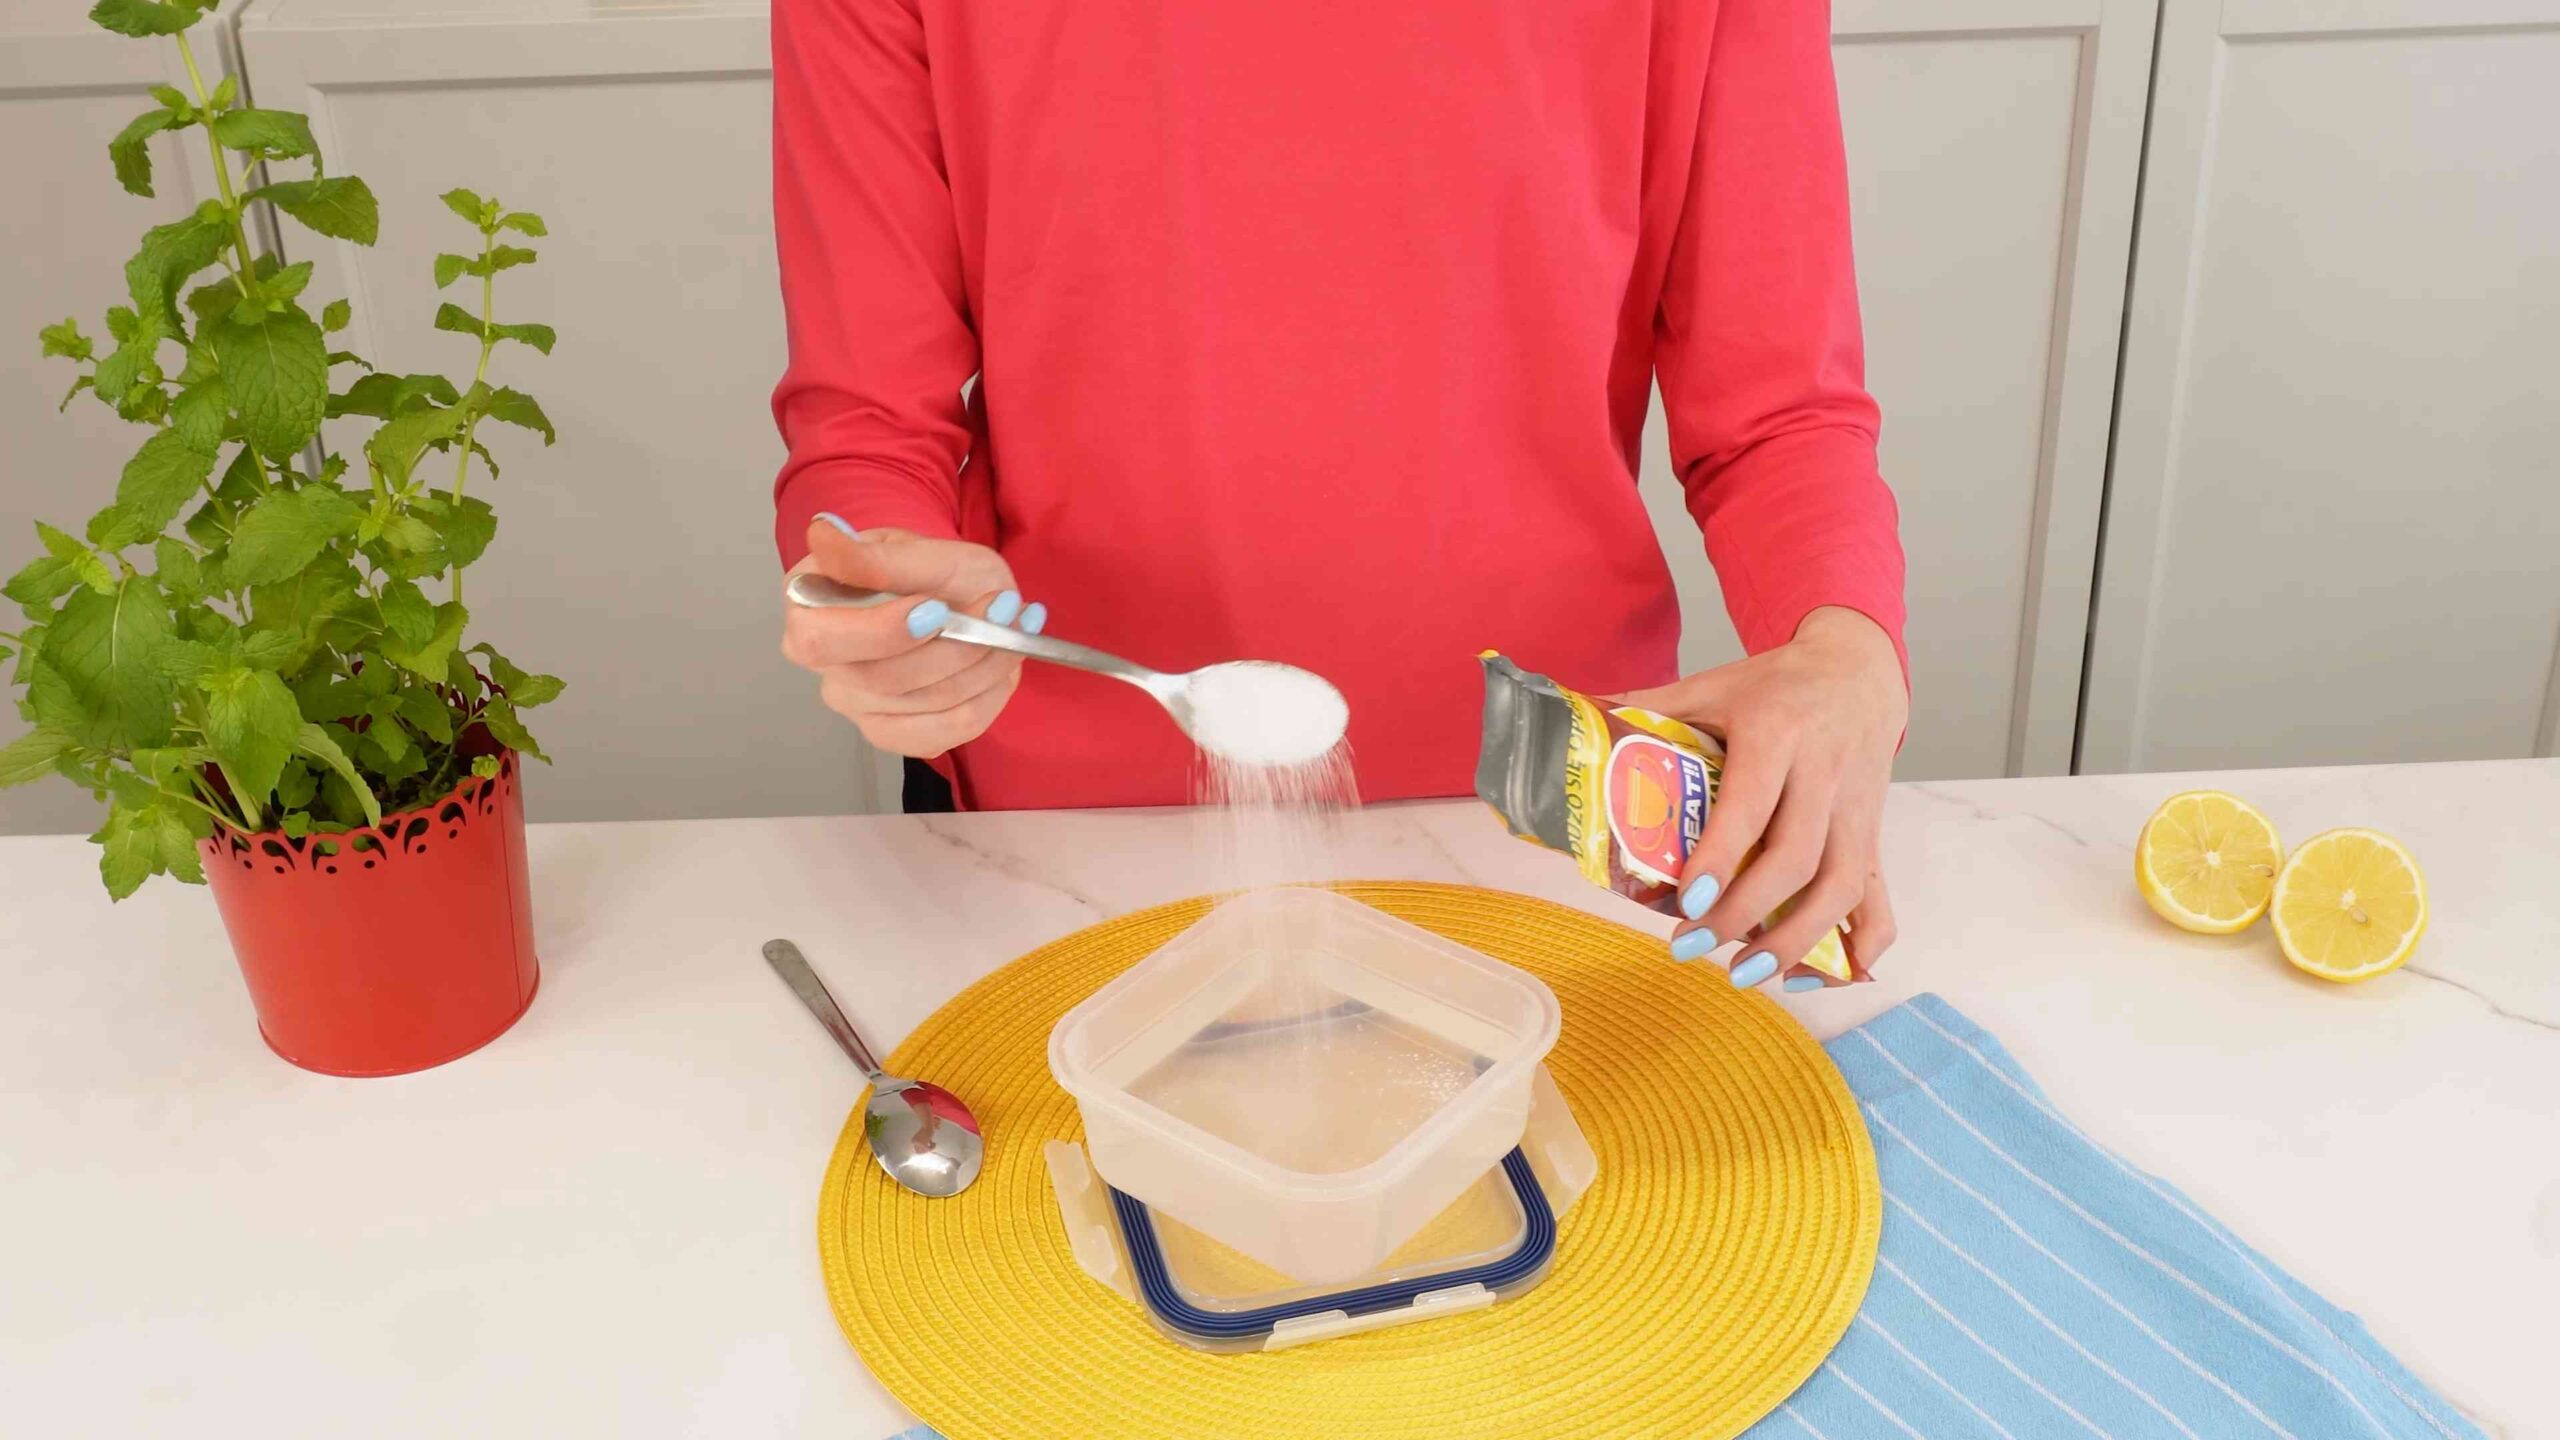
1. Prepare the Vinegar: Heat about 2-3 cups of white vinegar in a kettle or microwave until it’s warm, but not boiling. Be careful not to overheat it! You want it warm enough to help dissolve the limescale, but boiling vinegar can release fumes.
2. Pour in the Vinegar: Carefully pour the warm vinegar into the toilet bowl, making sure to cover the areas affected by limescale. Try to get it under the rim where the jets are, too.
3. Add the Baking Soda: Now, add about one cup of baking soda to the toilet bowl. You’ll see it fizz and react with the vinegar – that’s a good thing! This chemical reaction helps to loosen the limescale.
4. Let it Sit: This is the crucial part. Let the vinegar and baking soda mixture sit in the toilet bowl for at least 30 minutes, but preferably overnight for tougher stains. The longer it sits, the more effective it will be. I usually do this before bed so it can work its magic while I sleep.
5. Scrub-a-dub-dub: After the soaking time, grab your toilet brush and give the bowl a good scrub. Pay extra attention to the areas where the limescale is most prominent. You should see the limescale starting to loosen and break down.
6. Flush and Repeat (if necessary): Flush the toilet to rinse away the loosened limescale and the vinegar/baking soda mixture. If you still see some stubborn limescale, repeat the process. Sometimes, a second application is all it takes.
7. Dry and Admire: Use an old towel or rags to dry the toilet bowl. This will help you see if you missed any spots and will leave your toilet looking sparkling clean.
Method 2: The Heavy-Duty Solution – Muriatic Acid (Use with Extreme Caution!)
Warning: Muriatic acid is a very strong chemical and can be dangerous if not handled properly. This method should only be used as a last resort for extremely stubborn limescale and should be avoided if possible. Always wear appropriate safety gear, including gloves, eye protection, and a respirator, and work in a well-ventilated area. Follow all manufacturer’s instructions carefully. If you are uncomfortable using muriatic acid, please consult a professional.
Muriatic acid, also known as hydrochloric acid, is a powerful chemical that can dissolve even the toughest limescale. However, it’s also corrosive and can damage your toilet or plumbing if used incorrectly. I cannot stress enough the importance of safety precautions when using this method.
What You’ll Need:
* Muriatic acid (available at most hardware stores)
* Heavy-duty chemical-resistant gloves
* Eye protection (goggles or face shield)
* Respirator (rated for acid fumes)
* Toilet brush with a long handle
* Plastic bucket
* Water
* Old towel or rags
* Excellent ventilation (open windows and doors)
Step-by-Step Instructions:
1. Prepare the Area: Open all windows and doors to ensure excellent ventilation. Remove any flammable materials from the area. Put on your heavy-duty gloves, eye protection, and respirator.
2. Dilute the Muriatic Acid: Always add acid to water, never water to acid. In a plastic bucket, carefully pour a small amount of muriatic acid into a larger amount of water. A good starting ratio is 1 part acid to 10 parts water. Read and follow the specific instructions on the muriatic acid container.
3. Apply the Solution: Carefully pour the diluted muriatic acid solution into the toilet bowl, making sure to cover the areas affected by limescale. Use the toilet brush with a long handle to help distribute the solution and reach under the rim.
4. Let it Sit (Briefly!): Let the solution sit for only a few minutes (no more than 5-10 minutes). Do not leave it for longer, as it can damage the toilet. Monitor the reaction closely.
5. Scrub Carefully: Using the toilet brush, gently scrub the areas where the limescale is present. The acid should help to dissolve the limescale quickly.
6. Flush Thoroughly: Flush the toilet several times to completely remove the acid solution. Make sure there is no residual acid left in the bowl.
7. Rinse and Neutralize: Rinse the toilet bowl with plenty of clean water. You can also add a small amount of baking soda to the water to help neutralize any remaining acid.
8. Clean Up: Carefully dispose of any remaining acid solution according to the manufacturer’s instructions. Remove your safety gear and wash your hands thoroughly.
9. Inspect and Repeat (if absolutely necessary): Inspect the toilet bowl for any remaining limescale. If necessary, you can repeat the process, but be extremely cautious and use a weaker solution.
Method 3: The Borax Boost
Borax, also known as sodium borate, is a natural mineral that acts as a cleaning booster and disinfectant. It’s less harsh than muriatic acid but more effective than vinegar alone. I often use this when the vinegar method isn’t quite cutting it.
What You’ll Need:
* Borax powder
* White vinegar
* Toilet brush
* Gloves (optional)
* Water
Step-by-Step Instructions:
1. Dry the Toilet Bowl: This is important! Before you start, try to remove as much water as possible from the toilet bowl. You can use the toilet brush to push the water down the drain or even use a sponge to soak it up. This allows the borax to directly contact the limescale.
2. Apply Borax: Generously sprinkle borax powder onto the limescale deposits, especially around the waterline and under the rim.
3. Add Vinegar: Slowly pour white vinegar over the borax powder. You’ll see a slight fizzing reaction.
4. Let it Sit: Allow the mixture to sit for at least an hour, or preferably overnight for stubborn stains.
5. Scrub and Flush: After soaking, scrub the toilet bowl thoroughly with your toilet brush. The borax and vinegar should have loosened the limescale, making it easier to remove.
6. Flush and Repeat (if needed): Flush the toilet to rinse away the loosened limescale and cleaning mixture. If necessary, repeat the process for any remaining stubborn areas.
Preventing Future Limescale Buildup
The best way to deal with limescale is to prevent it from forming in the first place! Here are a few tips:
* Regular Cleaning: Clean your toilet bowl at least once a week with a mild cleaner. This will prevent limescale from building up to problematic levels.
* Flush Regularly: Flush the toilet regularly, even if you haven’t used it. This helps to prevent water from sitting in the bowl and evaporating, which contributes to limescale formation.
* Water Softener: If you have hard water, consider installing a water softener. This will remove the minerals that cause limescale.
* Toilet Bowl Cleaners: Use toilet bowl cleaners that are specifically designed to prevent limescale buildup.
* Vinegar Rinse: Pour a cup of white vinegar into the toilet bowl once a week and let it sit overnight. This will help to prevent limescale from forming.
Important Considerations
*
Conclusion
So, there you have it! Conquering toilet limescale doesn’t require harsh chemicals or expensive professional services. This simple, DIY trick offers a powerful and effective solution using ingredients you likely already have in your pantry. We’ve shown you how to reclaim your sparkling clean toilet bowl with minimal effort and maximum impact.
Why is this a must-try? Because it’s not just about aesthetics; removing limescale improves hygiene, prevents clogs, and can even extend the life of your toilet. Limescale buildup creates a breeding ground for bacteria and can corrode the porcelain over time. By tackling it head-on with this natural method, you’re investing in the long-term health and cleanliness of your bathroom.
Beyond the basic recipe, feel free to experiment! For particularly stubborn limescale, try letting the solution sit overnight. You can also add a few drops of your favorite essential oil, like tea tree or eucalyptus, for an extra boost of disinfecting power and a pleasant scent. Another variation involves using a pumice stone *gently* after the solution has soaked, to help scrub away any remaining residue. Remember to always test the pumice stone in an inconspicuous area first to avoid scratching.
We understand that every toilet is different, and the severity of limescale buildup can vary. That’s why we encourage you to adapt this method to your specific needs. Don’t be afraid to adjust the ratio of vinegar to baking soda, or the soaking time, until you find what works best for you. The key is patience and persistence.
Ultimately, this DIY toilet limescale removal method is about empowering you to take control of your home cleaning routine. It’s about choosing a safer, more sustainable approach that delivers exceptional results without breaking the bank. It’s about achieving a sparkling clean toilet bowl you can be proud of, knowing you did it yourself with simple, natural ingredients.
We’re confident that you’ll be amazed by the effectiveness of this trick. But don’t just take our word for it – try it out for yourself! We’re eager to hear about your experience. Share your before-and-after photos, your tips and tricks, and any variations you’ve discovered in the comments below. Let’s create a community of DIY cleaning enthusiasts who are passionate about achieving a sparkling clean home, one toilet bowl at a time. Your feedback will not only help other readers but also inspire us to continue sharing valuable and effective cleaning solutions. So go ahead, give it a try, and let us know what you think! We can’t wait to hear from you.
Frequently Asked Questions (FAQ)
1. Why is limescale forming in my toilet bowl?
Limescale is a hard, chalky deposit primarily composed of calcium carbonate. It forms when hard water, which contains high levels of dissolved minerals like calcium and magnesium, evaporates and leaves behind these minerals. In toilets, this often happens at the waterline or in areas where water frequently sits. The minerals react with carbonates in the water, precipitating out as limescale. The frequency of toilet flushing and the hardness of your water directly impact how quickly limescale builds up. Homes with very hard water will experience limescale buildup much faster than those with softer water.
2. Is limescale harmful?
While limescale itself isn’t directly harmful to your health, it can create unsanitary conditions. The porous nature of limescale makes it a breeding ground for bacteria and mold, which can contribute to unpleasant odors and potentially spread germs. Furthermore, excessive limescale buildup can restrict water flow, leading to clogs and reduced flushing efficiency. In severe cases, it can even damage plumbing fixtures and shorten the lifespan of your toilet. Therefore, regular limescale removal is essential for maintaining a clean, hygienic, and functional bathroom.
3. How often should I remove limescale from my toilet?
The frequency of limescale removal depends on the hardness of your water and how often you use your toilet. In areas with very hard water, you may need to remove limescale as often as once a week. In areas with softer water, you may only need to do it once a month or even less frequently. A good rule of thumb is to inspect your toilet bowl regularly and remove limescale as soon as you notice it starting to build up. Regular maintenance will prevent severe buildup and make the cleaning process much easier.
4. Can I use other types of vinegar besides white vinegar?
While white vinegar is the most commonly recommended type for cleaning due to its high acidity and lack of color, you can technically use other types of vinegar, such as apple cider vinegar. However, white vinegar is generally preferred because it’s more effective at dissolving limescale and less likely to stain your toilet bowl. Apple cider vinegar, for example, has a brownish tint that could potentially discolor porcelain, especially if left to soak for extended periods. If you do choose to use a different type of vinegar, test it in an inconspicuous area first to ensure it doesn’t cause any staining.
5. What if the limescale is really stubborn and doesn’t come off easily?
For particularly stubborn limescale, you may need to repeat the cleaning process several times. Try increasing the concentration of vinegar in the solution or extending the soaking time. You can also use a toilet brush or a pumice stone to gently scrub away the limescale after it has soaked. Be careful not to scrub too hard, as this could scratch the porcelain. Another option is to use a commercial limescale remover specifically designed for toilets. However, be sure to follow the manufacturer’s instructions carefully and wear gloves and eye protection to avoid irritation.
6. Is baking soda really necessary, or can I just use vinegar?
While vinegar alone can be effective at removing limescale, adding baking soda enhances the cleaning power of the solution. Baking soda is a mild abrasive that helps to loosen and lift the limescale from the surface of the toilet bowl. It also reacts with the vinegar to create carbon dioxide, which produces a fizzing action that helps to break down the limescale. The combination of vinegar and baking soda is a powerful and natural cleaning solution that is both effective and safe for your toilet.
7. Can I use this method on other bathroom fixtures?
Yes, this DIY cleaning method can be used on other bathroom fixtures affected by limescale, such as showerheads, faucets, and sinks. However, be sure to test the solution in an inconspicuous area first to ensure it doesn’t damage the finish. For showerheads, you can soak them in a solution of vinegar and water overnight to dissolve the limescale. For faucets and sinks, you can apply the solution with a cloth or sponge and let it sit for a few minutes before rinsing.
8. Will this method damage my toilet?
When used correctly, this DIY method is unlikely to damage your toilet. Vinegar is a relatively mild acid that is safe for use on porcelain. However, it’s important to avoid using abrasive cleaners or scrub brushes, as these can scratch the surface of the toilet bowl. Also, avoid mixing vinegar with bleach, as this can create toxic fumes. Always follow the instructions carefully and test the solution in an inconspicuous area first if you’re concerned about potential damage.
9. What are some preventative measures I can take to reduce limescale buildup?
There are several preventative measures you can take to reduce limescale buildup in your toilet. One of the most effective is to install a water softener, which removes the minerals that cause limescale. You can also try using a toilet bowl cleaner that contains limescale inhibitors. Another simple tip is to flush your toilet regularly, even if you haven’t used it, to prevent water from sitting in the bowl for extended periods. Finally, consider wiping down the inside of your toilet bowl with a vinegar solution after each use to prevent limescale from building up.
10. I have a septic system. Is this method safe to use?
Yes, this method is generally safe to use with a septic system. Vinegar and baking soda are both natural and biodegradable substances that won’t harm the bacteria in your septic tank. However, it’s important to avoid using excessive amounts of these ingredients, as this could potentially disrupt the balance of your septic system. Also, avoid using harsh chemicals or commercial limescale removers, as these can kill the beneficial bacteria in your septic tank. When in doubt, consult with a septic system professional to ensure that your cleaning practices are safe for your system.

Leave a Comment