

Toothbrush Grout Cleaning Tips: Are you tired of staring at dingy, discolored grout lines that seem impossible to clean? I know I was! It felt like no matter how much I scrubbed, those stubborn stains just wouldn’t budge. But what if I told you the solution was already sitting in your bathroom?
For generations, maintaining a clean and tidy home has been a source of pride and well-being. While modern cleaning products offer convenience, sometimes the simplest, most time-tested methods are the most effective. Think about it – our grandmothers likely didn’t have fancy electric scrubbers, but their homes sparkled! They relied on ingenuity and readily available tools, and that’s the spirit we’re tapping into today.
Grout, that porous material between your tiles, is a magnet for dirt, mildew, and grime. Over time, it can darken and detract from the overall appearance of your kitchen, bathroom, or any tiled surface. Many people struggle with this, spending a fortune on harsh chemicals that often don’t even deliver the promised results. That’s where these toothbrush grout cleaning tips come in! This DIY approach is not only budget-friendly but also incredibly effective. I’m going to show you how to transform your grout from grimy to gleaming with a simple, everyday tool. Get ready to say goodbye to stubborn stains and hello to sparkling clean grout!
DIY Toothbrush Grout Cleaning: A Sparkling Solution!
Okay, let’s face it, grout is the bane of every homeowner’s existence! It gets grimy, stained, and just plain gross. And those tiny grout lines? A nightmare to clean! But fear not, my friends, because I’m here to share my favorite, super-effective, and surprisingly simple DIY grout cleaning hack using something you probably already have lying around: an old toothbrush!
This method is perfect for tackling small areas, stubborn stains, or just general grout maintenance. Plus, it’s a great way to repurpose those old toothbrushes before they end up in the landfill. Let’s get started!
What You’ll Need:
Before we dive in, let’s gather our supplies. This is a pretty low-key project, so you likely have most of this stuff already.
* An old toothbrush (or several, depending on the size of your project)
* Baking soda
* White vinegar
* Spray bottle
* Warm water
* Small bowl or container
* Gloves (optional, but recommended, especially if you have sensitive skin)
* Eye protection (optional, but recommended when working with vinegar)
* Clean cloths or paper towels
Choosing Your Cleaning Solution: Baking Soda Paste vs. Vinegar Spray
We’re going to explore two main cleaning solutions here, each with its own strengths. You can choose the one that best suits your needs and the severity of your grout stains.
* Baking Soda Paste: This is my go-to for tackling really tough stains and discoloration. Baking soda is a mild abrasive, so it helps to scrub away grime without damaging your tiles.
* Vinegar Spray: This is great for general cleaning and maintenance. Vinegar is a natural disinfectant and helps to dissolve soap scum and mildew.
Method 1: The Baking Soda Paste Power Scrub
This method is for when your grout is looking particularly sad and needs some serious TLC.
Step-by-Step Instructions:
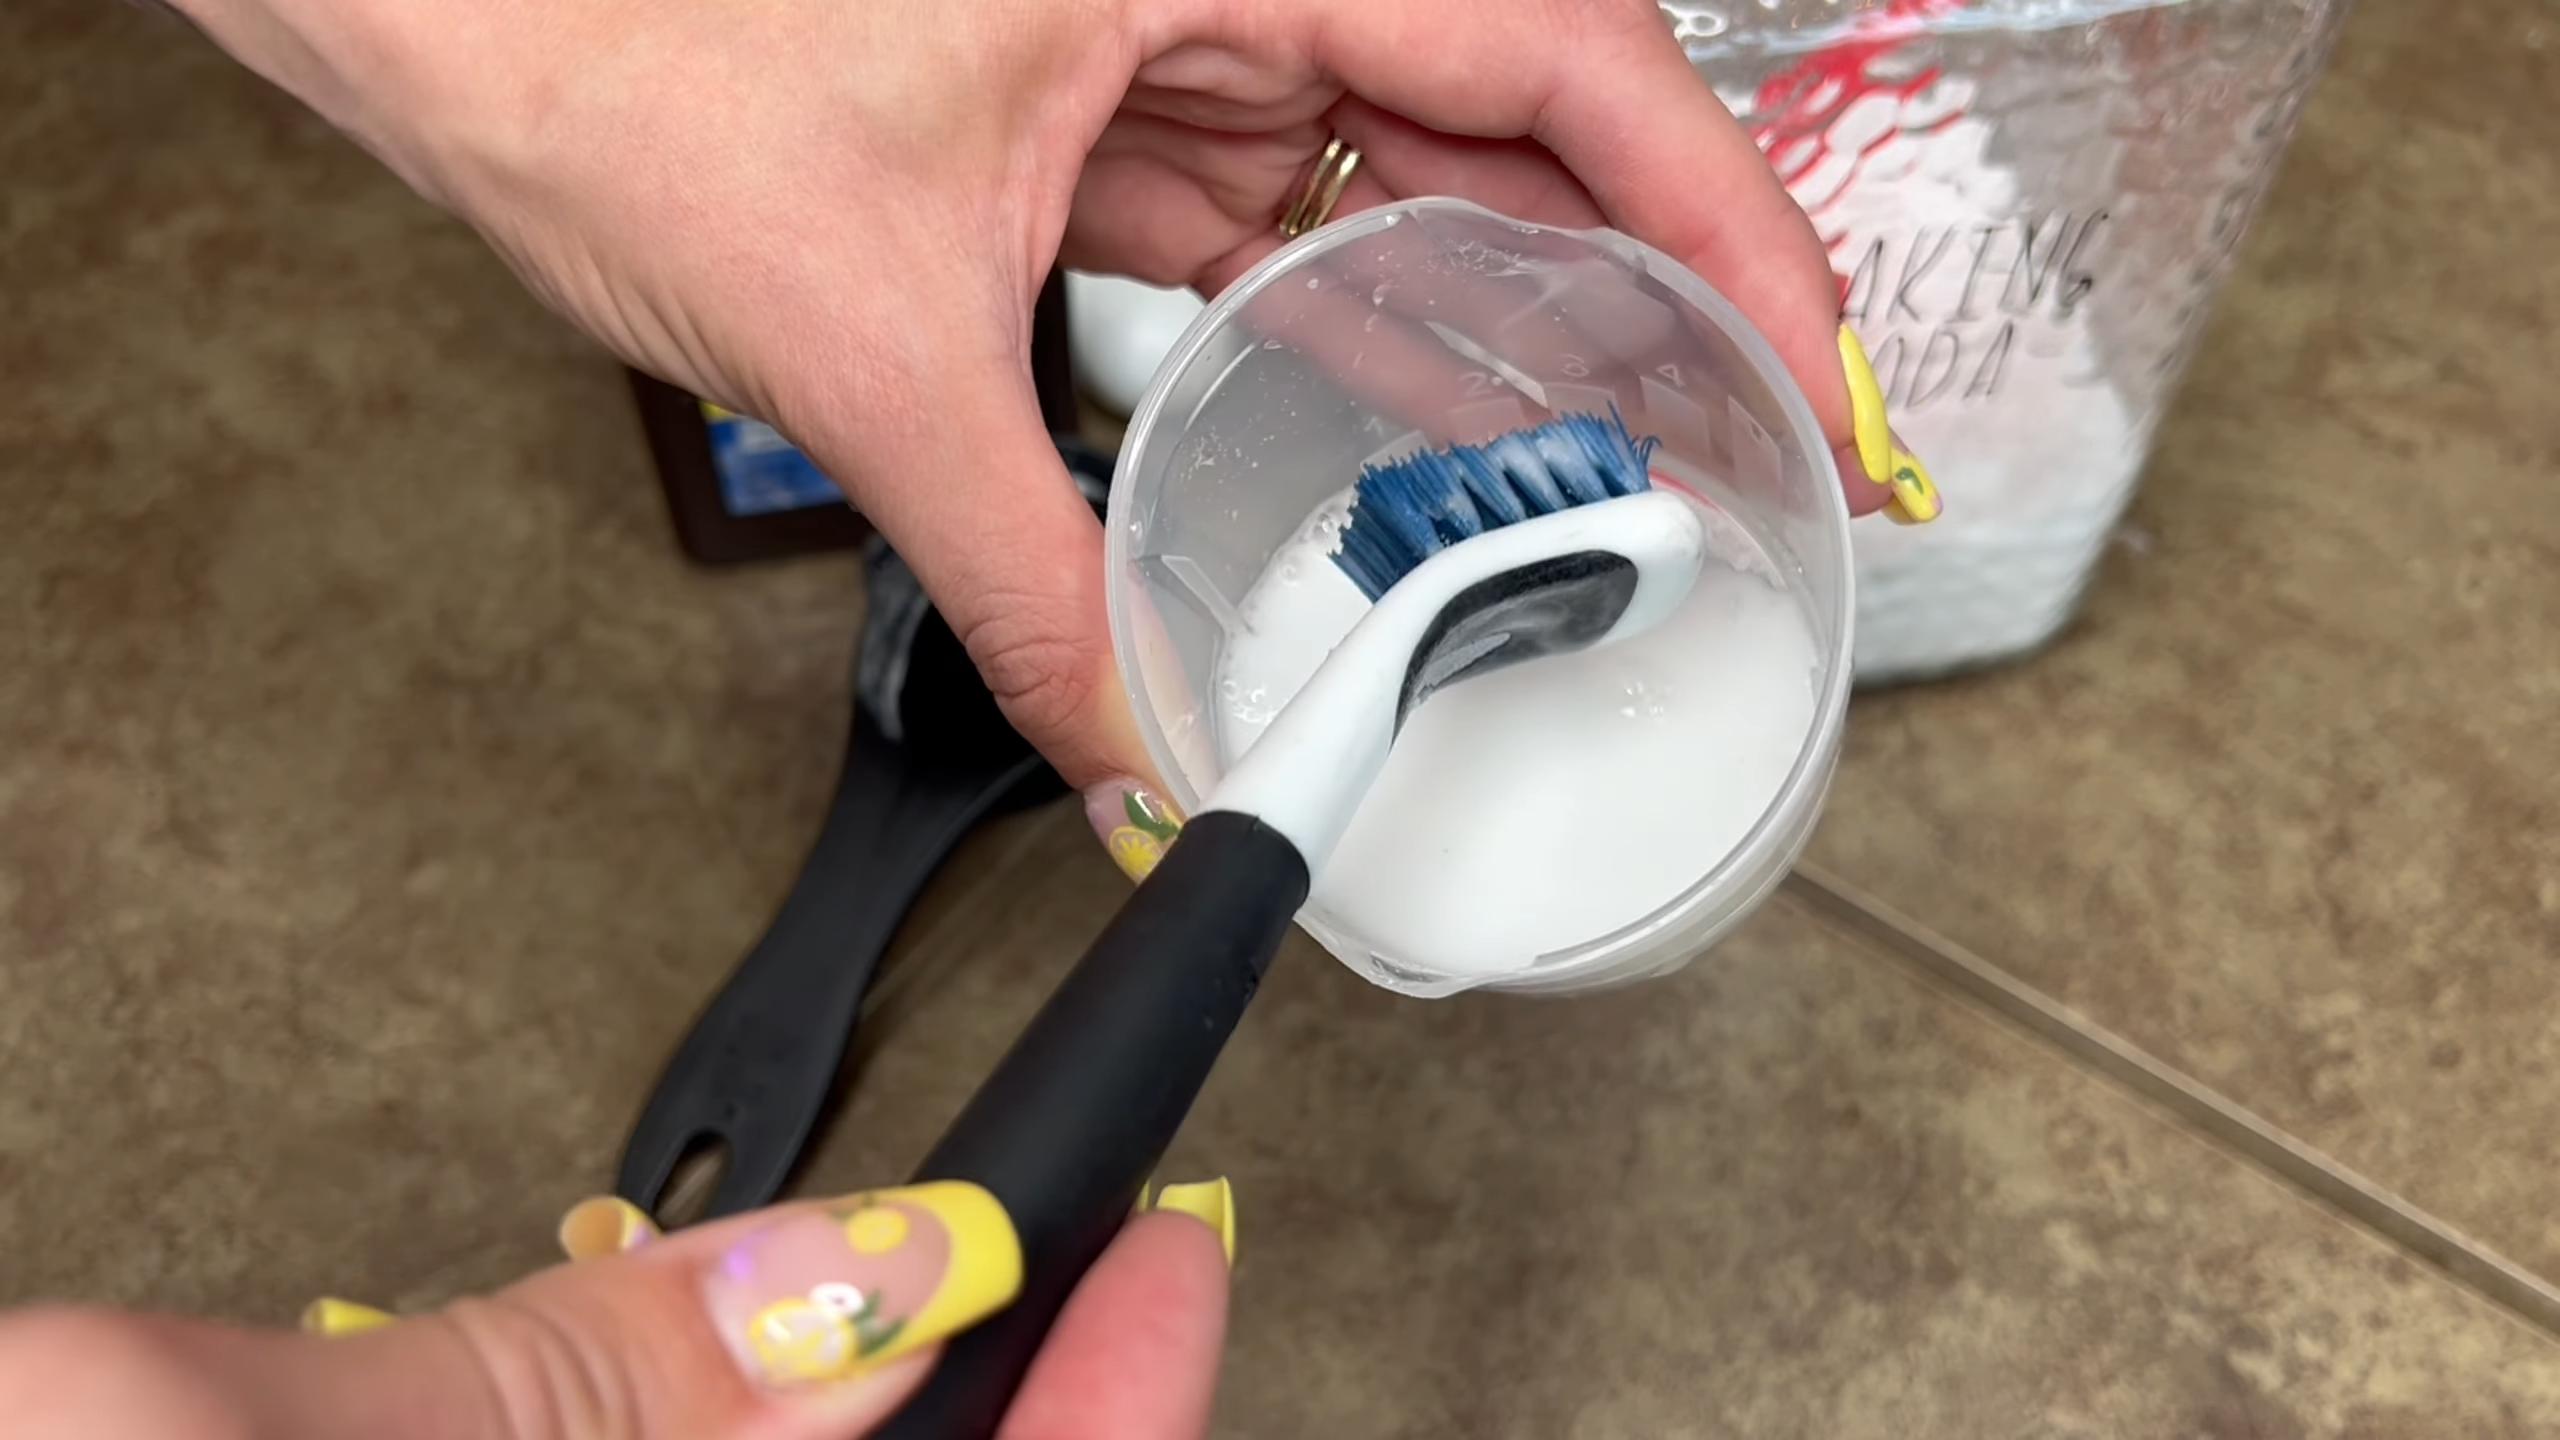
1. Prepare the Baking Soda Paste: In your small bowl, mix baking soda with a little bit of warm water to form a thick paste. You want it to be thick enough to stick to the grout lines. Start with a few tablespoons of baking soda and add water a teaspoon at a time until you reach the desired consistency.
2. Apply the Paste: Using your finger (with a glove on!), or a small spatula, apply the baking soda paste generously to the grout lines. Make sure you really pack it in there!
3. Let it Sit: This is the key! Let the baking soda paste sit on the grout for at least 15-20 minutes. For really stubborn stains, you can even let it sit for an hour or two. The longer it sits, the more time it has to work its magic.
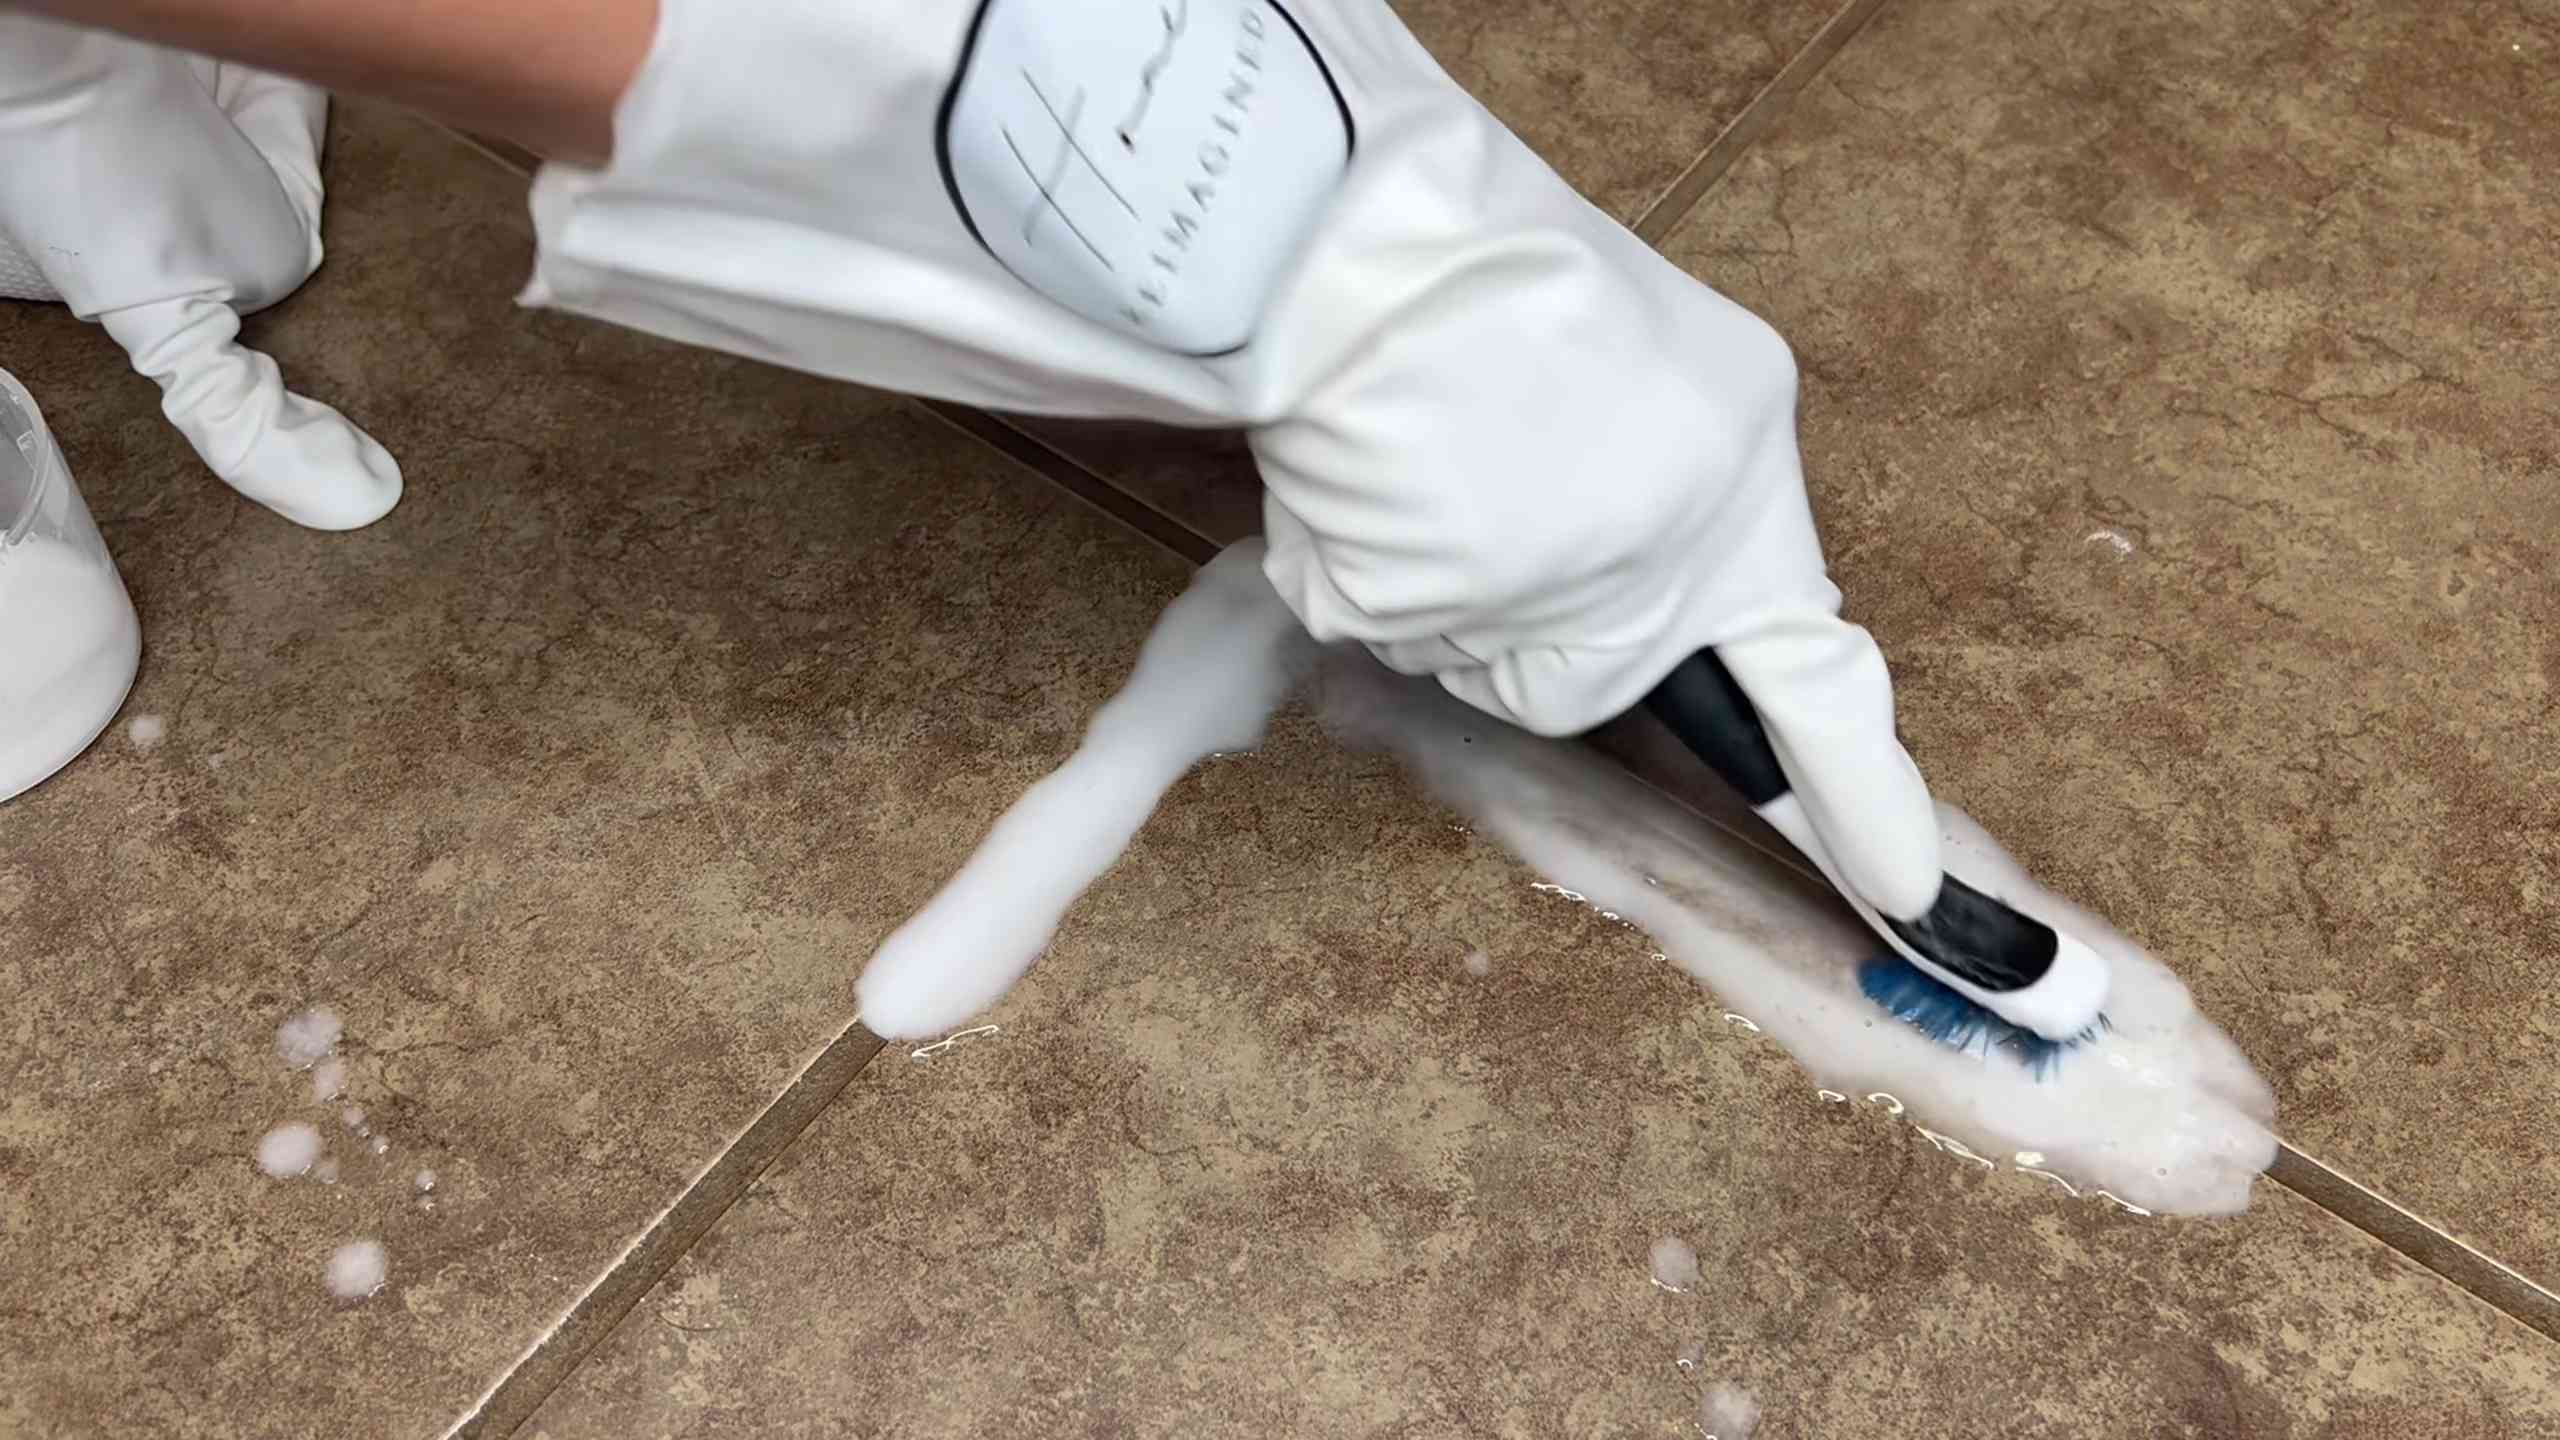
4. Scrub with the Toothbrush: Now comes the fun part! Grab your trusty toothbrush and start scrubbing the grout lines. Use a firm, back-and-forth motion. You’ll likely see the grime starting to lift away. Don’t be afraid to put some elbow grease into it!
5. Rinse Thoroughly: Once you’ve scrubbed all the grout lines, rinse the area thoroughly with warm water. You can use a sponge or a spray bottle to help remove all the baking soda residue.
6. Dry and Admire: Use a clean cloth or paper towels to dry the area. Step back and admire your sparkling clean grout!
Method 2: The Vinegar Spray Refresh
This method is perfect for regular cleaning and maintenance, or for tackling lighter stains.
Step-by-Step Instructions:
1. Prepare the Vinegar Solution: In your spray bottle, mix equal parts white vinegar and warm water. For a stronger solution, you can use straight vinegar, but be careful not to use it on natural stone tiles, as it can damage them.
2. Spray the Grout: Generously spray the vinegar solution onto the grout lines. Make sure the grout is thoroughly saturated.
3. Let it Sit: Allow the vinegar solution to sit on the grout for 5-10 minutes. This gives the vinegar time to break down any soap scum, mildew, or grime.
4. Scrub with the Toothbrush: Grab your toothbrush and start scrubbing the grout lines. Again, use a firm, back-and-forth motion. You should see the dirt and grime lifting away.
5. Rinse Thoroughly: Rinse the area thoroughly with warm water. Make sure to remove all the vinegar residue.
6. Dry and Admire: Use a clean cloth or paper towels to dry the area. Enjoy your refreshed and cleaner grout!
Dealing with Stubborn Stains: A Few Extra Tips
Sometimes, you’ll encounter grout stains that just won’t budge. Don’t despair! Here are a few extra tips and tricks to try:
* Baking Soda and Vinegar Combo: For really tough stains, try combining the power of baking soda and vinegar. First, sprinkle baking soda onto the grout lines. Then, spray the baking soda with vinegar. It will fizz! Let it sit for a few minutes, then scrub with your toothbrush. Rinse thoroughly. Be careful when mixing baking soda and vinegar, as it can create pressure in a closed container.
* Hydrogen Peroxide: Hydrogen peroxide is a mild bleaching agent that can help to lighten stained grout. Apply hydrogen peroxide to the grout lines, let it sit for 10-15 minutes, then scrub with your toothbrush. Rinse thoroughly.
* Commercial Grout Cleaners: If all else fails, you can try using a commercial grout cleaner. Be sure to follow the manufacturer’s instructions carefully. Always test the cleaner in an inconspicuous area first to make sure it doesn’t damage your tiles.
Preventing Future Grout Stains: Proactive Measures
The best way to keep your grout clean is to prevent it from getting stained in the first place! Here are a few proactive measures you can take:
* Seal Your Grout: Sealing your grout creates a barrier that prevents dirt, grime, and liquids from penetrating the grout lines. You can purchase grout sealant at most home improvement stores. Apply the sealant according to the manufacturer’s instructions. Reapply sealant every 6-12 months, or as needed.
* Wipe Up Spills Immediately: The sooner you wipe up spills, the less likely they are to stain your grout.
* Ventilate Your Bathroom: Proper ventilation helps to prevent mildew and mold growth in your bathroom. Run the exhaust fan during and after showers.
* Regular Cleaning: Make it a habit to clean your grout regularly. A quick wipe-down with a damp cloth or sponge can go a long way in preventing stains from building up.
Choosing the Right Toothbrush: Bristle Power!
Not all toothbrushes are created equal when it comes to grout cleaning! Here’s what to look for:
* Stiff Bristles: You want a toothbrush with stiff bristles to effectively scrub away grime. Soft-bristled toothbrushes won’t be as effective.
* Small Head: A toothbrush with a small head will allow you to get into those tight grout lines more easily.
* Old Toothbrush: Obviously, you don’t want to use your good toothbrush for this! Use an old toothbrush that you’re ready to retire.
Safety First: Protecting Yourself
While this is a relatively simple DIY project, it’s important to take a few safety precautions:
* Wear Gloves: Gloves will protect your hands from the cleaning solutions and from any potential irritation.
* Wear Eye Protection: Eye protection will protect your eyes from splashes of cleaning solution.
* Ventilate the Area: Make sure the area you’re working in is well-ventilated, especially when using vinegar or commercial grout cleaners.
* Keep Out of Reach of Children and Pets: Store cleaning solutions out of reach of children and pets.
And there you have it! My comprehensive guide to cleaning grout with a toothbrush. It’s a simple, effective, and affordable way to keep your grout looking its best. So, grab that old toothbrush, choose your cleaning solution, and get scrubbing! You’ll be amazed at the difference it makes. Happy cleaning!
Conclusion
So, there you have it! Transforming your dingy, discolored grout with a simple toothbrush and a few household ingredients is not just a cleaning hack; it’s a revelation. We’ve explored how this incredibly accessible method can breathe new life into your tiled surfaces, saving you time, money, and the headache of harsh chemicals. The beauty of this DIY grout cleaning trick lies in its simplicity and effectiveness. It’s a testament to the fact that sometimes, the most powerful solutions are the ones we already have within reach.
Why is this a must-try? Because it works! You’ll witness firsthand the grime and discoloration lifting away, revealing the clean, bright grout you forgot existed. It’s also incredibly satisfying to see the immediate results of your efforts. Plus, it’s a budget-friendly alternative to expensive grout cleaning products and professional services. Think of all the things you can do with the money you save!
But the best part? It’s adaptable. Feel free to experiment with different cleaning solutions based on the severity of your grout stains. For lightly soiled grout, a simple paste of baking soda and water might suffice. For tougher stains, consider adding a few drops of dish soap or even a splash of white vinegar (always test in an inconspicuous area first!). You can also tailor the toothbrush you use. An old electric toothbrush head can provide extra scrubbing power, while a smaller, more pointed brush can reach those hard-to-access corners.
Don’t be afraid to get creative and find what works best for your specific needs and tile type. Remember to always wear gloves to protect your hands and ensure proper ventilation in the area you’re cleaning.
We are confident that once you experience the transformative power of this toothbrush grout cleaning trick, you’ll never look at your grout the same way again. It’s a game-changer for maintaining a clean and beautiful home.
Now, it’s your turn! Grab your toothbrush, gather your supplies, and prepare to be amazed. We encourage you to try this DIY grout cleaning method and share your results with us. Post before-and-after photos on social media, tag us in your posts, and let us know what cleaning solution worked best for you. Your experiences can help others discover the joy of clean grout and the power of a simple toothbrush. Let’s create a community of sparkling clean homes, one toothbrush at a time!
Frequently Asked Questions (FAQ)
1. What kind of toothbrush should I use for grout cleaning?
The best toothbrush for grout cleaning is one with firm bristles that can effectively scrub away dirt and grime. An old toothbrush is perfect, as you won’t be using it for oral hygiene afterward. You can also use a specialized grout brush, which is essentially a toothbrush designed specifically for cleaning grout. Some people find that electric toothbrushes with small, round heads work well, providing extra scrubbing power. Ultimately, the choice depends on your personal preference and the severity of the grout stains.
2. What cleaning solutions can I use with the toothbrush?
There are several effective cleaning solutions you can use with your toothbrush for grout cleaning. Here are a few options:
* Baking Soda Paste: Mix baking soda with water to form a thick paste. This is a gentle abrasive that can help lift dirt and grime.
* Dish Soap and Water: A simple solution of dish soap and warm water can be effective for lightly soiled grout.
* Vinegar and Water: Mix equal parts white vinegar and water. Vinegar is a natural disinfectant and can help dissolve mineral deposits. Be cautious when using vinegar on certain types of stone tile, as it can etch the surface. Always test in an inconspicuous area first.
* Baking Soda and Vinegar: Apply baking soda paste to the grout, then spray with vinegar. The mixture will fizz, helping to loosen dirt. Let it sit for a few minutes before scrubbing.
* Commercial Grout Cleaners: If you prefer a commercial grout cleaner, choose one that is specifically designed for your type of tile and grout. Follow the manufacturer’s instructions carefully.
3. How often should I clean my grout with a toothbrush?
The frequency of grout cleaning depends on the amount of traffic and moisture in the area. In high-traffic areas like kitchens and bathrooms, you may need to clean your grout every few weeks. In less frequently used areas, you can clean it every few months. Regular cleaning will prevent dirt and grime from building up and becoming more difficult to remove.
4. Can I use this method on all types of tile and grout?
While this method is generally safe for most types of tile and grout, it’s always a good idea to test it in an inconspicuous area first. Some types of stone tile, such as marble and limestone, are sensitive to acidic cleaners like vinegar. If you have stone tile, use a pH-neutral cleaner specifically designed for stone. Also, be careful when using abrasive cleaners on delicate or glazed tiles, as they can scratch the surface.
5. How do I prevent grout from getting dirty in the first place?
Preventing grout from getting dirty is easier than cleaning it after it’s stained. Here are a few tips:
* Seal Your Grout: Sealing your grout creates a barrier that prevents dirt and moisture from penetrating. Apply a grout sealer according to the manufacturer’s instructions.
* Wipe Up Spills Immediately: Clean up spills as soon as they happen to prevent them from soaking into the grout.
* Use a Doormat: Place a doormat at entrances to trap dirt and debris before they can be tracked onto your tile floors.
* Ventilate Your Bathroom: Run the exhaust fan in your bathroom after showering to reduce moisture and prevent mildew growth.
* Regularly Sweep or Vacuum: Sweep or vacuum your tile floors regularly to remove loose dirt and debris.
6. What if the stains are really stubborn and won’t come out?
If you’re dealing with stubborn grout stains, you may need to try a stronger cleaning solution or a more aggressive scrubbing technique. Consider using a commercial grout cleaner specifically designed for tough stains. You can also try using a steam cleaner to loosen dirt and grime. If all else fails, you may need to consider re-grouting the area.
7. Is it safe to use bleach on grout?
While bleach can be effective for whitening grout, it’s important to use it with caution. Bleach can be harsh and can damage certain types of tile and grout. It can also release harmful fumes, so it’s important to ventilate the area well and wear gloves and eye protection. If you choose to use bleach, dilute it with water and test it in an inconspicuous area first.
8. Can I use a magic eraser on grout?
Magic erasers can be effective for cleaning grout, but they can also be abrasive and may damage certain types of tile. Test the magic eraser in an inconspicuous area first to make sure it doesn’t scratch the surface. Use gentle pressure and avoid scrubbing too hard.
9. How do I clean colored grout?
When cleaning colored grout, it’s important to use a gentle cleaner that won’t fade or discolor the grout. Avoid using harsh chemicals like bleach or ammonia. A mild solution of dish soap and water is usually sufficient. Test the cleaner in an inconspicuous area first to make sure it doesn’t affect the color of the grout.
10. What are the benefits of using a toothbrush for grout cleaning compared to other methods?
Using a toothbrush for grout cleaning offers several advantages:
* Precision: The small size and shape of a toothbrush allow you to target specific areas of grout with precision.
* Accessibility: Toothbrushes can reach into tight corners and crevices that are difficult to access with larger cleaning tools.
* Cost-Effectiveness: Toothbrushes are inexpensive and readily available.
* Gentle Scrubbing: The bristles of a toothbrush provide gentle but effective scrubbing action that won’t damage most types of tile.
* Control: You have more control over the amount of pressure you apply when using a toothbrush, which can help prevent damage to delicate surfaces.


Leave a Comment