

Wooden Cutting Board Care: Ah, the heart of the kitchen! Your trusty wooden cutting board, a silent workhorse that’s seen countless meals come to life. But are you giving it the TLC it deserves? Let’s be honest, we’ve all been guilty of neglecting our wooden boards, leaving them to fend for themselves against the daily onslaught of chopping, slicing, and dicing. But fear not, fellow food enthusiasts! This isn’t just another article; it’s your ultimate guide to breathing new life into your beloved wooden companion.
For centuries, wooden cutting boards have been a staple in kitchens worldwide. From rustic farmhouses to modern culinary spaces, their natural beauty and durability have made them a timeless choice. But unlike their plastic counterparts, wooden boards require a little extra attention to keep them in tip-top shape. Think of it as a small investment that pays off in years of happy cooking!
Why is wooden cutting board care so crucial? Well, a well-maintained board not only looks beautiful but also helps prevent the growth of harmful bacteria. Plus, proper care extends its lifespan, saving you money in the long run. I’m going to show you some simple, DIY tricks and hacks that will transform your tired, worn-out board into a gleaming, hygienic surface you’ll be proud to use every day. Get ready to roll up your sleeves and give your wooden cutting board the love it deserves!
Revive Your Beloved Wooden Cutting Board: A DIY Guide
Hey there, fellow DIY enthusiasts! I’m so excited to share this guide with you on how to breathe new life into your wooden cutting board. We all know how essential these boards are in the kitchen, but they can take a beating over time. Scratches, stains, and even lingering odors can make them look less than appealing. But don’t worry, you don’t need to toss it out and buy a new one! With a little elbow grease and the right techniques, you can restore your wooden cutting board to its former glory. Let’s get started!
What You’ll Need: The Essential Supplies
Before we dive in, let’s gather all the necessary tools and materials. Having everything on hand will make the process much smoother.
* Coarse Salt: This acts as a gentle abrasive to scrub away stains and debris. I prefer using kosher salt because of its larger granules.
* Lemon: The acidity of the lemon helps to disinfect and deodorize the wood. Plus, it smells amazing!
* White Vinegar: Another excellent disinfectant and odor remover.
* Food-Grade Mineral Oil: This is crucial for rehydrating the wood and preventing it from cracking. Make sure it’s food-grade!
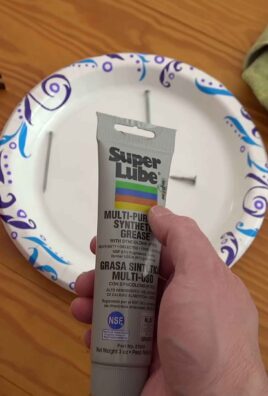
* Beeswax (Optional): When combined with mineral oil, beeswax creates a protective barrier that repels water and food particles.
* Clean Rags or Paper Towels: For wiping and applying the oil/wax mixture.
* Scraper or Putty Knife: For removing stubborn food particles.
* Sandpaper (Various Grits): We’ll use different grits to smooth out the surface and remove scratches. I recommend starting with 80-grit for deep scratches, then moving to 120-grit, 180-grit, and finally 220-grit for a super smooth finish.
* Palm Sander (Optional): If you have a lot of sanding to do, a palm sander will save you a ton of time and effort.
* Safety Glasses and Dust Mask: Protect your eyes and lungs from sawdust!
* Double Boiler or Heat-Safe Bowl and Saucepan (If using beeswax): For melting the beeswax.
Step-by-Step Restoration Process
Okay, now that we have everything ready, let’s get to work!
1. Initial Cleaning:
* Start by scraping off any loose food particles with your scraper or putty knife.
* Rinse the board with warm water and a mild dish soap. Avoid harsh detergents, as they can dry out the wood.
* Dry the board thoroughly with a clean rag.
2. Deep Cleaning and Disinfecting:
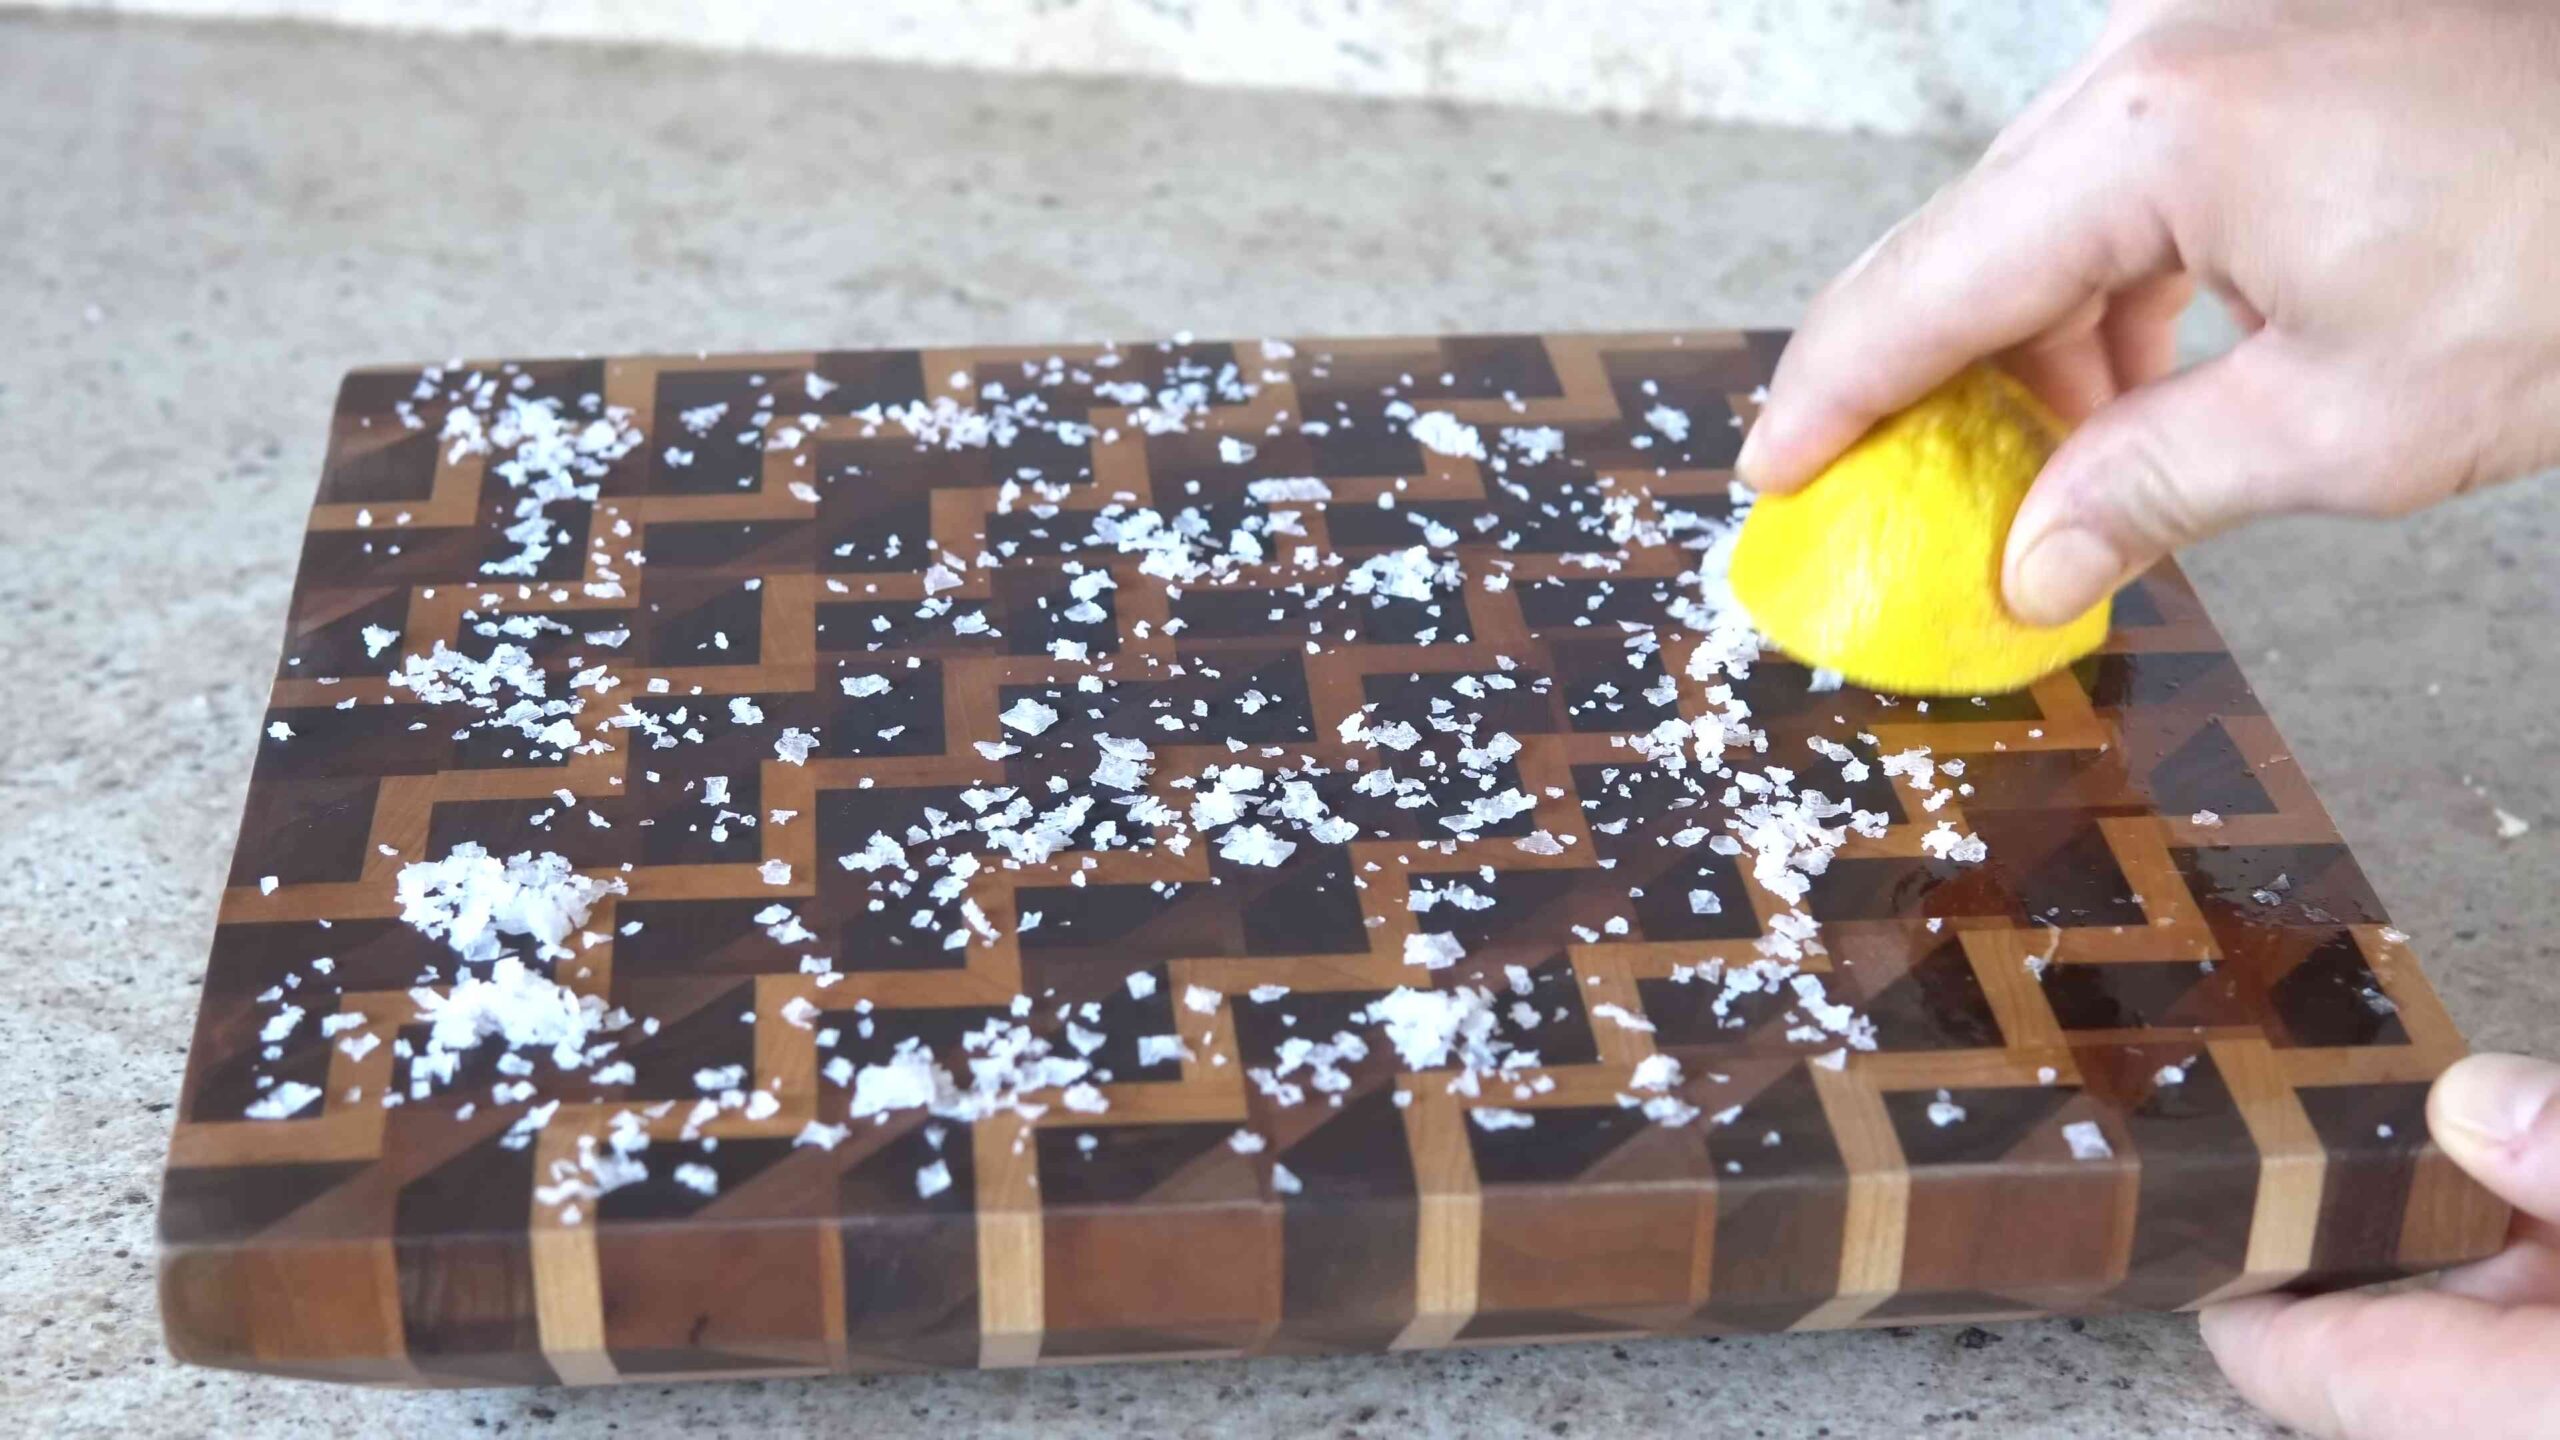
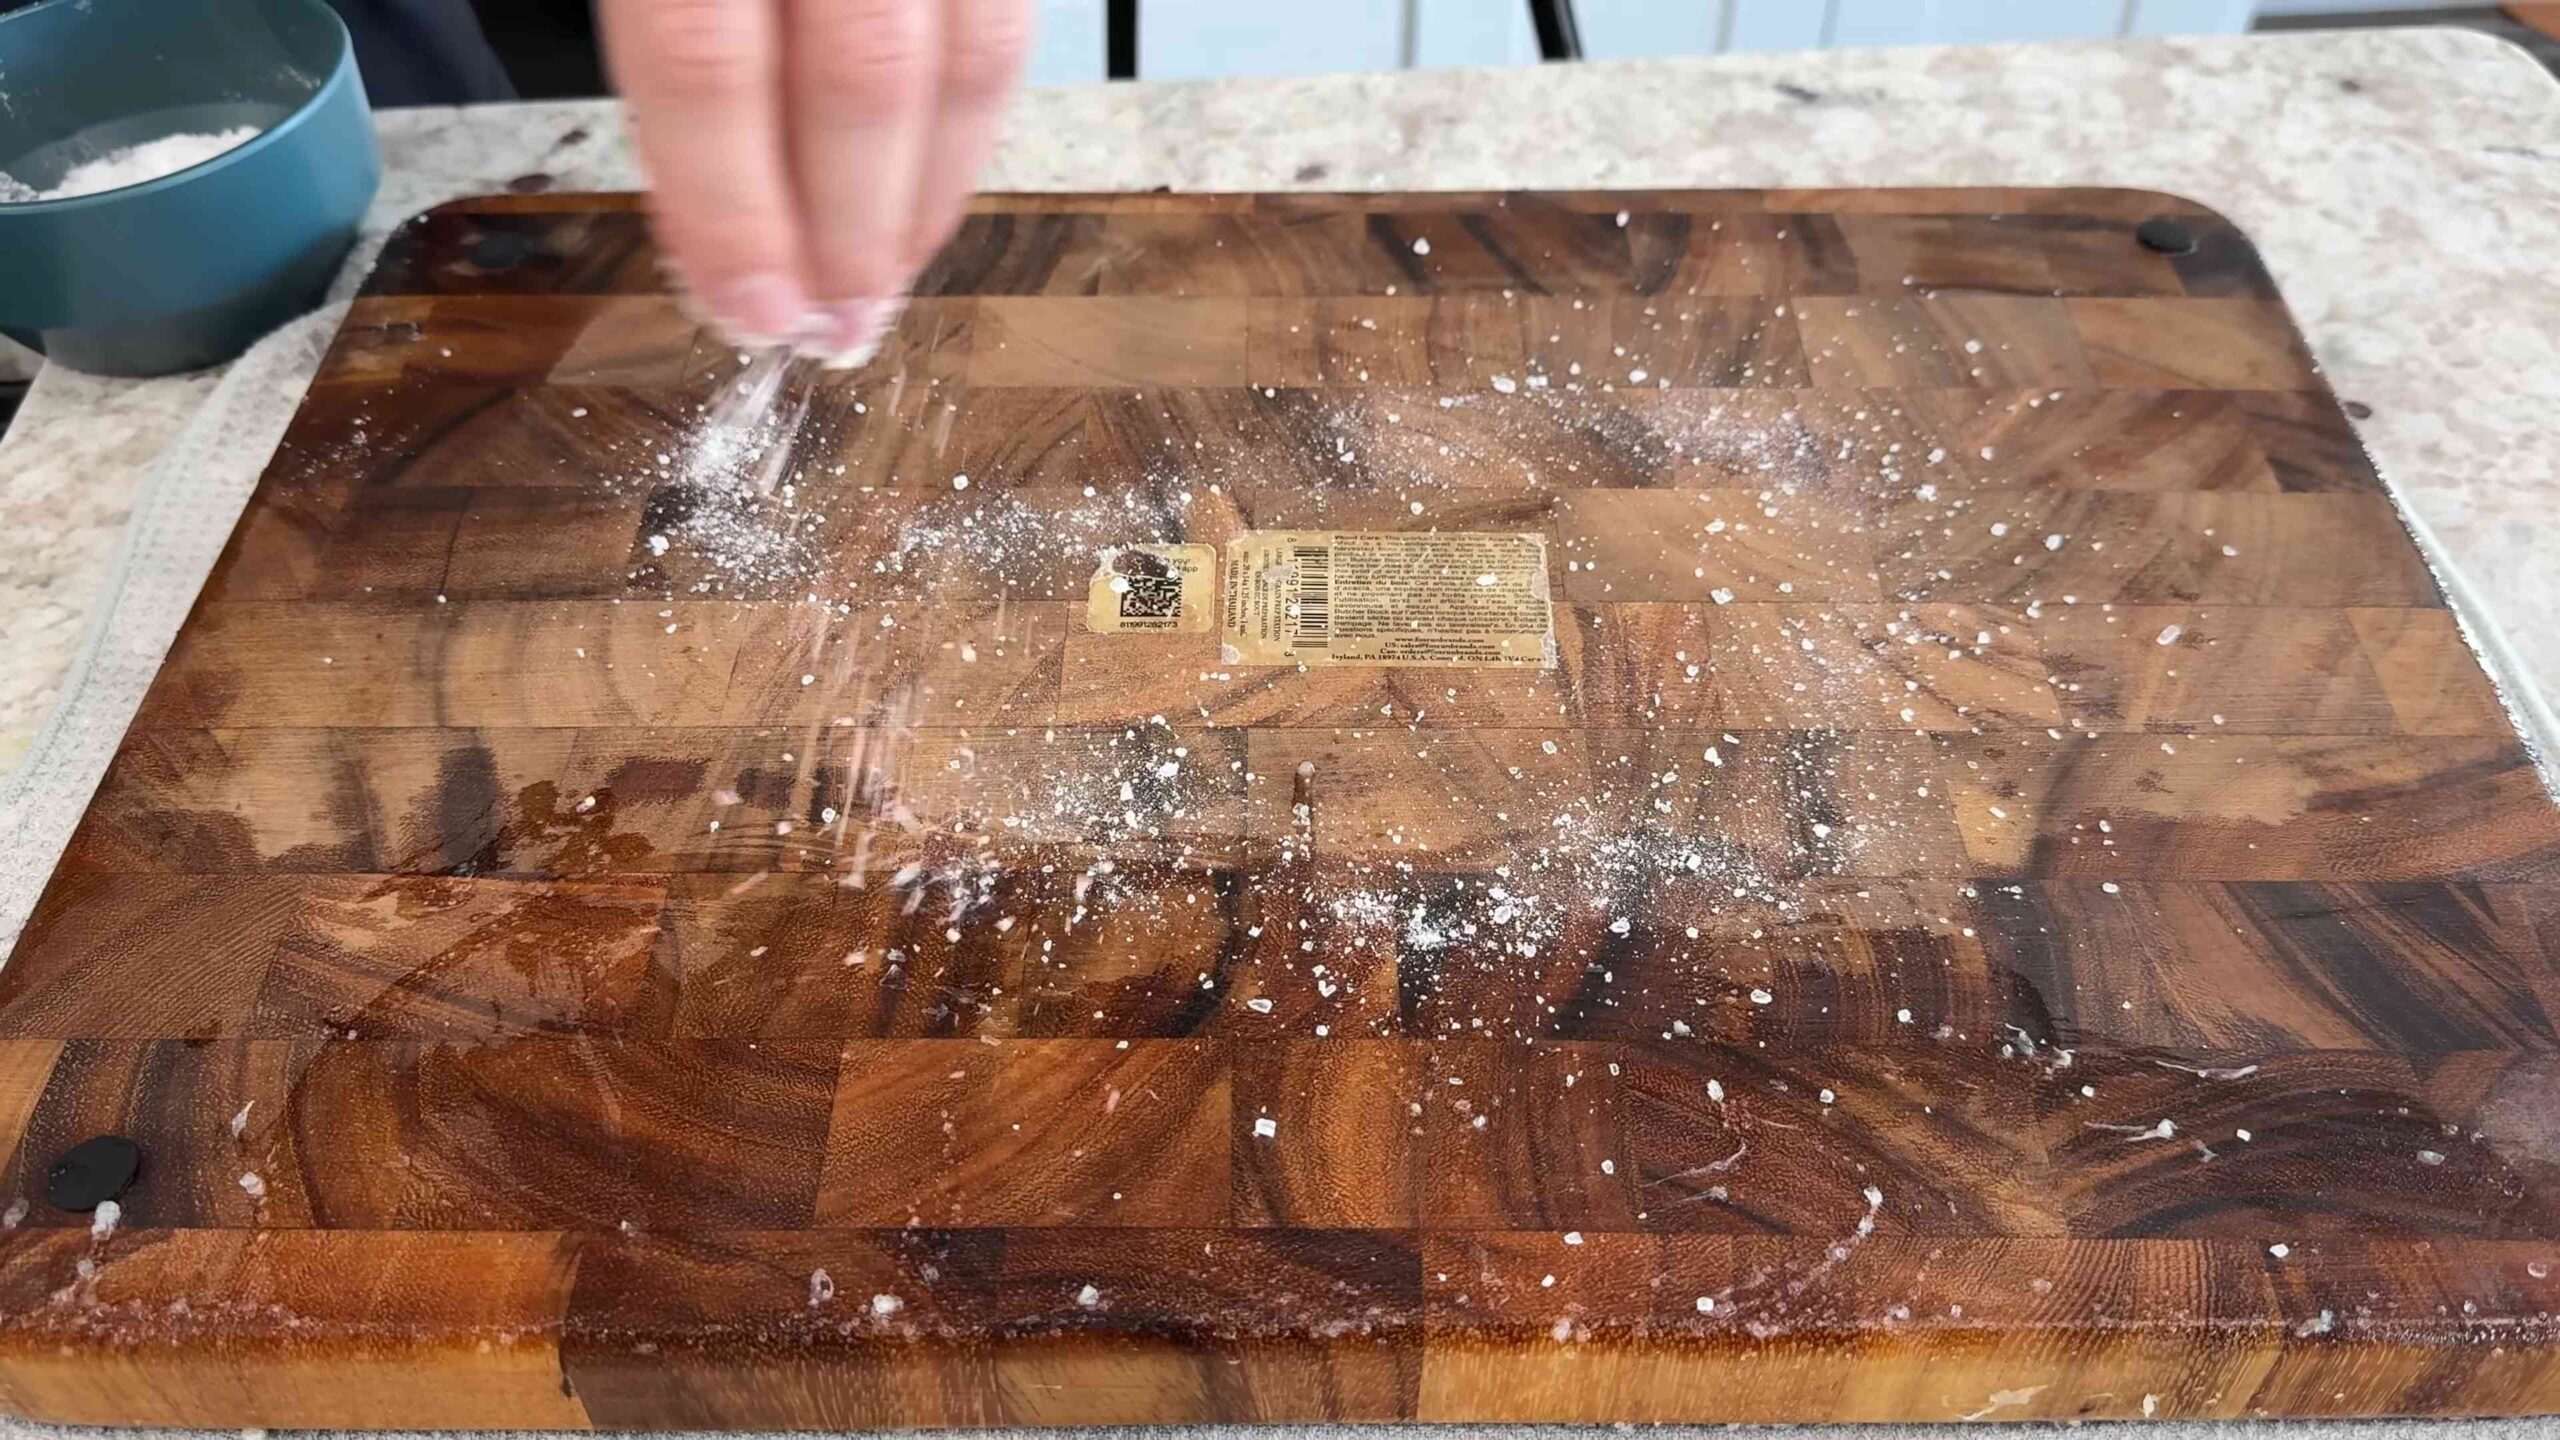
* Salt and Lemon Scrub: Sprinkle a generous amount of coarse salt over the entire surface of the cutting board.
* Cut a lemon in half and use it to scrub the salt into the wood. Apply firm pressure and work in circular motions. The salt will act as an abrasive, while the lemon juice will disinfect and deodorize.
* Continue scrubbing for several minutes, paying extra attention to stained or heavily used areas.
* Rinse the board thoroughly with warm water.
3. Vinegar Treatment (Optional):
* If your board still has lingering odors, you can give it a vinegar treatment.
* Mix equal parts white vinegar and water in a spray bottle.
* Spray the mixture onto the cutting board and let it sit for 5-10 minutes.
* Rinse the board thoroughly with warm water.
4. Drying:
* Pat the board dry with a clean rag.
* Allow the board to air dry completely. This is crucial to prevent mold and mildew growth. I usually leave mine overnight.
Sanding: Smoothing Out the Rough Edges
This is where we’ll tackle those scratches and imperfections.
1. Choosing Your Sandpaper:
* If your board has deep scratches, start with 80-grit sandpaper. For minor scratches, you can start with 120-grit.
2. Sanding by Hand:
* Wrap the sandpaper around a sanding block or hold it firmly in your hand.
* Sand with the grain of the wood. This will help to minimize scratches and create a smoother surface.
* Apply even pressure and work in long, smooth strokes.
* Continue sanding until the scratches are significantly reduced.
3. Using a Palm Sander (Optional):
* Attach the sandpaper to the palm sander.
* Turn on the sander and gently move it across the surface of the cutting board, following the grain of the wood.
* Avoid applying too much pressure, as this can damage the wood.
* Keep the sander moving to prevent uneven sanding.
4. Progressing Through the Grits:
* After sanding with the initial grit (80 or 120), move on to the next finer grit (120 or 180).
* Repeat the sanding process, working with the grain of the wood.
* Finally, sand with 220-grit sandpaper for a super smooth finish.
5. Cleaning Up:
* Once you’ve finished sanding, wipe the board thoroughly with a damp cloth to remove all the sawdust.
* Let the board dry completely.
Oiling: Rehydrating and Protecting the Wood
This is the most important step for maintaining your cutting board. Oiling prevents the wood from drying out, cracking, and absorbing odors.
1. Applying Mineral Oil:
* Pour a generous amount of food-grade mineral oil onto the cutting board.
* Use a clean rag or paper towel to spread the oil evenly over the entire surface, including the edges and sides.
* Let the oil soak into the wood for at least 20-30 minutes. The longer, the better! You’ll notice the wood absorbing the oil.
* After the soaking period, wipe off any excess oil with a clean rag.
2. Multiple Coats:
* For a well-used cutting board, I recommend applying multiple coats of mineral oil.
* Repeat the oiling process 2-3 times, allowing the oil to soak in for at least 20-30 minutes each time.
Beeswax Finish (Optional): Creating a Protective Barrier
Adding a beeswax finish will provide extra protection against water and food particles.
1. Melting the Beeswax:
* In a double boiler or heat-safe bowl placed over a saucepan of simmering water, melt the beeswax.
* Use a ratio of approximately 1 part beeswax to 4 parts mineral oil. You can adjust the ratio to your preference. More beeswax will create a harder, more durable finish.
* Stir the mixture occasionally until the beeswax is completely melted and blended with the mineral oil.
2. Applying the Beeswax Mixture:
* Remove the mixture from the heat and let it cool slightly. It should still be liquid but not too hot.
* Use a clean rag or paper towel to apply a thin, even layer of the beeswax mixture to the cutting board.
* Work quickly, as the mixture will start to harden as it cools.
3. Buffing:
* Let the beeswax mixture sit on the cutting board for about 30 minutes.
* Use a clean, dry rag to buff the surface of the board. This will remove any excess wax and create a smooth, glossy finish.
Final Touches and Maintenance Tips
Congratulations! You’ve successfully restored your wooden cutting board. Here are a few tips to keep it in great condition:
* Regular Oiling: Oil your cutting board regularly, especially after washing it. How often you need to oil it depends on how frequently you use it. I usually oil mine every 2-4 weeks.
* Proper Cleaning: Wash your cutting board with warm water and mild dish soap. Avoid harsh detergents and prolonged soaking.
* Avoid the Dishwasher: Never put your wooden cutting board in the dishwasher. The high heat and harsh detergents will damage the wood.
* Dry Thoroughly: Always dry your cutting board thoroughly after washing it.
* Store Properly: Store your cutting board in a dry place, away from direct sunlight and heat.
* Address Stains Promptly: If you notice any stains, address them promptly with the salt and lemon scrub.
* Sanitize Regularly: Sanitize your cutting board regularly with a vinegar solution or a food-safe disinfectant.
By following these steps and tips, you can keep your wooden cutting board looking and performing its best for years to come. Enjoy your beautifully restored cutting board!
Conclusion
So, there you have it! Mastering the art of wooden cutting board care isn’t just about extending the life of your beloved kitchen tool; it’s about embracing a more sustainable and hygienic approach to cooking. By implementing these simple yet effective DIY techniques, you’re not only protecting your investment but also ensuring that your food preparation surface remains a safe haven, free from harmful bacteria and lingering odors.
Why is this DIY approach a must-try? Because it empowers you to take control of your kitchen environment. Forget expensive, commercially produced cleaners filled with harsh chemicals. With just a few readily available ingredients – lemon, salt, and mineral oil – you can create a powerful cleaning and conditioning regimen that’s both gentle on your cutting board and kind to the planet. The satisfaction of knowing you’re using natural, food-safe products is unparalleled.
But the benefits don’t stop there. A well-maintained wooden cutting board is a joy to use. It provides a stable, forgiving surface for chopping, slicing, and dicing, making food preparation a more pleasurable experience. Plus, a beautifully cared-for board adds a touch of rustic charm to your kitchen décor.
Feeling adventurous? Consider these variations to personalize your wooden cutting board care routine:
* Infused Oil: Add a few drops of essential oils like rosemary or thyme to your mineral oil for a subtle, natural fragrance. Just be sure to use food-grade essential oils.
* Beeswax Finish: For added protection and a lustrous sheen, create a beeswax finish by melting beeswax with mineral oil. This mixture will provide a water-resistant barrier and help prevent cracking.
* Vinegar Solution: For a deeper clean, especially after cutting raw meat, use a diluted vinegar solution (1 part vinegar to 4 parts water) to disinfect the board before applying the lemon and salt scrub.
Ultimately, the best wooden cutting board care routine is the one you consistently follow. Don’t be intimidated by the process. Start with the basics, experiment with variations, and find what works best for you and your board.
We wholeheartedly encourage you to try these DIY tricks and witness the transformative power of natural ingredients. Your wooden cutting board will thank you for it! And more importantly, your food will be prepared on a surface that’s clean, safe, and ready for culinary adventures.
We’d love to hear about your experiences! Share your before-and-after photos, your favorite variations, and any tips or tricks you’ve discovered along the way. Let’s build a community of wooden cutting board enthusiasts who are passionate about preserving these essential kitchen tools. Leave a comment below and let us know how your DIY wooden cutting board care is going!
FAQ
What type of wood is best for a cutting board?
Hardwoods like maple, walnut, cherry, and teak are generally considered the best choices for cutting boards. These woods are dense and durable, making them resistant to knife marks and bacteria absorption. Bamboo is also a popular option, as it’s a sustainable and relatively hard material. Avoid using softwoods like pine or fir, as they are more prone to damage and can harbor bacteria more easily.
How often should I clean my wooden cutting board?
You should clean your wooden cutting board after each use with warm, soapy water. For a deeper clean, especially after cutting raw meat or poultry, use the lemon and salt scrub described in the article. Regular oiling is also crucial; aim to oil your board at least once a month, or more frequently if it appears dry.
Can I put my wooden cutting board in the dishwasher?
Absolutely not! Dishwashers are extremely harsh on wooden cutting boards. The high heat and prolonged exposure to water can cause the wood to warp, crack, and dry out. Always hand-wash your wooden cutting board with warm, soapy water and dry it thoroughly.
What kind of oil should I use to condition my wooden cutting board?
Food-grade mineral oil is the best choice for conditioning wooden cutting boards. It’s odorless, tasteless, and won’t go rancid. You can also use specialized cutting board oils or beeswax finishes, which are often a blend of mineral oil and beeswax. Avoid using vegetable oils like olive oil or canola oil, as they can become sticky and rancid over time.
How do I remove stubborn stains or odors from my wooden cutting board?
For stubborn stains, try making a paste of baking soda and water and applying it to the affected area. Let it sit for a few minutes, then scrub gently with a soft cloth or sponge. For lingering odors, try rubbing the board with half a lemon or a paste of salt and lemon juice. Let it sit for a few minutes, then rinse thoroughly with warm water.
How do I prevent my wooden cutting board from warping or cracking?
The key to preventing warping and cracking is to keep your wooden cutting board properly oiled. Regular oiling helps to keep the wood hydrated and prevents it from drying out and cracking. Also, avoid exposing your cutting board to extreme temperatures or humidity. Store it in a dry place, away from direct sunlight or heat sources.
How do I sanitize my wooden cutting board after cutting raw meat?
After cutting raw meat, poultry, or fish, it’s essential to sanitize your wooden cutting board to prevent the spread of bacteria. You can use a diluted bleach solution (1 tablespoon of bleach per gallon of water) to disinfect the board. Apply the solution to the board, let it sit for a few minutes, then rinse thoroughly with warm water and dry completely. Alternatively, you can use a diluted vinegar solution (1 part vinegar to 4 parts water) as a natural disinfectant.
How do I know when it’s time to replace my wooden cutting board?
Even with proper care, wooden cutting boards will eventually show signs of wear and tear. If your cutting board has deep grooves or cracks that are difficult to clean, or if it’s become significantly warped or damaged, it’s time to replace it. A heavily damaged cutting board can harbor bacteria and pose a food safety risk.
Can I use my wooden cutting board for cutting acidic foods like lemons or tomatoes?
Yes, you can use your wooden cutting board for cutting acidic foods, but it’s important to clean and oil it properly afterward. Acidic foods can sometimes stain or discolor the wood, so it’s best to wipe the board down immediately after use. The lemon and salt scrub mentioned in the article is particularly effective for removing stains and odors caused by acidic foods.
Is end-grain or edge-grain better for a cutting board?
Both end-grain and edge-grain cutting boards have their advantages. End-grain cutting boards are made with the ends of the wood fibers facing up, which makes them more gentle on knives and more resistant to knife marks. They also tend to be more absorbent, which can help to trap bacteria. Edge-grain cutting boards are made with the sides of the wood fibers facing up, which makes them more durable and less prone to warping. Ultimately, the best choice depends on your personal preferences and priorities.
Leave a Comment